Last updated on
Discover the simple steps to efficiently trim out a pocket door, transforming it into an attractive and functional design element in your home.
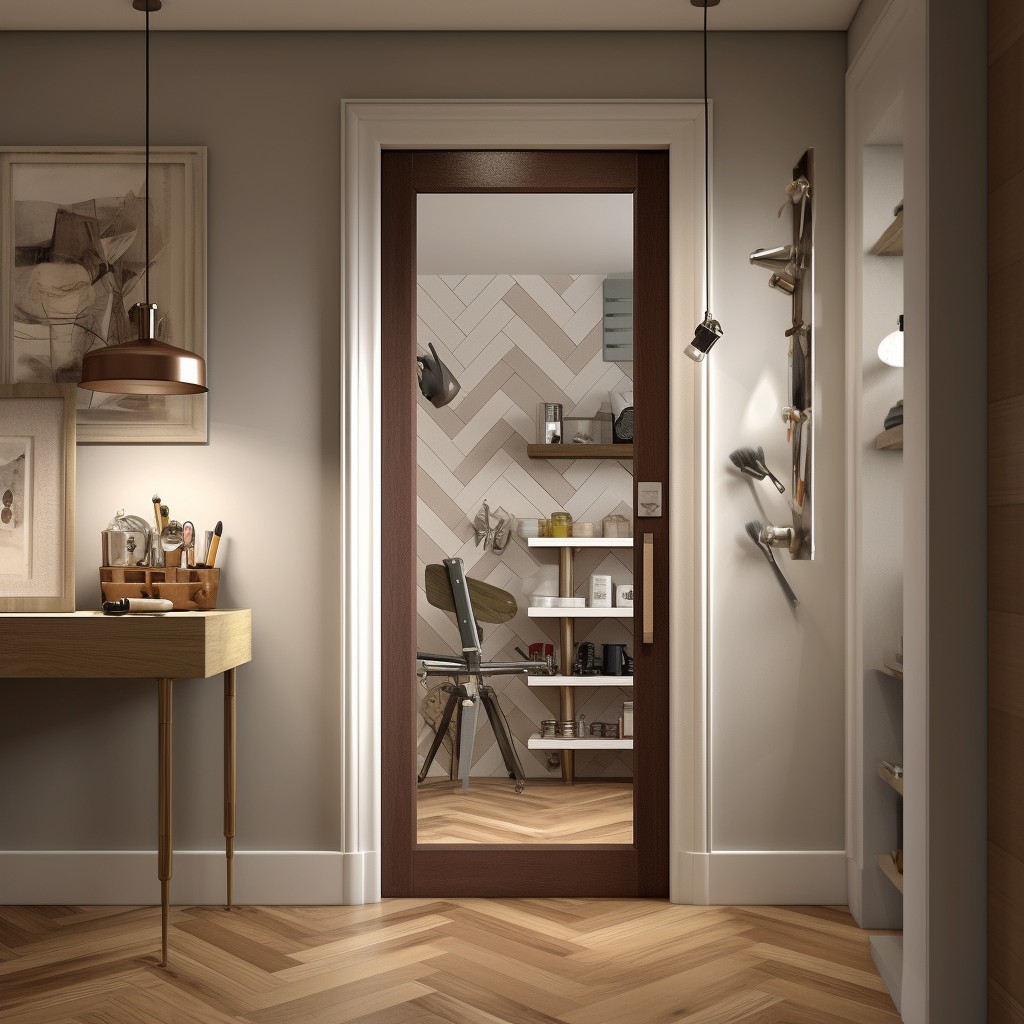
Pocket doors are a great space-saving solution for homeowners who want to maximize their living space. These doors slide into the wall, creating an unobstructed opening and freeing up valuable floor space.
However, installing a pocket door is only half the battle. To achieve a polished look and ensure proper functionality, you need to trim out the door correctly.
In this article, we’ll guide you through the process of trimming out a pocket door step-by-step, so you can achieve professional results that will enhance your home’s aesthetic appeal and functionality. So let’s get started!
Table of Contents
Tools and Materials Required
Here are some of the items you’ll need:
Tools:
- Tape measure
- Level
- Hammer
- Screwdriver (Phillips and flathead)
- Power drill with screwdriver bits
- Miter saw or handsaw
- Materials:
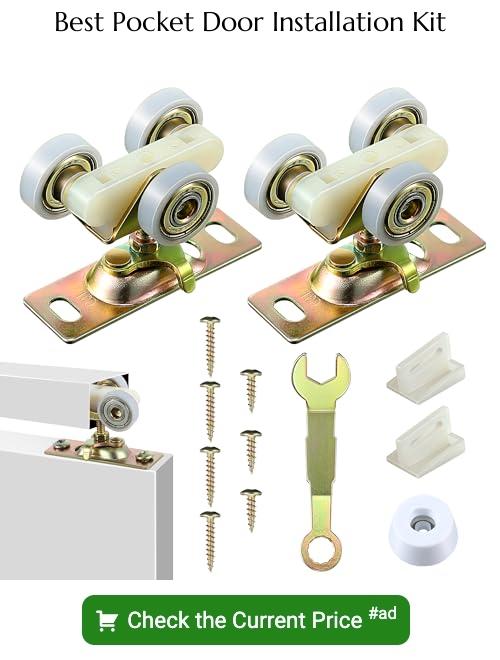
- Pocket door kit (includes frame, hardware, guides)
- Door casing trim
- Wood shims
- Nails or screws for attaching trim
- Paint or stain
Having these tools and materials ready before starting will make the process smoother and more efficient. It’s also important to ensure that all equipment is in good working condition before beginning any project.
Measuring Pocket Door Dimensions
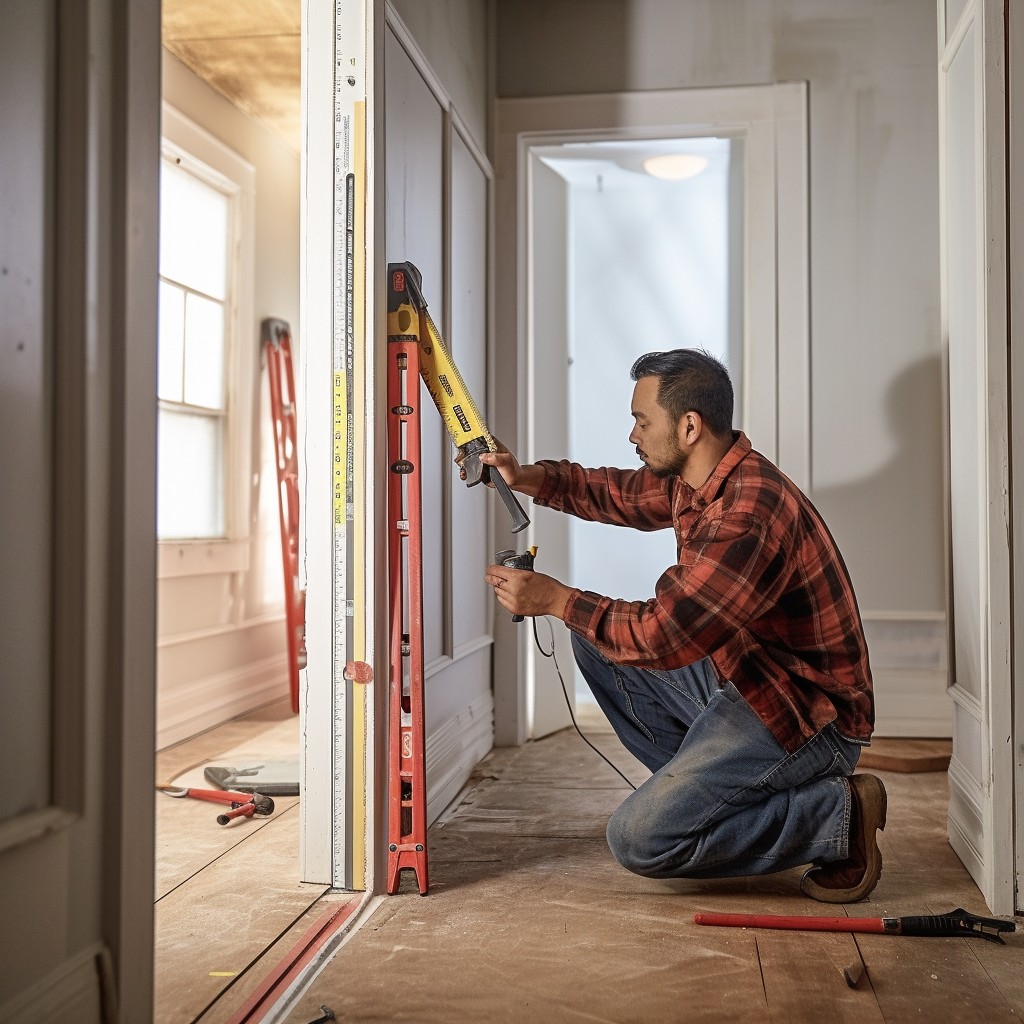
This step is essential because any errors in measurement can lead to a poorly functioning or ill-fitting pocket door. To get started, measure the height and width of your existing doorway carefully.
If you’re installing a new pocket door frame, ensure that it fits snugly into the wall cavity by measuring its depth as well.
When taking measurements for your new trim work, be sure to account for any additional space needed for hardware such as locks and pulls. It’s also important to consider how much clearance will be required between the top of your finished floor and bottom edge of the sliding panel when fully open.
Selecting the Right Pocket Door Hardware
The hardware you choose will depend on several factors, including the size and weight of your door, as well as your personal style preferences.
When selecting a pocket door kit, make sure it includes all necessary components such as rollers or ball bearings for smooth sliding action. You should also consider whether you want a soft-close mechanism to prevent slamming or noise reduction features if soundproofing is important in your space.
Another essential factor when choosing hardware is durability. Look for high-quality materials like stainless steel or brass that can withstand frequent use without wearing down quickly.
Don’t forget about aesthetics! Pocket doors are available in various styles and finishes ranging from traditional to modern designs so select one that complements the overall look of your home decor.
Preparing the Workspace

This step will help ensure that the installation process goes smoothly and without any hiccups. First, clear the area around your pocket door of any furniture or decor items that may get in your way during installation.
Next, cover nearby surfaces with drop cloths or plastic sheeting to protect them from dust and debris.
It’s also a good idea to make sure you have all necessary tools and materials on hand before starting work on this project. Double-check that you have everything listed in our previous section “Tools and Materials Required.” Having everything ready beforehand will save time later when working on each step of installing a trimmed-out pocket door.
Removal of Existing Door & Frame
This process requires some elbow grease but is relatively straightforward if you follow these steps:
1. Remove the Door: Open the existing door and locate the hinges on one side of it.
Unscrew each hinge from both sides of the doorway using a screwdriver or drill.
2. Take Out Hinge Pins: Once all screws are removed, gently lift up on one side of your old door until its hinge pins come out completely.
3. Remove Trim & Frame: Use a pry bar to carefully remove any trim around your old doorway’s perimeter before removing its frame by unscrewing it from studs in walls with an electric drill or screwdriver.
4. Clean Up Debris: After removing everything, clean up debris left behind so that there is no obstruction when installing new hardware for your pocket doors later on!
Installing the Pocket Door Frame
The first step is to ensure that your rough opening matches the dimensions of your pocket door kit. If necessary, adjust the framing by adding or removing studs until you achieve a perfect fit.
Next, attach metal brackets to both sides of each vertical stud in order to support and secure the track for your sliding doors. These brackets should be installed at a height that allows for smooth operation of your doors.
After installing these brackets, slide in place any additional horizontal supports included with your kit before securing them into position using screws or nails as appropriate.
Hanging the Pocket Door
This step requires precision and patience to ensure that your pocket door operates smoothly. Begin by attaching the rollers or hangers onto the top of your pocket door according to manufacturer instructions.
Next, lift up on each side of the bottom edge of your pocket door and slide it into place on top of its corresponding roller or hanger in a smooth motion. Make sure that both sides are level with one another before releasing them.
Test out how well your newly hung pocket doors operate by sliding them back and forth several times while checking for any obstructions or misalignments along their path. If everything looks good, proceed with installing any necessary guides and stops as outlined in our next section.
Attaching Door Guides & Stops
These components are essential for ensuring that the door slides smoothly and stays in place when closed.
Door guides are installed on the floor or ceiling track to keep the bottom of the pocket door from swinging back and forth. They come in various shapes, sizes, and materials such as plastic or metal.
Stops prevent your pocket doors from sliding too far into their pockets by acting as a physical barrier at either end of its travel path. You can install them on both sides of your doorway using screws or adhesive tape.
When attaching these components, it’s important to ensure they’re positioned correctly so that they don’t interfere with each other during operation. Make sure you follow manufacturer instructions carefully when installing these parts for optimal performance.
Door Stop Adjustment
Door stops are essential for preventing the door from sliding too far into the wall cavity or out of its frame. To adjust them, start by opening and closing your pocket door several times to determine where it needs stopping points.
Next, locate the two adjustable stoppers on either side of your pocket doorway. These stoppers will be attached to a threaded rod that can be turned with a screwdriver or wrench.
To make adjustments, turn each threaded rod clockwise until they touch both sides of the pocket doorway at their desired stopping point. Test again by opening and closing your newly trimmed-out pocket doors several times before tightening everything in place.
Installing Door Pulls & Locks
Door pulls are essential for opening and closing the pocket door, while locks provide privacy and security. Before installing these components, make sure that they are compatible with your chosen hardware.
To install a standard pull handle on a pocket door, measure 36 inches from the floor up along the edge of the sliding panel where you want to place it. Mark this spot with a pencil or tape measure before drilling holes for screws using an electric drill.
For locking mechanisms such as mortise locks or flush bolts that require recessing into woodwork (such as doors), use chisels to create pockets in which they can be installed securely without protruding beyond their intended position when closed tightly against one another during operation.
Trimming Pocket Door Jamb
The jamb is the vertical part of a doorframe that holds the hinges and latch. Trimming out a pocket door jamb involves installing casing around it to create an attractive finished look.
To begin trimming your pocket door jamb, measure and cut pieces of casing material to fit around each side of your doorway. Make sure you leave enough space for any hardware or accessories that will be attached later on.
Next, attach each piece of casing using finishing nails or adhesive glue along with wood filler if necessary for gaps between joints. Be careful not to damage any surrounding walls while nailing in place.
Sand down rough edges and apply paint or stain as desired for a polished finish that complements your home decor style.
Installing the Door Casing
The casing covers up any gaps between the wall and frame, giving your pocket door a finished look. To install the casing, measure and cut pieces of trim that fit around both sides of your doorway.
Start by measuring from one end of your doorway to another and then add an extra inch or two for overhang. Cut two pieces of trim according to these measurements using a miter saw or hand saw.
Next, hold each piece in place against either side of your doorway with finishing nails every 12 inches along its length until it’s securely attached.
Fill any nail holes with wood filler before sanding down rough edges for a smooth finish.
Finishing Touches: Paint or Stain
One of the most important decisions you’ll make is whether to paint or stain your door. Both options offer unique benefits, so it ultimately comes down to personal preference.
If you choose to paint your pocket door, start by applying a coat of primer followed by two coats of high-quality interior paint. This will give your door a smooth and durable finish that can withstand daily wear and tear.
On the other hand, if you prefer a natural wood look for your pocket doors, staining is an excellent option. Staining allows the beauty of natural wood grain patterns to shine through while providing protection against moisture damage.
Before staining or painting any surface in your home always ensure proper ventilation during application as well as drying times according with manufacturer instructions.
Maintaining Your Pocket Door
Pocket doors require minimal maintenance, but regular upkeep will keep them in good condition for years to come.
To maintain your pocket door, start by cleaning the tracks regularly. Dirt and debris can accumulate in the tracks over time, causing the door to stick or become difficult to slide open or closed.
Use a soft-bristled brush or vacuum cleaner attachment to remove any dirt from the track.
Next, lubricate all moving parts of the hardware with a silicone-based spray lubricant every six months. This will prevent rusting and ensure smooth operation of your pocket door.
Inspect all components of your pocket door periodically for signs of wear and tear such as loose screws or damaged rollers. Tighten any loose screws immediately before they cause further damage that may be costly down-the-line.
Troubleshooting Common Issues
One common problem is the door sticking or not sliding smoothly. This could be due to a misaligned track or debris in the track, which can be easily fixed by cleaning and adjusting the hardware.
Another issue is when the door doesn’t stay closed properly. This may indicate that you need to adjust your door guides and stops for proper alignment.
If your pocket door isn’t locking correctly, it’s likely an issue with either your lockset or strike plate alignment. Make sure they are both installed correctly and aligned properly.
Lastly, if you notice any gaps between the jamb and casing after trimming out your pocket door, this could mean that there was some settling of framing during construction causing unevenness in walls around opening where trim meets wall surface; use shims as needed before installing casing to ensure a tight fit against wall surfaces.
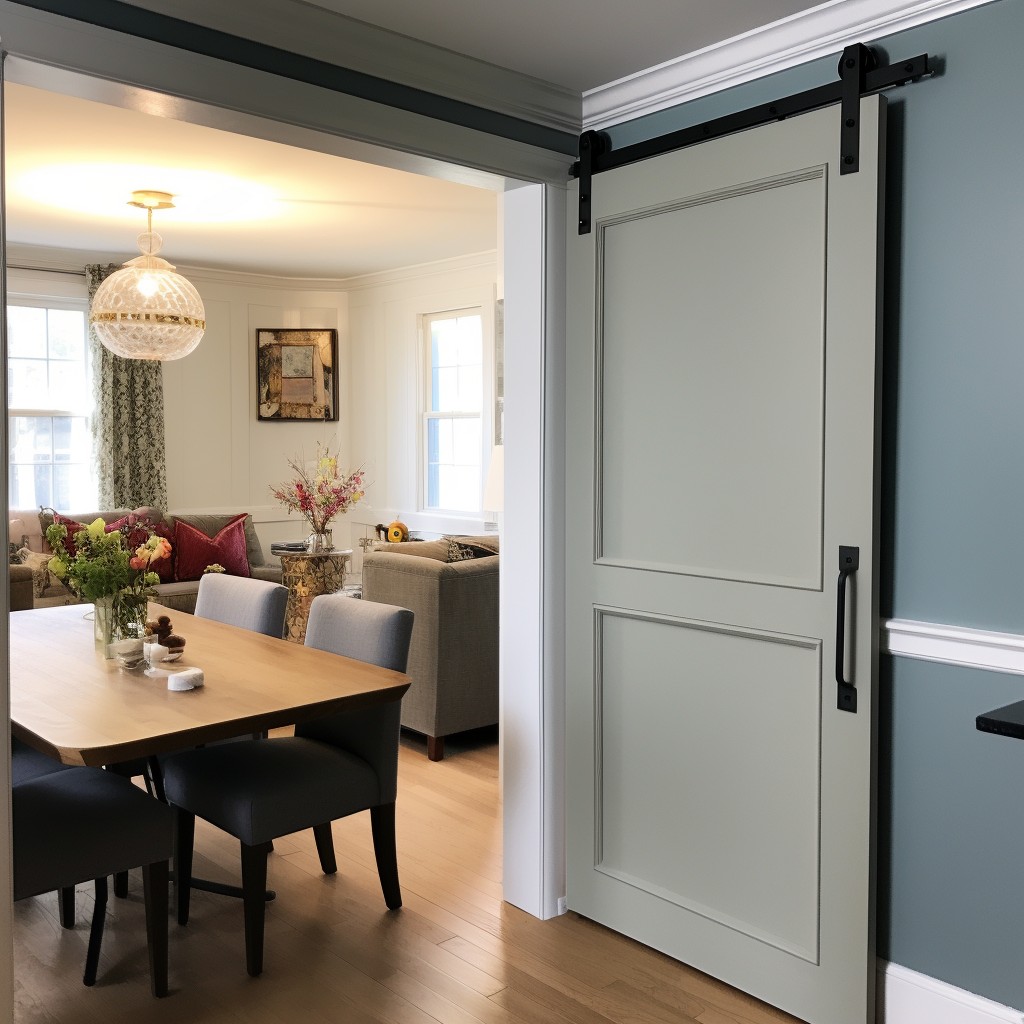
Pocket Door Styles and Upgrades
Whether you prefer traditional or modern aesthetics, there is a pocket door style that will suit your taste. Some popular options include glass panel pocket doors, French-style pocket doors with divided lites or grilles between the panes of glass, and solid wood panel pocket doors.
Upgrading your existing hardware can also enhance the functionality and appearance of your pocket door. For example, installing soft-close mechanisms can prevent slamming noises while adding convenience to daily use.
Upgrading to high-quality handlesets or locks not only improves security but also adds visual interest.
Safety Precautions
Here are some essential safety precautions to keep in mind during the installation process:
1. Wear protective gear: Always wear eye protection and gloves when handling tools or materials.
2. Use caution with power tools: If you’re using power tools like saws or drills, make sure they’re properly grounded and that you follow all manufacturer instructions for safe use.
3. Secure your workspace: Keep your work area clean and free of clutter to avoid tripping hazards.
4. Work with a partner if possible: Installing a pocket door can be challenging for one person alone, so it’s best to have someone else help hold the frame in place while you secure it into position.
5. Follow instructions carefully: Make sure you read all manufacturer instructions thoroughly before beginning any part of the installation process.
Pocket Door Safety Tips
Here are some pocket door safety tips to keep in mind:
- Always make sure the door is fully open or closed before walking through it.
- Keep your fingers away from the edges of the door when opening or closing it.
- Make sure that all hardware, including locks and guides, is securely fastened and functioning properly.
- Avoid slamming the door shut as this can damage both the frame and hardware over time.
- If you have small children in your home, consider installing childproof locks on your pocket doors.
FAQ
Can I cut down a pocket door?
Yes, you can cut down a pocket door as all frames can be adjusted to fit smaller size doors.
Can you trim the bottom of a pocket door without taking it off?
Yes, you can trim the bottom of a pocket door without taking it off using a vibrating saw and a clamped guide, but for a smoother result, it is ideal to remove the door and use a power planer.
Can you cut down the width of a pocket door frame?
Yes, many pocket door frames can be cut down to smaller widths using a hacksaw or electric miter saw.
What is the recommended method for adjusting a pocket door’s height?
The recommended method for adjusting a pocket door’s height is by accessing the adjustment nuts or screws on the hanger assembly and turning them accordingly to raise or lower the door.
How can I ensure proper alignment when trimming a pocket door frame?
To ensure proper alignment when trimming a pocket door frame, use a level and measuring tape to mark the correct position for the door trim before securing it in place.
What tools and safety precautions should I consider when modifying a pocket door’s dimensions?
When modifying a pocket door’s dimensions, consider using proper measuring devices, cutting tools, safety goggles, and gloves to ensure precise alterations and personal safety.


