Last updated on
Discover the simple steps to effectively remove handles from old furniture. Give your cherished pieces a fresh and updated look.
Are you tired of the outdated handles on your furniture? Do they clash with your modern decor style? Well, don’t toss out that piece just yet! Removing old handles is a simple and easy way to give your furniture a fresh new look. In this article, we’ll guide you through the steps to safely remove handles from any type of furniture without causing damage or frustration.
So grab your tools and let’s get started!
Key takeaways:
- Identify the type of handle you are dealing with.
- Gather the necessary tools for handle removal.
- Use caution and patience to loosen screws or bolts.
- Safely detach the handles from the furniture.
- Clean the surface area before installing new handles.
Table of Contents
Identify Handle Type
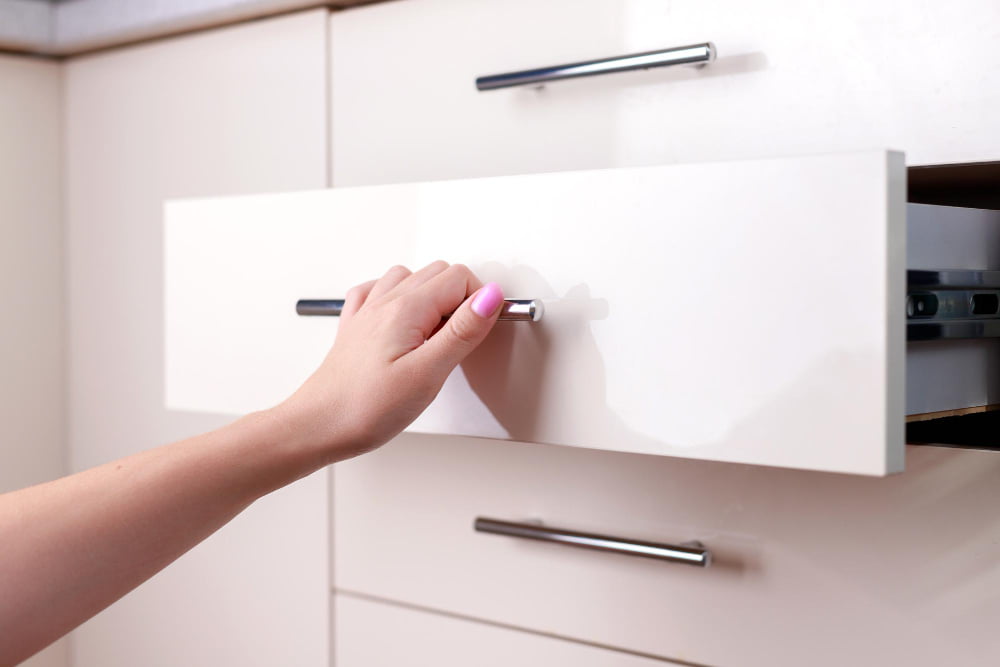
The first step in removing handles from old furniture is to identify the type of handle you are dealing with. Handles come in different shapes, sizes, and materials, so it’s important to know what you’re working with before attempting to remove them.
Some common types of handles include knobs, pulls, bail pulls (also known as drop handles), and ring pulls. Knobs are small round or square-shaped pieces that attach directly onto a drawer or cabinet door.
Pulls have a longer shape that protrudes outwards from the surface they’re attached to.
Bail pulls feature two mounting points on either side of a central handle piece which swings up when pulled; these were popular during the 18th century but can still be found today on antique furniture pieces. Ring pulls have an open loop design where fingers can slip through for easy pulling.
Gather Tools
The tools required will depend on the type of handle and its attachment method.
For handles attached with screws or bolts, a screwdriver or wrench is typically needed. It’s important to ensure that you have a properly sized tool for these fasteners to avoid stripping them.
Handles that are glued in place may require a putty knife or chisel for removal. Be sure to use caution when using sharp objects near delicate surfaces.
In some cases, handles may be secured with pins or nails which can be removed using pliers and/or wire cutters.
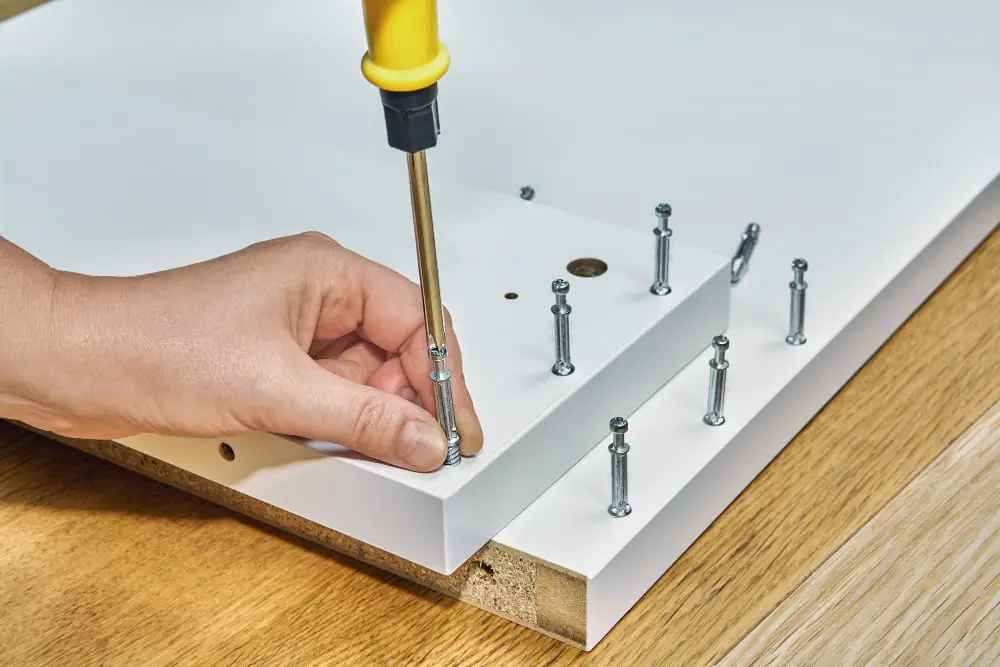
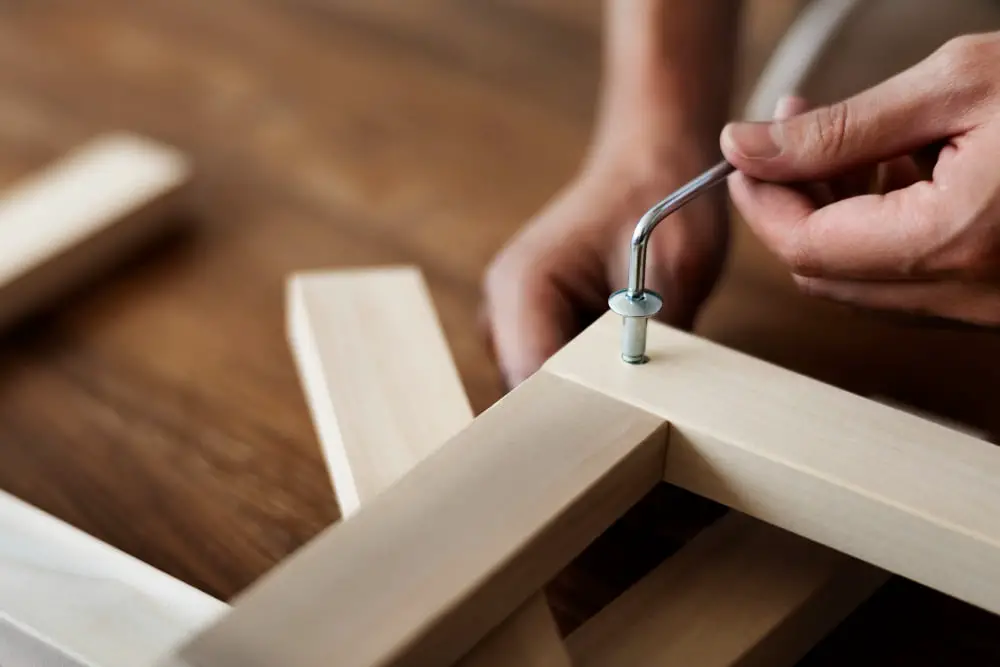
Loosen Screws/Bolts
This step requires a bit of patience and care to avoid damaging the furniture.
Using a screwdriver or wrench, gently turn each screw counterclockwise until they start to loosen. If you encounter resistance, try applying some lubricant such as WD-40 around the base of each screw before trying again.
If your handles are held in place by bolts instead of screws, use an adjustable wrench or socket set to remove them. Again, be sure not to apply too much force as this can cause damage.
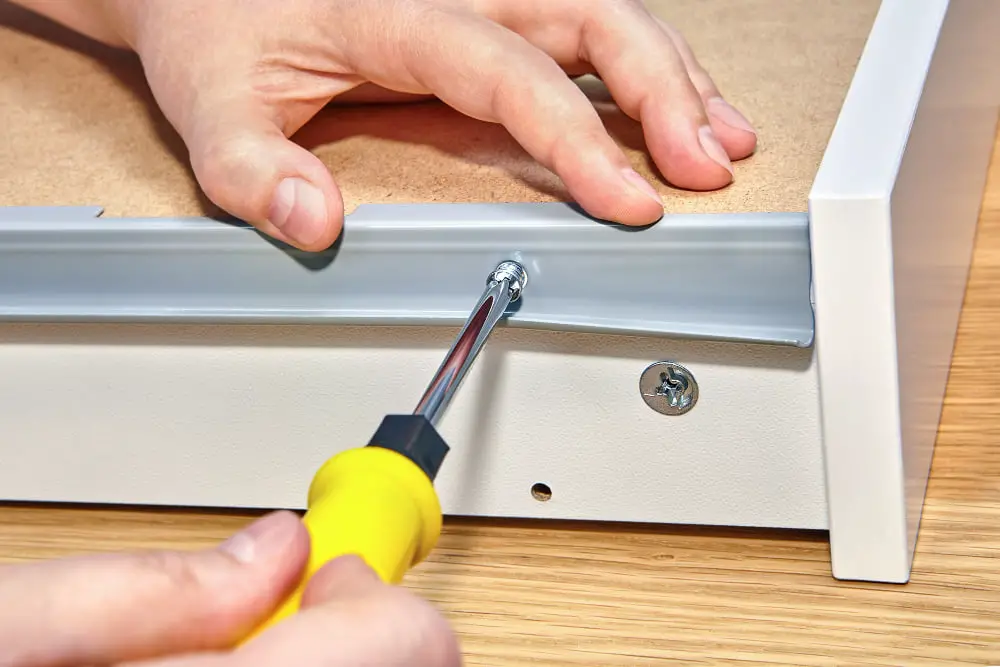
Detach Handles Safely
Depending on the type of handle, this step may require a bit more finesse. For knobs and pulls that are attached with screws, simply pull them away from the furniture once they’re loose enough.
For handles that are attached with bolts or nuts, use pliers to hold onto one end while using a screwdriver or wrench to loosen and remove the other end. Be sure not to apply too much pressure as this can cause damage.
If your furniture has delicate woodwork around its handles, consider placing a piece of cardboard between your tools and the surface area for added protection during removal.
With these simple steps in mind, you can easily remove old handles from any piece of furniture without causing damage or frustration.
Clean Surface Area
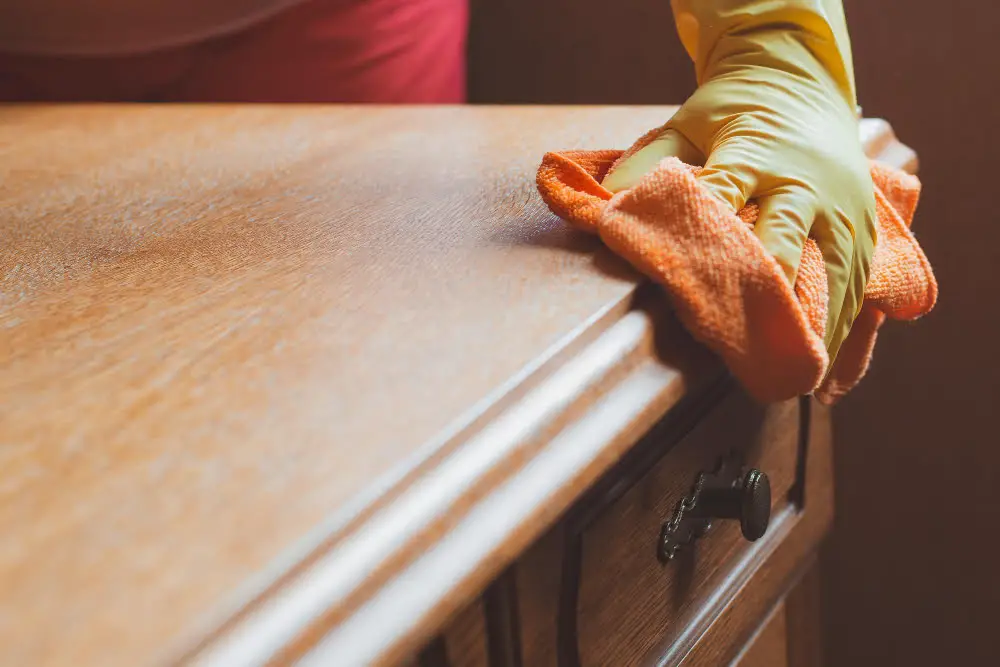
This will ensure that any dirt or grime is removed and that the new handles can be installed properly.
Start by wiping down the surface with a damp cloth to remove any dust or debris. For tougher stains, use a mild cleaning solution and gently scrub with a soft-bristled brush.
After cleaning, make sure to dry off the surface completely before installing your new handles. This will prevent any moisture from getting trapped between the handle and furniture which could cause damage over time.
By taking these simple steps, you’ll not only give your furniture an updated look but also ensure its longevity for years to come!