Last updated on
Discover the simple yet efficient process of transforming your traditional door into a space-saving pocket door with our step-by-step guide.
Are you tired of having a door that constantly gets in the way or takes up too much space in your home? Have you ever considered turning it into a pocket door?
This simple yet effective home improvement project can save you valuable floor space and add a touch of modernity to your living quarters. In this article, we’ll show you how to change a regular door into a pocket door step-by-step.
Whether you want to upgrade your bathroom, bedroom, or any other room, this guide will help make the process easy and stress-free. So grab your tools, and let’s get started!
Key takeaways:
- Measure the space accurately before starting the project.
- Determine if your wall is load-bearing or non-load-bearing.
- Follow the correct steps to remove the old door and hardware.
- Carefully remove the drywall to make space for the pocket door.
- Install a new header and assemble the pocket door hardware.
Table of Contents
Measure the Space
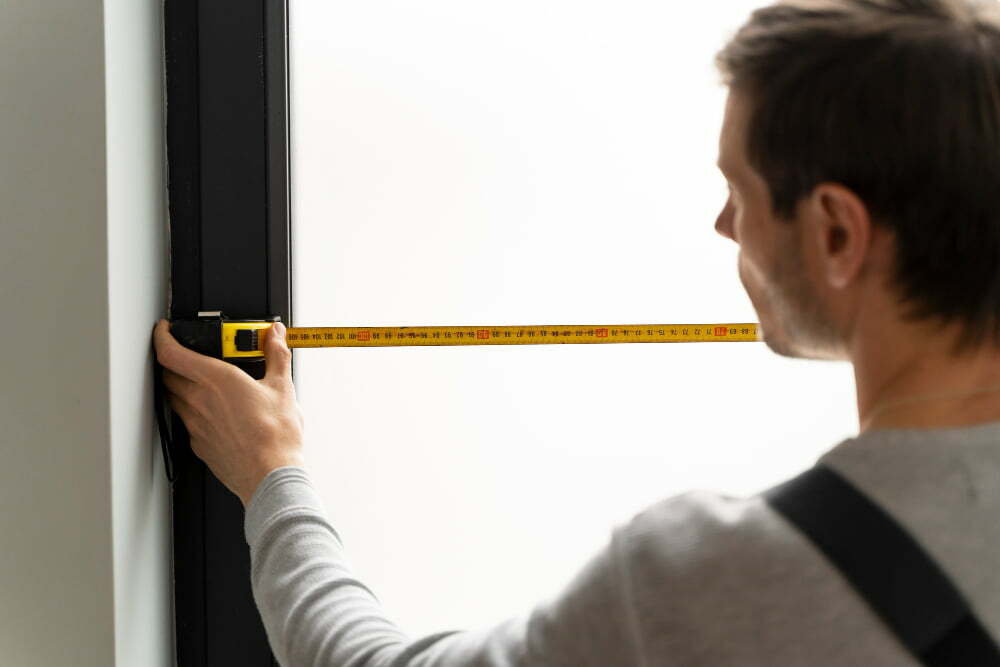
The first step in transforming your door into a pocket door is to measure the space where you want to install it. This will help you determine the size of the new opening and ensure that your pocket door fits perfectly.
Measure the height and width of your existing doorway and any obstructions, such as light switches or electrical outlets that may need to be relocated.
Once you have measured everything, add an extra inch or two on each side for clearance when installing your new frame. It’s also important to consider whether pipes or wires are running through the wall where you plan to install your pocket door.
By taking accurate measurements before starting this project, you can avoid costly mistakes and ensure a smooth installation process from start to finish.
Determine Wall Type
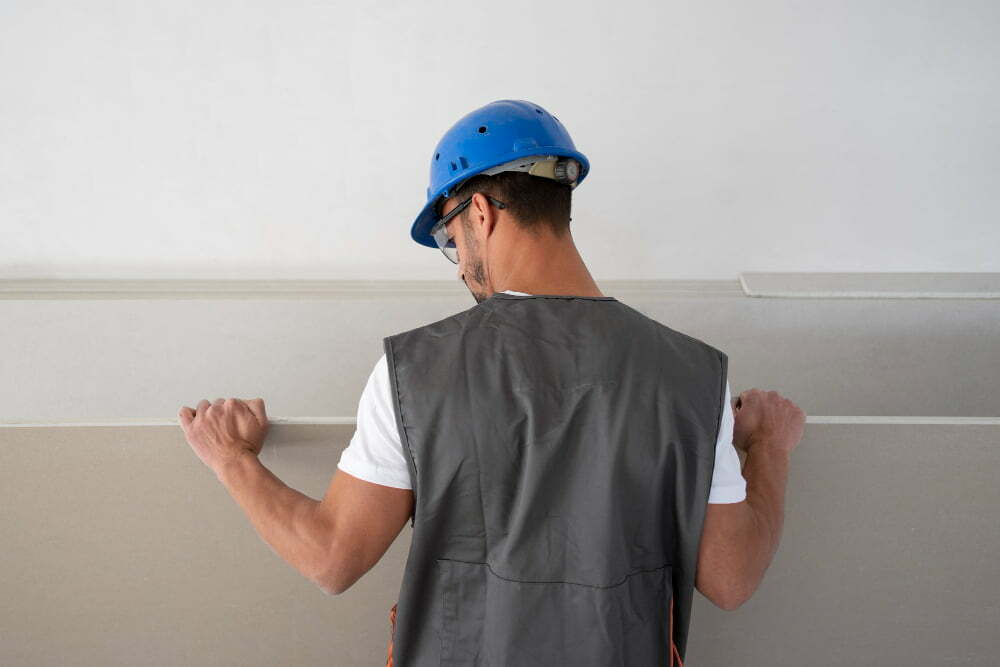
This will help ensure your new pocket door fits properly and functions correctly. There are two types of walls: load-bearing and non-load bearing.
Load-bearing walls support the weight of your home or building, while non-load-bearing walls do not. If you’re unsure which type of wall you have, consult a professional contractor or engineer before proceeding with this project.
Once you’ve determined whether your wall is load-bearing, it’s time to remove the old door and prepare for installation.
Remove the Old Door

This may seem daunting, but with the right tools and patience, it can be done easily. Start by removing any screws or nails holding the hinges in place using a screwdriver or pry bar.
Once you’ve removed them, gently lift the door off its hinges and set it aside.
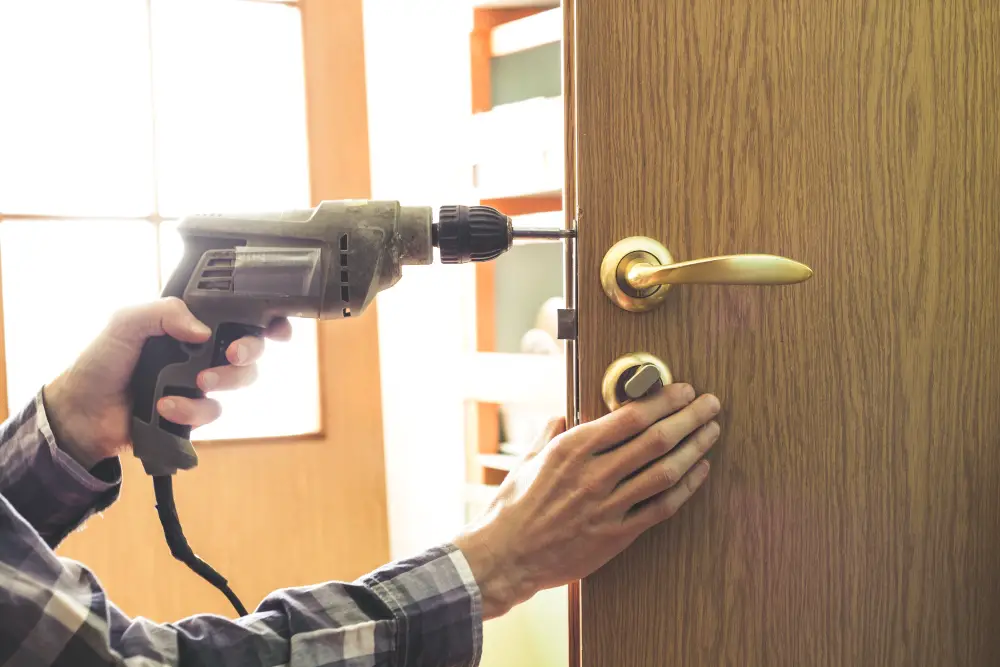
Next, remove any remaining hardware, such as doorknobs or locks, from both sides of the doorway using a screwdriver. Be sure to keep these pieces safe if you plan on reusing them later.
With all hardware removed, inspect your doorway for any damage that needs repair before installing your new pocket door slider kit. If there are cracks or holes on either side of your wall where screws were previously placed for mounting brackets, then patch those up with spackle paste before proceeding further.
Remove the Drywall

This step is crucial as it will allow you to create a space for your pocket door. Use a utility knife or saw to cut along the edges of the drywall and carefully remove it from both sides of the wall.
Be sure not to damage any electrical wiring or plumbing that may be hidden behind your walls during this process. If necessary, consult with an electrician or plumber before proceeding.
Removing drywall can be messy work, so make sure you wear protective gear such as gloves and goggles while doing so.
Cut the Studs
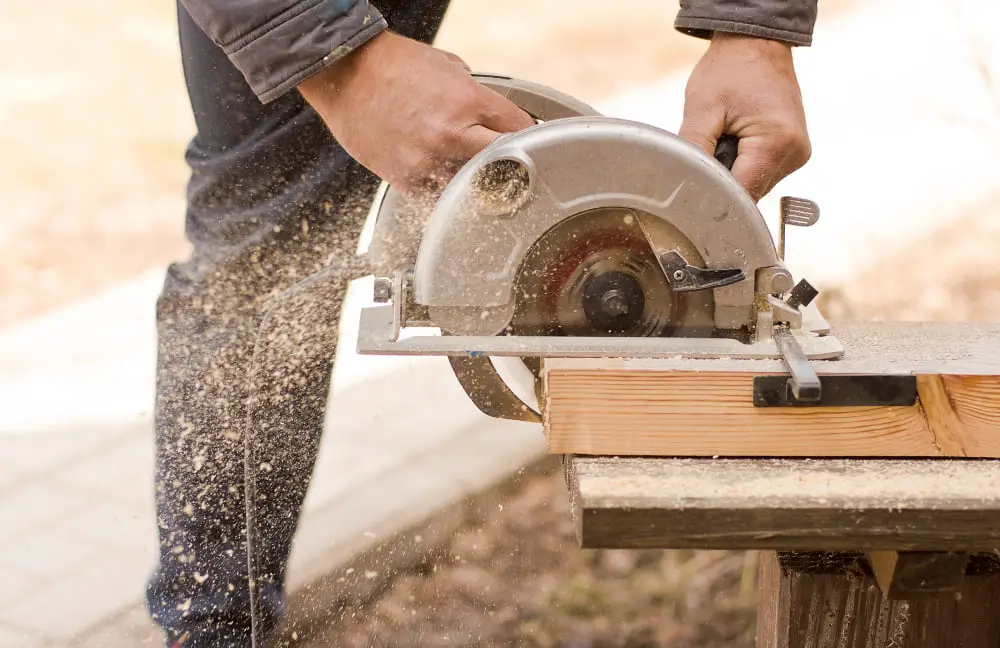
This step is crucial as it will create space for your pocket door slider kit. Using a reciprocating or circular saw, carefully cut through each stud where you marked them earlier.
It’s important to note that cutting studs can weaken the structural integrity of your wall. To prevent potential damage, install a new header above the opening before proceeding with this step.
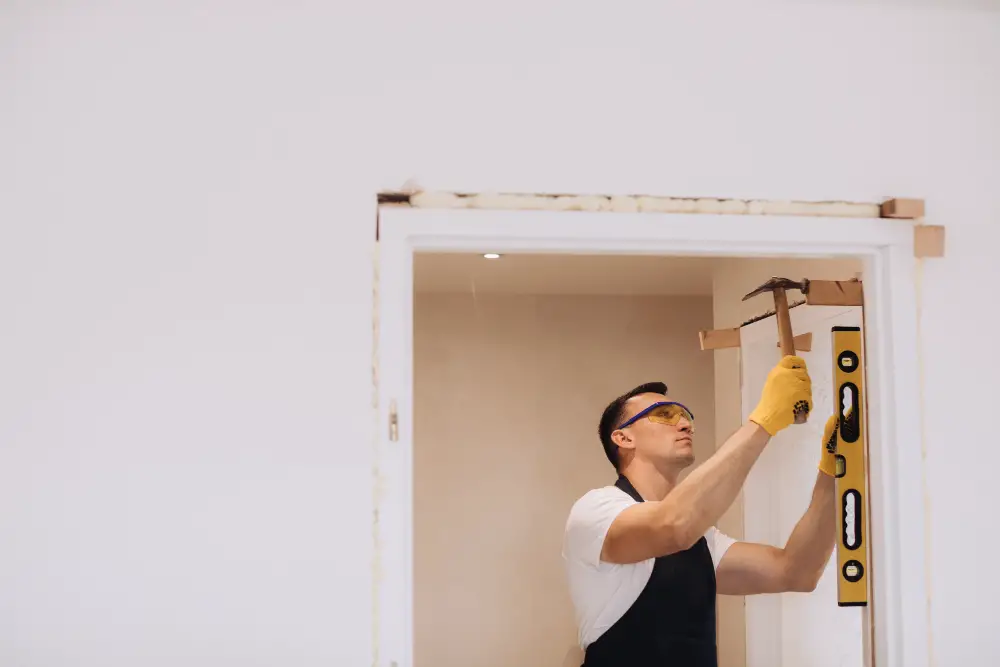
Install a New Header
The header is a horizontal beam that will support the weight of your cutting studs. Choosing an appropriate size for your opening and wall type is essential.
To determine what size header you need, measure the width of your opening and add 2 inches on each side. For example, if your opening is 36 inches wide, you’ll need a 40-inch header.
Next, consider what kind of wall type you have: load-bearing or non-load bearing. Load-bearing walls require larger headers than non-load-bearing walls because they carry more weight from above.
Consult with an expert or refer to local building codes before proceeding with this step as it requires precision in measurement and installation technique.
Once you’ve determined these factors, use nails or screws to attach the new header securely between two adjacent studs at either end of where your pocket door will be installed.
Install Pocket Door Slider Kit

The slider kit allows your door to easily slide in and out of its pocket.
To begin, attach the hangers onto both sides of the top edge of your door according to manufacturer instructions. Then, attach rollers onto each hanger.
Next, install a track on top of where you cut into the header board earlier using screws or nails provided in your kit.
Hang both sides of rollers on their respective tracks by lifting them up and then lowering them down into place until they click securely into position.
Test that everything works smoothly by sliding open and closing several times before proceeding with further installation steps, such as adding trim or latch hardware.
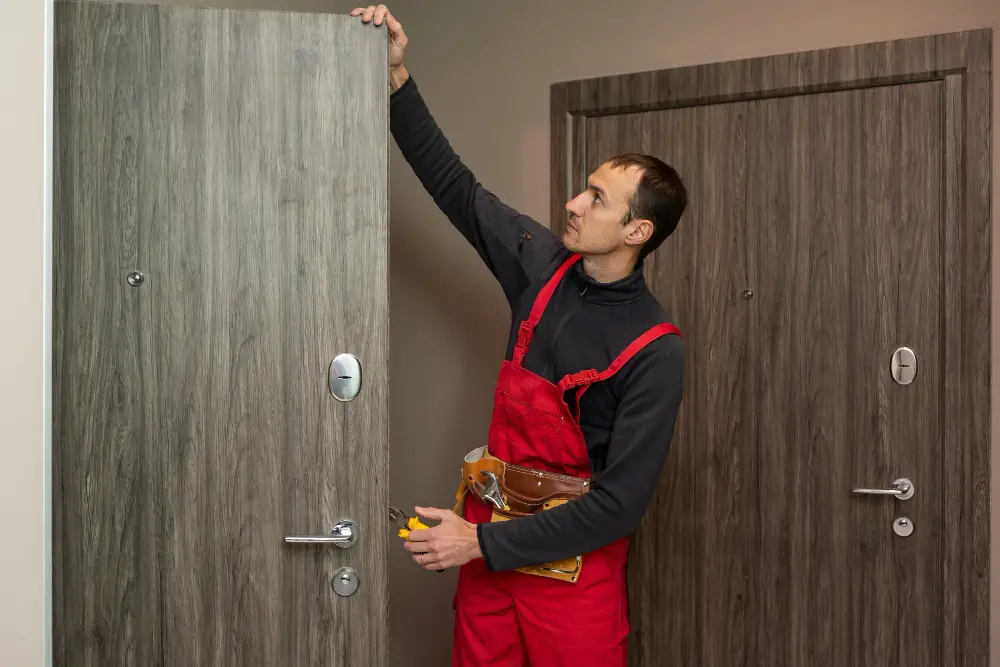
Install Door On Track

Begin by lifting the door and placing it onto the rollers at a slight angle. Then, slowly lower one side of the door onto its corresponding roller while keeping an eye on both sides to ensure they are level.
Next, slide your pocket door into place and test its movement by opening and closing it several times. If everything works correctly, attach any necessary hardware, such as handles or locks.
It’s important to note that if your pocket doors are not sliding smoothly or seem stuck in certain areas when opening or closing them after installation; this could be due to improper alignment of tracks which can cause friction between rollers causing difficulty moving back and forth freely without resistance from rubbing against each other too much during operation.
Repair the Drywall
This step is crucial in ensuring your pocket door looks seamless and professional once fully installed.
To begin repairing the drywall, remove any excess debris or dust from around the area where you cut into it. Next, take a piece of scrap drywall that matches the thickness of your existing wall and cut out a patch slightly larger than the hole.
Hold this patch up against where you made cuts for them to line up perfectly with each other. Trace around this new piece onto your existing wall using a pencil or marker so that when cutting out sections again later on down the line, there will be no mistakes made during installation!
Using a utility knife or saw blade, carefully cut along these lines until all damaged areas are obliterated before installing new pieces with screws (or nails) back into place.
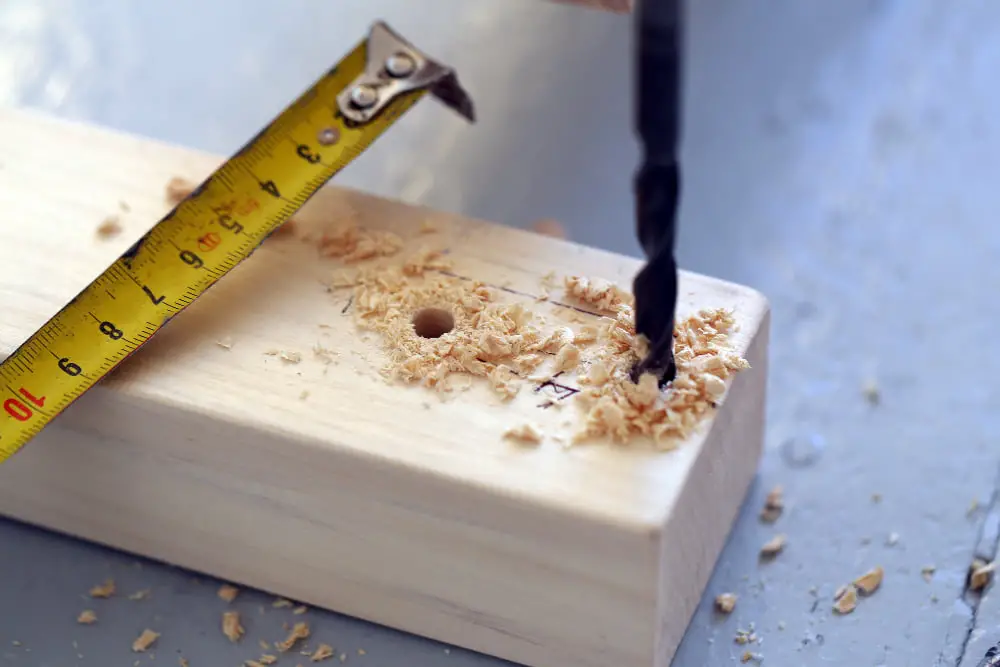
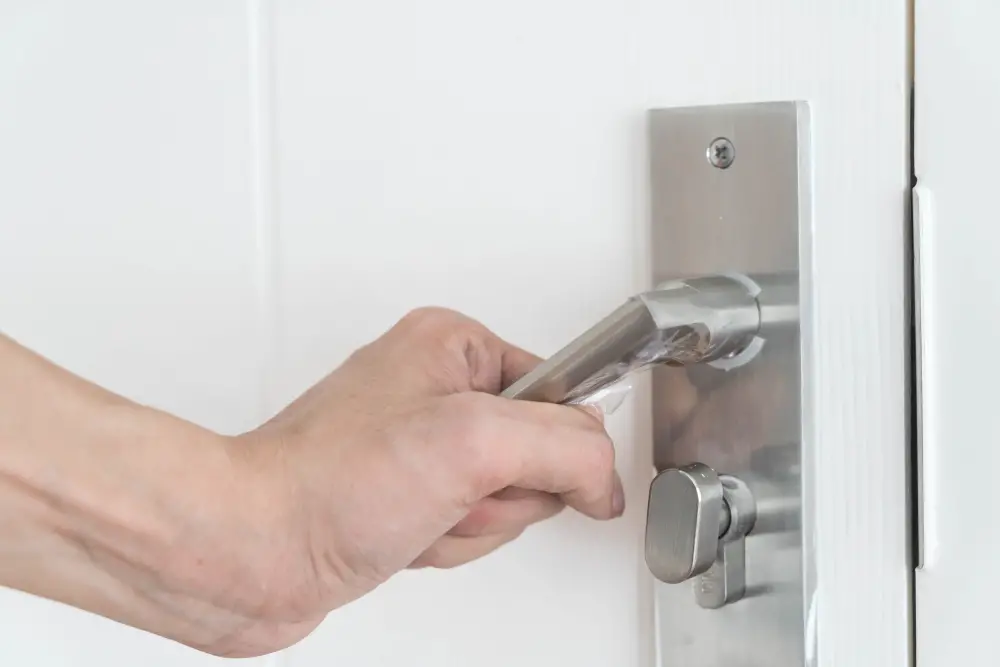
Install Latch
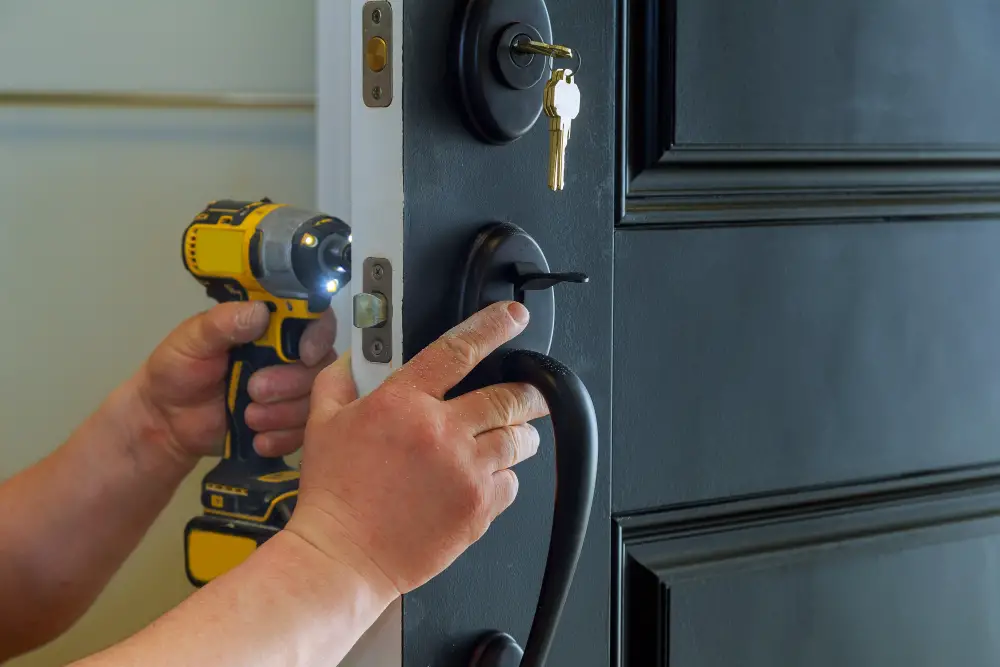
The latch keeps your pocket door securely closed and prevents it from sliding open unexpectedly. To install the latch, follow these simple steps:
- Determine where to place your latch on the edge of your pocket door.
- Use a pencil to mark where you will drill holes for screws.
- Drill pilot holes into each marked spot using a drill slightly smaller than your screws.
- Attach one side of the latch onto those pilot holes with screws provided in its package.
- Close and lock or unlock several times until everything works smoothly.
Install Door Trim
Installing door trim is a simple process that can make your pocket door look more polished and professional. To begin, measure and cut your trim pieces to fit around the opening of your new pocket door.
Next, use a nail gun or hammer and nails to attach each trim piece securely.
Be sure to fill any gaps or holes with wood filler before sanding down any rough edges for a smooth finish. Paint or stain your new trim pieces as desired for an added touch of style.
Making Space for Your Pocket Door
Pocket doors require a certain amount of clearance on either side of the doorway to smoothly slide into and out of their pockets. To ensure you have enough space, measure the width and height of your existing door frame and compare it with the manufacturer’s specifications for your chosen pocket door kit.
If there isn’t enough room in your wall cavity, don’t worry! You can install a pocket door by building one or both sides of the opening with additional framing material. This will create more space for the sliding mechanism while maintaining structural integrity.
Once you’ve determined sufficient clearance within your walls, mark where you want to place each end post using chalk or pencil lines on both sides of the doorway. These marks will serve as guides when cutting away drywall later on in this project.
Assembling the Door and Hardware
First, attach the rollers to your pocket door according to the manufacturer’s instructions. Then, slide them onto the track until they click into place.
Next, install additional hardware with pocket door kits, such as handles or locks. Ensure they are correctly aligned and securely fastened before testing your new sliding mechanism.
It’s important to note that some kits may require additional assembly steps depending on their design and features. Always refer back to manufacturer instructions for guidance throughout this process.
Finishing the Project

First, ensure everything is working correctly by testing the door and latch. Adjust as necessary if there are any issues with how it operates or locks.
Next, patch any holes or gaps in your drywall using joint compound and sandpaper until smooth. You can then paint over these areas to match your existing wall color.
Install trim around the doorway to give it a polished look. This can be done using a nail gun or finishing nails and wood glue for added stability.
Tips
- Always measure twice before cutting any studs or drywall.
- Use a level when installing the header and slider kit to ensure your pocket door operates smoothly.
- If you’re unsure about the type of wall you have, consult with a professional before starting the project.
- Use caution when removing old doors and cutting into walls. Wear protective gear such as gloves, goggles, and dust masks to avoid injury or inhaling harmful particles.
By following these tips, you can ensure that your pocket door installation goes smoothly without any hiccups. Remember that this is an intermediate-level DIY project; if you feel uncomfortable or unsure about what to do next at any point during the process, don’t hesitate to seek help from a professional contractor.
FAQ
Can I convert a regular door to a pocket door?
Yes, you can convert a regular door to a pocket door, but you must remove the existing door and modify the wall structure to create an opening twice as wide as the door itself.
Can I use my existing door as a pocket door?
Yes, you can use your existing door as a pocket door if the measurements are correct for the pocket opening, the door has the right thickness, and has not been pre-drilled for a standard door lockset or hinges.
How much does it cost to convert a door to a pocket door?
The cost to convert a door to a pocket door ranges from $500 to $3,500, with an average cost of $1,000.
Can a pocket door be installed on an existing wall?
Yes, a pocket door can be installed on an existing wall without a big hole or knocking down the wall, as the pocket door system can be installed against the existing wall.
What is the process for changing a regular door into a pocket door?
To change a regular door into a pocket door, remove the existing door and frame, create a recessed space within the wall, install the pocket door hardware, and attach the new door to the track.
What materials and tools are required for converting a door into a pocket door?
Answer: To convert a door into a pocket door, one requires materials and tools such as a pocket door hardware kit, door, shims, nails, screws, a drill, a level, measuring tape, a pencil, a circular saw, a chop saw, and a stud finder.
Are there any specific precautions to take while installing a pocket door in an existing wall?
When installing a pocket door in an existing wall, one should carefully examine and modify the wall structure, avoiding damage to electrical, plumbing, or structural elements.


