Last updated on
Discover the simple steps to installing a pocket door finger pull. This guides you through seamless process for enhancing your door functionality and style.
Are you tired of struggling with a bulky door knob that takes up unnecessary space in your home? Look no further than the pocket door finger pull! This sleek and functional hardware is perfect for those looking to save space and add a modern touch to their home decor.
In this article, we will guide you through the simple steps of installing a pocket door finger pull so that you can enjoy the benefits of this stylish accessory in no time.
Let’s get started!
Key takeaways:
- Pocket door finger pulls are sleek and save space.
- Tools needed: tape measure, chisel, drill, screwdriver.
- Measure placement and create a template for notch.
- Cut the notch carefully and install the finger pull.
- Install the latch plate and troubleshoot common issues.
Table of Contents
Introduction to Pocket Door Finger Pulls
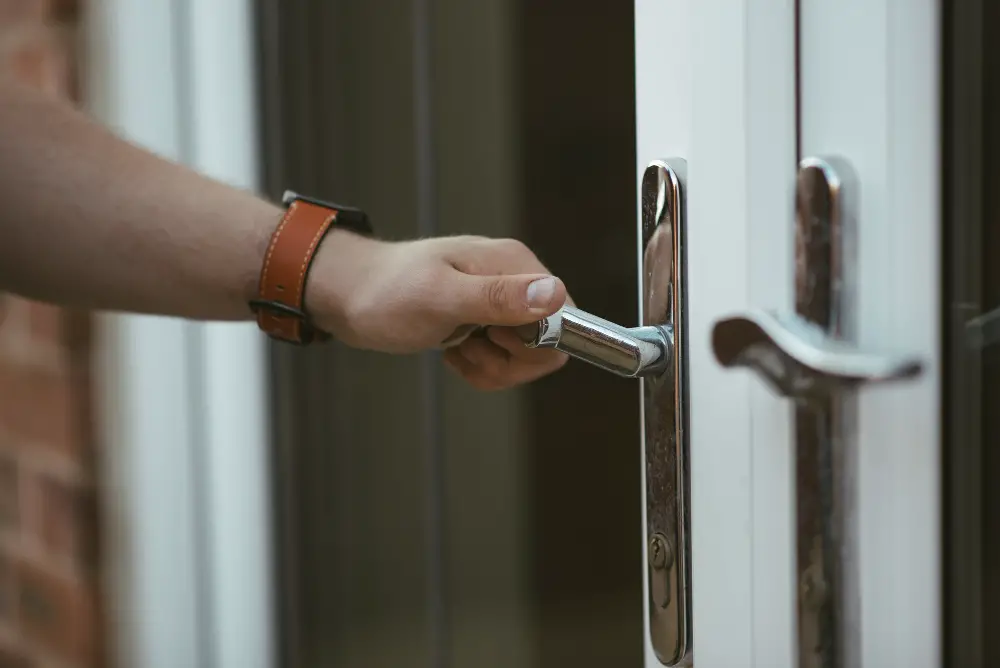
Pocket door finger pulls are a stylish and practical addition to any home. They offer a sleek alternative to traditional door knobs, taking up less space and providing an updated look.
Pocket doors have become increasingly popular in recent years as homeowners seek ways to maximize their living spaces without sacrificing style or functionality.
A pocket door is essentially a sliding door that disappears into the wall when opened, creating more usable floor space in your home. The finger pull is the hardware used for opening and closing the pocket door from inside of the room, where it slides into its cavity.
Tools & Materials
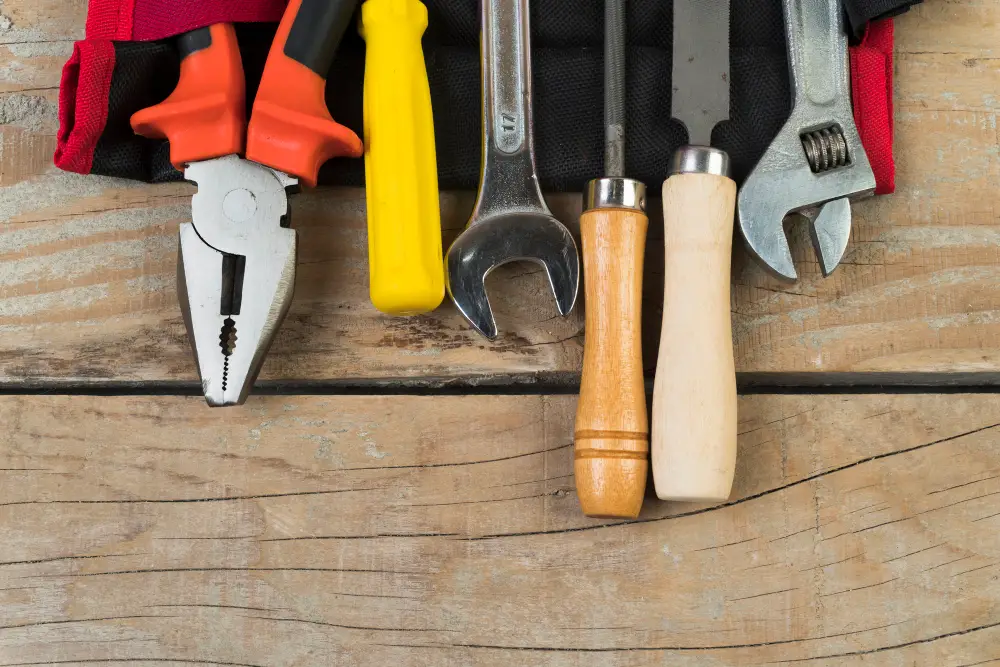
Luckily, installing a pocket door finger pull requires only a few basic items you may already have. Here’s what you’ll need:
Tools:
- Tape measure
- Pencil
- Chisel
- Drill with drill bits
- Screwdriver
Materials: Pocket door finger pull kit (includes edge pull and latch plate) – Wood glue.
Step 1: Measure for Pocket Door Pull Placement
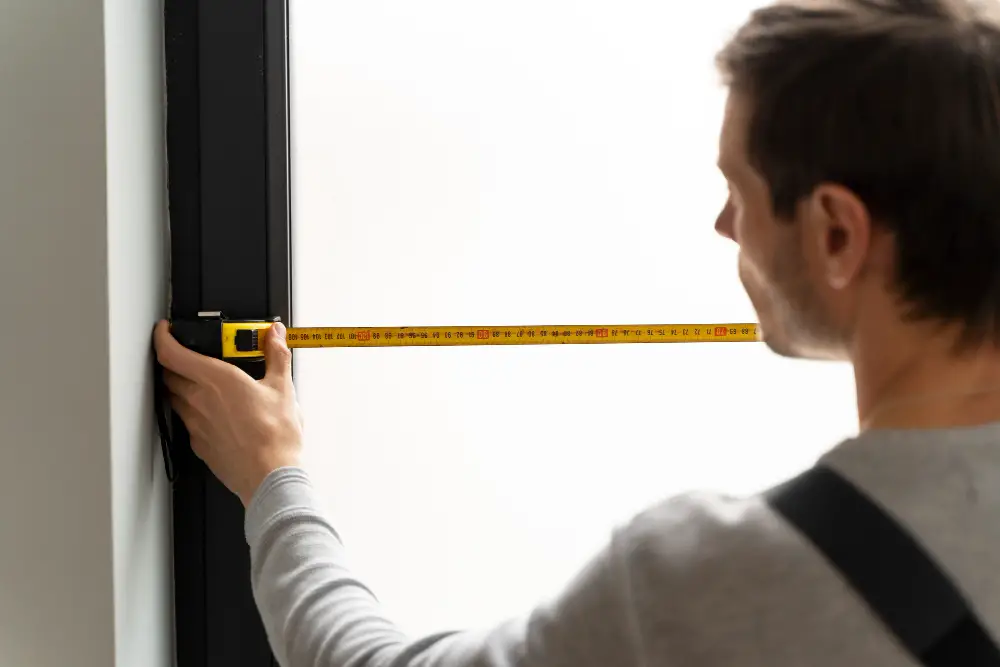
This will ensure that the hardware is both functional and aesthetically pleasing. To get started, locate the center of your door and mark it with a pencil or tape measure.
Next, determine how high up on the door you want your finger pull to be placed – typically, this is around 36 inches from the floor but can vary depending on personal preference and accessibility needs.
Once you have determined where on the door you want to place your finger pull, use a measuring tape or ruler to find its exact location in relation to other features, such as existing knobs or locks. Mark this spot with a pencil so that it’s easy for you (or someone else) later when cutting out notches in Step 3.
Step 2: Make a Template
This step is crucial in ensuring your notch is cut out accurately and precisely. To make a template, take a piece of cardboard or paper and trace the outline of your finger and pull onto it.
Cut out the traced shape with scissors or an X-Acto knife.
Next, place the template on top of where you want to install the finger pull on your door edge and mark around its edges with a pencil or masking tape. This will serve as a guide for cutting out the notch later on.
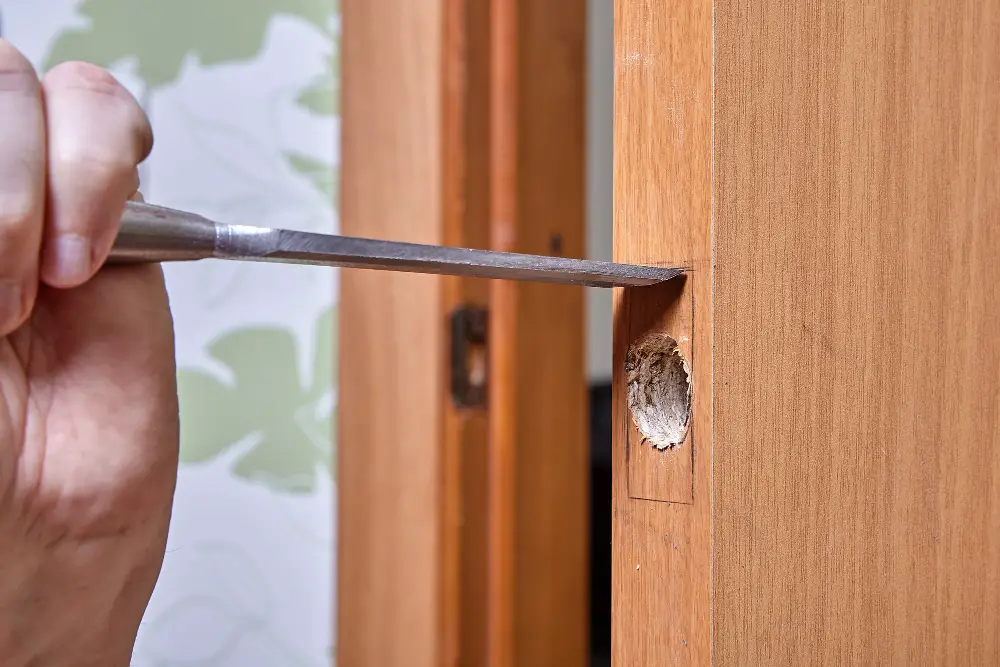
Step 3: Cut Out the Notch
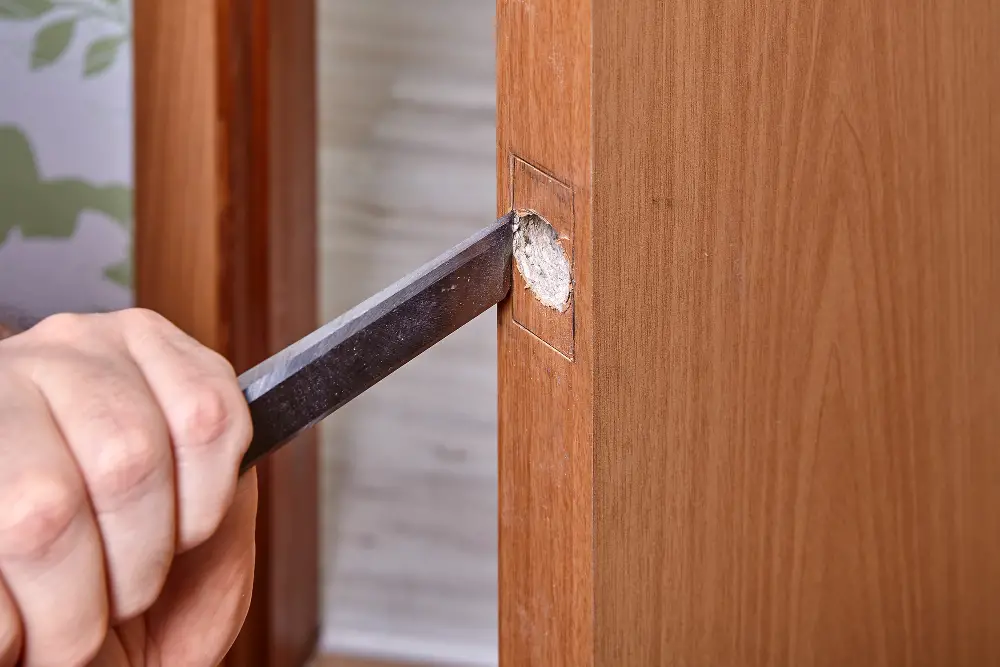
This step is crucial in ensuring your hardware fits perfectly and functions properly. Using a chisel or router, carefully carve out the area marked on your template until you reach the desired depth.
Be sure to take your time during this process, as any mistakes can be difficult to fix later on.
Once you have completed cutting out the notch, test fit your pocket door finger pull into place before installing other components, such as latch plates and screws.
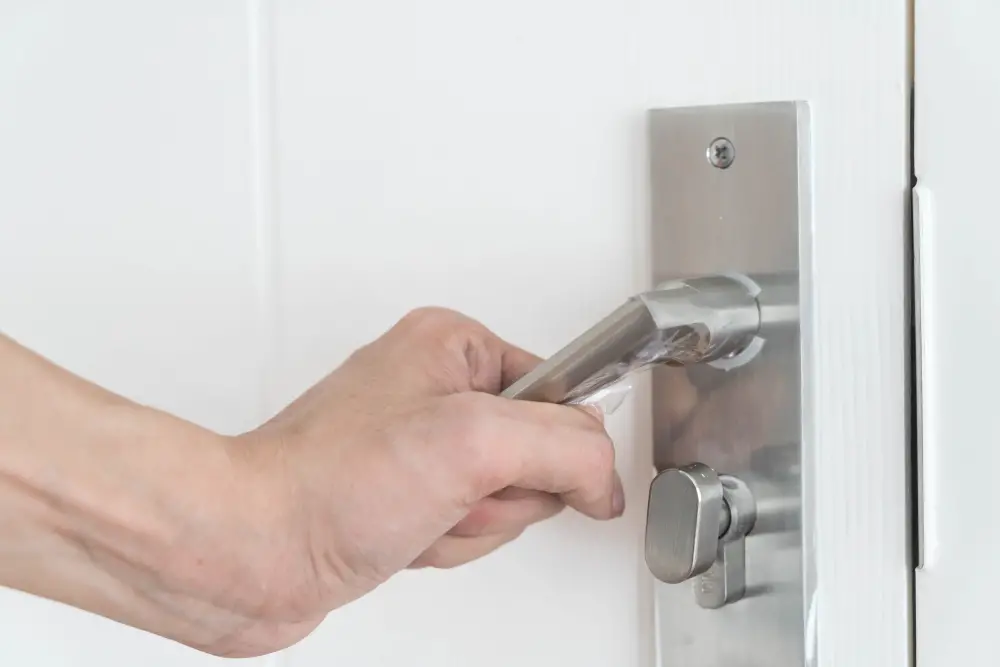
Step 4: Install Pocket Door Edge Pull
This will allow you to slide your pocket door open and closed easily.
To begin, insert the edge pull into the notch you created. Make sure it fits snugly and flush against the surface of your door.
Next, use a drill or screwdriver to attach screws through each hole in your edge pull. Be careful not to over-tighten them, which can cause damage or misalignment.
Once all screws are securely fastened, test out your new pocket door finger pull by sliding it open and closing a few times. If everything feels smooth and secure, then congratulations! You’ve successfully installed a functional yet stylish hardware accessory in no time!
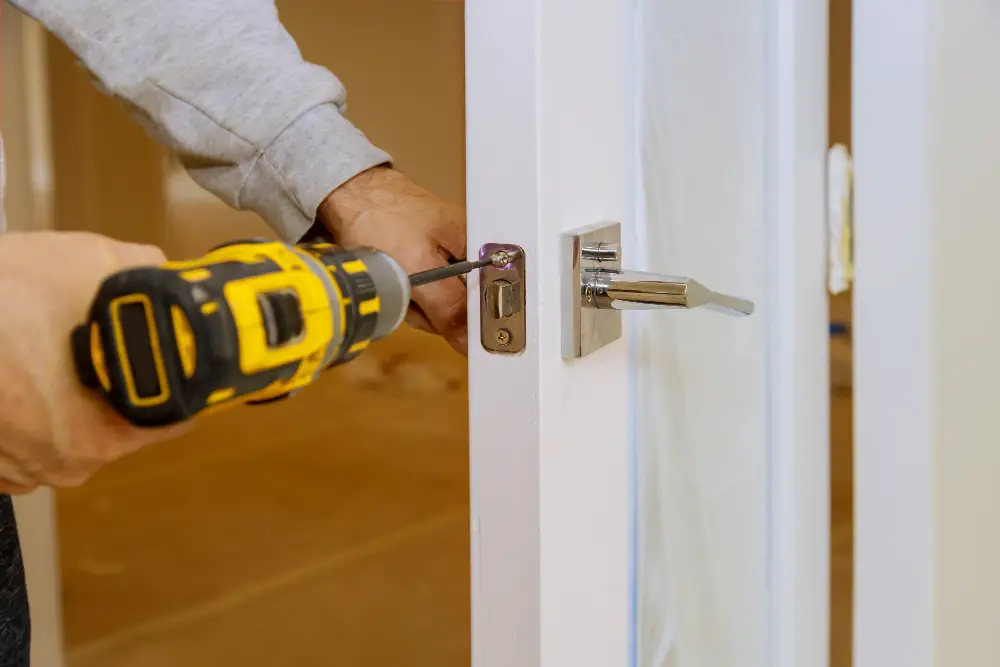
Step 5: Install the Latch Plate

The latch plate keeps your pocket door securely closed and prevents it from sliding open unexpectedly. To install the latch plate, start positioning it on the edge of your door where you made your notch earlier.
Next, use a pencil or marker to mark where you need to drill holes for screws. Make sure that these marks are level with each other and centered over the notch for everything to line up correctly.
Using a power drill or screwdriver, attach screws through both holes of the latch plate into their corresponding pilot holes in your door’s edge. Be careful not to overtighten, as this can cause damage or misalignment.
Choosing the Right Pocket Door Finger Pull
First and foremost, you’ll want to ensure that the pull is compatible with your door’s thickness and material. You’ll want to choose a style that complements your existing decor or adds a unique touch of personality.
Many different styles of pocket door finger pulls are available on the market today. Some popular options include sleek modern designs in brushed nickel or chrome finishes, while others feature ornate details in antique brass or bronze.
Ultimately, the choice will come down to personal preference and practicality. Consider factors such as ease of use for all household members (including children), durability over time with frequent use, and how well it fits into your overall design scheme.
Tips for a Successful Installation
Here are some tips to ensure your installation is successful:
- Use the Right Tools: Ensure you have all the necessary tools before installing. This includes a drill, jigsaw or router (depending on your preferred tool), measuring tape, pencil, or marker.
- Take Accurate Measurements: Measure twice to ensure accuracy when marking where to cut out for your pocket door finger pull.
- Create A Template: Creating a template will help guide you in cutting out an accurate notch for your finger pull.
- Cut Slowly & Carefully: When using power tools such as jigsaws or routers, ensure that they are set at low speeds so that they don’t damage any surrounding areas of the door frame while cutting through it.
- Test Your Installation Before Finishing Up: Test if everything works correctly by opening and closing doors several times before finishing up with paint, etc. This way, any issues can be addressed immediately without redoing work later on!
Troubleshooting Common Issues
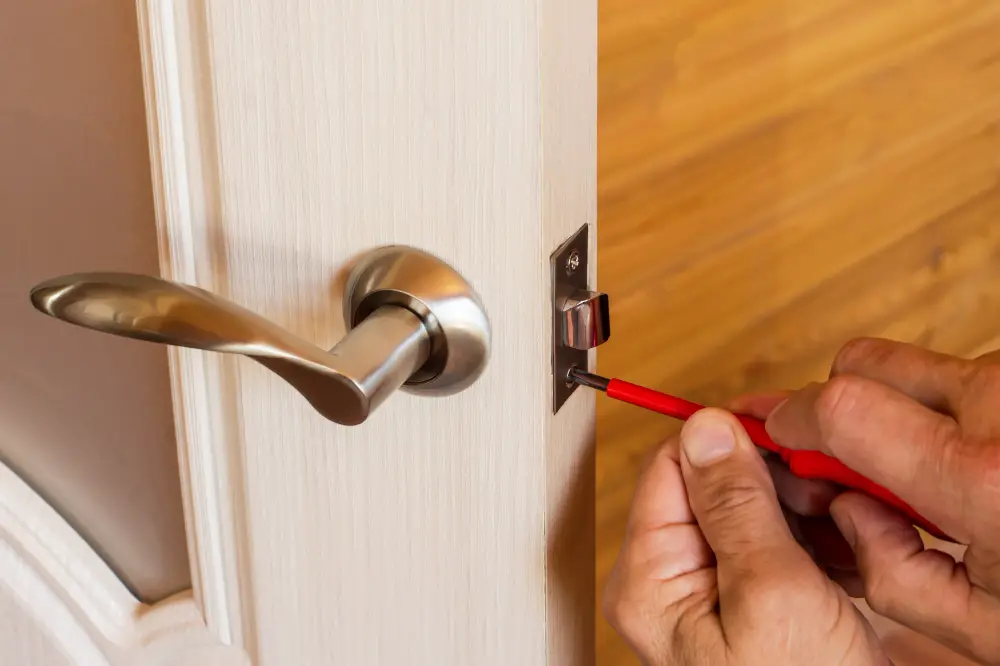
One of the most common problems is difficulty opening or closing the door due to a misaligned latch plate. To fix this issue, adjust the position of the latch plate until it aligns with the notch on your pocket door edge pull.
Another issue you may face is a loose or wobbly finger pull. This can occur if screws are not tightened properly during installation.
To remedy this problem, remove and re-install your finger pull using longer screws for added stability.
Lastly, if you notice that your pocket door does not fully retract into its frame when closed, it could be due to an obstruction in its path, such as debris or dust buildup within its track system. Clean out any obstructions and lubricate all moving parts for smooth operation.
Pocket Door Finger Pull Maintenance

Maintenance for a pocket door finger pull is relatively simple and can be done with just a few basic tools.
- Firstly, regularly clean the surface of the finger pull with a soft cloth or sponge dampened in warm water. Avoid using abrasive cleaners or harsh chemicals that may damage the finish of your hardware.
- Secondly, check periodically for any loose screws on your pocket door handle. If you find any loose screws, tighten them immediately, as they can cause further damage if left unattended.
- Lastly, lubricate moving parts such as hinges and locks every six months using silicone spray lubricant or graphite powder to keep them functioning smoothly without causing friction between metal surfaces.
FAQ
How does a pocket door edge pull work?
A pocket door edge pull provides a retractable finger grip that is mortised into the door edge, allowing for easy pulling of the door out of its pocket while maintaining a clean appearance when not in use.
How high should a pocket door pull be?
A pocket door pull should typically be 36 inches off the floor.
What are the different types of pocket door finger pulls available?
“There are various types of pocket door finger pulls available, such as flush, recessed, and edge pulls.”
What tools are required for installing a pocket door finger pull?
A drill, spade bit, and a screwdriver are required for installing a pocket door finger pull.
Can a pocket door finger pull be replaced or upgraded easily?
Yes, a pocket door finger pull can be easily replaced or upgraded by following simple instructions and using appropriate tools.


