Last updated on
Discover the simple steps to perfectly frame a door casing, enhancing your home’s aesthetic appeal while ensuring durability and functionality.
Today, I’m going to share with you some tips and tricks on how to frame a door casing. Whether you’re renovating your home or just looking for a simple DIY project, framing a door casing can add an elegant touch to any room.
It’s not as complicated as it may seem, and with the right tools and techniques, you can have it done in no time. So grab your hammer and nails, let’s get started!
Key takeaways:
- Consider wood or MDF for door casing material.
- Measure the doorway accurately and add extra for trimming.
- Use a miter saw for angled corners in the door frame.
- Miter the corners of the casing pieces for seamless joints.
- Align and level the casings before attaching them to the wall.
Table of Contents
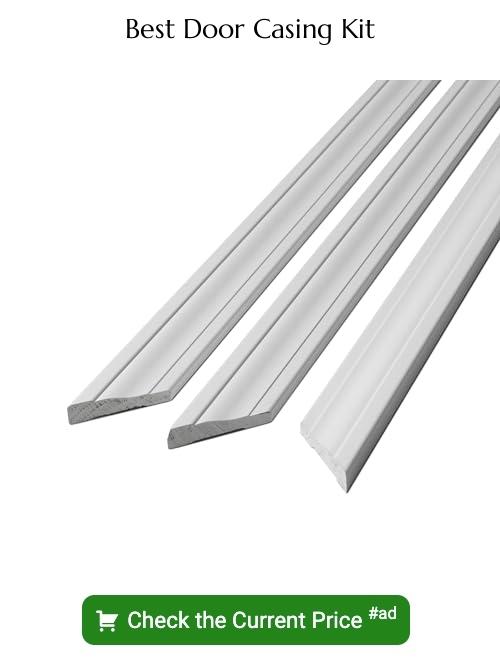
Door Casing Materials
When it comes to framing a door casing, the first thing you need to consider is the material. The most common materials used for door casings are wood and MDF (medium-density fiberboard).
Wood is a classic choice that adds warmth and character to any room, while MDF offers durability at an affordable price point.
If you’re looking for something more decorative or unique, there are also options like PVC or polyurethane moldings that can mimic the look of wood without requiring as much maintenance. Ultimately, your choice of material will depend on your budget and personal style preferences.
Once you’ve chosen your material, it’s time to measure out the doorway so that you can cut your casing pieces accordingly.
Measuring the Doorway
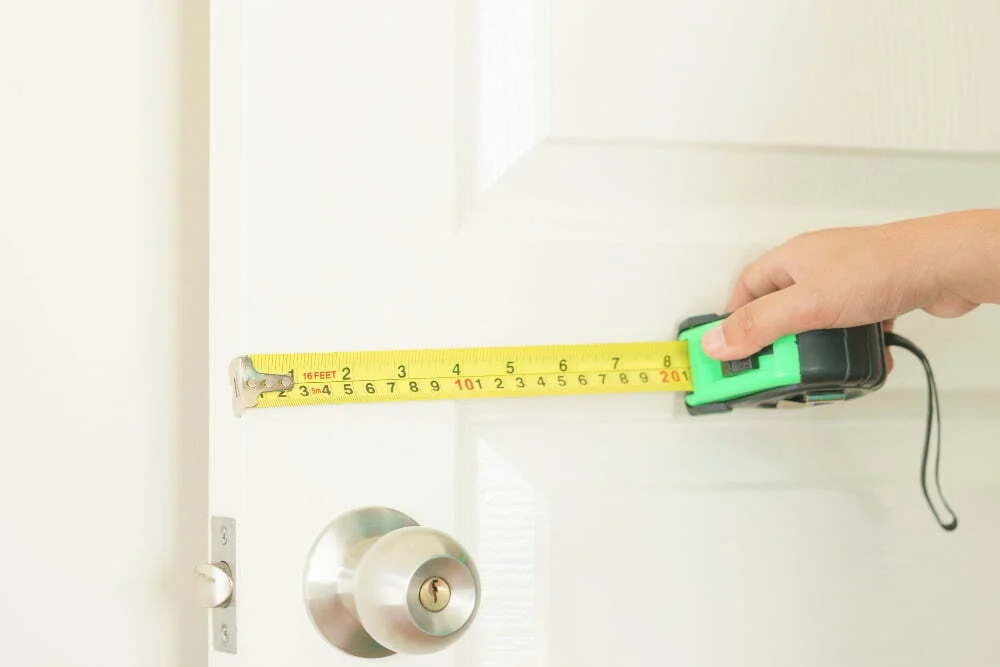
This will ensure that your casings fit perfectly and look professional. To do this, take a measuring tape and measure the height of the doorway from top to bottom on both sides.
Then, measure the width of the doorway at three different points: top, middle and bottom.
Once you have these measurements written down, add an extra inch or two to each measurement for trimming purposes. It’s always better to have more material than less when it comes time for cutting.
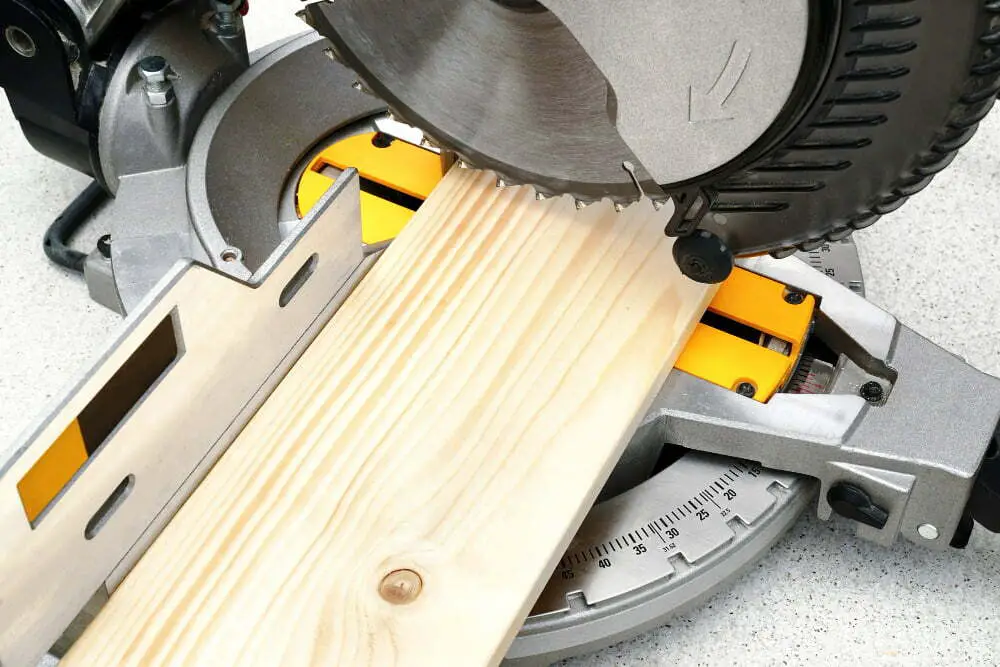
Cutting the Casing Pieces
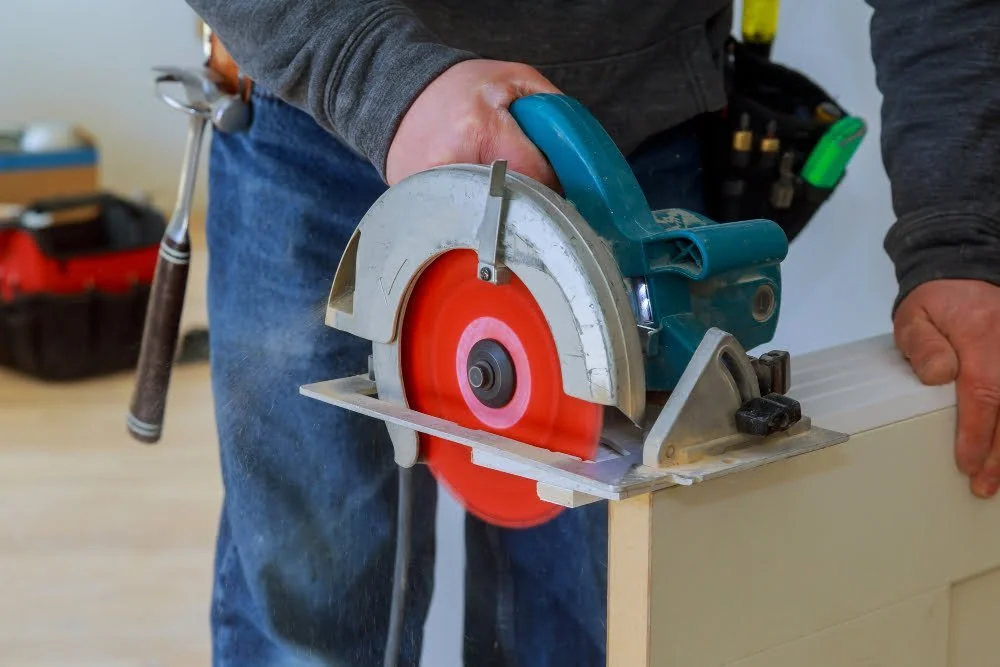
You can use a miter saw or hand saw for this step, depending on your preference and experience level. Make sure to measure twice before cutting once to avoid any mistakes.
When cutting the casing pieces, be sure to account for any angles or corners in the door frame. For example, if you have a rectangular doorway with no angles or curves, then simply cut four straight pieces of equal length for each side of the frame.
However, if there are angled corners in your doorframe (such as those found in older homes), then you will need to make precise cuts at 45-degree angles using a miter saw. This ensures that each piece fits together seamlessly when installed around the doorframe.
Mitering Corners
Mitering is a technique used to join two pieces of wood at an angle, creating a seamless corner joint. To do this, use a miter saw or hand saw to cut each end of the casing piece at 45-degree angles in opposite directions.
Make sure that your cuts are precise and accurate for perfect alignment when joining them together. Once all four corners are mitered, dry-fit them together around the doorway before attaching them permanently.
Aligning and Leveling
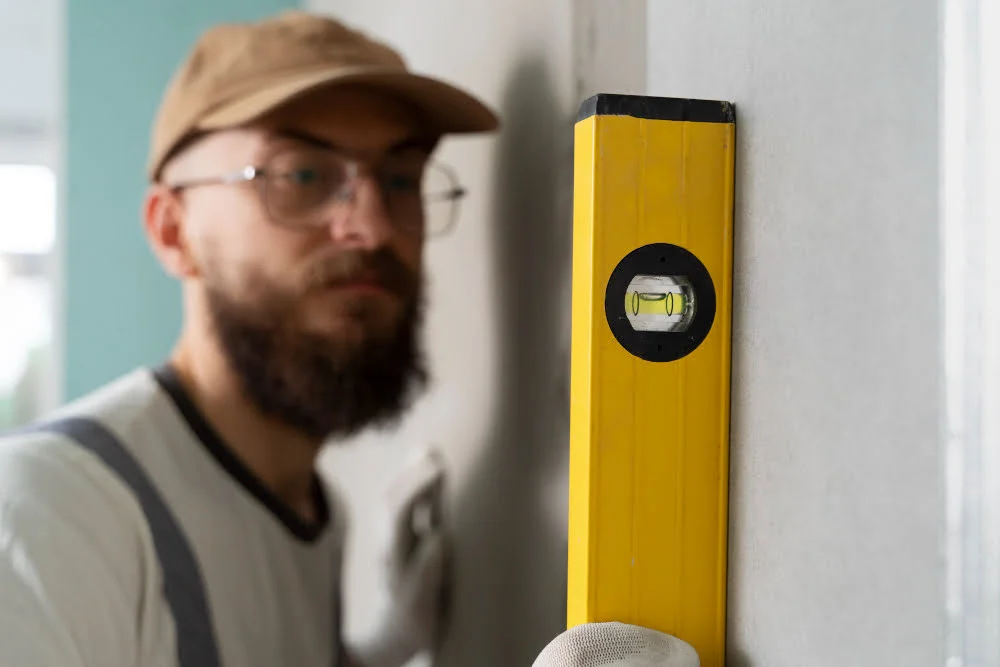
This step is crucial in ensuring that the door functions properly and looks aesthetically pleasing. Start by placing the top piece of casing on the doorway, making sure it fits snugly against both sides of the frame.
Use a level to ensure that it is straight horizontally.
Next, attach one side piece of casing using finishing nails or a nail gun while keeping an eye on its alignment with respect to other pieces already attached. Repeat this process for all remaining sides until all four are securely attached.
Once everything has been nailed into place, use wood filler or putty to fill any gaps between joints before sanding down any rough edges for a smooth finish.
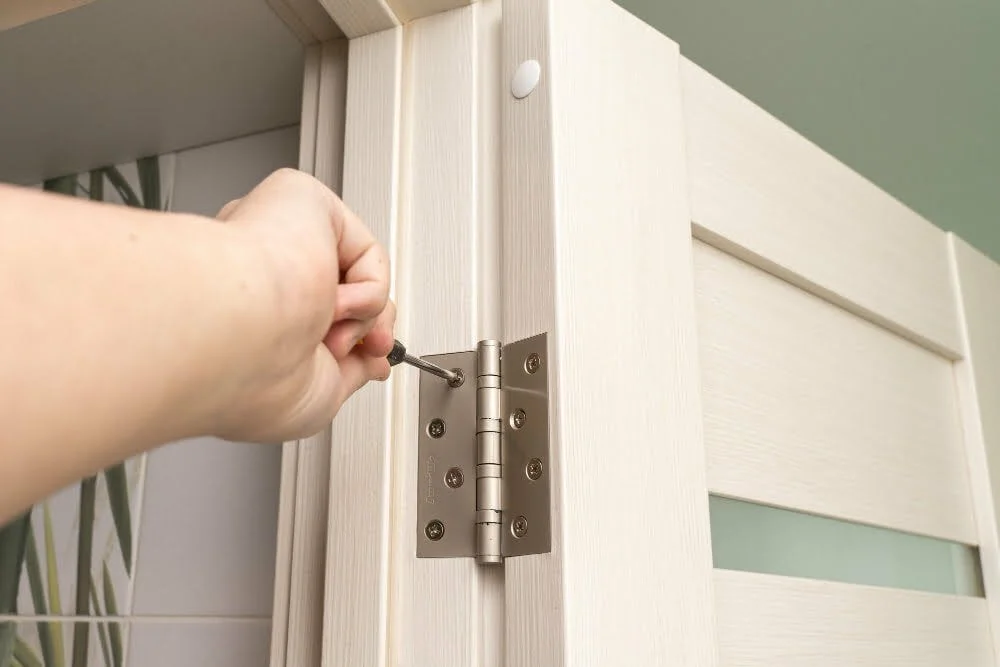
Attaching Casings to Wall
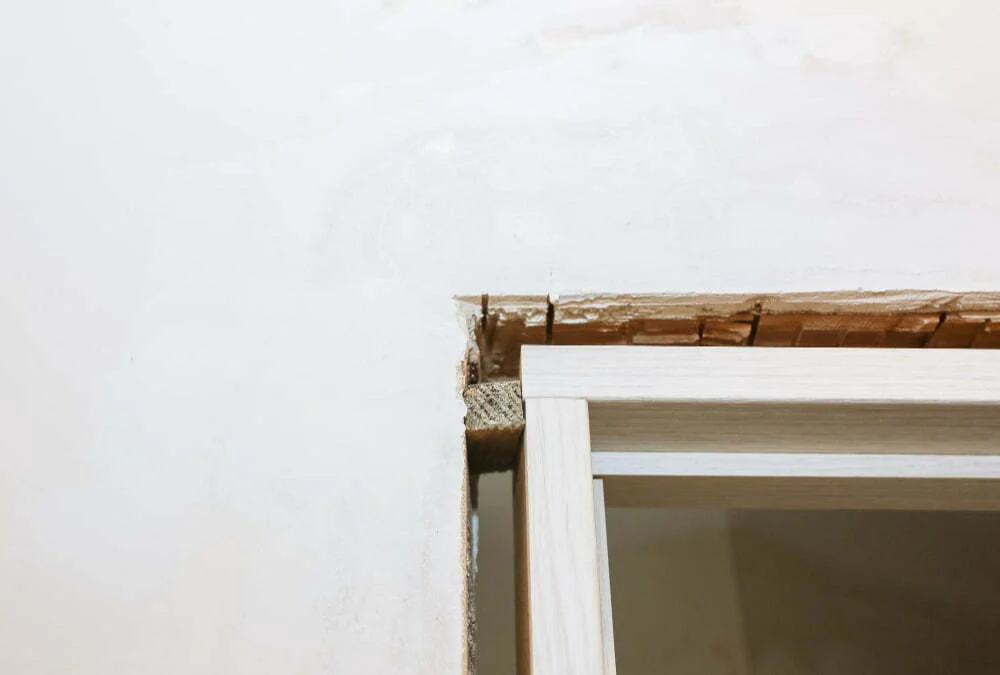
Start by applying a bead of construction adhesive along the back of each piece. Then, use finishing nails or a nail gun to secure the casing in place.
It’s important to make sure that your casings are level and flush with both sides of the doorway before nailing them down. Use shims if necessary for any gaps between the wall and casing.
When attaching corner pieces, be sure they fit snugly together at a 45-degree angle before securing them in place with nails or glue.
Once all casings are attached securely, fill any nail holes with wood filler and sand smooth once dry. Paint or stain as desired for a finished look that will enhance your home’s aesthetic appeal while ensuring durability and functionality!


