Last updated on
Installing a pocket door handle is an easy DIY project you can perfect because this comprehensive guide provides detailed, step-by-step instructions, making the process effortless.
Installing a pocket door handle can be a simple DIY task if you have the right tools and instructions. This article will guide you through the step-by-step process, from selecting the perfect handle that matches your door to the final installation.
Whether you’re a DIY novice or a seasoned expert, these instructions will make the process straightforward and manageable.
Stay tuned for detailed insights, tips, and tricks to ensure your pocket door handle installation is smooth and successful.
Key takeaways:
- Use accurate measurements for handle placement
- Create a template for precise carving
- Cut out the notch with a jigsaw or reciprocating saw
- Secure the latch plate and edge pull with screws
- Regularly clean and maintain the handle for longevity
Table of Contents
Tools & Materials for Pocket Door Handle Installation
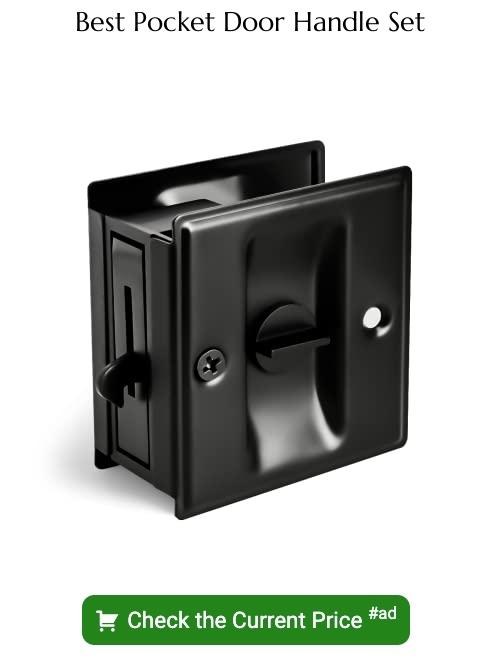
To set everything up seamlessly, you need the right tools and materials. First, consider the pocket door handle. Opt for one that matches your home’s aesthetic or your personal taste; there are many designs available, from vintage to modern brushed metal.
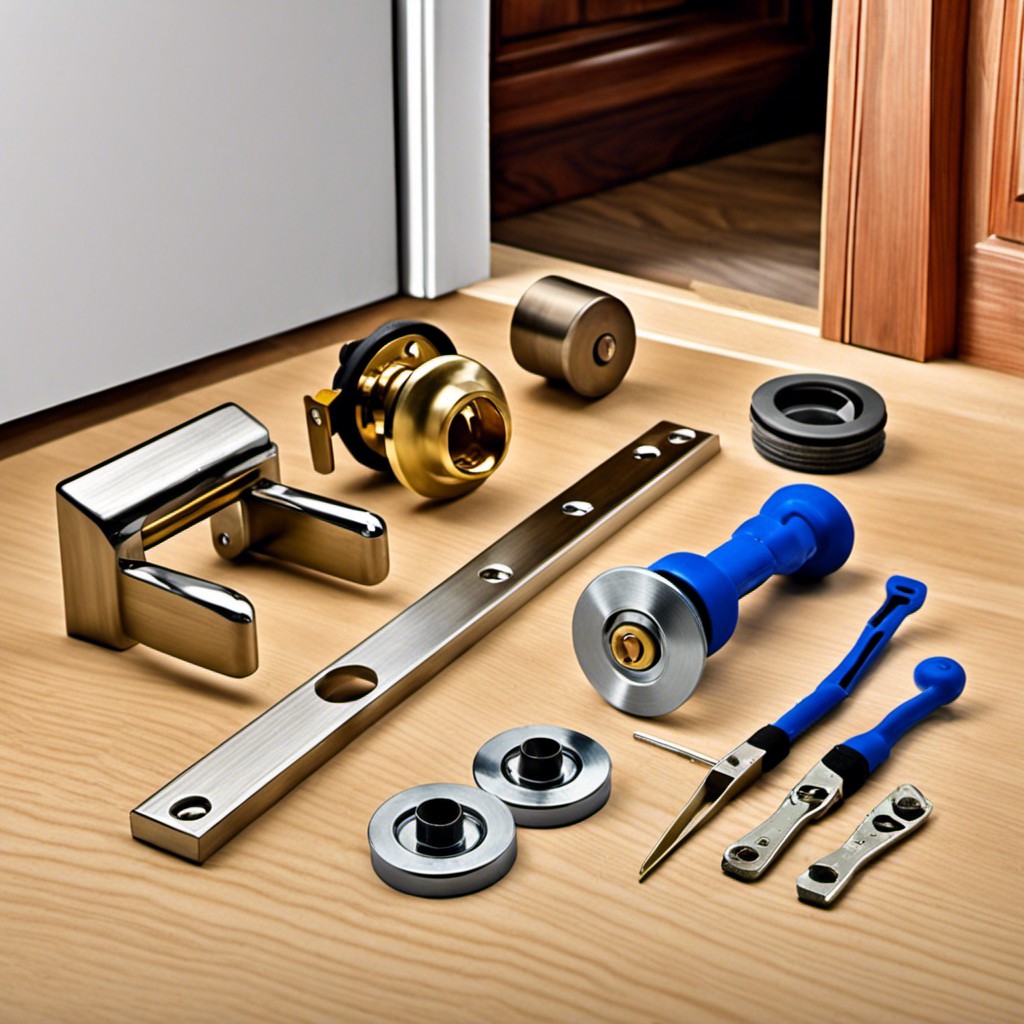
Next, gather a drill and bits, a screwdriver, a chisel, and a tape measure. Also, you will need a level to ensure a straight placement and potentially some wood filler. If your chosen handle comes without screws, ensure you purchase ones that match the handle colour and are long enough to properly secure it.
Arm yourself with spray-on lubricant if your pocket door is a bit squeaky; this will keep it moving smoothly even after the new handle is installed. Lastly, picking up a work light isn’t a bad idea; it will help you see your measurements and work area more clearly.
Measure for Pocket Door Handle Placement
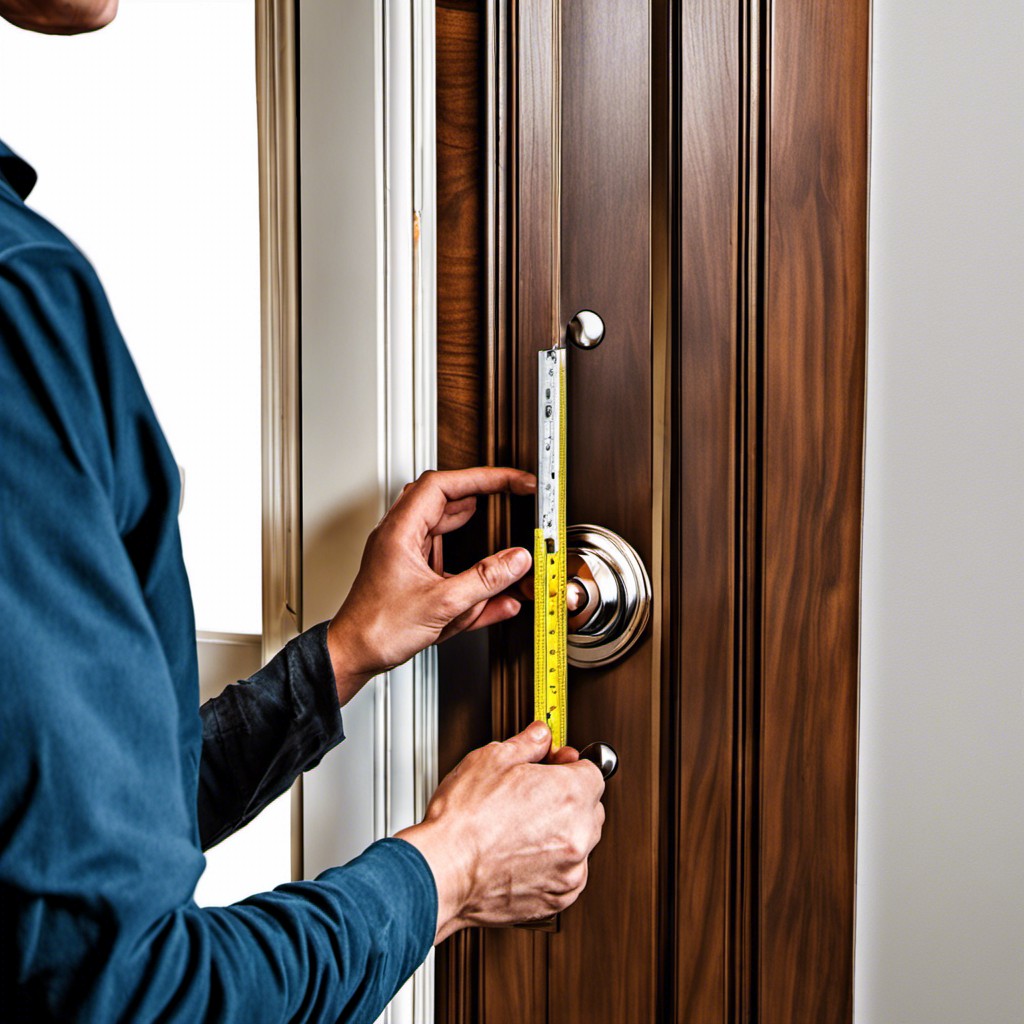
Typically, the ideal height for door handles is 36 inches from the floor – comfortable for most adults while still accessible for children. However, aligning your pocket door handle with the handles on other doors can often provide a more balanced aesthetic.
To mark the handle height, first measure from the bottom of the door to your chosen handle height. Draw a horizontal line at this point using a level to ensure accuracy.
Measurements also need to factor in the door’s thickness, as improper handling can impact the door’s functionality and appearance. Correct positioning will situate the handle plate’s center along the door edge, ensuring smooth operation. A vertical line intersecting the horizontal at a right angle should be drawn, marking where the door handle will sit on the door’s thickness.
Note this is simply a guideline; the final decision on handle’s placement should accord with user comfort and existing interior design elements.
Create a Template for Pocket Door Handle
First, gather a ruler, pencil, and paper to begin crafting your template.
1. Use the ruler to measure the length and width of the pocket door handle. Write down these measurements.
2. With the measurements at hand, draw an outline of the handle on your paper to mimic its size and shape accurately.
3. Identify the positions of screw holes by placing the handle hardware over the paper illustration and marking the hole locations.
4. You’ve now created an accurate representation of your handle, useful to guide you while carving out the handle’s designated space on the door and ensuring a perfect fit.
Remember, precision at this stage will guarantee a smooth installation process.
Cut Out the Notch for Pocket Door Handle
Begin with marking the dimensions of the latch plate using your template. For the best results, a jigsaw or a reciprocating saw is recommended. Care must be taken to cut only as deep as necessary to prevent damaging the other side of the pocket door. Cutting a smaller notch initially, and then gradually increasing the size to fit the latch plate is a methodical approach.
During this process, remember to keep the saw blade straight to ensure a neat and uniform cut. Always practice safety measures while handling power tools. Firmly securing the door during the cutting process prevents unnecessary movement, ensuring precision and reducing the risk of accidents.
Once finished, the latch plate should fit perfectly into the notch. Slight adjustments can be made using a file. This part of the installation requires patience and precision to ensure a professional finish.
Install the Latch Plate for Pocket Door
Once the notches are cut out, ensure that the latch plate will sit flush against the door edge. Align the plate with the notch and trace its outline on the door. Using a chisel, carefully carve out a shallow recess for the latch plate to sit in. Make sure the depth is just right; the plate should blend seamlessly with the door when slotted in.
Once satisfied with the fit, secure the plate by screwing it into the door edge. Pilot holes may be required to prevent the wood from splitting. Always remember to employ patience and precision, as rushing through this step might lead to unsightly results or damage to the door.
Install Pocket Door Edge Pull
With your door edge pull in hand, it’s time to make your pocket door not only functional but also easily accessible.
First, identify the appropriate height position – usually, this is at a similar height to adjacent door handles.
Insert the edge pull into the door opening created earlier and secure it with screws provided by the manufacturer.
Use a screwdriver and ensure it is fastened tightly but do not over-tighten to avoid damaging the hardware or door.
Don’t forget to check the handle’s operation. It should slide out with little resistance, allowing the door to be easily pulled open or pushed close.
If any adjustments need to be made, do so swiftly to avoid potential long-term damage.
Always refer to the manufacturer’s instructions for specific installation details and troubleshooting tips.
With proper installation, your pocket door edge pull should offer ease in door operation and add to the overall aesthetic of the room.
Maintenance of Pocket Door Handle After Installation
Regular maintenance keeps your pocket door handle in top-notch condition, ensuring its longevity and smooth function. Here are some essential pointers to help you:
1. Regular Cleaning: Use a soft, lint-free cloth for routine cleaning to avoid scratch marks. If needed, mild soap and water can take care of stubborn dirt, followed by a complete wipe-down to prevent moisture build-up. Avoid abrasive cleaners or tools, as they can cause damage.
2. Inspection: Occasionally inspect the door hardware for any wear and tear. Feel for any looseness or strange noises when in use. Spotting problems early can prevent larger issues down the line.
3. Lubrication: If the door handle becomes stiff or difficult to use, a shot of lubrication typically does the trick. Suitable lubricants include graphite or silicone. Remember, always use sparingly to avoid attracting dirt and dust.
4. Replacements: If a part becomes worn out or broken, replace it promptly. Look for parts that are specifically designed for your pocket door hardware manufacturer to ensure compatibility.
By adhering to these maintenance tips, your door handle will be able to perform its best and stand up to everyday wear and tear.
FAQ
Does a pocket door need a handle?
Yes, a pocket door requires a special handle that is flush to the door to enable it to slide fully into its compartment.
What tools are necessary for installing a pocket door handle?
To install a pocket door handle, the necessary tools include a drill, a screwdriver, a chisel, a hammer, a tape measure, and the door hardware kit containing the handle.
Can a regular door handle be modified for use on a pocket door?
Yes, a regular door handle can be modified for use on a pocket door, but it may require specific adjustments to ensure smooth operation and prevent the handle from hindering the door’s movement within the pocket.
How can you ensure a secure fit when attaching a pocket door handle?
To ensure a secure fit when attaching a pocket door handle, use accurate measurements for the installation, use high-quality hardware, and follow the manufacturer’s instructions closely.


