Last updated on
Discover the simple steps to create a comfortable and stylish outdoor couch that will transform your backyard into an inviting relaxation space.
Summer is here, and it’s time to enjoy the great outdoors! If you’re looking for a new project to spruce up your backyard, why not try building an outdoor couch? Not only will it provide a comfortable place to relax and soak up the sun, but it can also add some style and personality to your outdoor space. In this article, we’ll guide you through the steps of making an outdoor couch that’s both functional and beautiful.
So grab some tools and let’s get started on creating your perfect summer retreat!
Table of Contents
Choosing the Right Materials
When it comes to building an outdoor couch, choosing the right materials is crucial. You want something that’s durable enough to withstand the elements but also comfortable and stylish.
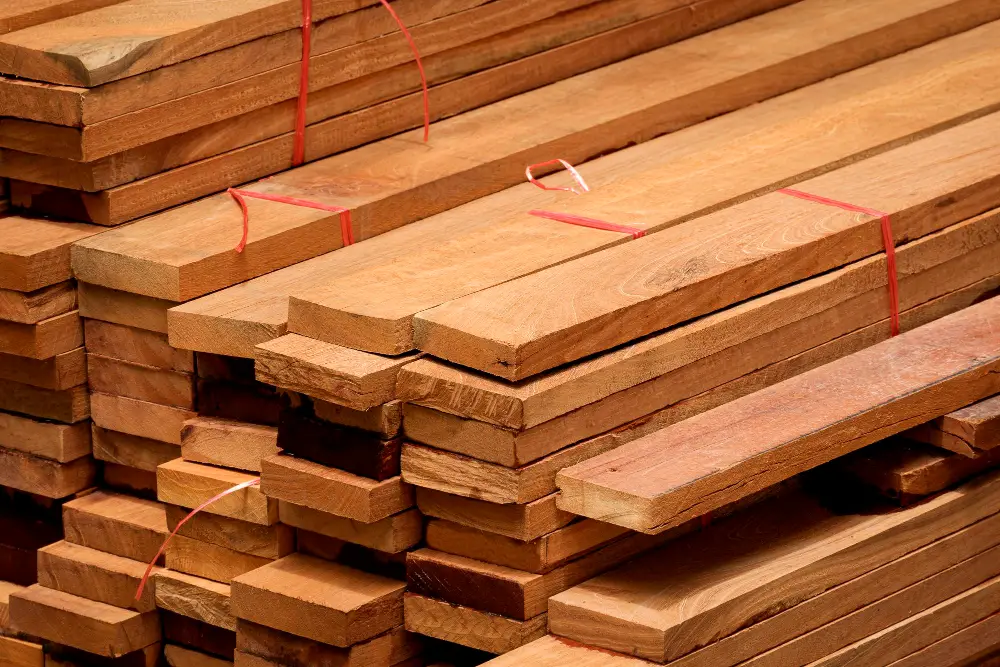
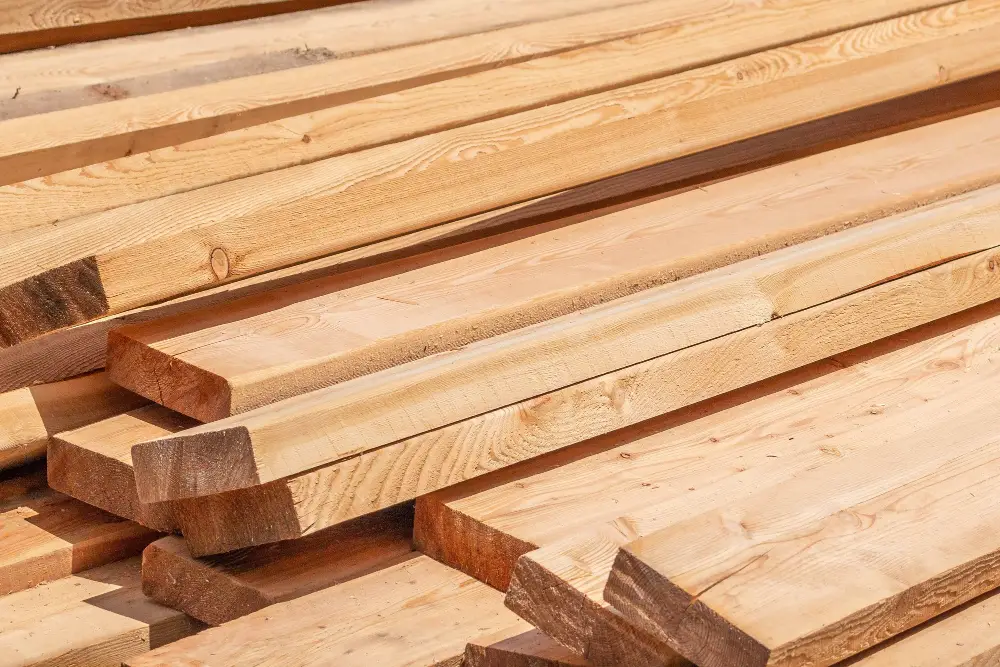
The first step in selecting your materials is deciding on what type of wood you’ll use for the frame. Cedar and redwood are popular choices because they’re naturally resistant to decay and insects, making them ideal for outdoor furniture.
Another option is pressure-treated lumber, which has been chemically treated to resist rotting and insect damage. However, keep in mind that this type of wood can be more challenging to work with due to its density.
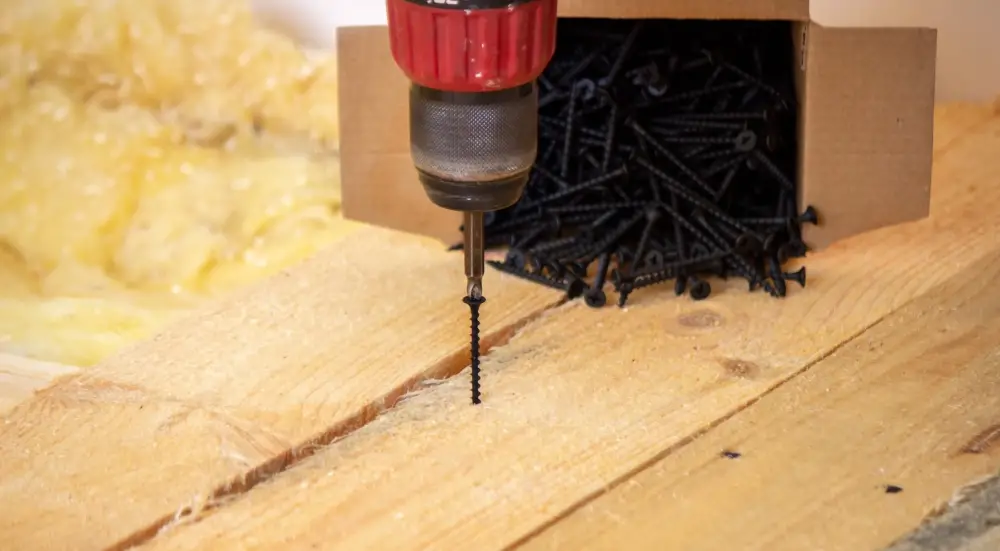
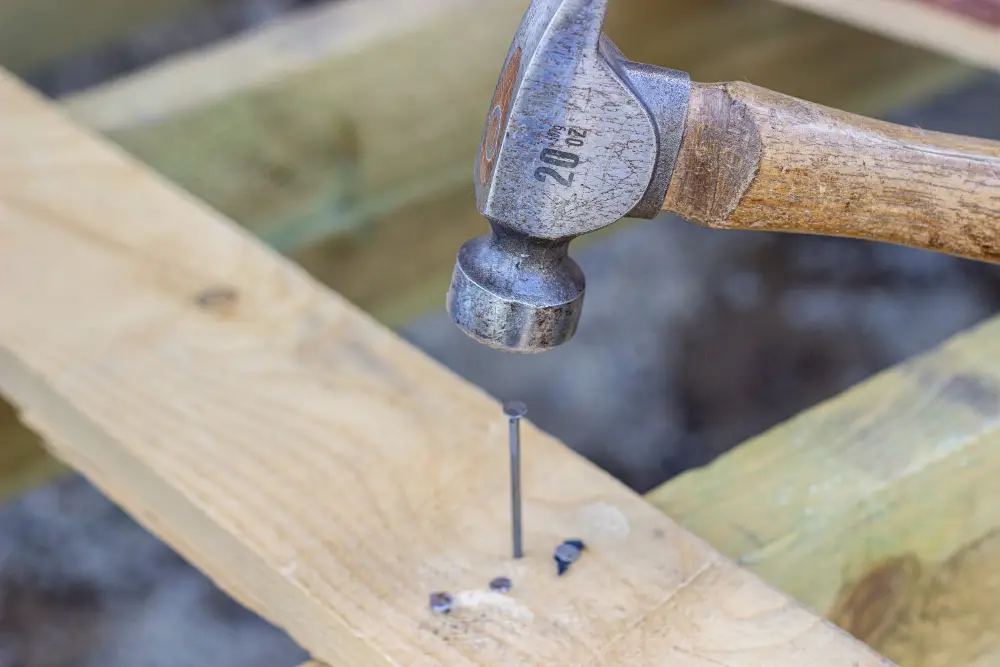
Once you’ve chosen your wood species, consider using stainless steel or galvanized screws instead of nails since they won’t rust over time like traditional nails would.
For cushions and fabrics, look for options specifically designed for outdoor use as these will be water-resistant or waterproof while still being comfortable enough for lounging around on a lazy summer day.
Material Selection
You want your couch to be durable enough to withstand the elements while also being comfortable and stylish. The first step in material selection is choosing a type of wood that can handle exposure to moisture and sunlight without warping or rotting over time.
Cedar, redwood, teak, and cypress are all excellent choices for outdoor furniture due to their natural resistance against decay.
In addition to wood selection, you’ll also need screws or bolts made from stainless steel or other corrosion-resistant metals that won’t rust over time. For added protection against weathering elements such as rainwater and UV rays from the sun’s rays consider using waterproof sealant on your finished product.
Tools Needed
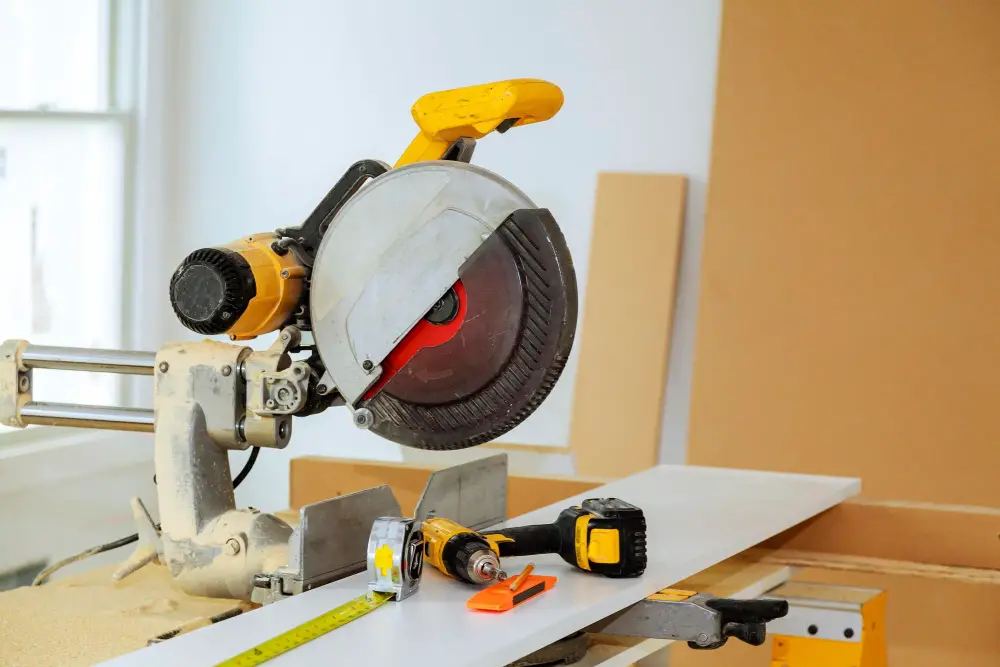
Here’s what you’ll need to get started:
1. Circular saw: This will be used for cutting the wood pieces to size.
2. Drill and drill bits: You’ll use these for drilling pilot holes and driving screws.
3. Measuring tape: Accurate measurements are crucial when building furniture, so make sure you have a measuring tape on hand.
4. Speed square or carpenter’s square: These tools help ensure that your cuts are straight and accurate.
5. Clamps: Clamps can hold pieces of wood together while you’re assembling the frame or attaching boards, making it easier to work with them without worrying about them shifting around too much.
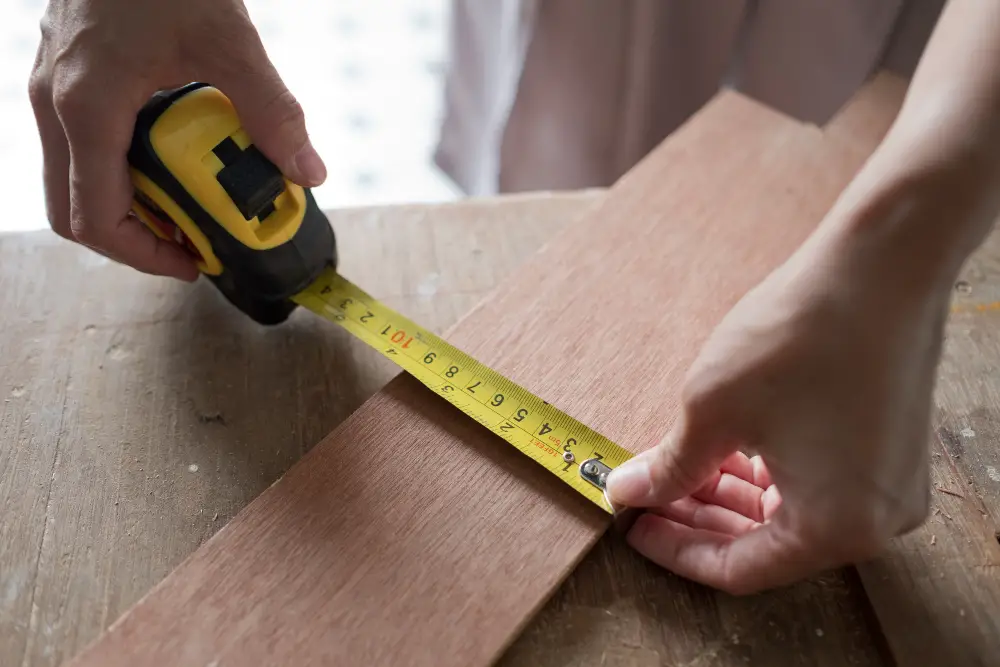
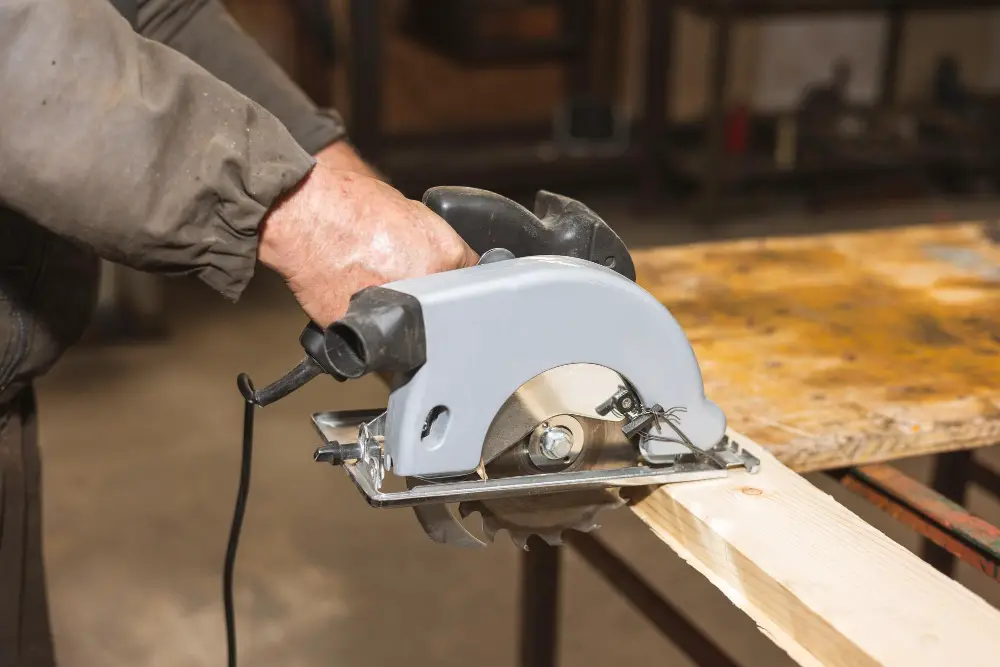
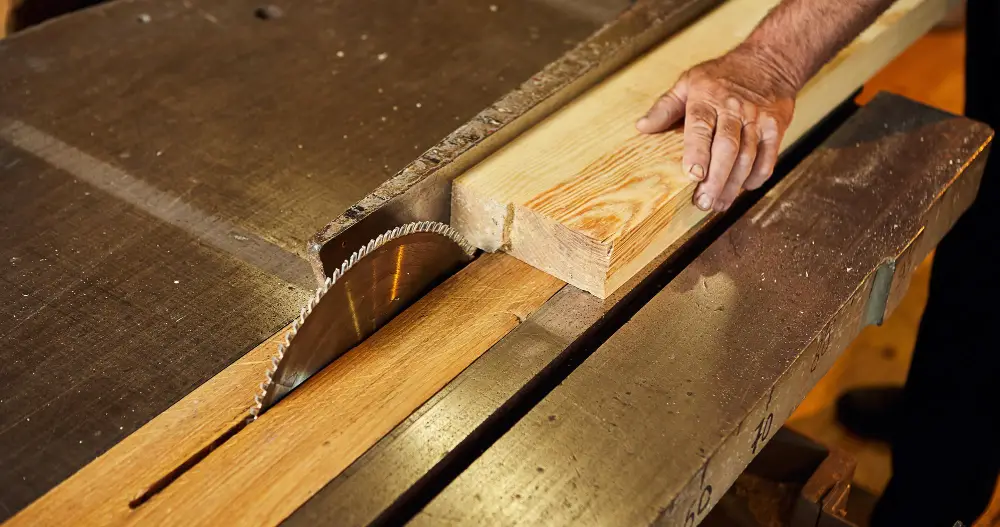
Measuring and Cutting Wood
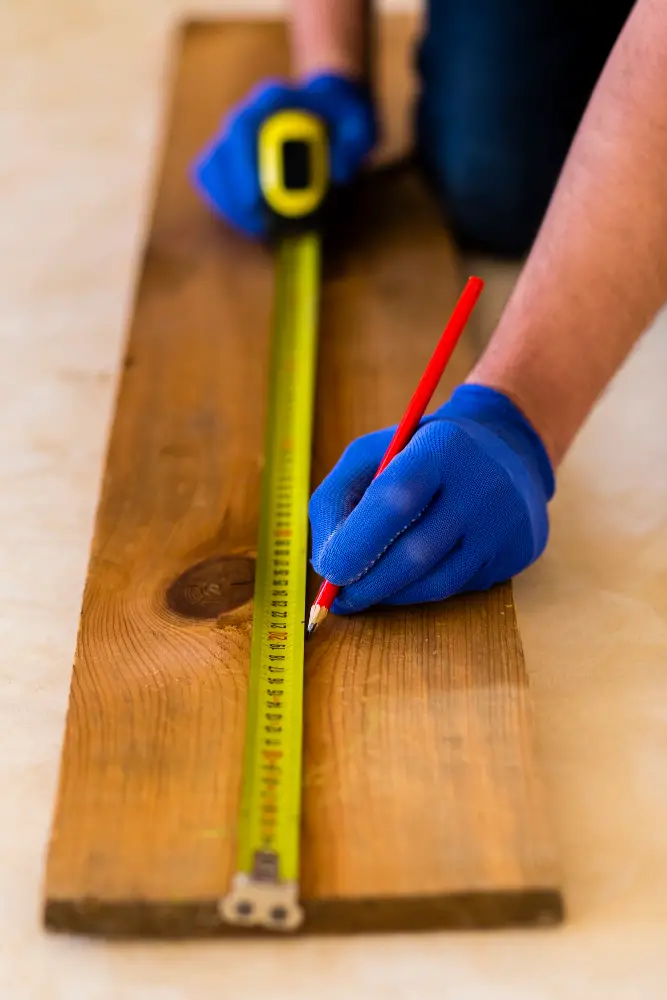
This step is crucial as it will determine the overall look and feel of your finished product. Before you begin, make sure that all of your tools are in good working order and that you have a clear workspace.
Start by measuring out each piece of wood according to the cut list provided or based on your own design specifications. Use a tape measure to ensure accuracy, marking each piece with a pencil before making any cuts.
When cutting the wood, be sure to use proper safety precautions such as wearing protective eyewear and gloves. A circular saw or miter saw can be used for straight cuts while a jigsaw may come in handy for more intricate shapes.
Remember that precision is key when measuring and cutting wood pieces so take extra care during this stage of construction.
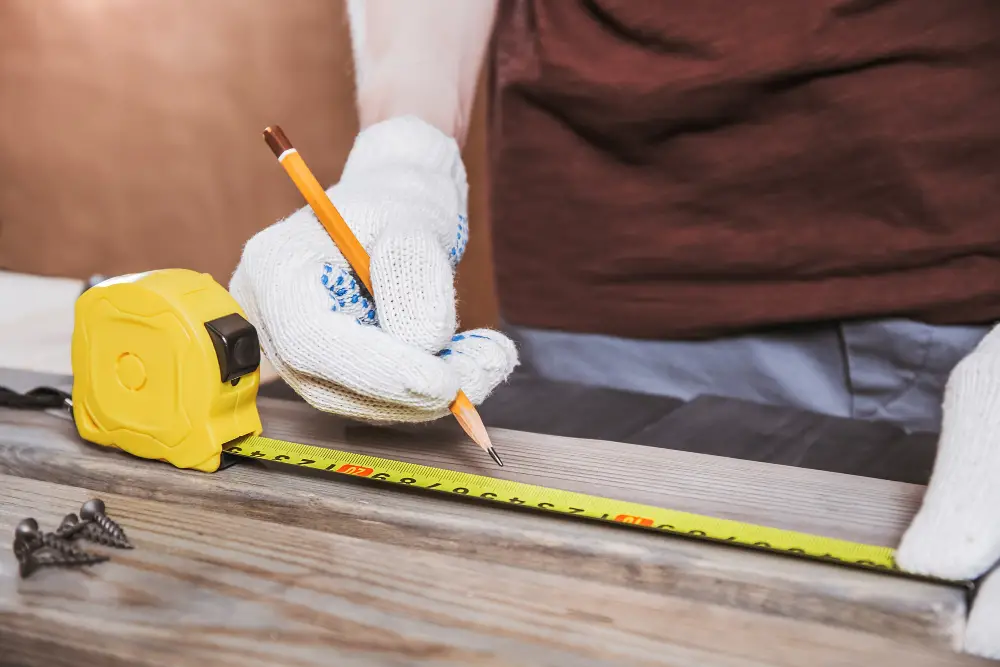
Cut List and Stringer Boards
This includes creating a cut list and gathering all the necessary materials. A cut list is simply a detailed inventory of all the wood pieces needed for your project, along with their dimensions and quantities.
Once you have your cut list ready, it’s time to move on to cutting the stringer boards. These are long pieces of wood that will form the backbone of your couch frame.
To ensure accuracy in measurements and cuts, use a measuring tape or ruler as well as an electric saw or hand saw.
It’s crucial that each stringer board is precisely measured and accurately cut according to its designated length in order for them fit together seamlessly during assembly later on.
Take note: when cutting multiple boards at once (which can save time), make sure they’re stacked evenly before making any cuts so that they don’t shift around during cutting which could result in uneven edges or incorrect lengths.
Assembling the Frame
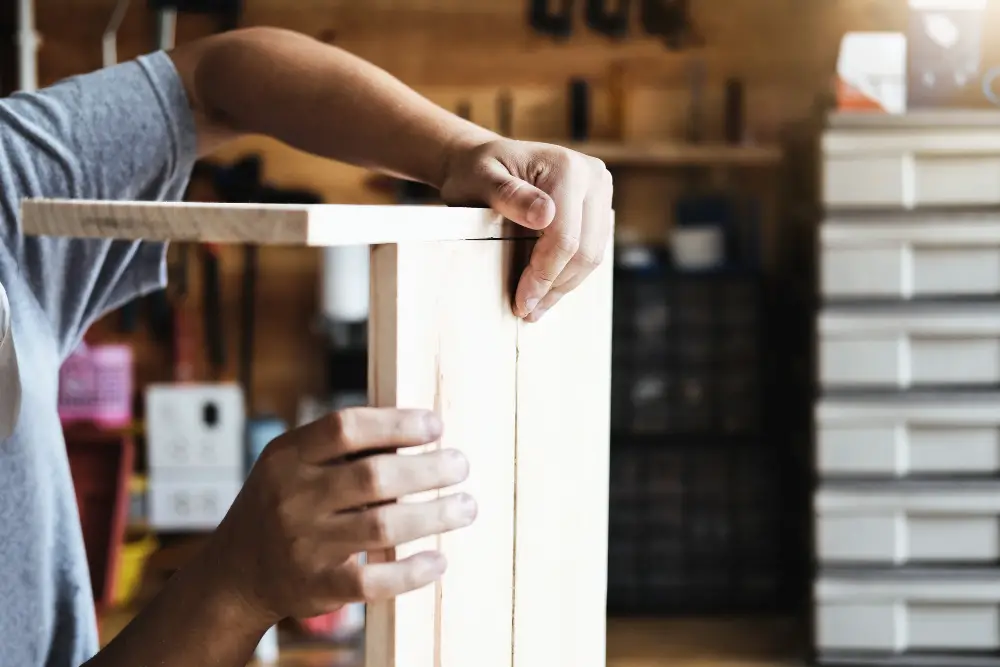
Begin by laying out the pieces of wood according to your design plan. Make sure that everything is measured correctly and cut precisely before starting assembly.
Start with building the side frames first, then move on to constructing the bottom frame. Once both are complete, connect them together using screws or bolts for added stability.
It’s important to ensure that each joint is secure and tight so that your couch can withstand regular use outdoors. You may also want to add additional support beams or stringer boards as needed for extra reinforcement.
Assembling a sturdy frame will provide a solid foundation for adding cushions and other finishing touches later on in this DIY project.
Outdoor Couch Frame Construction
To begin, you’ll need to gather all the necessary tools and materials. Once you have everything ready, it’s time to start measuring and cutting your wood pieces according to the cut list provided in our previous section.
Next, assemble the side frames by attaching two legs with a horizontal stringer board at both ends using screws or bolts. Then attach bottom frame boards between each pair of legs on both sides.
To connect these two frames together, use additional stringer boards across their length at regular intervals for added support and stability.
Side Frames Assembly
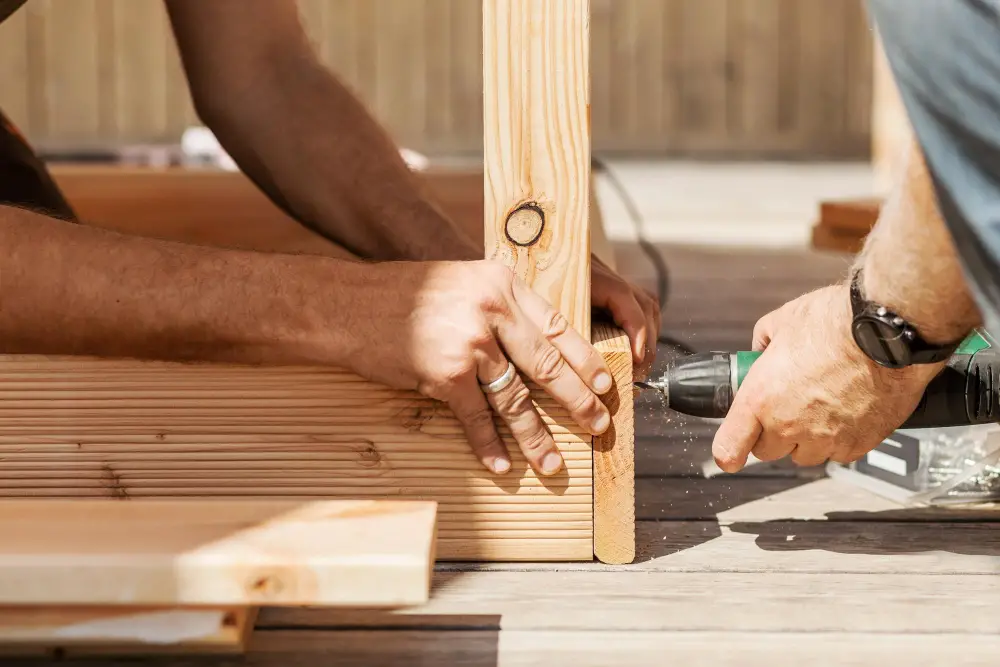
The side frames are an essential part of your couch as they provide support and stability to the entire structure. To assemble them, you will need a drill and screws.
Start by laying out two pieces of wood that will form one side frame. Place them on a flat surface with their ends touching each other at right angles.
Then, use clamps or weights to hold them in place while you drill pilot holes through both pieces where they meet.
Next, apply some glue along one edge of each piece before screwing them together using 2-1/2 inch screws into the pilot holes previously drilled.
Repeat this process for all four sides until you have completed both left and right-side frames that make up your outdoor couch base structure.
Bottom Frame Assembly
This step is crucial as it will provide a sturdy foundation for your outdoor couch. To begin, lay out two of the 2×4 boards parallel to each other and place another board perpendicular between them at one end.
Use wood screws or nails to attach these pieces together securely.
Next, measure and cut two more 2×4 boards that will fit between the first two boards you just attached. These should be placed evenly spaced apart along the length of your couch frame and secured with screws or nails.
Repeat this process until all four sides are connected by cross beams every few feet apart from each other for added stability.
Connecting Bottom and Side Frames
This step is crucial in ensuring that your outdoor couch is sturdy and stable. To do this, you will need to use screws or bolts to attach the side frames to the bottom frame.
Start by positioning one of the side frames on top of the corresponding end of the bottom frame. Make sure that they are flush with each other and then drill pilot holes through both pieces at each connection point.
Next, insert screws or bolts into each hole and tighten them securely using a screwdriver or wrench. Repeat this process for all four corners until both sides are attached firmly to the bottom frame.
It’s important not to rush this step as it can affect how well your outdoor couch holds up over time. Take your time when drilling pilot holes so that everything lines up correctly before securing with screws or bolts.
Adding Support and Stability

This step is crucial for ensuring that your couch can withstand the weight of multiple people sitting on it without collapsing or wobbling.
To achieve this, you’ll need to install stringer boards along the bottom and back of the frame. These boards will provide additional support and prevent any sagging in these areas over time.
Start by measuring and cutting your stringer boards to fit snugly between each side frame. Then attach them using screws or nails, making sure they are level with each other.
Next, construct a center support beam that runs perpendicular to the stringer boards along the bottom of your couch. This beam should be attached securely at both ends using brackets or screws.
Add diagonal braces between each corner post for added stability. These braces should run from one corner post diagonally down towards another corner post on either side of it.
Stringer Board Installation
These are horizontal pieces of wood that will provide support for the seat and backrests. To begin, measure and cut your stringer boards to size using a saw or circular saw.
Next, position each board in place on top of the bottom frame and secure them with screws or nails. Make sure they are evenly spaced apart so that there is enough support for both cushions and people sitting on them.
It’s important to note that if you plan on adding an armrest or any other additional features later on, make sure to leave enough space between each board accordingly.
Stringer board installation is a crucial step in creating a sturdy base for your outdoor couch.
Center Support Construction
The center support is an essential component that will ensure your couch can withstand weight without sagging or breaking. To construct the center support, you’ll need two pieces of wood cut to size: one for the front section and another for the back section.
Start by attaching a stringer board across both side frames at their midpoint using screws. Then attach one end of each piece of wood vertically on top of this stringer board with screws so that they stand upright in line with each other.
Next, measure halfway between these two vertical boards along their length (the exact measurement will depend on how long your couch is) and attach another horizontal stringer board across them at this point using screws again.
Back Frame Boards Attachment

These boards will provide support for your backrest cushions and give your outdoor couch a finished look.
To begin, measure and cut two 2x4s to fit between the top of each side frame. Use wood screws to attach these pieces securely in place.
Next, measure and cut several more 2x4s that will run vertically from the top board down to where you want your seat base slats to start.
Attach these vertical pieces using wood screws as well, making sure they are evenly spaced apart for maximum support. Once all of your back frame boards are attached securely in place, you can move on to creating the seat base.
Creating the Seat Base
This is where you’ll add slats that will support your cushions and provide a comfortable place to sit. To start, measure the distance between the two side frames and cut several pieces of wood to fit snugly in between them.
These pieces should be spaced evenly apart so that they can support weight without sagging.
Once you have all of your slats cut, lay them out on top of the bottom frame and make sure they’re evenly spaced before attaching them with screws or nails. It’s important to use weather-resistant materials for this step since these slats will be exposed to rain, sun, and other outdoor elements.
Seat Slats Installation
This step will provide a comfortable and sturdy base for your outdoor couch. Start by measuring and cutting the slats according to your design specifications.
Then, lay them out evenly across the bottom frame of your couch.
Using screws or nails, attach each slat securely onto both side frames of your couch. Make sure that they are level with one another and spaced evenly apart for maximum comfort.
It’s important to note that you can customize this step based on personal preference – some people prefer wider gaps between their seat slats while others like them closer together for more support.
Making Backrests and Armrests
These elements will not only add comfort but also style to your outdoor couch.
To make the backrest, measure and cut two pieces of wood that are equal in length as your couch frame. Attach them vertically at a 90-degree angle using screws or nails.
Then, attach horizontal slats across these vertical boards for support.
For armrests, you can use pre-made brackets or create custom ones by cutting two pieces of wood into an L-shape with one side longer than the other. Attach them securely onto each end of your couch frame using screws or bolts.
Remember that both backrest and armrest should be comfortable enough for people sitting on it so consider adding cushions if necessary.
Back Support Attachment
This step is crucial for creating a comfortable outdoor couch that will provide proper lumbar support. To attach the backrest boards, start by measuring and cutting them to size according to your design plan.
Then, position them on top of the center stringer board with equal spacing between each one.
Next, use wood screws or nails to secure each board in place from behind using a drill or hammer. Make sure they are level and flush with one another before attaching them securely.
Arm Rest Installation
One important feature that can make a big difference in both comfort and style is armrests. Armrests provide a place to rest your arms while lounging on the couch, making it more comfortable for extended periods of use.
To install armrests, start by measuring and cutting two pieces of wood to size for each side. The length will depend on how wide you want your armrests to be – typically around 6-8 inches is a good width.
Next, attach the armrest supports onto each side frame using screws or bolts. Make sure they are level with one another before securing them into place.
Attach the cut pieces of wood onto these supports using screws or bolts as well. You may want to sand down any rough edges or corners before attaching them so that they are smooth and comfortable against bare skin.
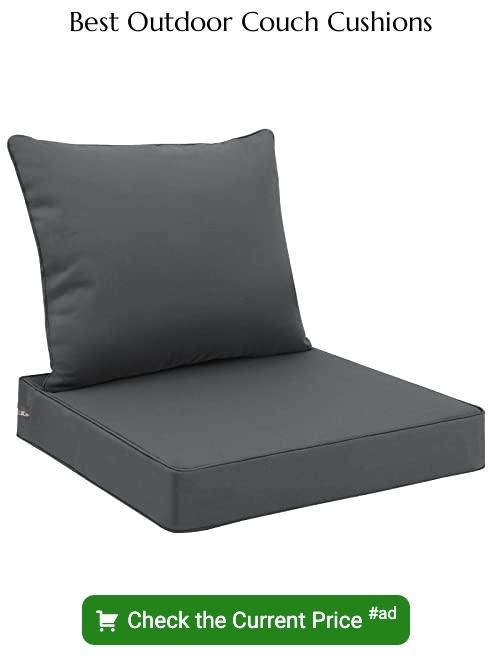
Selecting Cushions and Fabrics
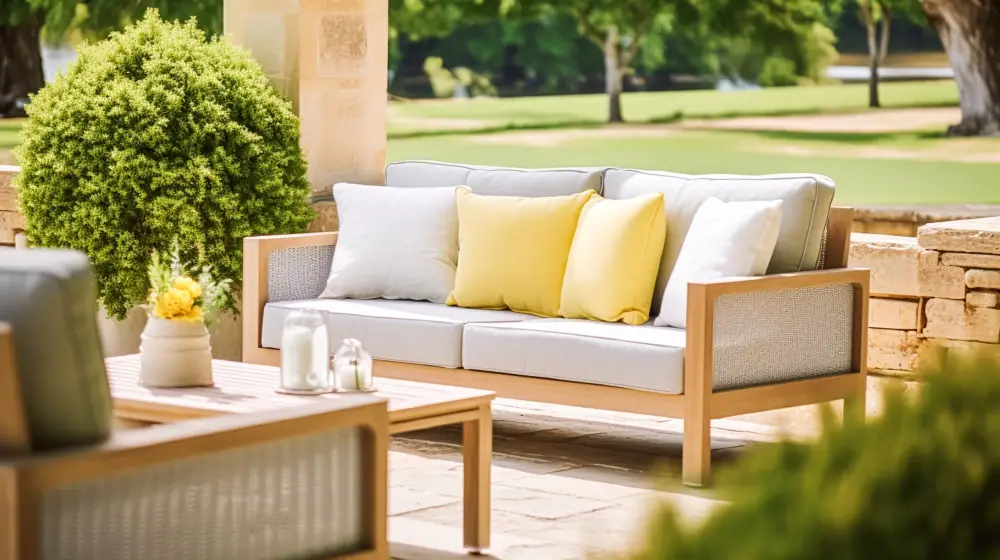
Choosing the right materials can make all the difference in creating a cozy and inviting space.
When selecting cushions for your outdoor couch, consider durability as well as comfort. Look for weather-resistant fabrics that will hold up against rain, sun exposure, and other elements.
Outdoor-rated foam is also a great option since it dries quickly after getting wet.
In terms of fabric selection, there are many options available that can complement your personal style while still being practical for outdoor use. Sunbrella is a popular choice due to its fade-resistant properties; however, there are also many other brands offering similar features at different price points.
Don’t be afraid to mix patterns or colors when selecting pillows or throws – this can add visual interest to your space! Just be sure they coordinate with each other as well as any existing decor you may have in place.
By taking these factors into consideration when choosing cushions and fabrics for your new outdoor couch project – you’ll create an inviting retreat perfect for relaxing on warm summer days!
FAQ
Can I put my sofa outside?
You can put your sofa outside, but for the longest use, it is recommended to place treated indoor furniture on a covered patio or porch to protect it from damaging heat, rain, and snow.
Can you build a couch by yourself?
Yes, I can build a couch by myself, as I can decide the dimensions, shape, and other details, starting by picking the couch cushions and then building the frame around them.
What materials are best suited for constructing an outdoor couch?
The materials best suited for constructing an outdoor couch are weather-resistant materials such as teak, wrought iron, synthetic resin wicker, and performance fabric.
What are some weather-resistant treatments for maintaining an outdoor sofa?
Some weather-resistant treatments for maintaining an outdoor sofa include using waterproof covers, applying protective sealants, and utilizing moisture-repellent fabric.
Are there any specific designs recommended for maximizing comfort and durability in an outdoor couch?
For maximizing comfort and durability in an outdoor couch, it is recommended to use specific designs that incorporate weather-resistant materials, ergonomic shapes, and sturdy construction.


