Last updated on
Discover the essential steps to create a perfect exterior door opening, as we guide you through the entire process in this informative blog.
Your home is your sanctuary, and as such, you want to ensure that every aspect of it is perfect. One crucial element of a well-designed home is the exterior door opening.
Whether you’re building a new house or renovating an existing one, creating an exterior door opening can be a daunting task. But don’t worry; with the right tools and techniques, anyone can do it! In this article, we’ll guide you through the process step-by-step so that you can create a beautiful and functional entrance to your home in no time.
So grab your hammer and let’s get started!
Key takeaways:
- Choose the right door based on climate and style.
- Consider accessibility and aesthetics when placing the door.
- Measure accurately and consider obstructions before creating the opening.
- Gather necessary tools including tape measure, saw, level, and more.
- Use appropriate materials such as wood or metal for framing.
Table of Contents
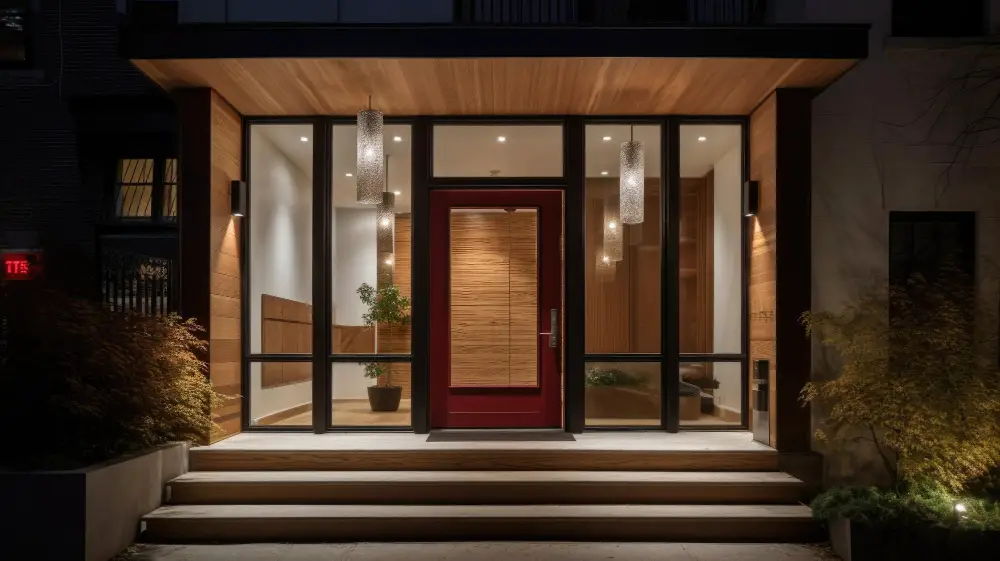
Choosing the Right Door
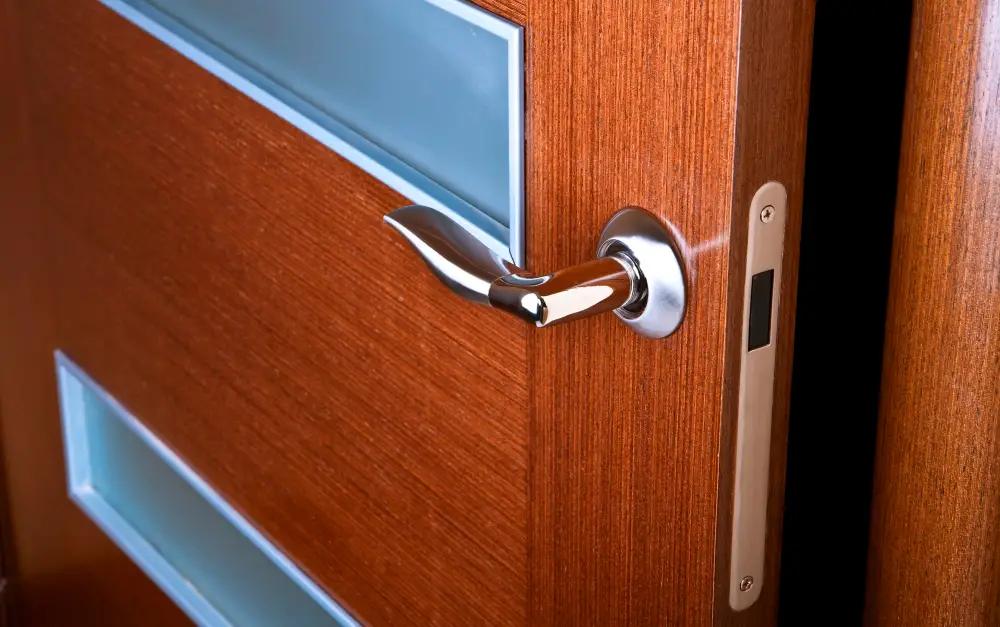
The first step in creating an exterior door opening is choosing the right door. The type of door you choose will depend on your personal style, budget, and the climate in which you live.
For example, if you live in an area with harsh weather conditions such as heavy rain or snowfall, a sturdy steel or fiberglass door may be more suitable than a wooden one.
When selecting your exterior door, consider its size and shape to ensure it fits perfectly into the opening that you’ll create later on. You should also think about whether it needs to swing inward or outward based on space availability outside and inside of your home.
Another important factor when choosing a new exterior entryway is security features like deadbolts locks for added protection against intruders.
Determine Door Location

The placement of the door will depend on several factors, including accessibility and aesthetics. You’ll want to consider how people will enter and exit your home, as well as how the new opening will affect the overall look of your house.
When deciding where to place an exterior door opening, keep in mind that it should be easily accessible from both inside and outside. If you’re creating a new entrance for a room or adding an extension onto your home, think about where people are likely to walk when entering or exiting that space.
Consider any obstacles such as electrical wiring or plumbing pipes that may be hidden behind walls before choosing a location for the doorway.
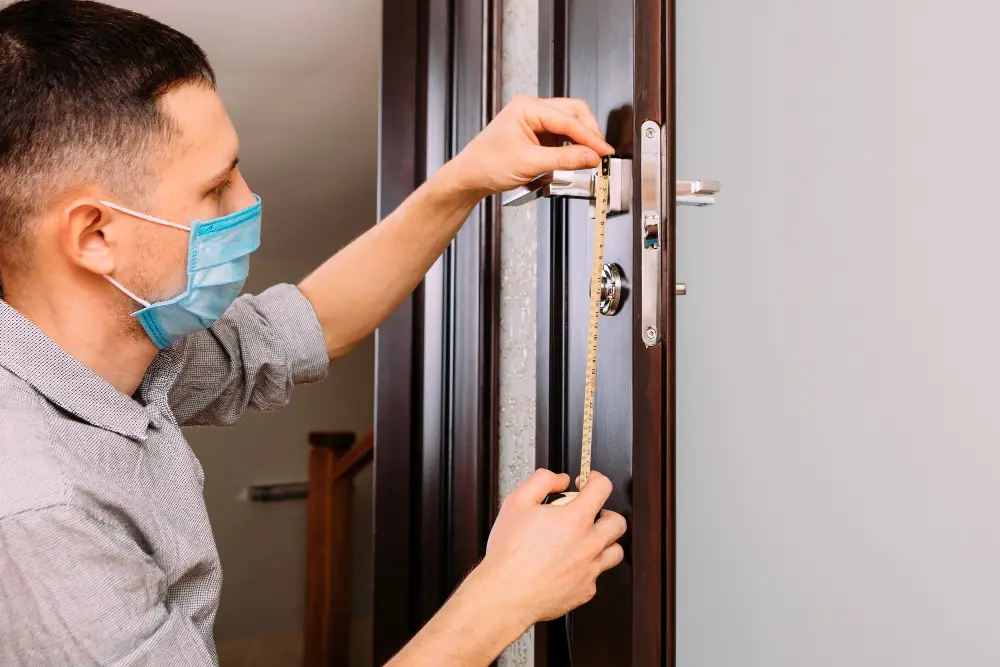
Measuring the Opening
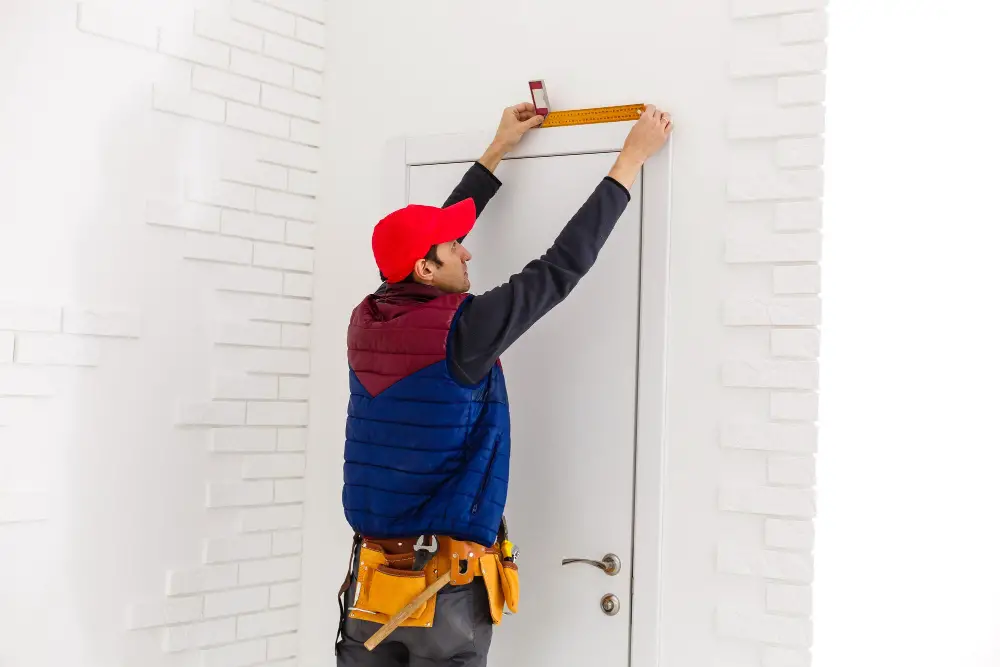
This step is crucial because it ensures that your door will fit perfectly and function correctly. To begin, measure the height and width of your existing doorway or determine how big you want to make a new one.
When measuring for a new opening, keep in mind that standard exterior doors are typically 36 inches wide by 80 inches tall. However, if you’re looking for something more unique or have specific needs (such as wheelchair accessibility), custom sizes may be necessary.
It’s also important to consider any obstructions such as light switches or electrical outlets when determining where to place your door. Make sure there is enough clearance on both sides of the doorway so that people can easily enter and exit without bumping into anything.
Plan the Opening
This step is crucial as it will determine the size and location of your new doorway. First, consider where you want to place the door and how much space you have available on either side of it.
You’ll also need to think about any obstacles that may be in the way, such as electrical wiring or plumbing pipes.
Once you’ve determined where exactly you want your exterior door opening, measure out its dimensions carefully using a tape measure and mark them with a pencil on both sides of the wall. Make sure that these measurements are accurate before proceeding further.
Next, decide whether or not additional framing will be necessary around this area based on what type of material surrounds this section (brick vs wood). If so then add extra studs accordingly while keeping in mind their placement relative to other structural elements like windows etcetera which could affect stability over time if not properly accounted for during construction phase itself!
Gathering Necessary Tools

Having everything on hand will make the process much smoother and efficient. You don’t want to be halfway through cutting a hole in your wall only to realize that you’re missing a crucial tool! Here are some of the tools you’ll need:
- Measuring tape
- Pencil or marker
- Circular saw or reciprocating saw
- Hammer and nails or nail gun with nails
- Level
- Chisel
- Pry bar
Make sure that all your tools are in good working condition before starting work. If any of them aren’t functioning correctly, replace them before beginning work on your exterior door opening project.
Materials
The type of material you choose will depend on several factors, including your budget, personal preference, and climate conditions in your area.
The most common materials used for framing an exterior door opening are wood and metal. Wood is a popular choice because it’s easy to work with and provides excellent insulation properties.
However, if you live in an area prone to termites or other pests that can damage wood structures over time, metal may be a better option.
Other essential materials include screws or nails for attaching studs together; shims for leveling the frame; caulking gun with sealant for sealing gaps between the frame and wall; insulation foam spray (optional) which helps prevent air leaks around doors during cold weather months.
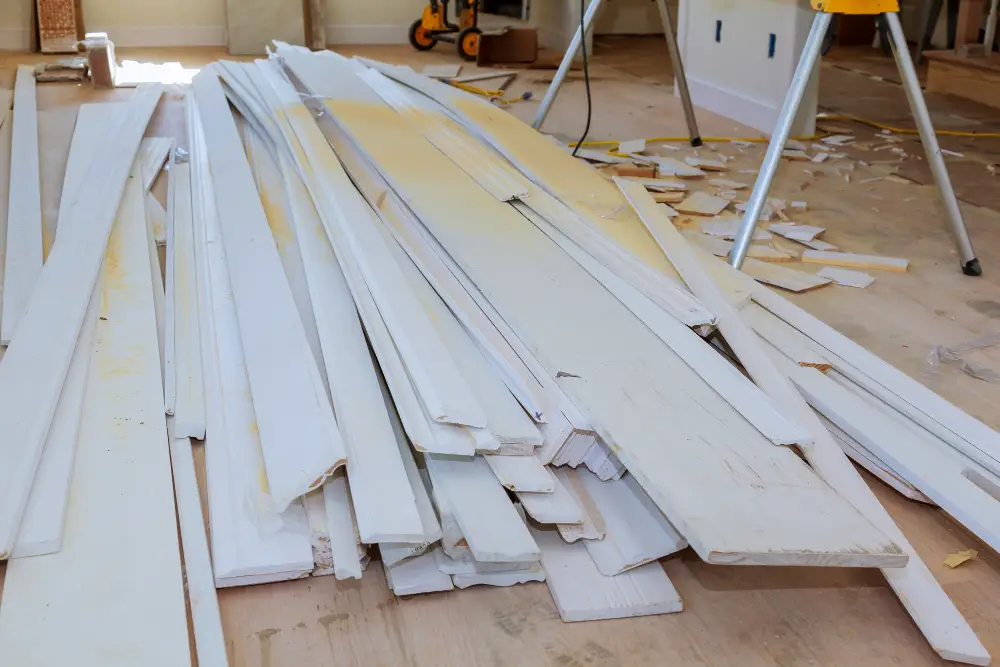
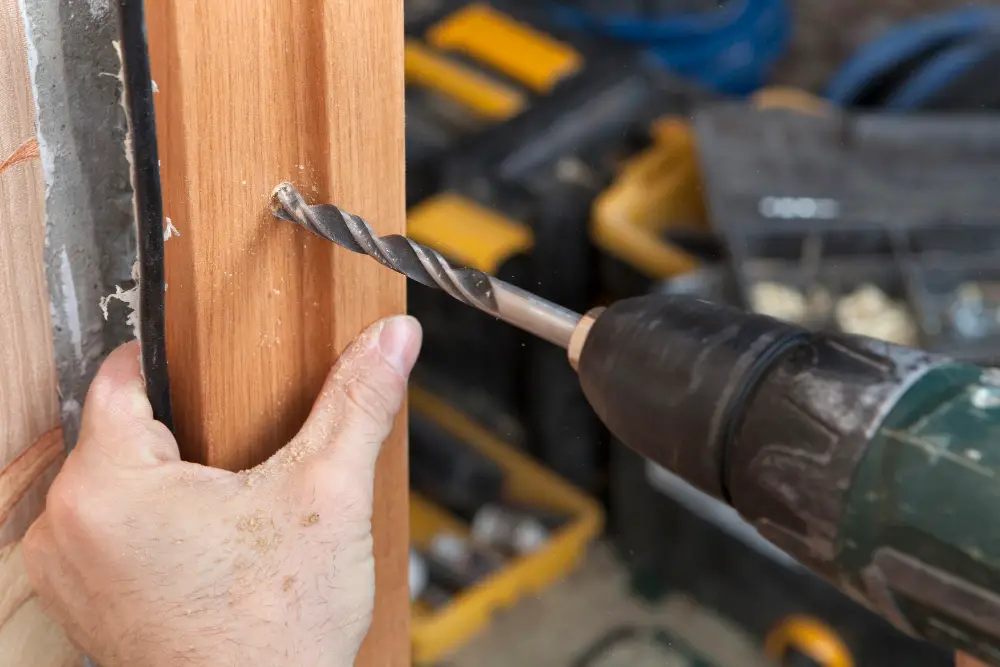
Preparing the Wall
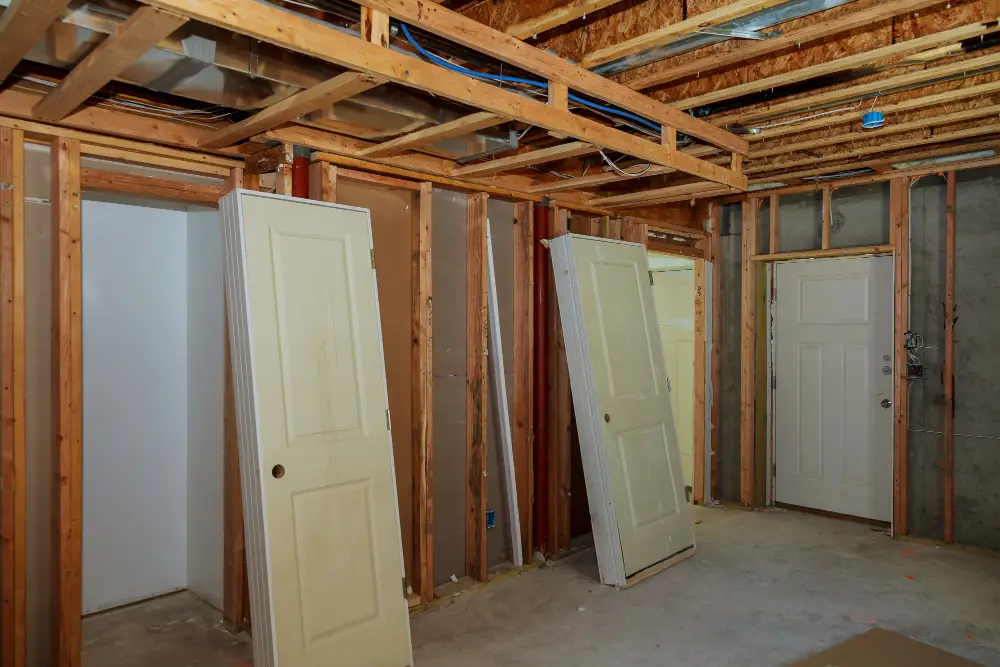
First, remove any trim or molding around the door opening. Then use a stud finder to locate and mark where the studs are in your wall.
This step is crucial because you’ll need to avoid cutting through any of these structural supports when creating your exterior door opening.
Next, measure and mark out where you want your new doorway using a level and pencil. Double-check that everything is square before proceeding with making cuts in the wall.
It’s also important to consider electrical wiring or plumbing that may be running through this section of the wall before starting work on it; if necessary, consult an electrician or plumber for advice on how best to proceed without damaging anything critical.
Cutting the Opening
Before you begin, make sure that all electrical and plumbing lines are out of the way. You don’t want to accidentally cut through any wires or pipes! Using a reciprocating saw or circular saw with a carbide blade, carefully cut along the marked lines on both sides of the wall until you reach your desired opening size.
Be sure to wear safety goggles and ear protection while cutting. If there are any studs in your way, use a reciprocating saw or handsaw to remove them one at a time until they’re all gone.
Remember always; measure twice before making cuts!
Cut Through Studs
This step is crucial as it will determine how well your door fits and functions in its new location.
To begin, use a reciprocating saw or circular saw to make vertical cuts along each side of the stud. Be sure to cut all the way through until you reach the bottom plate.
Next, use a hammer and chisel to remove any remaining wood between each stud. Take care not to damage any electrical wiring or plumbing that may be running through these areas.
It’s important that you take accurate measurements before cutting into your wall studs so that everything lines up correctly when framing out for an exterior door opening. Double-checking measurements can save time and money down-the-line by avoiding costly mistakes during installation.
Mark Stud Locations

Studs are vertical framing members that provide support for your exterior door frame. They’re typically spaced 16 inches apart, but this can vary depending on your local building codes.
To locate the studs, use a stud finder or tap along the wall until you hear a solid sound indicating where they are located. Mark each stud location with a pencil so that you know where to attach your jack and king studs later in the process.
It’s important to note that if there is any electrical wiring or plumbing running through these areas of your wall, it may be necessary to reroute them before proceeding with marking out and cutting into these sections of drywall or plasterboard.
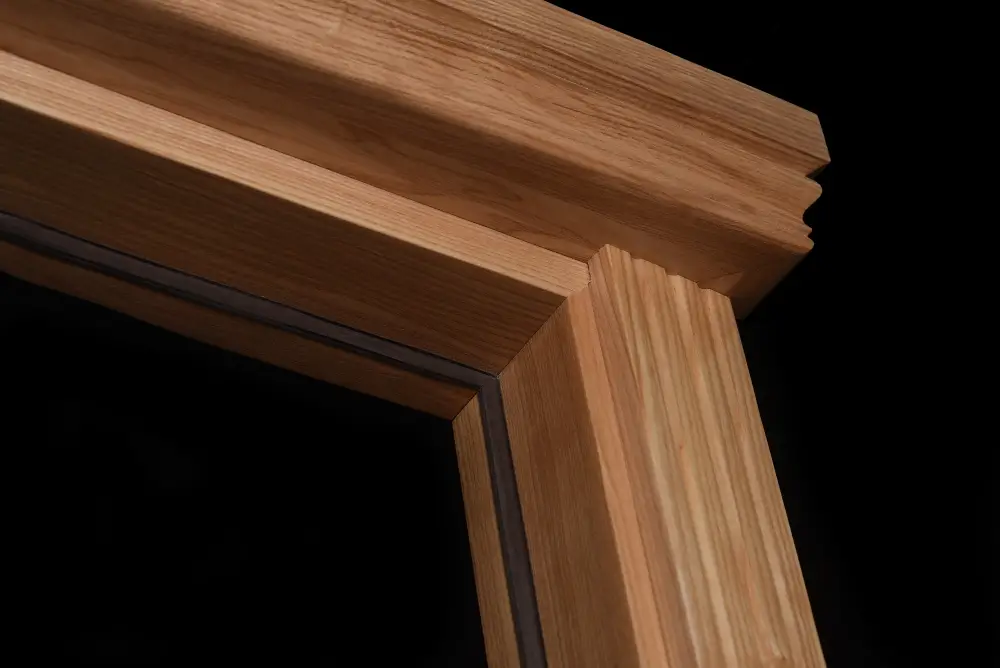
Framing the Doorway
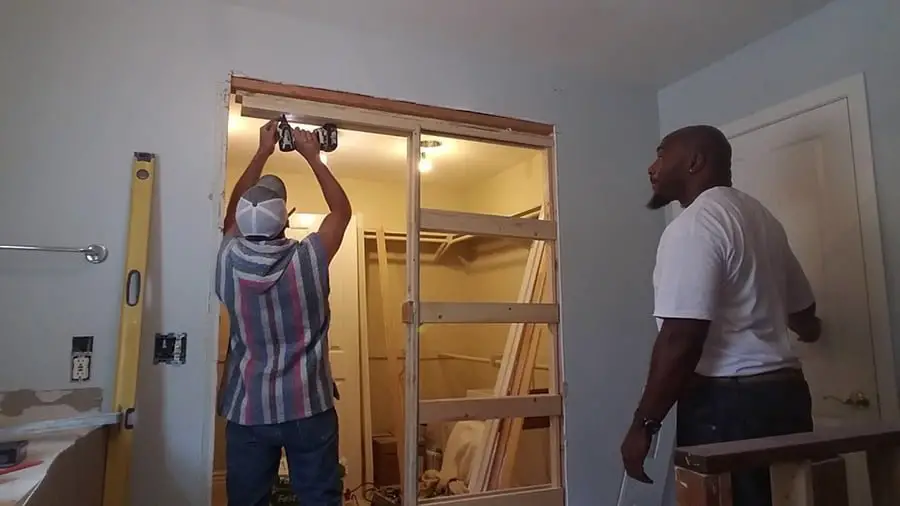
This is a crucial step in creating a sturdy and secure entrance to your home. To begin, assemble jack and king studs on either side of the opening.
These will provide support for the header that will be installed later.
Next, attach these studs securely to both top and bottom plates using nails or screws. Make sure they are plumb (vertically straight) by using a level before securing them in place.
After attaching all vertical studs, construct the header by cutting two pieces of lumber slightly longer than your door width measurement plus 3 inches on each side for overhangs (known as “cripple” pieces). Then sandwich them together with plywood spacers between each board until they reach desired thickness based on wall depth.
Attach this assembly above jack stud locations with metal hangers or toenail through end grain into king stud sides at an angle so that it doesn’t split wood fibers when driven in too far – use caution not to damage surrounding drywall during installation process!.
Assemble Jack and King Studs
The jack stud is a shorter piece of wood that supports the header above the door frame, while the king stud runs from floor to ceiling on either side of your doorway.
To assemble these two essential components, measure and cut them according to your specifications using a saw. Then place one end of each stud into its respective position in relation to where you want your door frame.
Next, nail or screw them together at their intersection point with galvanized nails or screws for added strength and durability.
It’s important that both studs are level so that they can support weight evenly across their length without any sagging or warping over time.
Attach Studs

The studs are essential for supporting the weight of your door and ensuring that it stays in place. To begin, take your jack stud and position it on one side of the opening where you made your cuts.
Make sure that its bottom is flush with the floor and nail it into place.
Next, take a king stud (which should be slightly longer than a jack stud) and position it next to your first jack stud so that they form an L-shape at each corner of the doorway. Nail this into place as well.
Repeat this process on both sides until all four corners have been framed out with two studs each – one king and one jack per corner.
It’s important to ensure that all of these pieces are level before nailing them down securely; otherwise, you may end up with an uneven or unstable frame which could cause problems later on when installing your door.
Secure Studs
Use a level to ensure that they are plumb and straight before nailing them into position. You can use a framing nailer or hammer and nails for this step.
It’s important to note that the studs should be securely fastened on both sides of the opening, as they will support not only the weight of your door but also any additional weight from insulation or drywall.
To further reinforce your exterior door opening, consider adding cripple studs between each header stud. These shorter pieces of wood fit between two full-length studs and provide extra support for heavier doors.
Construct Header
The header is a horizontal beam that supports the weight of the wall above your new door opening. It’s essential to ensure that your header is strong enough to support this weight; otherwise, it could lead to structural damage or even collapse.
To construct a header, you’ll need two pieces of lumber: one for each side of the doorway. These are called “trimmers.” Measure and cut these trimmers so they fit snugly between each king stud on either side of your door frame.
Next, measure and cut another piece of lumber for your actual header board. This should be slightly longer than the width between both king studs plus an additional 1/2 inch on either end (to allow for trimming).
Place this board atop both trimmer boards so that it rests flush with them at either end.
Attach Header
The header is a horizontal beam that sits on top of the jack and king studs, providing support for your door frame. To attach it, measure its length carefully and cut it to size using a saw.
Next, place the header on top of your jack and king studs so that it fits snugly into place. Make sure that everything is level before securing with nails or screws.
It’s important to note that headers come in different sizes depending on their load-bearing capacity. Be sure to choose one appropriate for your door opening size as well as any additional weight such as transoms or sidelights.
Attaching a sturdy header will ensure proper support for your exterior door frame while also preventing sagging over time.
Check for Square Exterior Door Framing

This step ensures that your door will fit correctly and function properly. To do this, measure diagonally from corner to corner on both sides of the frame.
If the measurements are equal, then your frame is square.
If they are not equal, adjust accordingly until you achieve a perfect square measurement. You can use shims or additional framing pieces as needed to make adjustments.
Installing a Door Sill
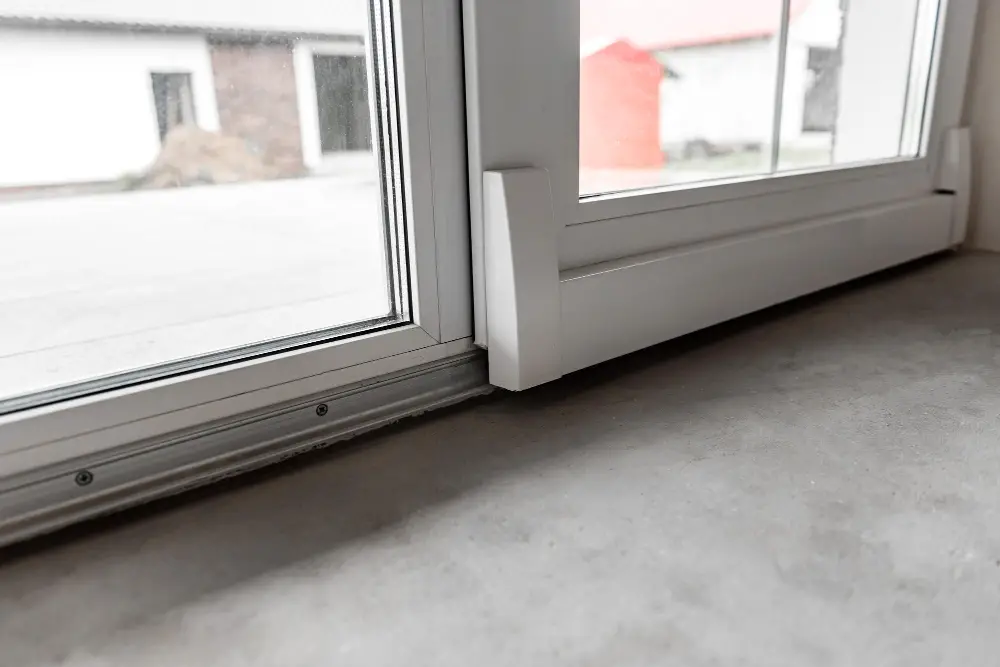
The sill is an essential component of any exterior door as it helps prevent water and drafts from entering your home. To install a door sill, first, measure the width of your doorway and cut the threshold to size using a saw.
Next, apply adhesive caulking along both sides of the rough opening where you will place the threshold. Then position it in place and press down firmly so that it adheres well to both sides.
Secure each end with screws through pre-drilled holes on either side of your new entryway before adding weatherstripping around its perimeter for added protection against moisture infiltration or air leaks.
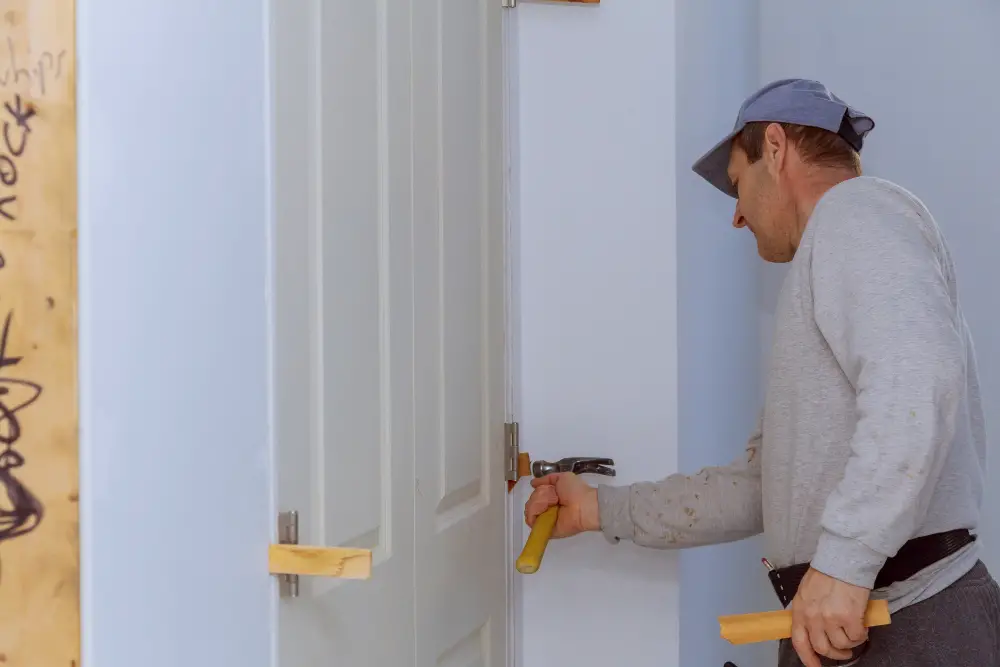
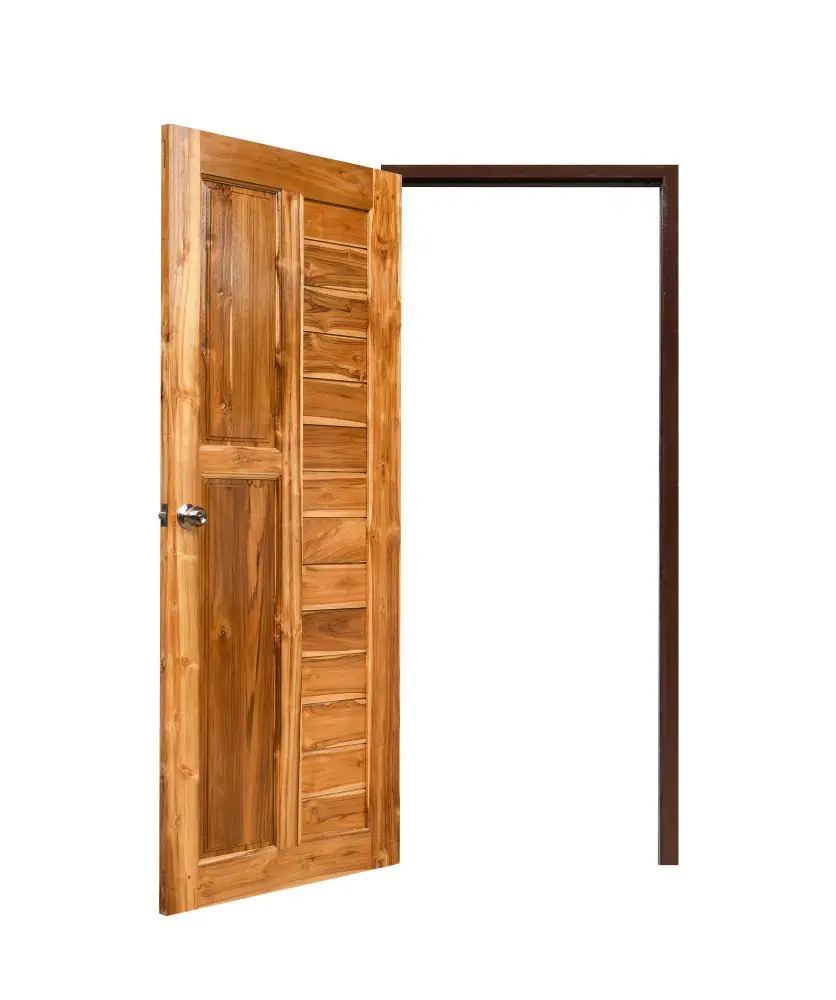
Setting the Exterior Door
This is a crucial step that requires precision and attention to detail. Before setting the door, make sure that it fits snugly into the opening without any gaps or spaces around its edges.
To begin, lift the exterior door into place and rest it on top of shims placed along both sides of the opening. The shims will help keep your new entryway level while you secure everything in place.
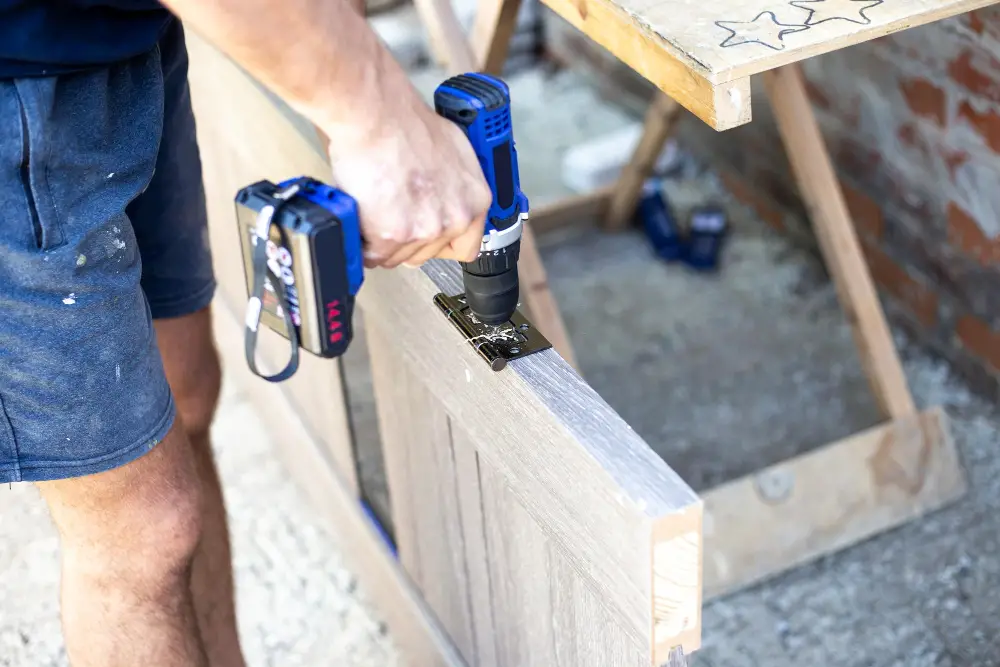
Next, use screws to attach hinges onto your pre-drilled holes on both sides of your new doorway frame. Make sure they are securely fastened before removing any temporary supports used during installation.
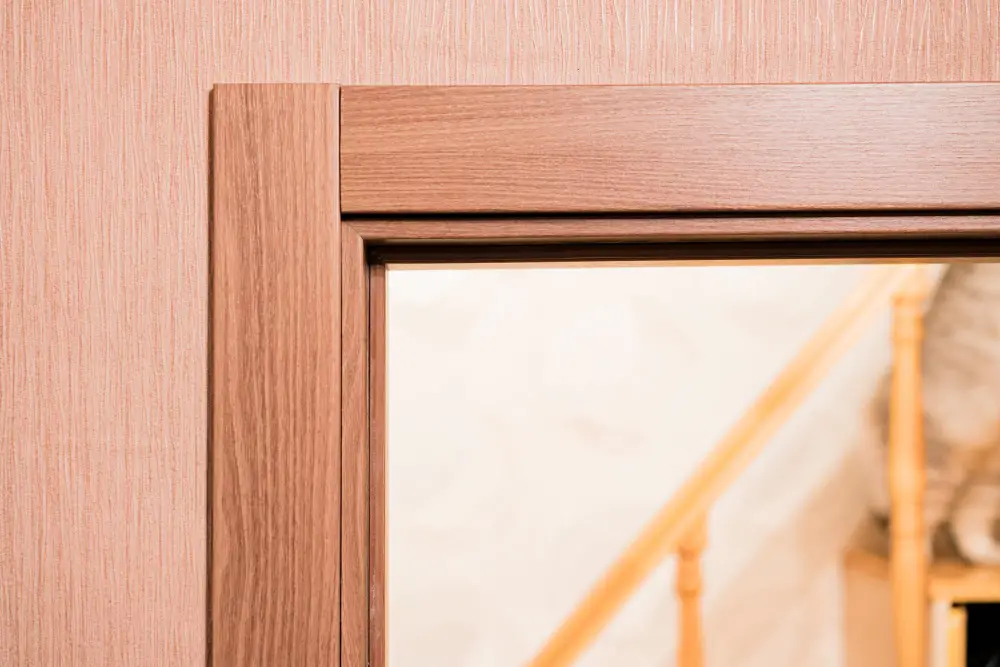
Adding Door Casing

Door casing is an essential element that adds a decorative touch and covers any gaps between the wall and door frame. To install casing, measure each side of your doorway from top to bottom and cut pieces of trim accordingly.
Make sure they are slightly longer than needed so that you can adjust them as necessary.
Next, apply adhesive along the backside of each piece before attaching them to your wall with finish nails or a nail gun. Be sure to use wood filler on any gaps or holes left by nails.
Sand down rough edges with fine-grit sandpaper before painting or staining your new exterior door opening for a polished look that will make all who enter feel welcome in their new home!.
FAQ
Can I make an exterior door open outwards?
Yes, you can make an exterior door open outwards, as there is no universal building code prohibiting it.
Can you add a door to an opening?
Yes, to add a door to an opening, fill the opening with wood studs, create the rough opening for the new door, add drywall to cover the wall studs, install the door, and trim and paint, while considering the presence of metal corner bead if the existing opening has been wrapped with drywall.
What are the essential steps to properly frame an exterior door opening?
The essential steps to properly frame an exterior door opening are measuring and cutting the frame’s components, assembling the frame, leveling and squaring, installing a sill pan, attaching the frame to the wall, and ensuring proper insulation and flashing.
How can I choose the right materials for creating a weather-resistant exterior door opening?
To choose the right materials for creating a weather-resistant exterior door opening, consider using durable materials like fiberglass, steel, and solid wood, while also incorporating weatherstripping and proper insulation.
What factors should be considered when determining the size and placement of an exterior door opening?
When determining the size and placement of an exterior door opening, consider factors such as functionality, aesthetics, accessibility, security, and compliance with local building codes.


