Last updated on
Discover the simple yet effective steps to flash a deck under a door, ensuring proper protection and enhanced durability for your home.

If you have a deck attached to your home, you may have noticed that water can sometimes seep through the area under the door and cause damage. This is where flashing comes in handy.
Flashing is a thin piece of material that’s installed to prevent water from getting into areas where it shouldn’t be. In this article, we’ll guide you through the process of flashing your deck under a door, so you can enjoy your outdoor space without worrying about water damage.
Whether you’re a seasoned DIY-er or just starting out, we’ve got all the information and tips you need to get the job done right. So let’s get started!
Key takeaways:
- Gather necessary flashing materials – aluminum or vinyl.
- Remove the door to prepare the deck for flashing.
- Clear debris and check for any damage on the deck.
- Measure and cut the flashing material.
- Install the flashing, secure with nails, and seal joints.
Table of Contents
Flashing Materials

The first step in flashing a deck under a door is to gather the necessary materials. You’ll need to purchase flashing material, which can be found at most hardware stores.
There are several types of flashing materials available, including aluminum and vinyl. Aluminum is more durable and long-lasting but can be difficult to work with due to its rigidity.
Vinyl, on the other hand, is easier to manipulate but may not last as long as aluminum.
When choosing your flashing material, make sure it’s wide enough to cover the entire area under your door and extends out onto your deck by at least 6 inches on either side of the doorway for proper protection against water damage.
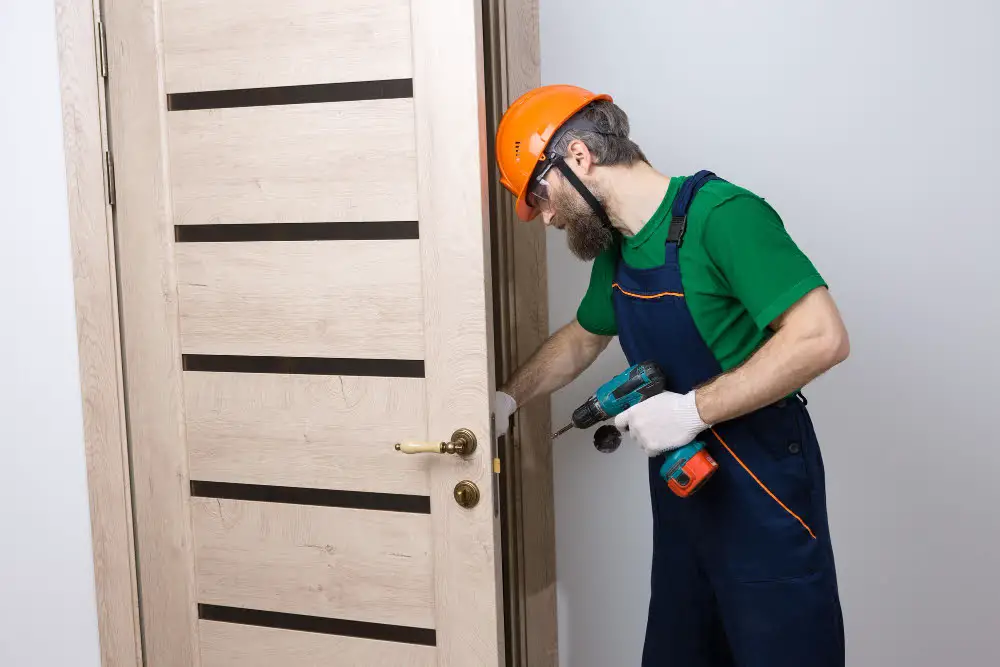
Door Removal
This may seem daunting, but it’s actually quite simple. Start by opening the door and removing any screws or nails that are holding it in place.
If you’re unsure where these are located, consult your owner’s manual or contact a professional for assistance.
Once all fasteners have been removed, gently lift the door out of its frame and set it aside in a safe location. Be sure to label any parts that you remove so they can be easily reinstalled later on.
With the door removed, you’ll have better access to prepare your deck for flashing installation.
Deck Preparation

Begin by removing any debris or dirt from the surface of your deck using a broom or pressure washer. This will ensure that there is no buildup of dirt and grime that could interfere with proper installation.
Next, inspect the area around and under your door for any signs of damage such as rotting wood or cracks in concrete. If you notice any issues, be sure to address them before proceeding with flashing installation.
Once you’ve cleared away debris and checked for damage, measure the length and width of space beneath your door where flashing will be installed. This measurement should include an additional inch on each side to allow room for cutting errors during installation.
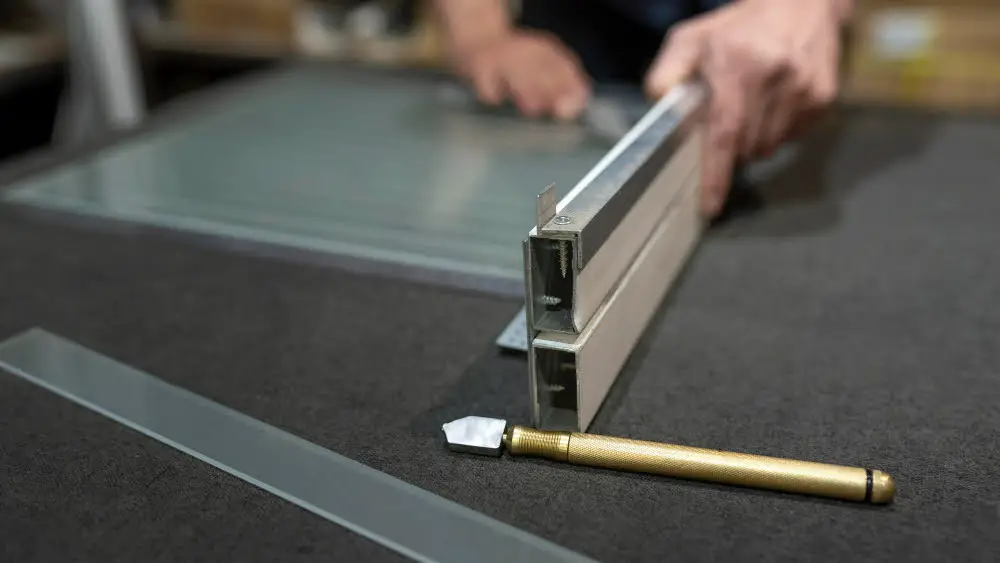
Cutting Flashing
The first step is to measure the length of your door opening and add a few inches on either side for overlap. This will ensure that water doesn’t seep through any gaps between the flashing pieces.
Next, use tin snips or metal shears to cut your flashing material into strips that are slightly wider than your measurement. Be sure to wear gloves while cutting as sharp edges can cause injury.
It’s important to note that if you’re using aluminum or galvanized steel flashing, be careful not to bend it too much as this can weaken its structure and make it less effective at preventing water damage.
Once you’ve cut all of your pieces, lay them out in order so they’re ready for installation.
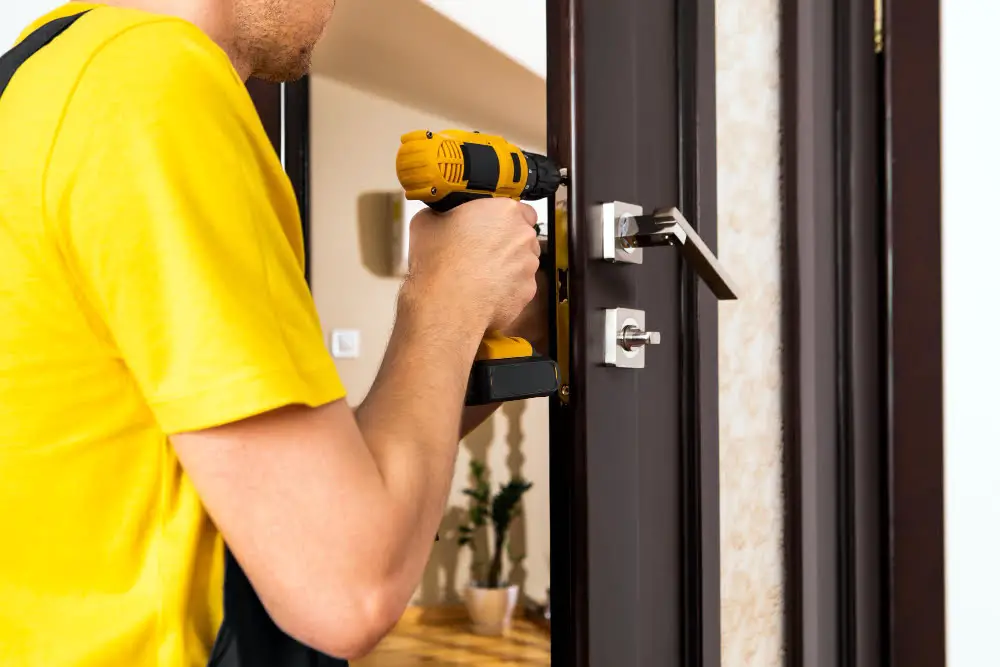
Installing Flashing
Start by placing the flashing under the door frame, making sure that there is enough overhang on each side. Then, use roofing nails or screws to secure the flashing in place.
Next, apply a bead of caulk along both sides of the door frame where it meets with the decking material. This will help create a watertight seal and prevent any water from seeping through.
Fold down any excess flashing overhang onto your deck surface and nail or screw into place every 6-8 inches using galvanized nails/screws (depending on what type of decking material you have). Be careful not to hammer too hard as this can cause damage to your new waterproofing system!
Sealing Joints
To do this, use a high-quality silicone caulk and apply it generously around the edges of the flashing where it meets with other surfaces. Be sure to smooth out any excess caulk with your finger or a caulking tool for a neat finish.
Pay special attention to areas where two pieces of flashing meet as these are often prone to leaks if not sealed properly. Apply enough caulk so that there is no gap between them and then smooth out any excess material.
It’s also important not just focus on sealing joints but also ensuring proper drainage away from your home by sloping your deck slightly away from the house so water can run off easily without pooling under doors or in corners.
Reinstall Door
Make sure that all of your tools and materials are out of the way before proceeding with this step.
First, check that everything is level and flush. If there are any gaps or uneven areas, adjust them accordingly until everything lines up perfectly.
Next, attach hinges to both sides of the door frame using screws provided in your hinge kit. Then carefully lift up one side at a time and slide each hinge pin into its corresponding hole on either side of your deck opening.
Test out how well it swings open by gently pushing on one corner while holding onto another corner opposite from where you’re pushing so as not to damage anything else around it.


