Last updated on
Here’s how you can make arms for a sofa as a little DIY project. Read on for instructions.
As I was sipping on my morning coffee, I couldn’t help but notice the worn-out sofa in my living room. It had been with me through thick and thin, but it was time for a little makeover.
The cushions were still comfortable, and the frame was sturdy enough to last for years. However, the arms were a different story altogether.
I had two options: either buy a new sofa or replace just the arms. As much as I love shopping, buying a new one seemed unnecessary when all it needed was some TLC.
That’s when I decided to take matters into my own hands and make new arms for my old friend.
In this article, I’ll share how to make arms for your sofa from scratch using just a few tools and materials you can easily find at your local hardware store.
Whether you want to give your old sofa a facelift or customize it according to your preferences, this DIY project is perfect! So roll up your sleeves, and let’s get started!
Key takeaways:
- Measure and cut wood to create new armrests for your sofa.
- Choose sturdy and durable materials like oakwood for the arms.
- Use essential tools such as a circular saw, jigsaw, and drill.
- Assemble the arms by applying wood glue and clamping them together.
- Upholster the arms for a personalized and stylish finish.
Table of Contents
The Sofa’s Tale: A Brief History
Before we dive into the nitty-gritty of making sofa arms, let’s take a moment to appreciate the history behind this beloved piece of furniture. The sofa has been around for centuries and has evolved over time to become what it is today – a comfortable and stylish addition to any home.
My own sofa had its fair share of stories too. It was passed down from my grandmother who got it as a wedding gift in the 1950s.
Over time, it became more than just an object; it held memories of family gatherings, movie nights with friends, and lazy Sunday afternoons spent reading books.
But as much as I loved my old friend, its arms were starting to show signs of wear and tear. They were frayed at the edges from years of use and no longer provided adequate support when leaning against them.
That’s when I decided that instead of buying a new one or paying someone else to fix it for me, I would take on this DIY project myself! With some research online and guidance from experienced woodworkers in my community workshop space (and lots coffee), I set out on creating new arms that would look great and provide better comfort while lounging on my favorite spot in our living room!
Anatomy of a Perfect Armrest

Before we dive into the nitty-gritty of making armrests for your sofa, let’s take a moment to understand what makes an armrest perfect.
A good armrest should be comfortable and supportive, allowing you to rest your arms without feeling any strain or discomfort. It should also be sturdy enough to withstand daily wear and tear.
As I was researching how to make new arms for my sofa, I realized that there are many different styles of armrests out there – from sleek modern designs with clean lines to more traditional curved shapes. Ultimately, the style you choose will depend on personal preference and the overall aesthetic of your living room.
For me personally, comfort was key. I wanted something that would provide ample support while still looking stylish.
After some trial and error (and a few sore muscles), I finally settled on a design that ticked all my boxes: slightly angled at the back for maximum comfort; wide enough at the top so it could double as an impromptu side table; and tapered towards the bottom so it wouldn’t take up too much floor space.
With this in mind, let’s move onto how you can create custom-made arms for your own beloved sofa!
Choosing the Right Material: A Love Story
As I stood in the hardware store, staring at the endless options for materials to use for my sofa arms, I couldn’t help but feel overwhelmed. It was like being on a first date with someone you really like – you want everything to be perfect and make sure that they’re impressed by your choices.
I knew that choosing the right material was crucial because it would determine not only how sturdy and durable my new sofa arms would be but also how well they’d match with the rest of my living room decor. After browsing through various options such as wood, metal, and plastic, I finally settled on using oakwood.
Oakwood is known for its strength and durability while also having a beautiful natural grain pattern that adds character to any piece of furniture. Plus, it’s easy to work with using basic woodworking tools which made me confident about taking on this DIY project.
As soon as I got home from the store with all my supplies in hand (and heart), I started working on creating these new arms for my beloved sofa. And let me tell you – seeing them come together was like falling in love all over again!
Tools and Techniques: Heroes in Disguise
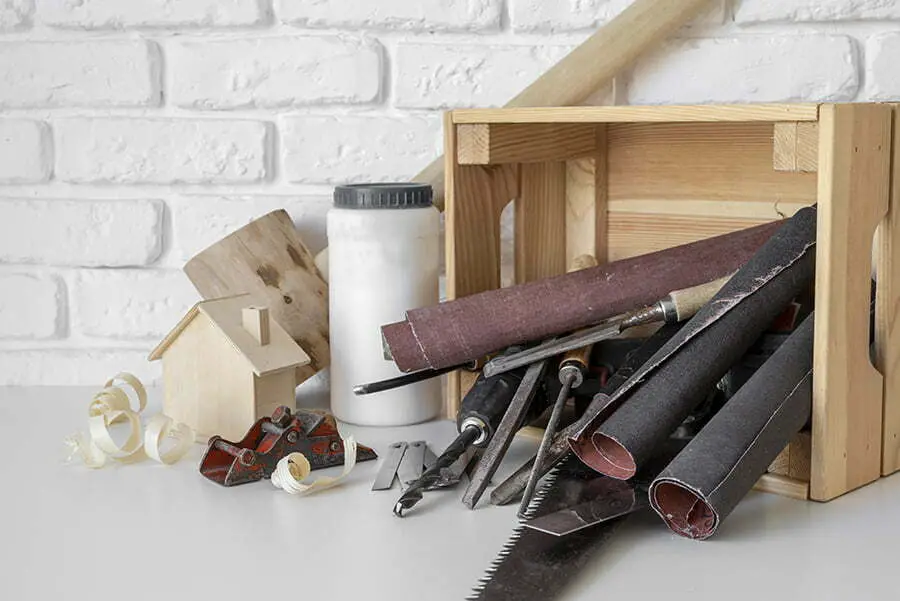
You will need:
- Circular saw: This tool will help you cut your wood pieces to size accurately.
- Jigsaw: A jigsaw is perfect for cutting curves or intricate shapes on your armrests.
- Drill and drill bits: You’ll need these to create holes where screws can go in.
- Sandpaper or sander: To smoothen out rough edges after cutting and drilling
- Measuring tape & pencil: For marking measurements on wood pieces
Now that we’ve sorted our tools, let’s return to our story! As I was gathering all of these materials from my local hardware store, I realized how much money this DIY project could save me compared to buying a brand-new couch altogether.
I couldn’t wait to get started! With all of my supplies ready by my side, I rolled up my sleeves, put on some music, and began working away at creating new arms for my beloved old friend – the sofa.
Measuring and Cutting: Precision Matters
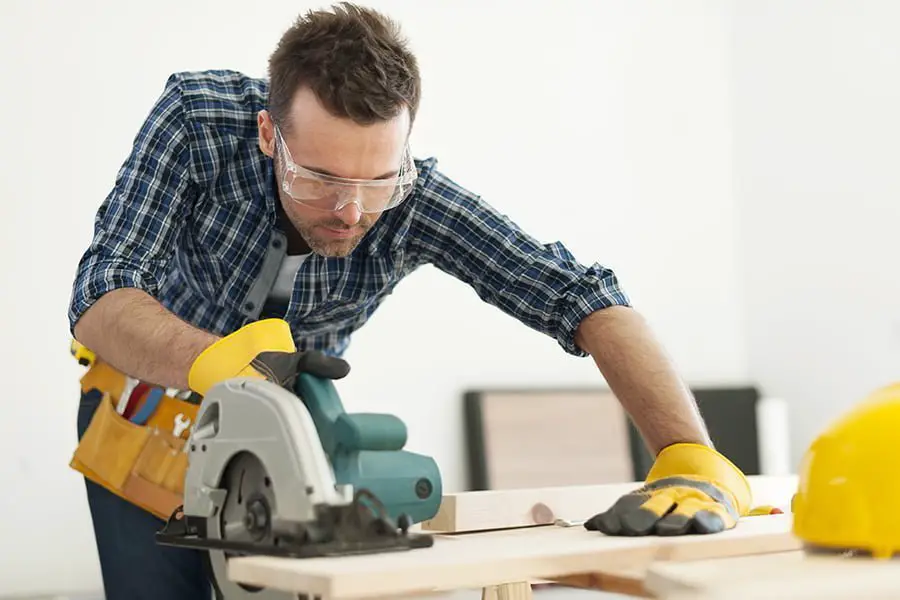
Now that we’ve decided to make new arms for our sofa, the first step is to precisely measure and cut the wood. This is crucial because any errors in measurement or cutting can result in uneven arms that won’t fit properly onto your sofa.
To start, measure the length of your old armrests and add an inch or two on each side for an overhang. Then, using a saw, carefully cut out two identical pieces of wood according to your measurements.
As I was measuring and cutting my own armrests, I couldn’t help but feel a sense of satisfaction knowing that I was giving my beloved sofa a second chance at life. It’s amazing how something as simple as making new arms can completely transform its appearance!
Remember: precision matters when it comes to this DIY project. Take your time with measuring and cutting so you don’t waste materials or have crooked armrests.
Trust me; it’ll be worth it once you see how beautiful they look on your revamped sofa!
Assembling the Arms: Joining Forces
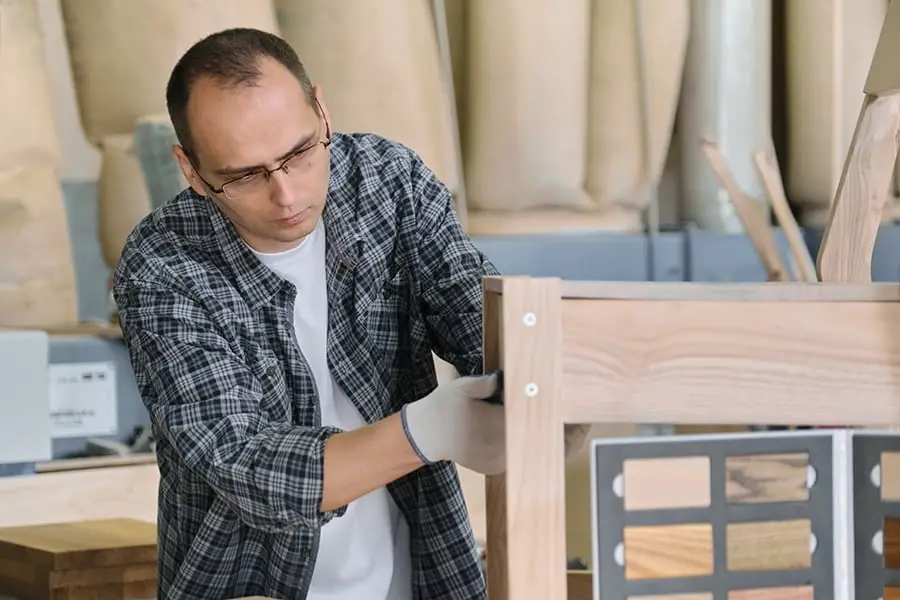
Now that we have the pieces of our sofa arms cut and sanded, it’s time to assemble them. This is where the real magic happens! Assembling the arms can be a bit tricky, but with some patience and attention to detail, you’ll have your new sofa looking brand new in no time.
Firstly, please take one of your arm panels and lay it flat on a work surface. Apply wood glue along one edge of this panel using a brush or applicator.
Then place another panel on top so that their edges are flush together.
Next up is joining forces – clamp these two panels together tightly using woodworking clamps at regular intervals along their length until they dry completely (usually overnight). Repeat this process for all remaining pairs of arm panels.
Once all glued joints are dry enough to hold themselves without clamps’ support (at least 24 hours), remove any excess glue from each joint by scraping or sanding lightly before proceeding further with assembly steps, such as attaching brackets or legs if needed depending upon design preferences!
With just a few simple steps like these above under your belt now- making custom-made furniture has never been easier!
Upholstery Magic: Dressing Up Your Creation
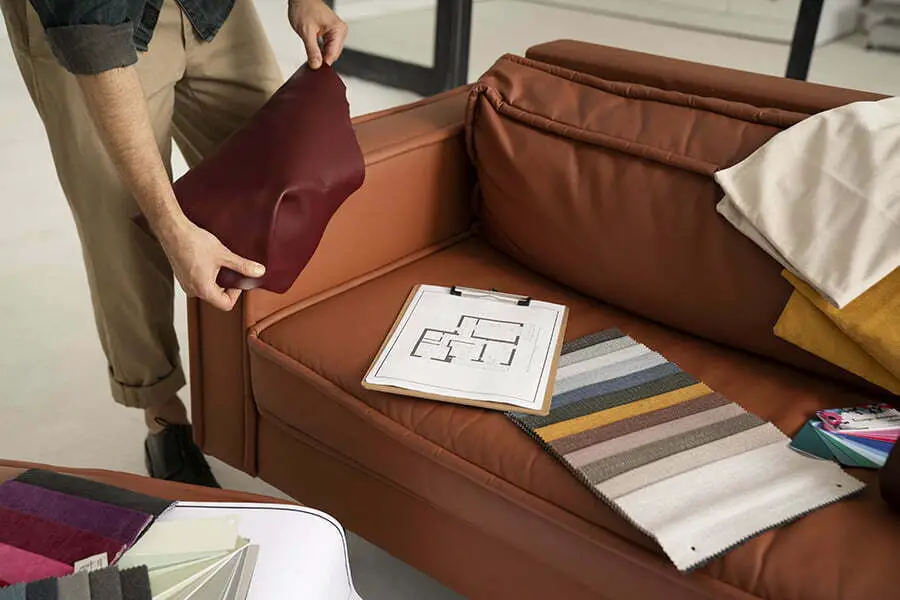
Once I had the basic structure of my sofa arms, it was time to give them a little personality. This is where upholstery comes into play.
Upholstery can transform any piece of furniture from drab to fab with just a few simple steps.
I decided to go for a classic look and chose an elegant fabric that would complement the rest of my living room decor. With some careful measuring and cutting, I covered each armrest with the fabric using staples and glue.
To add some extra flair, I also added piping along the edges using matching corded trim. The result was stunning! My old sofa looked brand new again, but this time with custom-made arms that were unique to me.
Upholstering your DIY sofa arms may seem daunting at first glance, but trust me when I say it’s easier than you think! Plenty of online tutorials can guide you through every step of the process if needed.
With just a little bit of creativity and patience (and maybe some help from YouTube), you too can create beautifully upholstered armrests for your beloved couch or loveseat without breaking the bank on expensive store-bought options!
Finishing Touches for a Happy Ending

After hours of sanding, cutting, and drilling, my new sofa arms were finally taking shape. I was thrilled with how they looked and couldn’t wait to attach them to the frame. However, before doing so, a few finishing touches needed attention.
Firstly, I applied wood filler to any gaps or imperfections in the arms’ surface. This step is crucial as it ensures a smooth finish once painted or stained.
Next up was sanding again – but this time with fine-grit paper – for an ultra-smooth surface that’s ready for painting or staining.
Once sanded down completely and wiped clean of any dust particles from sanding using a damp cloth, it was time for paint! You can choose whatever color you like best here- whether matching your existing sofa color scheme or going bold with something entirely different!
Finally came attaching the newly made arms onto my old friend (the sofa). It took some elbow grease, but I eventually got them securely attached using screws into pre-drilled holes on both sides of each armrest base plate underneath where they meet at either end near corners where cushions rest against backrests when seated upright comfortably without slouching forward too much while lounged out watching TV shows/movies all day long!
Making new arms for your old couch may seem daunting at first glance; however following these simple steps above, along with patience and perseverance, will lead you toward achieving great results!


