Last updated on
Discover the efficient way to transform your space. Use this guide to learn how to expertly drywall a pocket door frame.
Pocket doors are a fantastic way to save space and add a touch of elegance to your home. Not only do they look sleek, but they also provide an excellent solution for tight spaces where traditional hinged doors just won’t work.
However, installing a pocket door frame can be tricky, especially when it comes to drywalling around it. But fear not! With the right tools and techniques, you can easily drywall your pocket door frame like a pro.
In this article, we’ll guide you through the process step-by-step so that you can achieve a seamless finish that will make your pocket door look like it’s always been there. So let’s get started!
Key takeaways:
- Use precise measurements when drywalling a pocket door frame.
- Determine the type of wall and adjust installation accordingly.
- Remove the old door and inspect the doorway for repairs.
- Cut and remove the existing drywall carefully to make space.
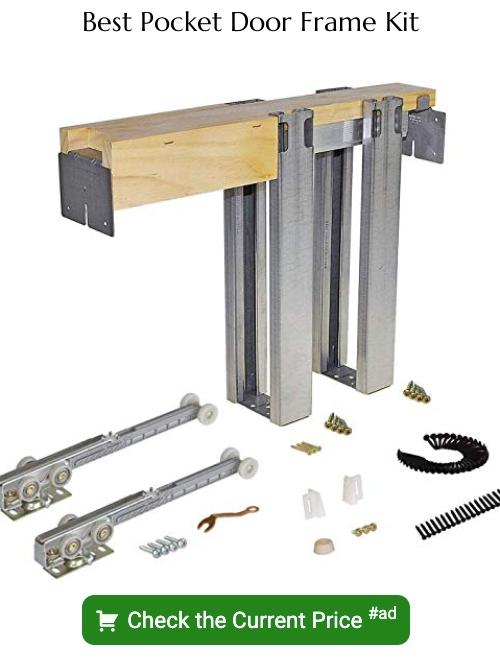
- Install a new header and pocket door slider kit for smooth operation.
Table of Contents
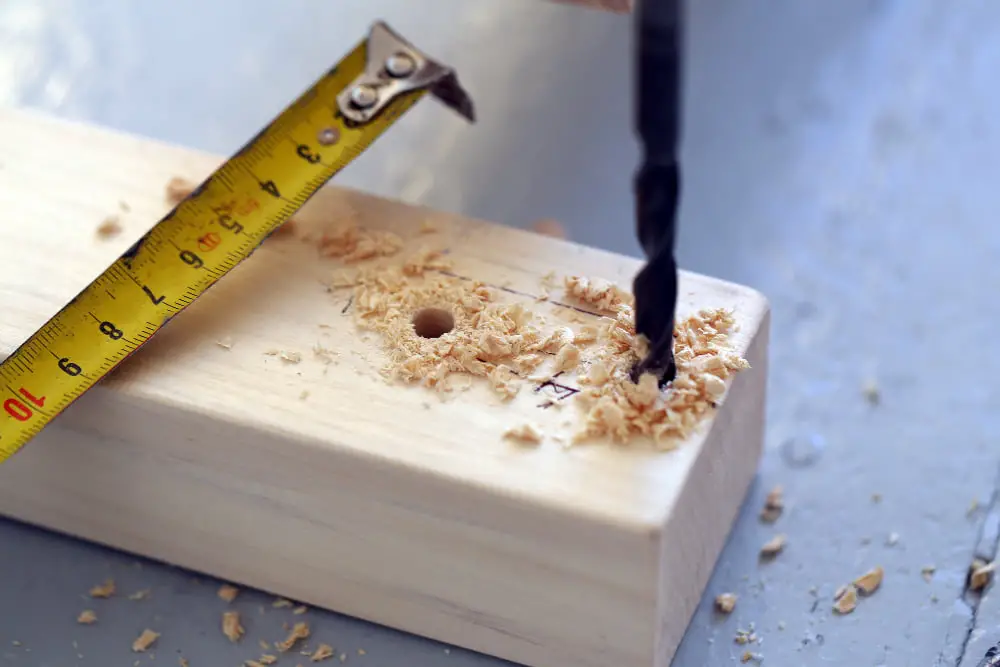
Measure the Space
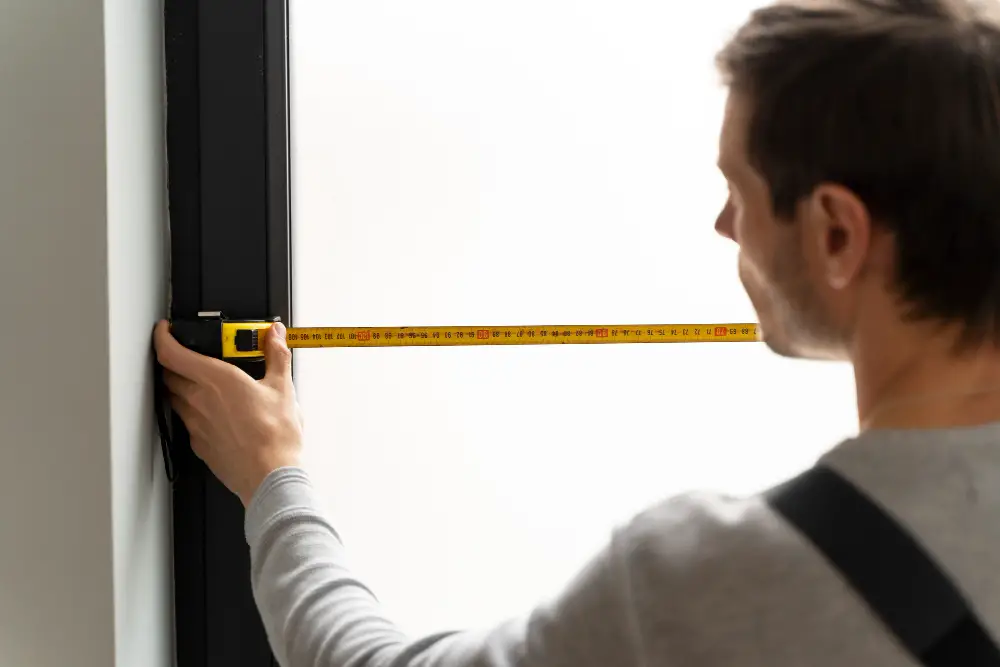
The first step in drywalling a pocket door frame is to measure the space where you want to install it. This will help you determine the size of your pocket door and ensure that it fits perfectly into the wall.
Measure both the height and width of your doorway, making sure to take accurate measurements from floor to ceiling.
Once you have measured your space, add an extra inch or two on each side for clearance when installing your new frame. It’s also important to consider any electrical outlets or switches that may be near the installation area as they can affect how much room you have available.
By taking precise measurements at this stage, you’ll save yourself time and frustration later on in the process by ensuring everything fits together seamlessly.
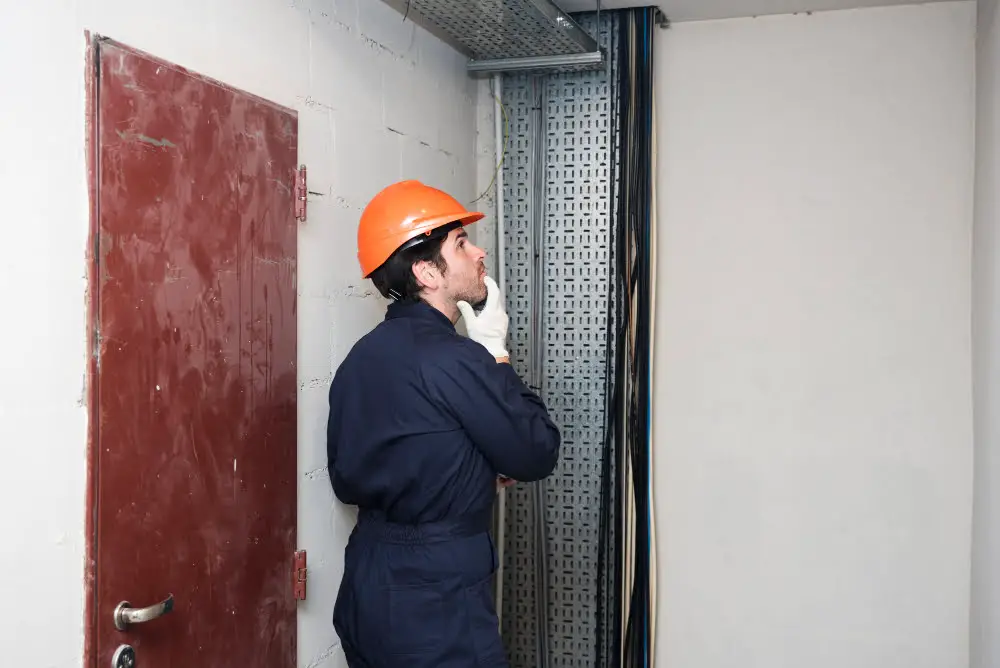
Determine Wall Type
This is because different walls require different techniques and tools for installation. For instance, if you have a load-bearing wall, then additional support may be necessary to ensure that the weight of the door doesn’t cause any structural damage.
To determine your wall type, use a stud finder or knock on the walls to listen for differences in sound between studs and hollow spaces. If there are no studs present where you want to install your pocket door frame, then it’s likely that this is not a load-bearing wall.
Once you’ve determined what kind of wall structure exists in your space, consult with an expert or research online resources about how best to proceed with installing drywall around your pocket door frame based on its specific needs.
Remove the Old Door
This step is crucial as it will give you a clear view of the space and allow for easier installation of your new pocket door. Start by removing any screws or nails that are holding the hinges in place using a screwdriver or pry bar.
Once all fasteners have been removed, gently lift the old door out of its frame and set it aside. Be sure to inspect both sides of the doorway for any damage or wear that may need repair before proceeding with installing your new pocket door.
With an open doorway, take measurements from floor to ceiling on both sides so that you can determine how much material will be needed when cutting studs later on in this process.
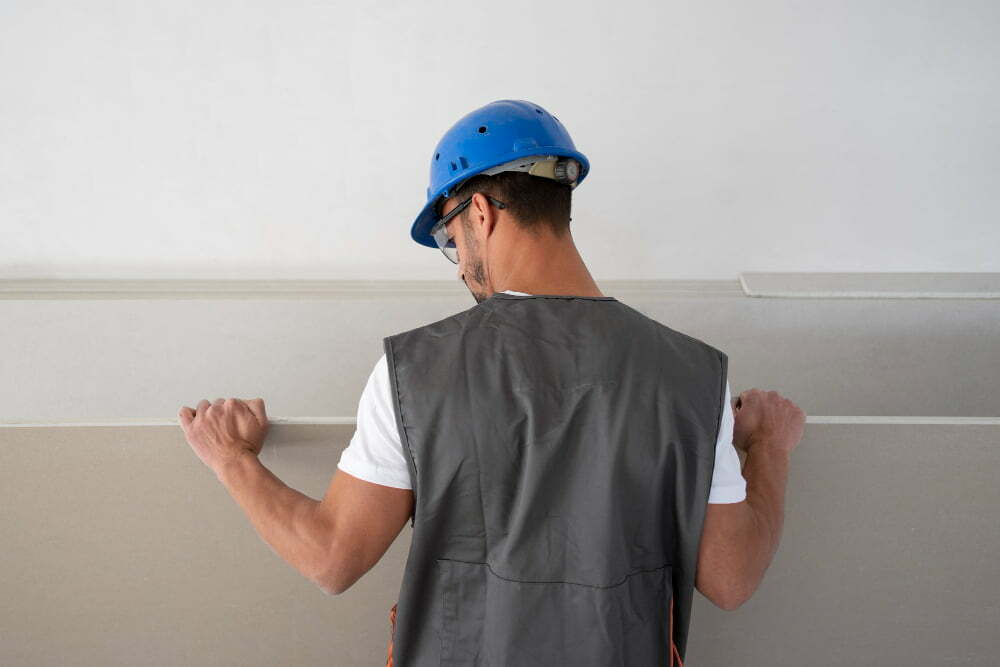
Remove the Drywall
This step is crucial as it will allow you to properly install your pocket door frame. Use a utility knife or drywall saw to carefully cut along the edges of where your old door was located.
Be sure not to damage any electrical wiring or plumbing that may be hidden behind the wall.
After cutting out all necessary sections of drywall, use a pry bar and hammer to gently remove each piece from its fasteners until they are completely detached from their respective studs.
Removing old drywall can be messy work, so make sure you wear protective gear such as gloves and goggles while working on this step.
Cut the Studs
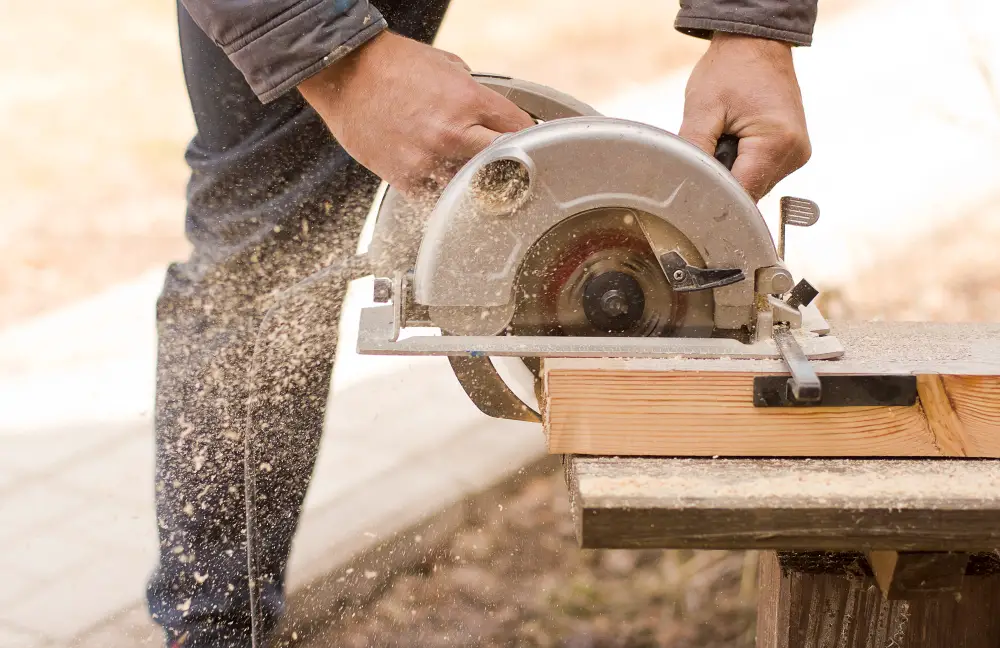
This step is crucial as it will allow you to create a space for your pocket door frame. First, measure and mark where you need to cut on each stud using a pencil or marker.
Then use a reciprocating saw or handsaw to carefully make the cuts.
It’s crucial that you only cut as much of each stud as necessary so that they remain structurally sound. Be sure not to damage any electrical wiring or plumbing pipes in the process.
After cutting all of the necessary studs, double-check your measurements before moving on with the installation of a new header and slider kit for pocket doors.
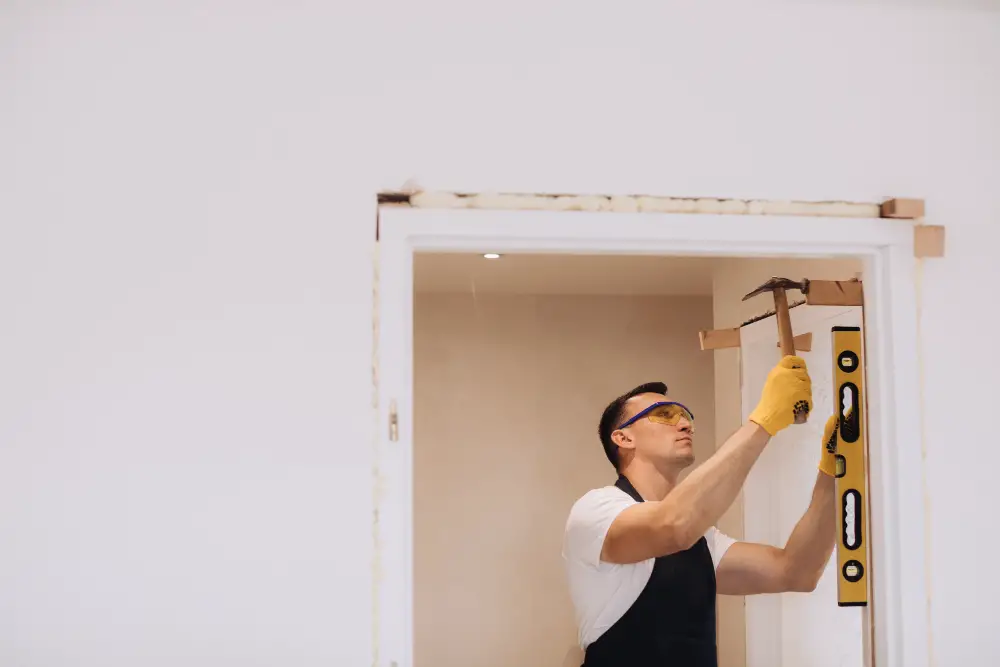
Install a New Header
The header is a critical component of your pocket door frame as it supports the weight of the wall above. To begin, measure and cut two pieces of 2×4 lumber to fit snugly between the studs on either side of your pocket door opening.
These will serve as jack studs that support both ends of your new header.
Next, measure and cut another piece of 2×4 lumber to match the length between these jack studs plus an additional inch on each end for overlap with them. This will be your new header.
Place this board horizontally across both jack studs so that its bottom edge aligns with their top edges. Use nails or screws to secure it in place by driving fasteners through each end into its corresponding jack stud.
Install Pocket Door Slider Kit
This kit will allow your door to slide smoothly into its pocket when opened or closed.
To begin, attach the hangers onto both sides of your door according to manufacturer instructions. Then, insert them into each end of the track that comes with your slider kit.
Next, carefully lift up on one side of your track and hook it onto one set of rollers attached to a hanger on the top of your frame opening. Repeat this process for the other side.
Adjust any necessary height adjustments using the screws provided in order for smooth operation before securing all hardware tightly in place.
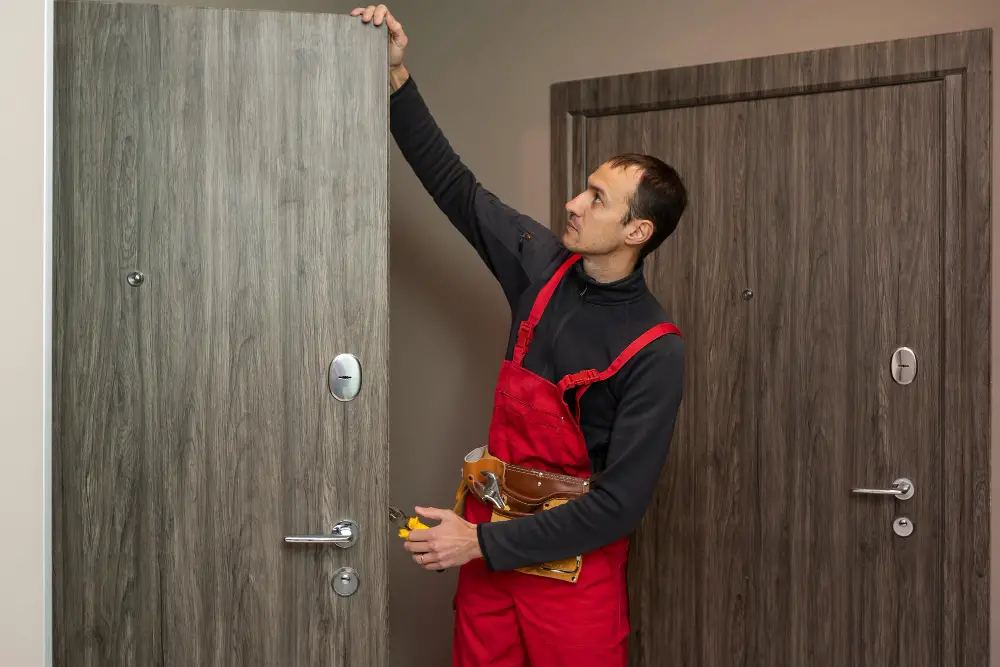
Install Door On Track
Start by lifting the door and placing it onto the rollers at an angle. Then, slowly lower one side of the door until both rollers are securely placed on their respective tracks.
Next, adjust any necessary height or leveling using a wrench or screwdriver to turn the adjustment screws located at each roller assembly. Make sure that your adjustments are even so that your pocket doors slide smoothly without any hitches.
Test out your new pocket doors by sliding them back and forth a few times to ensure they move freely along their tracks without getting stuck or jammed up against anything else in their path.
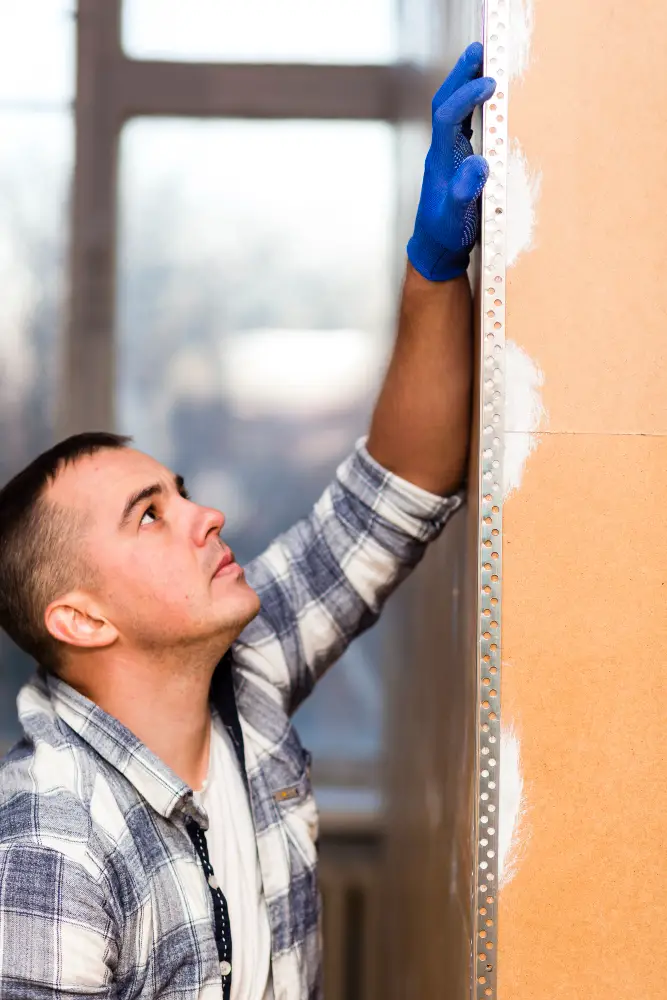
Repair the Drywall
This step is crucial in achieving a seamless finish that blends in with the rest of your wall. Start by filling any gaps or holes around the frame with joint compound using a putty knife.
Be sure to apply enough compound so that it fills all gaps and covers any screws or nails used during installation.
Next, use sandpaper to smooth out any rough spots on the surface of the joint compound once it has dried completely. You may need to repeat this process several times until you achieve a smooth and even surface.
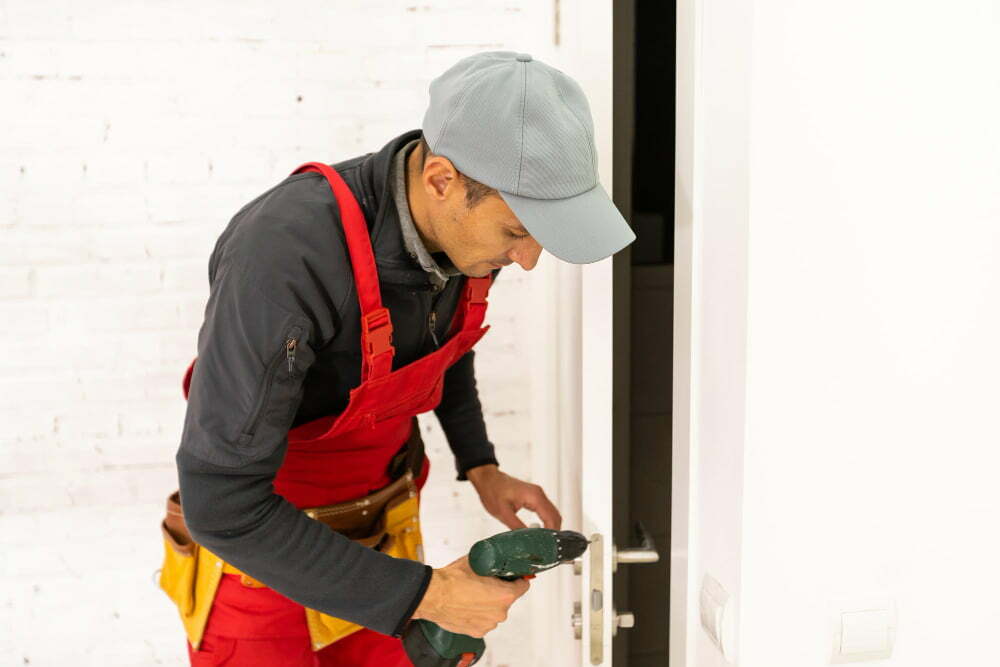
Install Latch
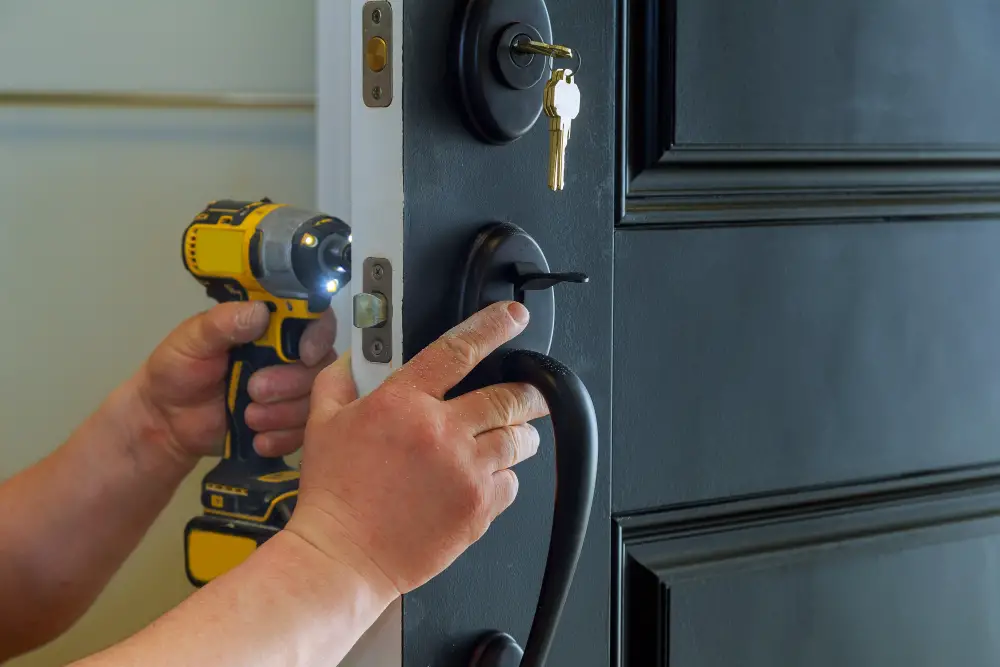
The latch is what keeps your pocket door securely closed and prevents it from sliding open unexpectedly. To install the latch, first, mark where you want it to go on both sides of the door jamb using a pencil or marker.
Next, use a drill bit that matches the size of your chosen hardware screws to make pilot holes for each screw. Then attach one side of your chosen hardware (either a hook or loop) onto one side of the jamb with screws.
Close your pocket door and hold up its corresponding piece (hook or loop) against its marked spot on the opposite jamb until they align perfectly together when closed. Use this as an opportunity to ensure that everything lines up correctly before drilling any more holes.
Drill pilot holes into this second location through which you can secure another piece (hook/loop).
Install Door Trim
Installing door trim is a simple way to give your pocket door frame a polished look. First, measure and cut pieces of trim that will fit around the perimeter of your doorway.
Then, use a nail gun or hammer and nails to attach them securely in place.
If you want an even more professional finish, consider adding corner blocks at each corner where two pieces of trim meet. These decorative blocks not only provide additional support but also add visual interest.
Fill any nail holes with wood filler or putty before sanding down any rough edges for a smooth finish. Once everything is dry and sanded down properly, paint or stain as desired for an elegant final touch that will make all the difference in transforming your space into something truly special!
FAQ
Do you install pocket doors before or after drywall?
Answer: You install a pocket door before drywall, as the pocket serves as a sturdy replacement for the wall section and is then covered with drywall, trim, and paint.
Can I install a pocket door without removing the drywall?
Yes, you can install a pocket door without removing drywall by lifting the door off the sliding track and removing the trim around the door.
What is the proper technique for attaching drywall around a pocket door frame?
The proper technique for attaching drywall around a pocket door frame involves cutting and fastening the drywall to fit precisely against the frame, ensuring no gaps or bulges for smooth operation.
What specific tools and materials are needed for drywall installation on a pocket door frame?
Answer: The specific tools and materials needed for drywall installation on a pocket door frame are drywall sheets, a utility knife, a drywall saw, joint tape, a joint compound, a drywall lift, and a screw gun.
How do you properly finish and blend the drywall seams around a pocket door frame?
To properly finish and blend the drywall seams around a pocket door frame, apply joint compound, tape, sand, and feather the edges for a smooth and seamless finish.


