Last updated on
Discover the step-by-step process of rebuilding door panels, transforming your home’s appearance with this simple yet effective guide.
Doors are an essential part of any home, and their panels play a significant role in both the aesthetics and functionality of the door. However, over time, wear and tear can take its toll on these panels, leaving them damaged or outdated.
Fortunately, rebuilding door panels is a simple process that can be done with just a few tools and some basic know-how. In this article, we’ll guide you through the steps to rebuild your door panels so you can restore your doors to their former glory without breaking the bank.
So let’s get started!
Key takeaways:
- Assess the damage and determine whether repair or replacement is needed.
- Carefully remove trim and hardware before cutting through adhesive to remove old panels.
- Gather necessary tools including screwdriver, pliers, measuring tape, saw, and sandpaper.
- Select replacement materials that are durable, complement your decor, and consider environmental factors.
- Measure door dimensions accurately and cut new panels to fit before applying adhesive and securing in place.
Table of Contents
Assessing Damaged Door Panels

Before you can begin rebuilding your door panels, it’s essential to assess the damage and determine whether they need repairing or replacing. Start by examining each panel for cracks, chips, or other signs of wear and tear.
If the damage is minor, such as a small crack or chip in the surface layer of wood or laminate material, you may be able to repair it with some wood filler and sandpaper.
However, if there are significant structural issues like warping due to moisture exposure that have caused severe cracking on multiple panels throughout your door frame – then replacement will likely be necessary. In this case – don’t worry! Replacing damaged door panels isn’t as daunting as it sounds; with our guide below outlining all steps involved from start-to-finish so that even novice DIYers can tackle this project successfully.
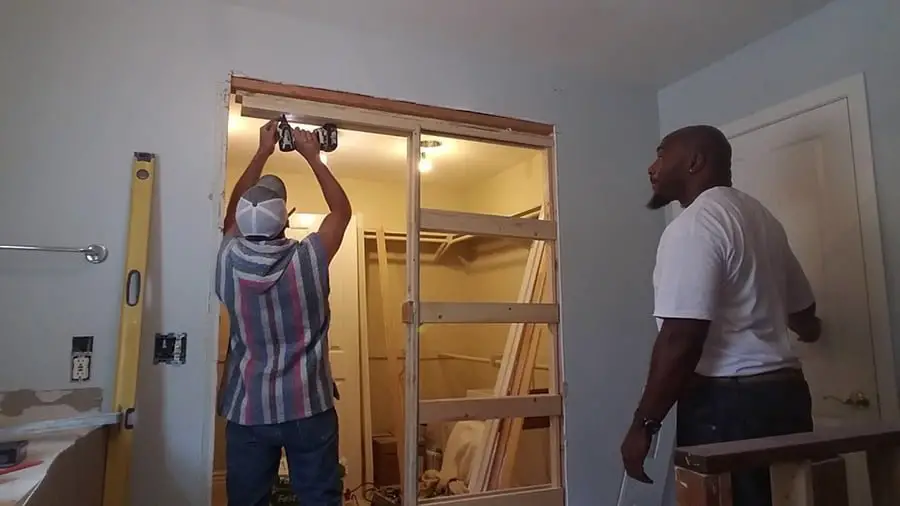
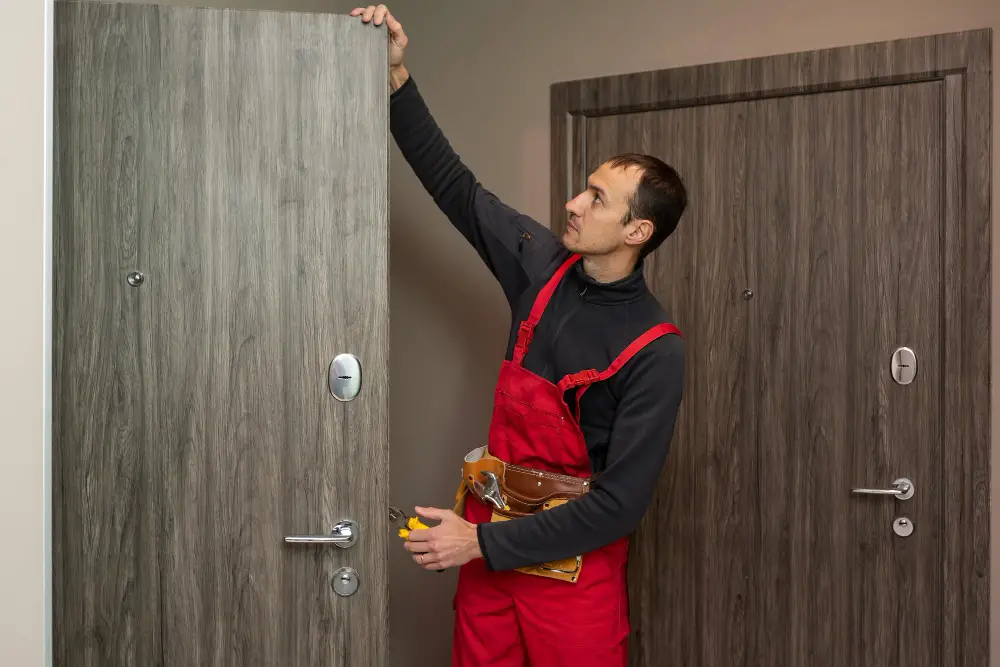
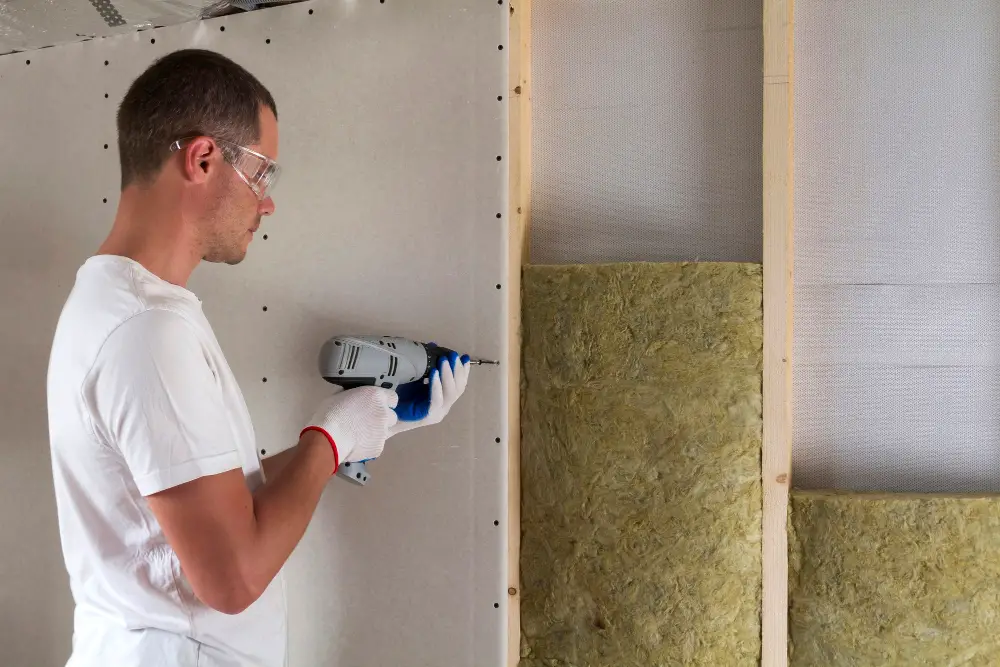
Removing Old Door Panels
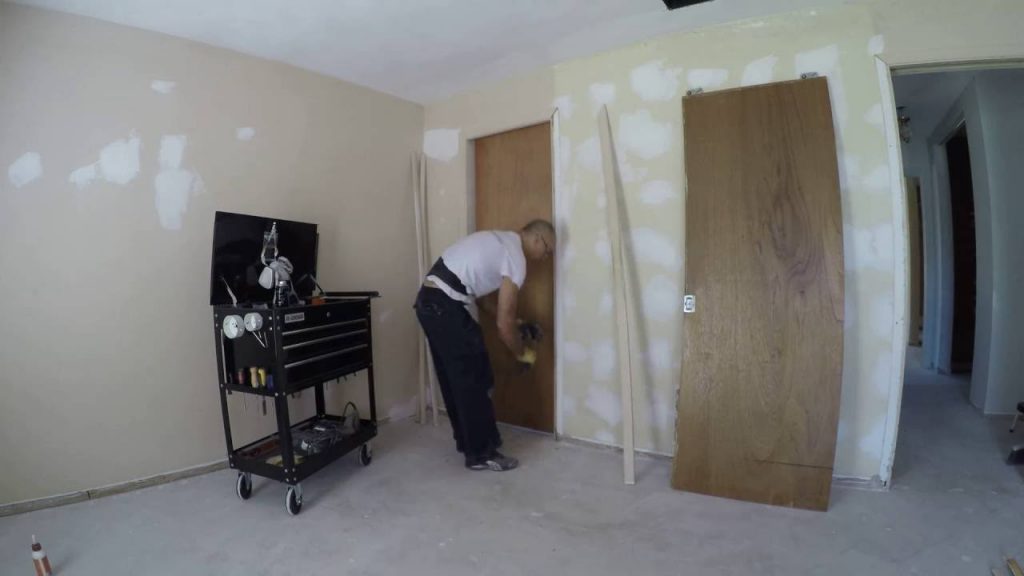
This step is crucial in ensuring a smooth and successful rebuild of your door panel.
To begin, carefully remove any trim or hardware attached to the old panel using a pry bar or screwdriver. Be sure not to damage any surrounding areas during this process.
Next, use a utility knife or saw blade to cut through any adhesive holding the panel in place. Slowly work around all edges of the panel until it can be removed from its frame.
If there are stubborn spots that won’t come loose with cutting alone, try using heat from a hairdryer on high setting for several minutes before attempting again with cutting tools.
With patience and care, removing old door panels should be relatively straightforward.
Gathering Necessary Tools
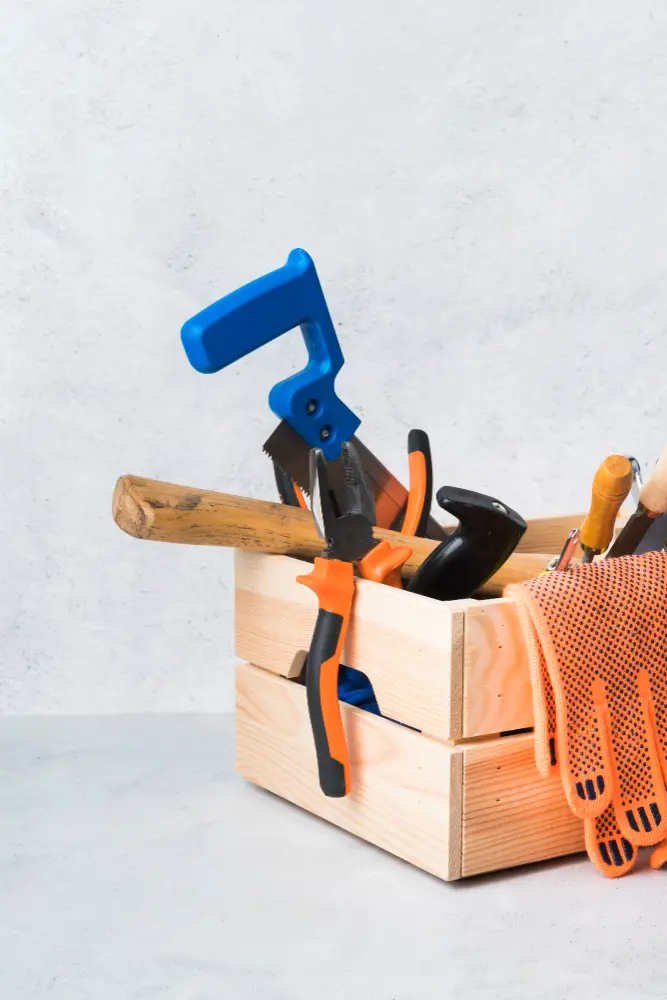
Before starting any project, it’s essential to ensure that you have all of the required tools on hand. This will save you time and frustration in the long run.
To rebuild your door panels, here are some of the essential tools that you’ll need:.
- Screwdriver
- Pliers
- Utility knife or box cutter
- Measuring tape or ruler
- Saw (hand saw or power saw)
- Sandpaper (medium grit)
- Adhesive glue (such as wood glue)
- Depending on your specific project needs, there may be additional materials required such as replacement panel material and trim pieces. Be sure to check with a hardware store professional if unsure about what is needed for your particular job.
Selecting Replacement Materials
First and foremost, you’ll want to choose a material that is durable and long-lasting. Some popular options include wood, MDF (medium-density fiberboard), PVC (polyvinyl chloride), or metal.
Another important factor is the style of your home’s decor. You’ll want to select a material that complements the existing design elements in your space while also providing an updated look.
Consider any environmental factors such as humidity or temperature changes in your area when choosing materials for exterior doors.
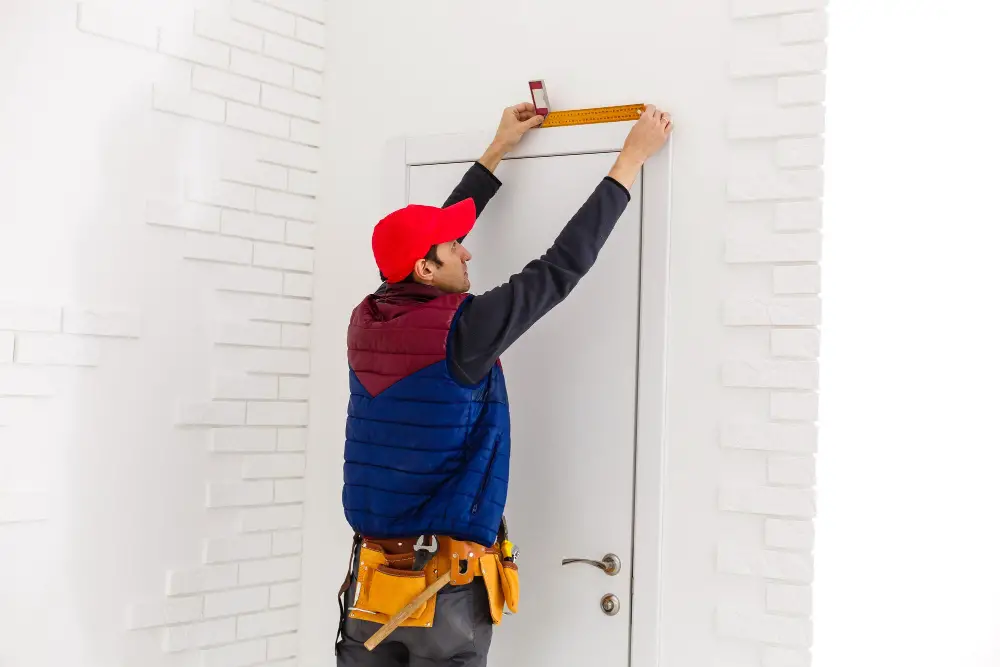
Measuring Door Dimensions
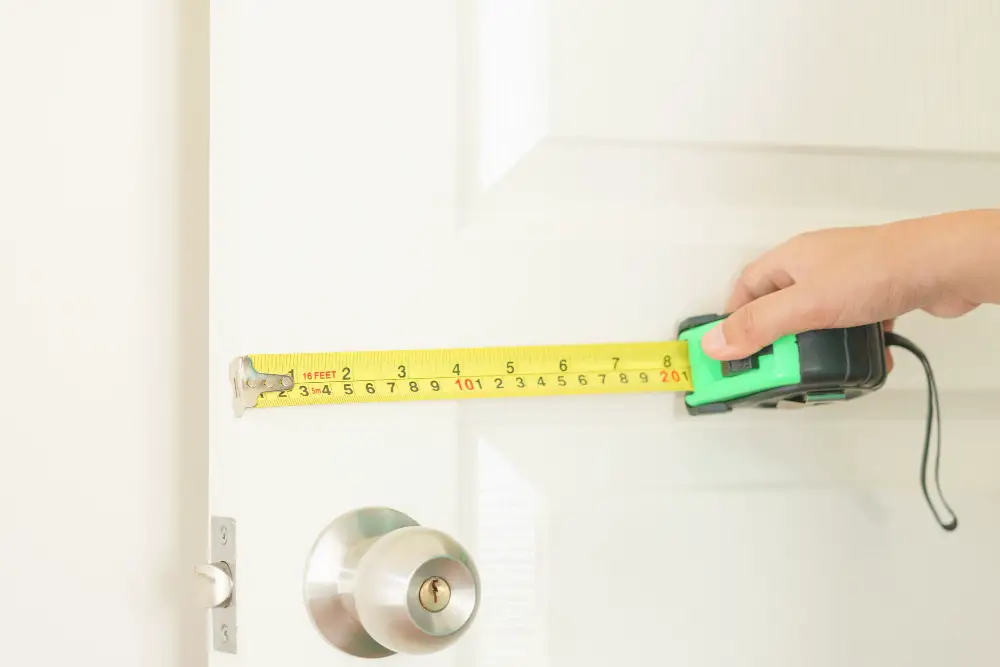
This step is crucial because it ensures that the new panels fit perfectly and function correctly. To get started, use a tape measure to determine the height and width of both the interior and exterior sides of your door frame.
When measuring for replacement materials, be sure to add an extra inch or two on each side so that you have enough material to work with when cutting down later. Take note of any curves or angles in your panel design as these will require more precise measurements.
Once you’ve taken all necessary measurements, record them carefully on paper or digitally for easy reference during later steps in this process.
Repairing or Replacing the Door Panel Frame
If there is any damage or rotting in the frame, it will need to be repaired or replaced before installing a new panel.
To repair a damaged door panel frame, start by removing any loose wood and sanding down rough edges. Then apply wood filler to fill in gaps and holes before sanding again for a smooth finish.
If your door panel frame is beyond repair, replacing it may be necessary. Begin by measuring the dimensions of your existing doorframe so that you can purchase an appropriate replacement at your local hardware store.
When installing a new doorframe, ensure that all measurements are accurate and level using shims if necessary for support during installation.
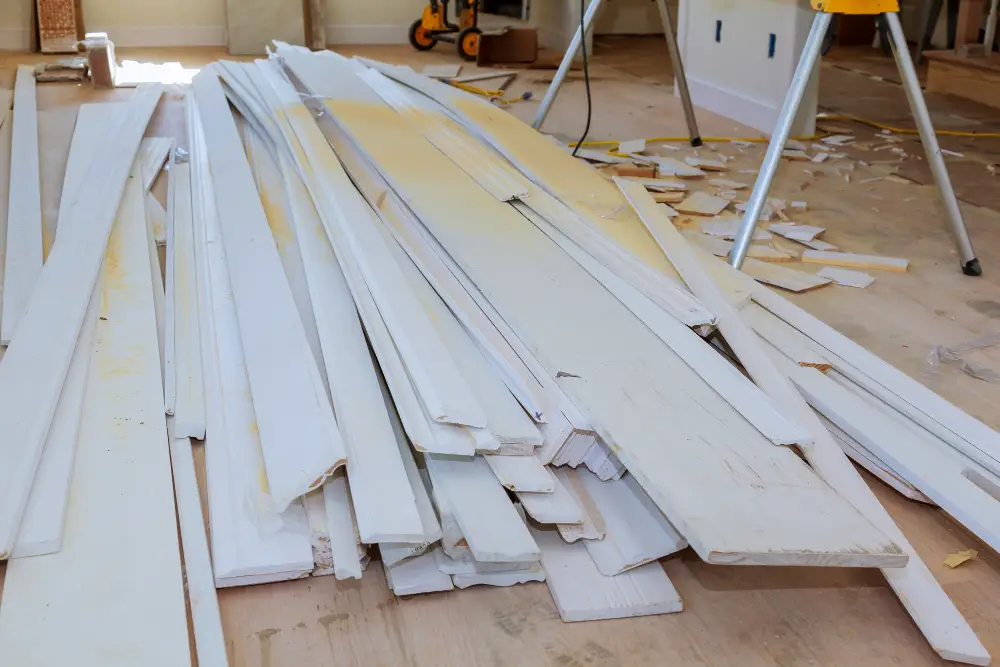
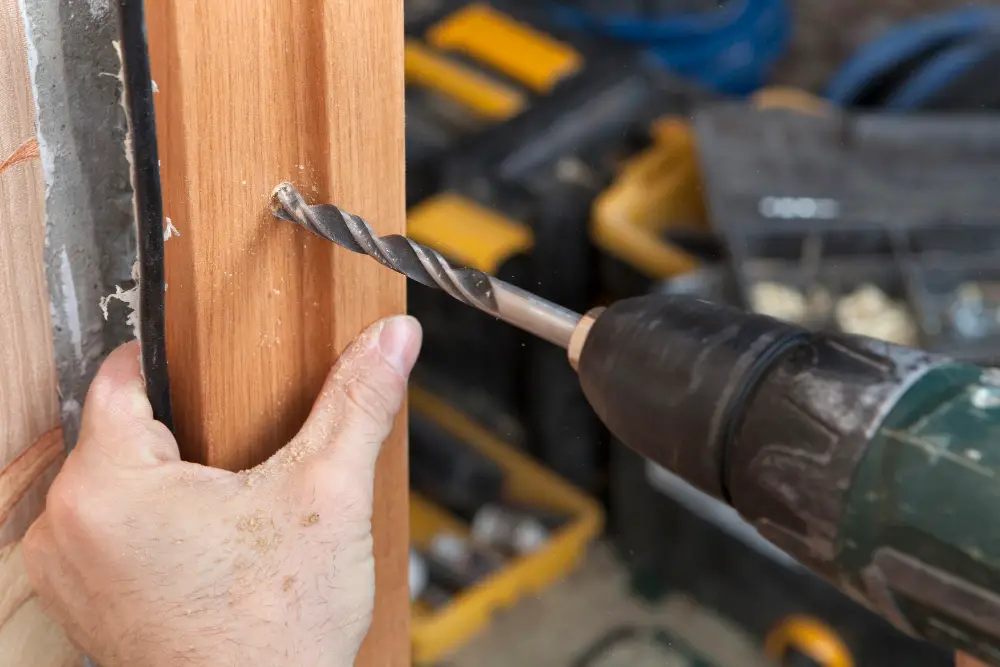
Cutting New Panels
This step is crucial as it determines how well your new door panel will fit into place. To begin, measure the dimensions of your old panel accurately using a measuring tape or ruler.
Next, transfer these measurements onto your replacement material using a straight edge or T-square to ensure that you get precise cuts. You can use various materials for this purpose such as plywood, MDF board or even solid wood depending on what suits your needs best.
Using a jigsaw with an appropriate blade (fine-toothed blades work best), carefully cut along the lines marked on the material until you have created all necessary pieces for each section of the door panel.
Remember to take extra care when cutting around any curves in order not to damage any adjacent areas of undamaged woodwork.
Preparing the New Door Panel Material
The first step is to measure and cut the new panels according to the dimensions of your door frame. Use a measuring tape and a straight edge or square tool to ensure accurate measurements.
Next, use a jigsaw or circular saw with a fine-toothed blade to cut out each panel piece from your chosen material. Be sure that each piece fits snugly into its designated space in the door frame.
After cutting out all of the necessary pieces, sand down any rough edges using sandpaper until they are smooth and even. This will help prevent splinters or other damage when handling them during installation.
Wipe down each panel with a clean cloth dampened with water or rubbing alcohol before applying adhesive so that they are free from dust and debris that could interfere with adhesion later on.
Applying Adhesive to Panels
This step is crucial in ensuring that your door panels stay securely in place for years to come. Begin by applying a thin layer of adhesive onto the back of each panel using a putty knife or similar tool.
Be sure not to use too much glue as this can cause it to seep out from under the panel and create an unsightly mess.
Next, carefully position each panel onto its corresponding section on the door frame, making sure that they are aligned correctly and fit snugly into place. Use clamps or weights if necessary until the adhesive has fully cured.
It’s important not to rush this process as allowing sufficient time for curing will ensure maximum adhesion strength between your new panels and their respective frames.
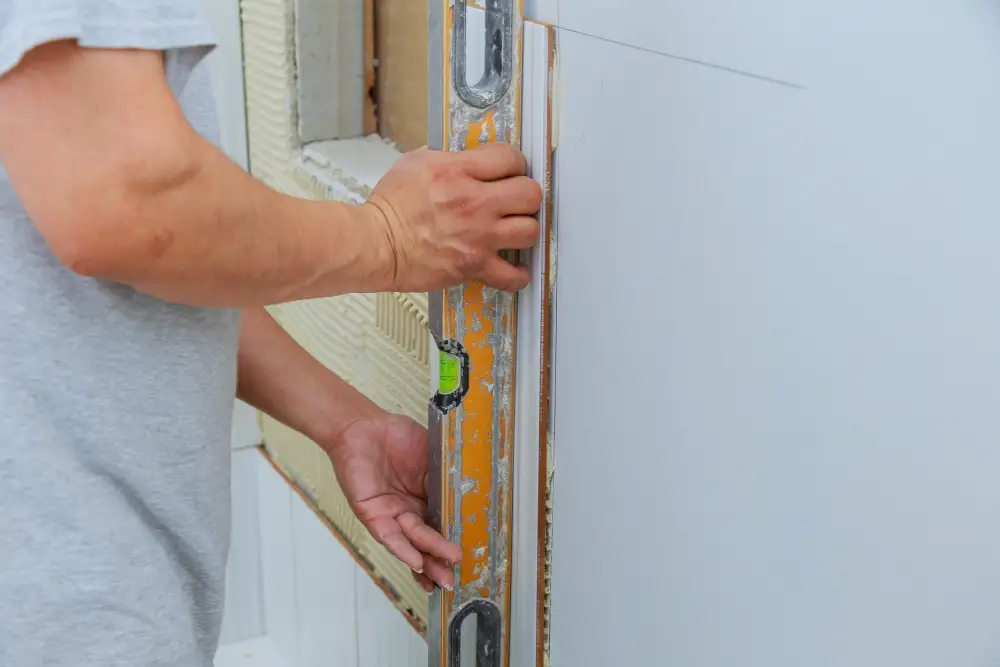
Fitting Panels Securely
Begin by positioning the panel in the frame and ensuring that it fits snugly. If necessary, trim any excess material from the edges of the panel until it fits perfectly.
Next, apply a generous amount of adhesive to both sides of the panel where it will come into contact with the frame. Be sure to spread out an even layer so that there are no gaps or air pockets between the two surfaces.
Press firmly on each corner and edge of your new door panel as you work your way around its perimeter. This will help ensure a tight bond between all parts involved in holding up this piece together.
Allow ample time for drying before proceeding with further steps such as attaching hardware or sealing edges – typically 24 hours is enough but check manufacturer instructions if using specific adhesives.
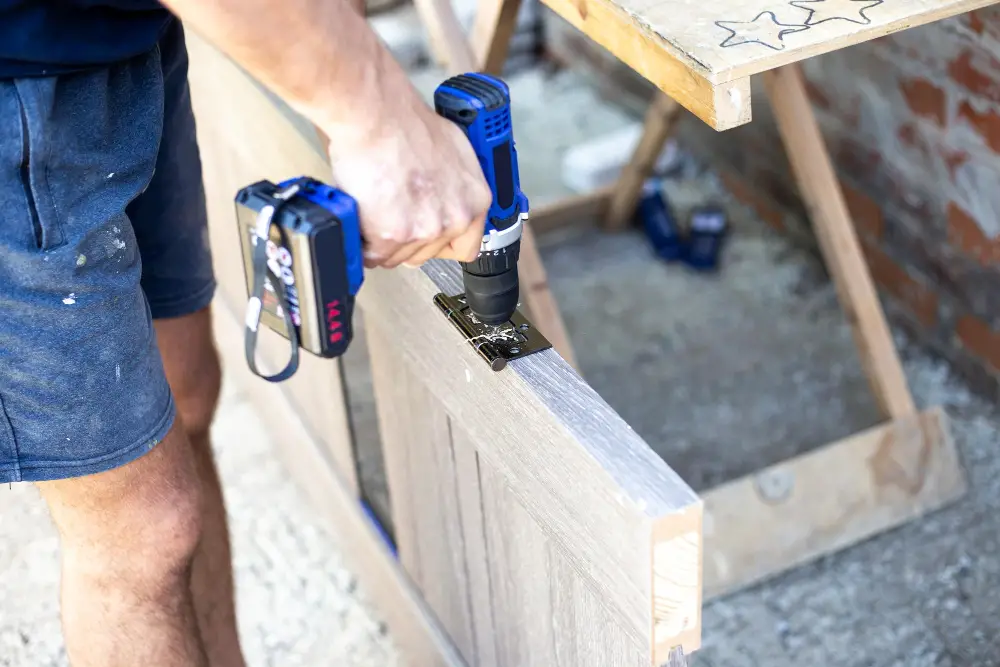
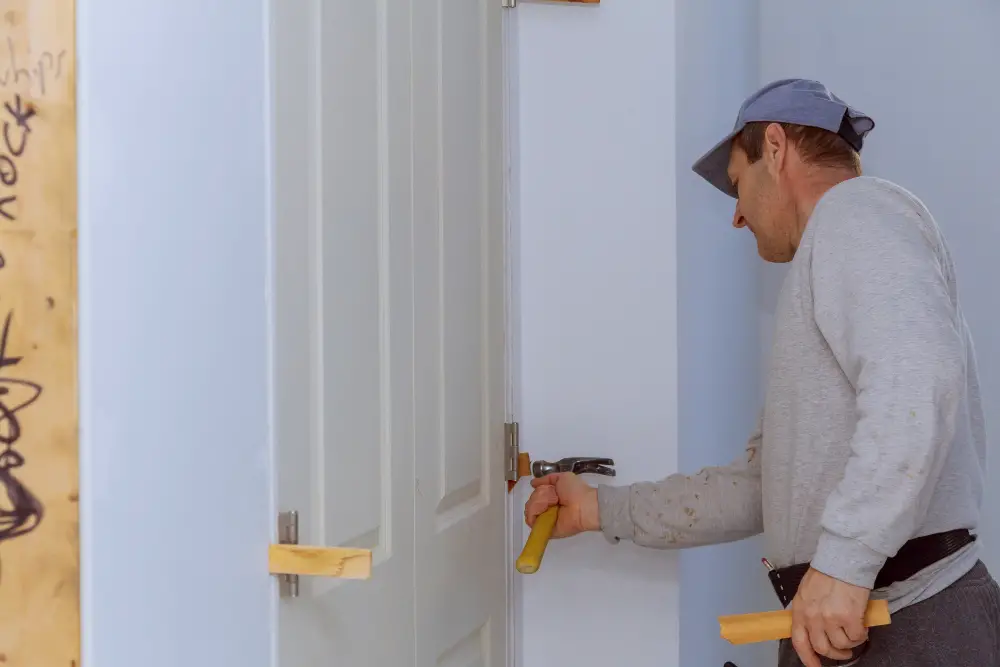
Attaching Trim and Hardware

This step is crucial for both the functionality and appearance of your doors. First, measure and cut any trim pieces to fit around the edges of your new panels using a saw or utility knife.
Then, use finishing nails or adhesive to secure them in place.
Next, install any necessary hardware such as doorknobs or locks according to manufacturer instructions. Make sure they are properly aligned with their corresponding components on the door frame before tightening screws.
Take a moment to inspect your work closely for any gaps between panel edges and trims that may need filling with wood filler or caulk before painting or staining.
Sealing Panel Edges
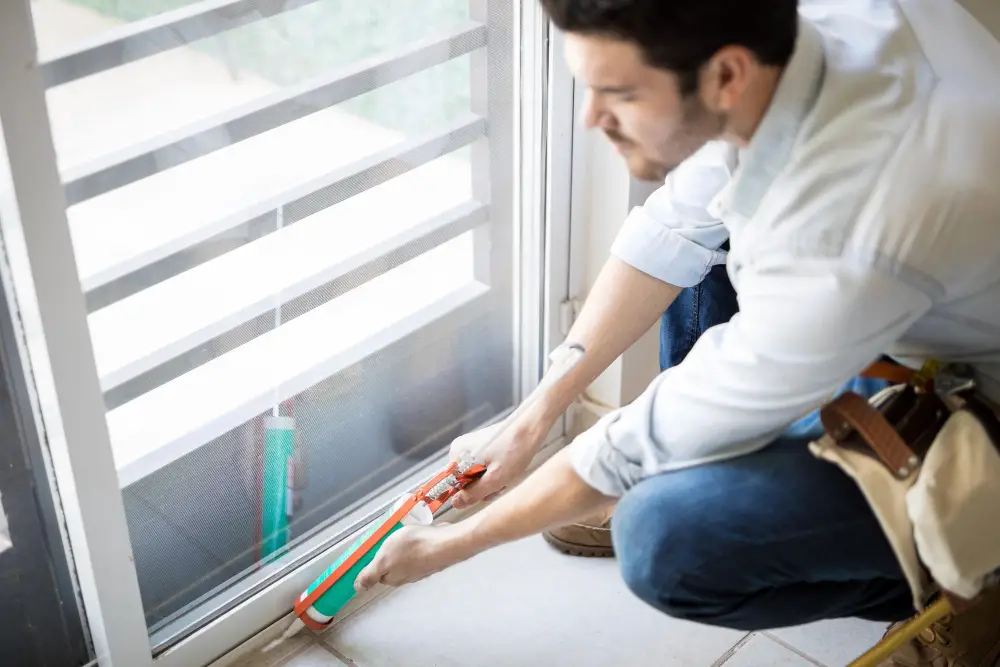
This step is crucial as it helps prevent moisture and air from seeping through the gaps between the panel and frame, which can cause damage over time. To seal panel edges, use a silicone-based caulk or weatherstripping tape that matches your door’s color.
Apply a thin bead of caulk along each edge of the panel where it meets with the frame. Use your finger or a caulking tool to smooth out any excess caulk and ensure an even application.
If using weatherstripping tape, cut strips to fit along each edge of the panel before applying them.
Allow ample drying time for either method before reattaching hardware or painting/finishing your new panels.
Painting or Finishing Panels
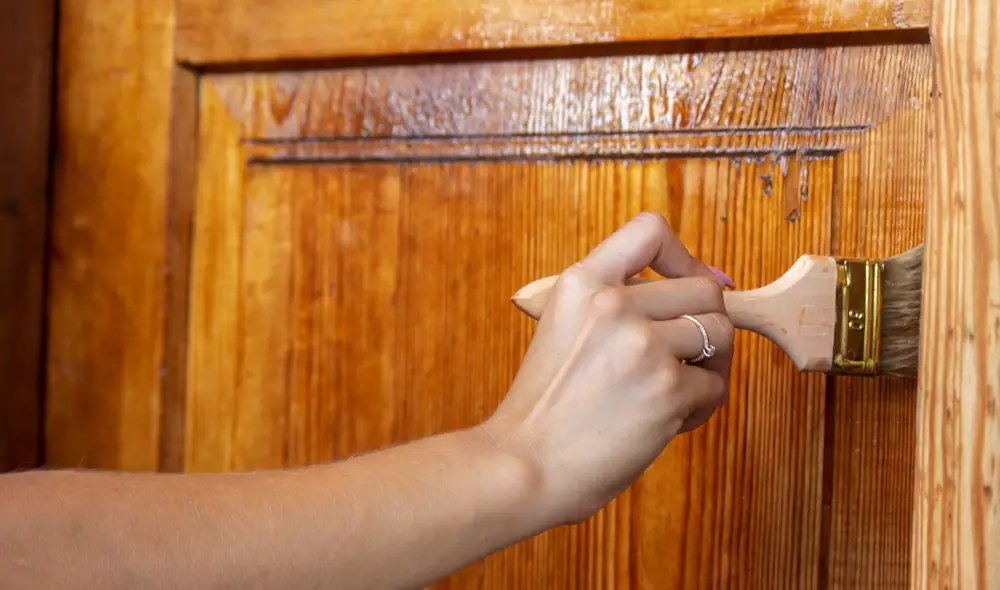
This step is crucial as it not only enhances the appearance of your doors but also protects them from damage caused by moisture and other environmental factors.
Before painting or finishing, ensure that the adhesive has dried completely. Sand down any rough edges on the panel surface using fine-grit sandpaper to create a smooth surface for painting or staining.
When selecting paint colors, consider your home’s overall color scheme and choose a shade that complements it. You can use either oil-based paints or water-based latex paints depending on personal preference.
If you prefer natural wood finishes instead of painted surfaces, apply a clear coat sealer after sanding down any rough spots in preparation for staining. Stains come in various shades ranging from light to dark tones; select one that matches your desired look.
After applying paint or stain evenly across all panels’ surfaces with brushes designed specifically for this purpose let dry according to manufacturer instructions before reassembling door components and ensuring proper function during final inspection.
Installing Door Panel
Begin by placing the panel into the frame and ensuring that it fits snugly. If necessary, trim any excess material from the edges of the panel until it fits perfectly.
Next, apply a generous amount of adhesive to both sides of the door panel and press firmly into place. Be sure to smooth out any bubbles or wrinkles in the material as you go.
Once your new panels are securely attached, reattach any hardware or trim pieces that were removed during disassembly. This may include handles, locks, hinges or decorative elements such as molding.
Inspect your newly installed door panels for proper function before completing final adjustments and cleaning up debris from installation.
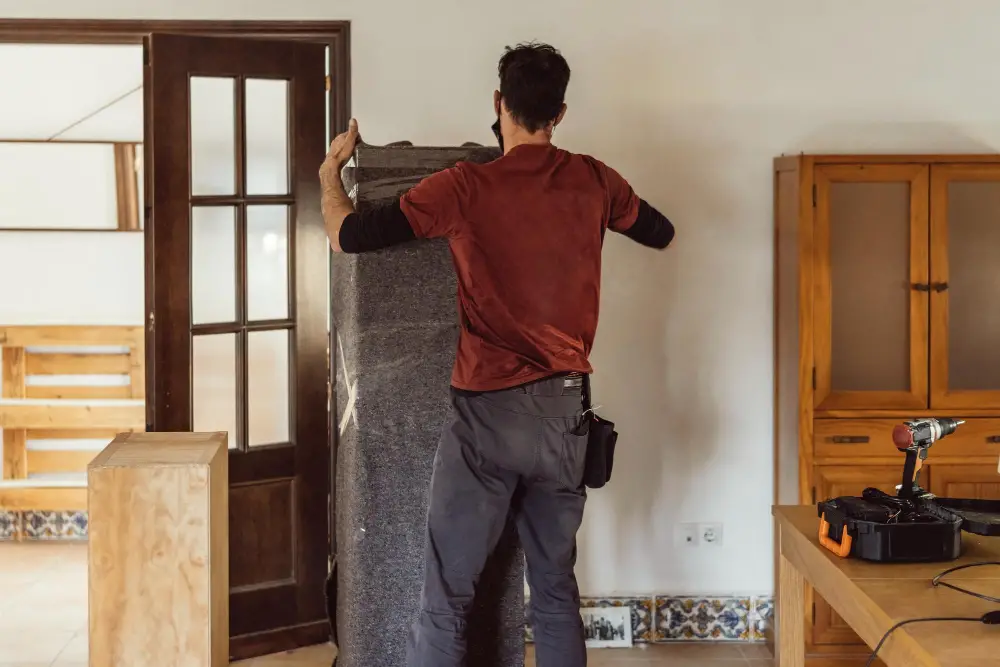
Reassembling Door Components
Begin by replacing any insulation or soundproofing material that was removed during disassembly. Then, carefully reinstall any hardware such as locks, handles and hinges according to manufacturer instructions.
Make sure all screws are tightened properly and aligned correctly with their respective holes. If necessary, adjust the position of these components until they fit snugly against the new panel.
Replace any trim pieces that were removed earlier using a hammer and finishing nails or adhesive depending on your preference. Take care not to damage surrounding areas when nailing in trim pieces.
Ensuring Proper Function
Check that the door opens and closes smoothly without any resistance or sticking. If there are any issues, adjust the hinges until they are aligned correctly.
Next, test out your lock mechanism to make sure it works as intended. Ensure that all hardware is securely fastened and tightened in place.
Inspect your newly rebuilt door panel for any gaps or misalignments around its edges. These can cause drafts and reduce energy efficiency in your home if left unaddressed.
Final Door Panel Inspection and Adjustment
Start by checking the fit of the panel within the frame. Make sure there are no gaps or spaces between the panel and frame, which could allow drafts or moisture into your home.
Next, test out any hardware that was reattached during installation such as locks and handles. Ensure they operate smoothly without any sticking or resistance.
Open and close your newly rebuilt door several times to check for proper function. The door should swing freely without rubbing against its frame or threshold.
Cleaning and Maintenance Tips
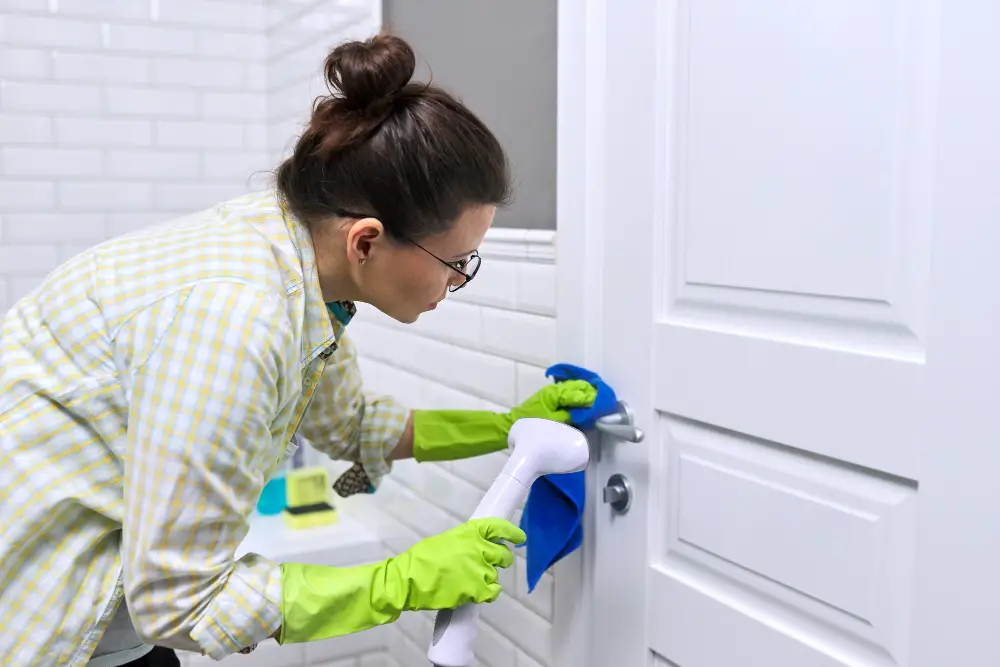
Regular cleaning is essential in preventing dirt and grime buildup that can damage the panel material or cause discoloration. Use a soft cloth or sponge with mild soap and water solution to clean the surface of your door panels gently.
Avoid using harsh chemicals, abrasive cleaners, or rough scrubbers as these can scratch the surface of your newly installed panels. Inspecting your doors periodically for any signs of wear and tear will help you catch any issues early on before they become more significant problems.
If you notice any cracks or chips in the panel material over time, repair them promptly by following our guide above.
Proper Door Panel Maintenance
Here are some tips on how to keep your newly restored door panels in top condition:.
- Regularly clean the surface of the panel with a soft cloth and mild soap solution.
- Avoid using abrasive cleaners or harsh chemicals that can damage the finish.
- Inspect your door panels periodically for signs of wear and tear, such as cracks or peeling paint.
- Repair any damages promptly before they worsen over time.
- Lubricate hinges and other moving parts regularly with a silicone-based lubricant.
By following these simple maintenance tips, you can extend the life of your newly rebuilt door panels while keeping them looking their best year after year!.
FAQ
What kind of glue to use on door panels?
For door panels, use a multipurpose, heavy-duty adhesive spray like 3M’s Super 77.
What material is used for car door panels?
Car door panels are typically made of plastic, often using injection moulding, and incorporate decorative materials like vinyl, leather, cloth, or carpet.
How to remove and reinstall car door panels without causing damage?
To remove and reinstall car door panels without causing damage, carefully pry off the panel using a suitable tool, disconnect any wiring, then align and reattach the panel, ensuring all clips and connections are secure.
What tools are required for a DIY door panel restoration project?
To perform a DIY door panel restoration project, essential tools include a screwdriver, pliers, a trim removal tool, sandpaper, paint, and a paintbrush.
Are there any step-by-step guides or tutorials for rebuilding car door panels?
Yes, there are step-by-step guides and tutorials available for rebuilding car door panels by searching on the internet or referring to automotive repair manuals.


