Last updated on
Discover the seamless way to enhance your cabinetry’s appearance by learning how to install hidden cabinet door hinges with our easy-to-follow guide.
Are you tired of unsightly cabinet hinges ruining the aesthetic of your beautifully designed kitchen? Look no further than hidden cabinet door hinges. These innovative hinges are the perfect solution for achieving a seamless and elegant look in any room.
In this blog post, we’ll guide you through the process of installing hidden cabinet door hinges step by step, so you can achieve a professional-looking finish without breaking the bank. Get ready to transform your space with this simple yet effective upgrade!
Key takeaways:
- Hidden cabinet door hinges provide a seamless and elegant look.
- Types of hidden hinges include European hinges, overlay concealed hinges, and inset concealed hinges.
- Tools required for installation include a drill, forstner bit, chisel, screwdriver or drill with screwdriver attachment, measuring tape, and level.
- Measure each cabinet door individually for accurate hinge placement.
- Install hinges by attaching one half to the cabinet frame and the other half to the door panel, and adjust for alignment using adjustment screws if needed.
Table of Contents
Types of Hidden Hinges
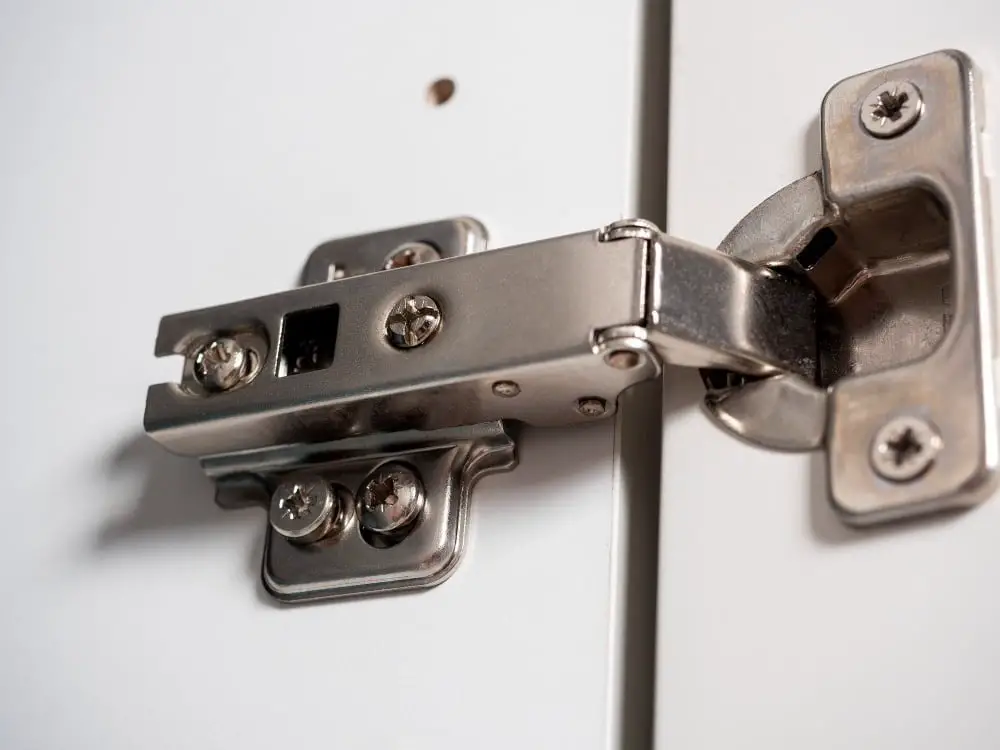
When it comes to hidden cabinet door hinges, there are a few different types to choose from. The most common type is the European hinge, which is also known as a concealed hinge or cup hinge.
This type of hinge consists of two parts: one part attaches to the cabinet frame and the other part attaches to the back of the door.
Another popular option is an overlay concealed hinge, which sits on top of both surfaces and can be adjusted for height and depth. These hinges are ideal for cabinets with face frames because they allow you to adjust how much your doors overlap with each other.
There’s an inset concealed hinge that sits inside a mortise cut into both surfaces. This type provides maximum support but requires more precision when installing than others.
Tools Required
Most of these items are likely already in your toolbox. Here’s what you’ll need:
- Drill
- Forstner bit (the size will depend on the hinge)
- Chisel
- Screwdriver or drill with screwdriver attachment
- Measuring tape
- Level
Before beginning the installation process, make sure to gather all necessary tools and have them within reach for easy access throughout the project.
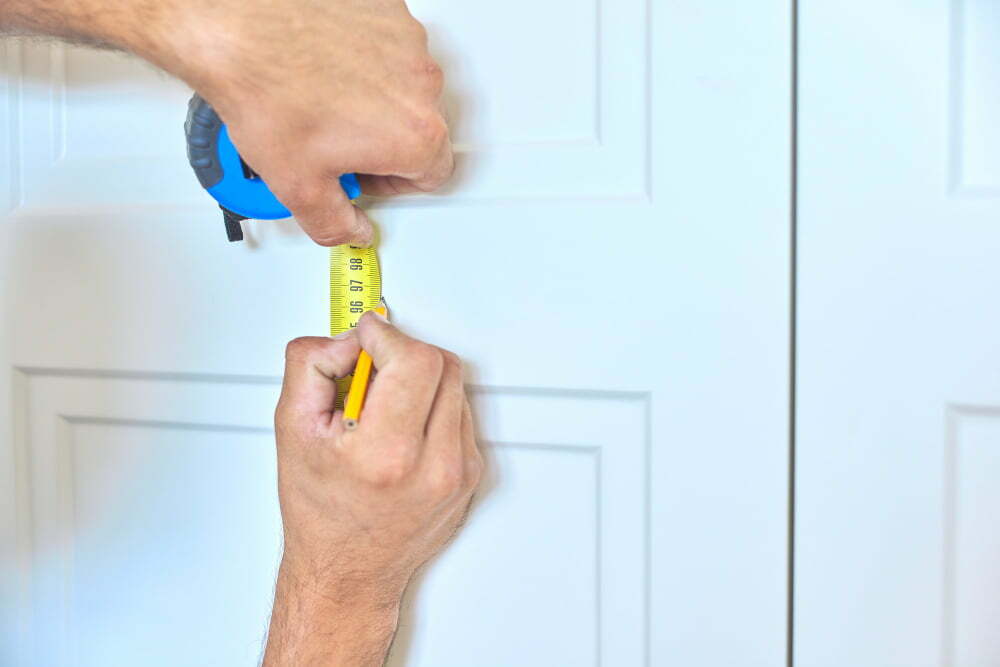
Measuring Cabinet Doors
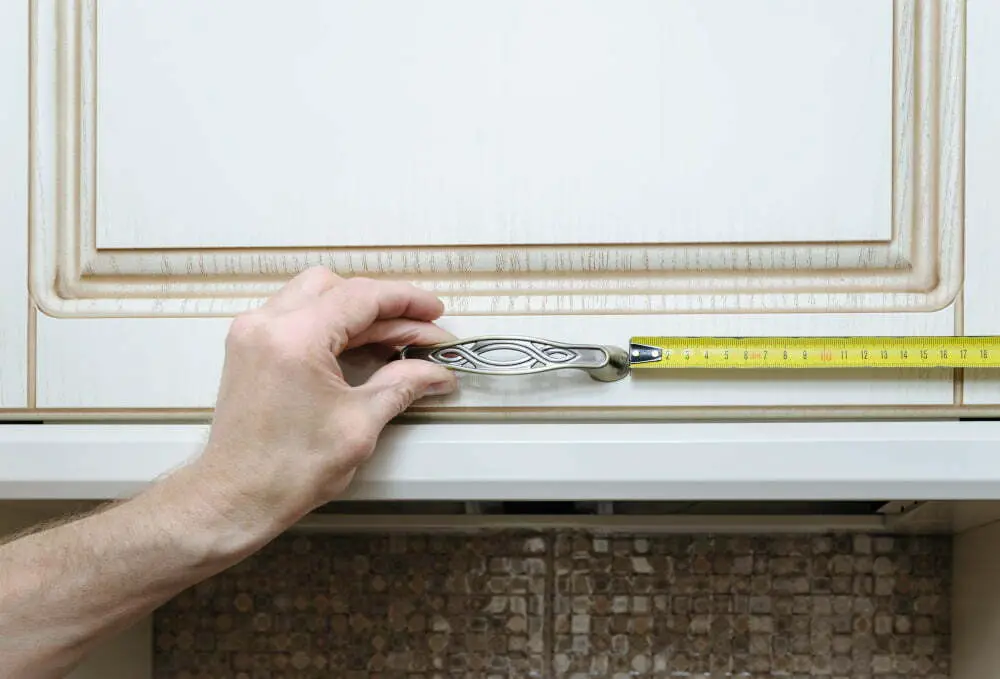
This step is crucial because the hinge placement will determine how well the doors align and function once installed. To get started, grab a measuring tape and follow these simple steps:
- Measure the height of each door from top to bottom.
- Measure the width of each door from left to right.
- Record your measurements for future reference.
It’s important to note that not all cabinets are created equal, so be sure to measure each individual door separately rather than assuming they’re all identical in size.
Marking Hinge Positions
Start by placing a piece of masking tape along the edge of each door where you made your hinge mark. This will help prevent any accidental scratches or damage while installing the hinges.
Next, hold one of your cabinet doors in place against its corresponding opening in the frame. Use a level to ensure that it is straight and flush with adjacent cabinets or drawers.
With everything lined up correctly, use a pencil to trace around each hinge plate onto both sides of the cabinet frame. Make sure that these lines are as accurate as possible since they will serve as guides for cutting out mortises later on.
Repeat this process for all remaining doors until every hinge position has been marked on both sides of their respective frames.
Cutting Mortises
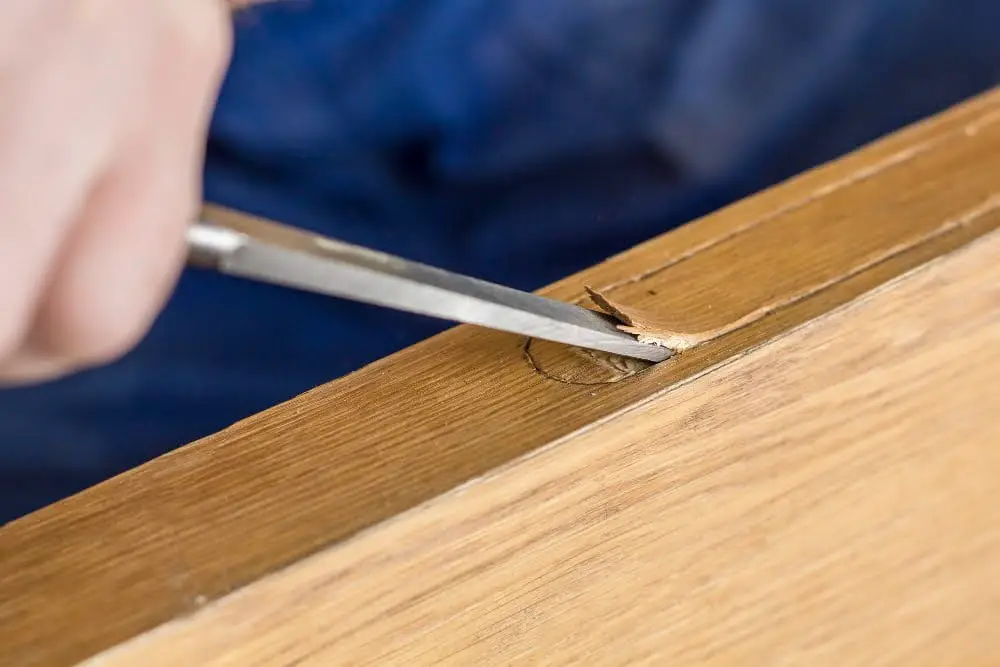
Mortising is a process of cutting out a recess in which the hinge will sit flush with the surface of your cabinet door. This step requires precision and accuracy to ensure that your hinges fit perfectly.
To begin, use a chisel and hammer or router to carefully remove wood from within each marked area until you reach the desired depth for your hinge. Be sure not to over-cut or under-cut as this can affect how well they align with one another when installed.
Take care when cutting mortises as any mistakes made at this stage could result in poorly fitting doors that don’t close properly or even damage them beyond repair.
Installing Hinges
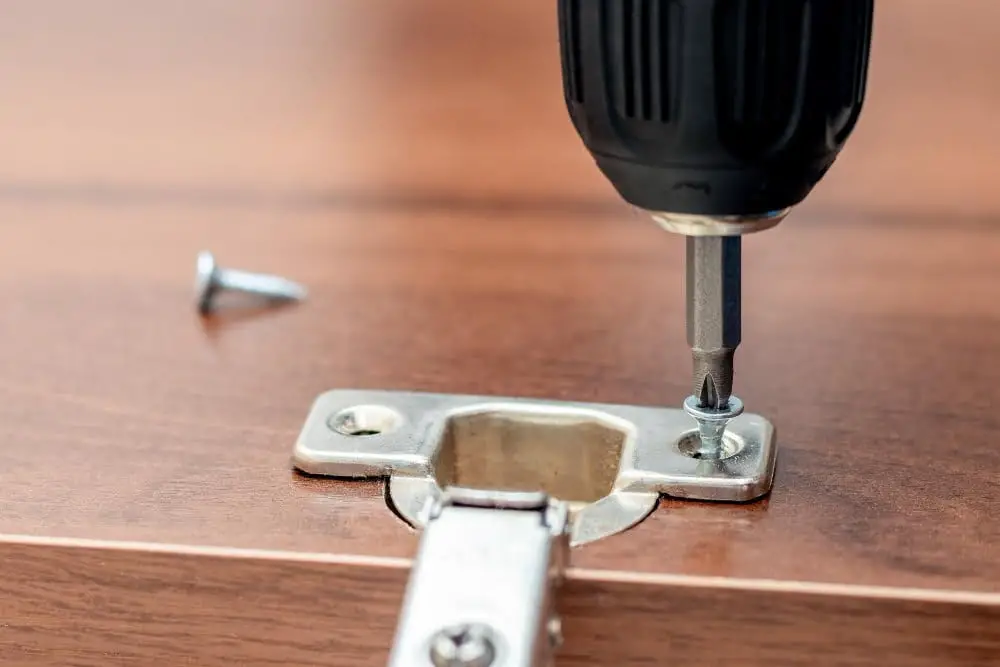
Begin by attaching one half of each hinge to the cabinet frame using screws. Then, attach the other half of each hinge to its corresponding door panel.
Once all hinges are attached, carefully align your doors with their respective openings in your cabinetry and adjust as necessary until they sit flush with no gaps or overlaps. Tighten all screws securely so that everything stays in place.
It’s important to note that some hidden hinges may require additional adjustments for proper alignment after installation due to variations in wood movement or settling over time. If this is the case for you, simply follow manufacturer instructions on how best to make these adjustments.
Adjusting for Alignment
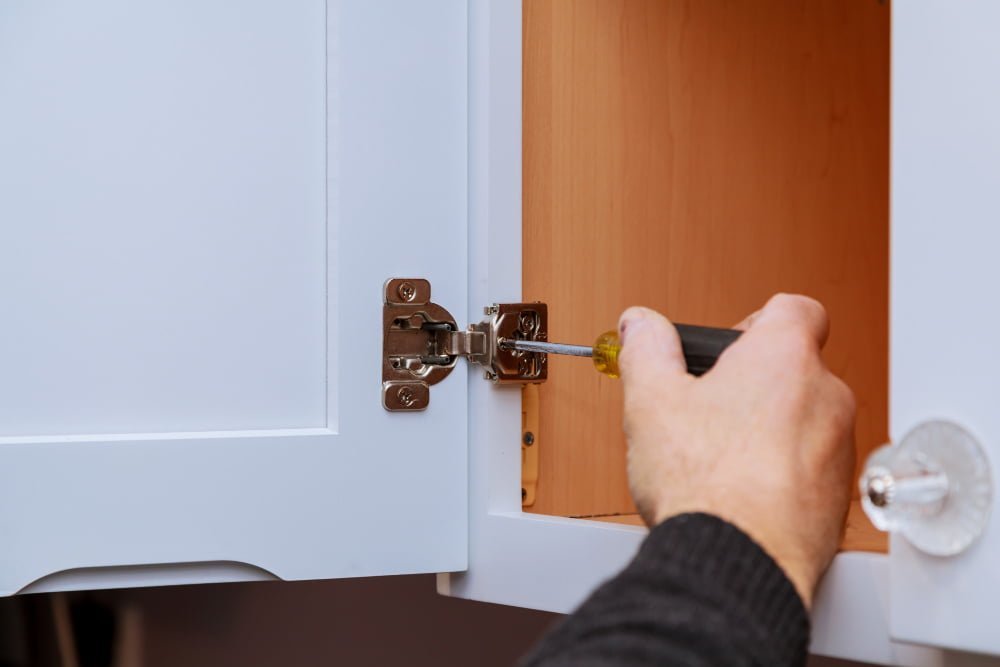
This step is crucial in ensuring that your cabinets open and close smoothly without any hitches or misalignments.
To begin with, check if the doors are level and plumb. If they’re not, use shims to adjust their position until they’re perfectly aligned.
Next, make sure that the gap between each door is even on both sides.
If you notice any gaps or unevenness in your cabinet doors’ alignment after installation, don’t worry! Hidden hinges come with adjustment screws that allow you to fine-tune their positioning easily. Simply turn these screws clockwise or counterclockwise until your doors align correctly.
Adjusting hidden cabinet door hinges may seem like a daunting task at first glance but rest assured it’s an easy process once you get started! With just a few simple adjustments using adjustment screws provided by most manufacturers of these types of hardware products – voila! Your cabinets will look as good as new again while functioning flawlessly too!.


