Last updated on
Achieving a refined look in any room demands finishing drywall around the door frame flawlessly, because it sets the tone for the entire space.
Finishing drywall around a door frame can be a tricky task, but with the right tools and techniques, you can achieve a professional-looking result. This process involves measuring and cutting drywall to size, securing it around the door frame, applying joint compound, and sanding for a smooth finish.
This article will guide you through each step, offering expert tips and advice to help you navigate any challenges you might encounter. Whether you’re a DIY enthusiast or a seasoned pro, you’ll find all the detailed information you need to successfully finish drywall around a door frame.
Key takeaways:
- Gather necessary tools and materials for finishing drywall around a door frame
- Measure and cut the drywall to fit the door frame accurately
- Insert and position the drywall correctly for a seamless finish
- Secure the drywall around the door frame with screws
- Smooth the edges of the cut drywall for a clean finish
Table of Contents
Gathering Necessary Tools and Materials for Finishing Drywall Around a Door Frame
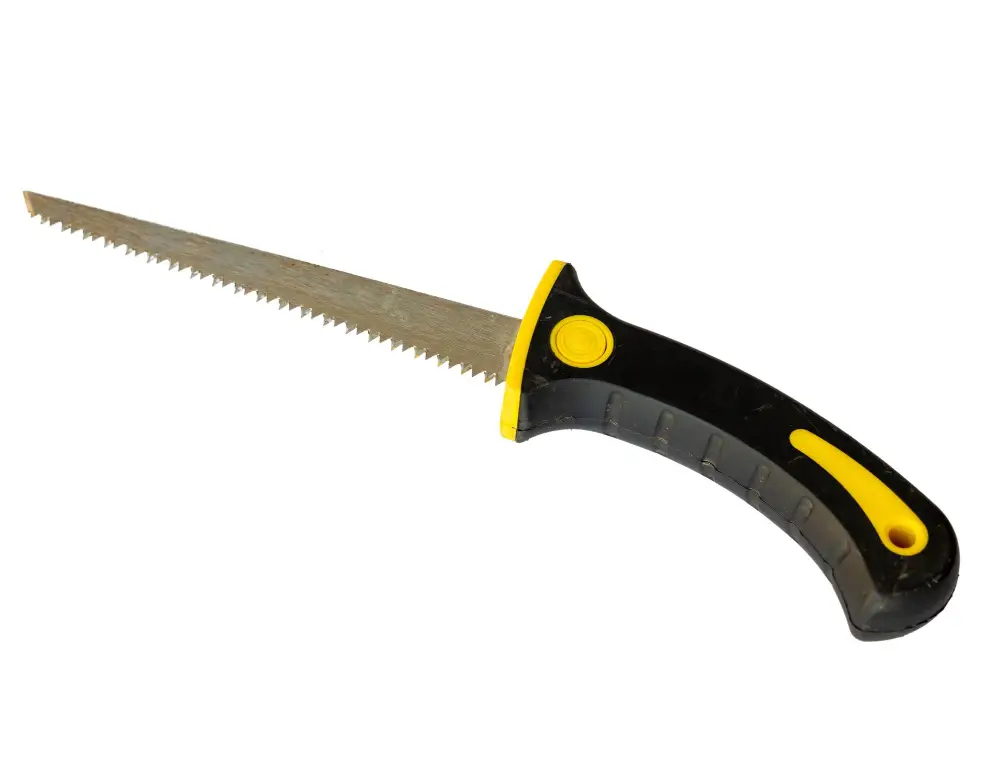
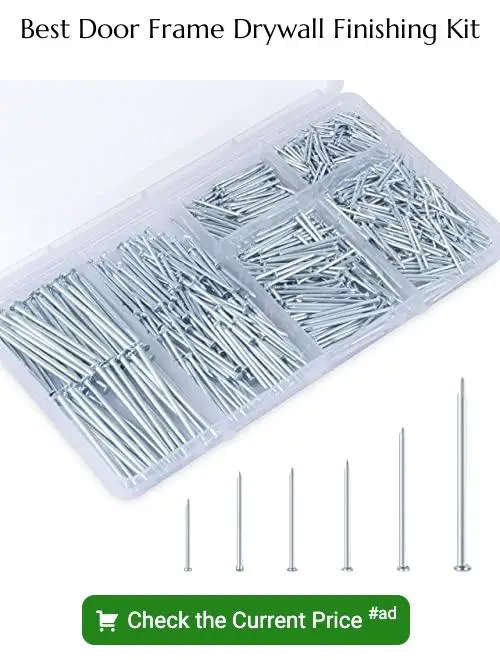
Before you begin, it’s crucial to assemble all your equipment. This includes a drywall saw for cutting the drywall to the precise size, a utility knife for making small adjustments, and a T-square to ensure straight lines. Additionally, drywall screws or nails will be needed to secure the drywall to the door frame, along with a drill or screwdriver. Drywall sheets will be your main material, so ensure they are of sufficient quantity and size. A drywall lift may also prove helpful in positioning larger sheets. Always remember, well-prepared work generally leads to a cleaner, smoother finish.
Measuring and Cutting the Drywall to Fit the Door Frame
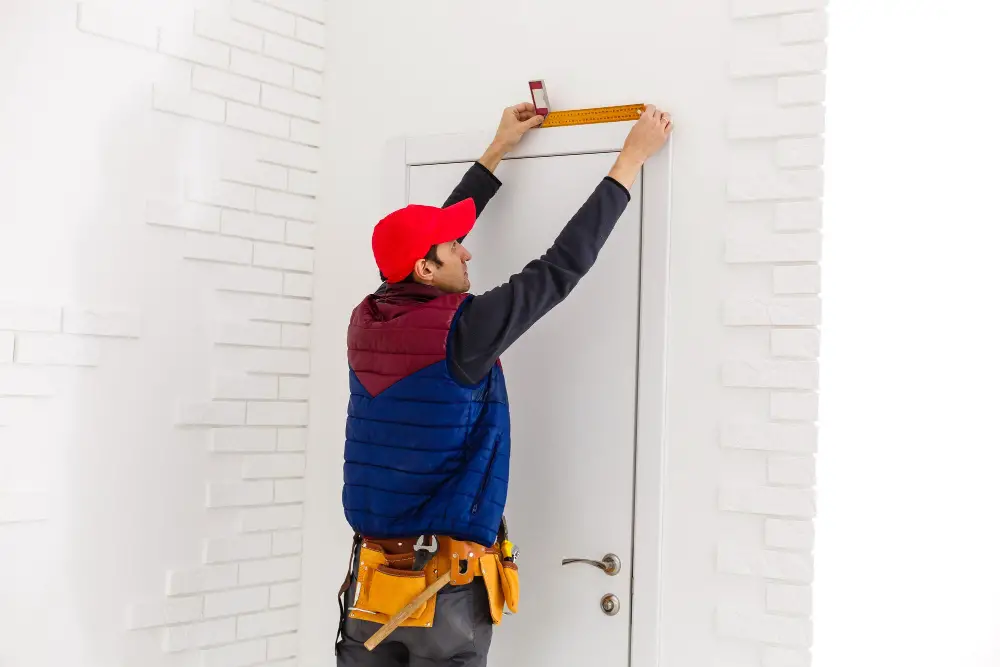
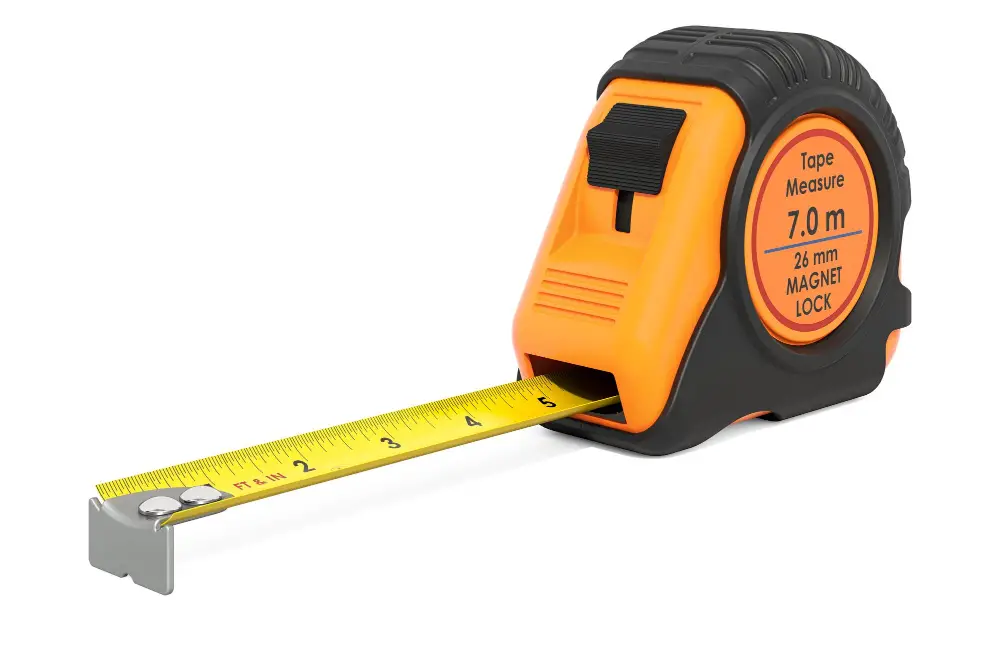
First, it’s crucial to get accurate measurements of the door frame where the drywall will be installed. These measurements form the basis of where and how you’ll cut the drywall. Use a measuring tape to take down the dimensions. Don’t forget to consider any window trim, thresholds or other elements that might require custom cuts.
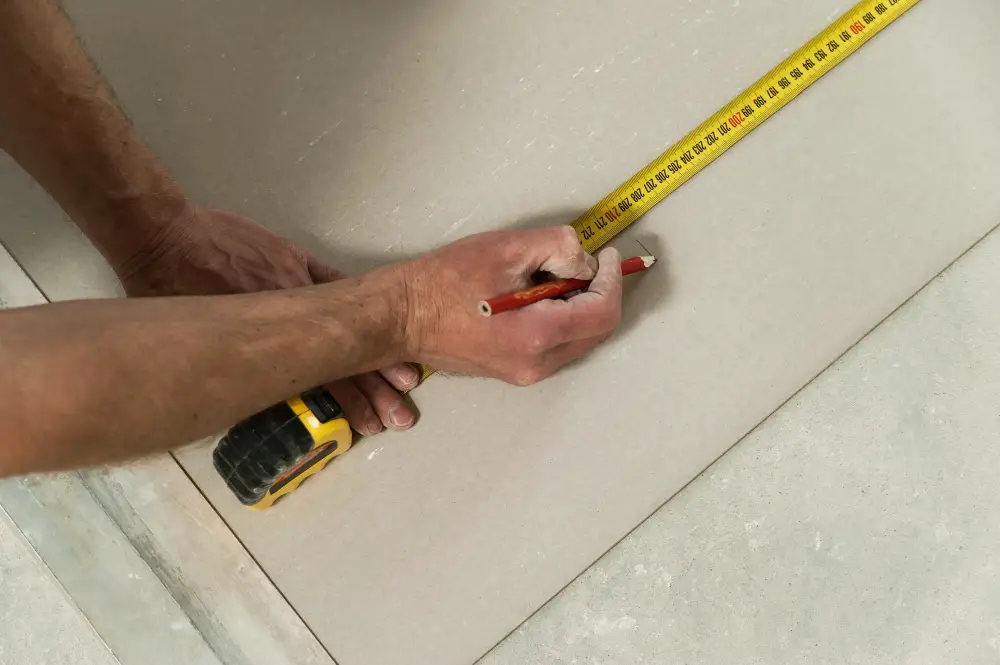
Next, transfer these measurements onto your drywall using a pencil or marker. A T-square or straightedge is invaluable for ensuring straight lines for those cuts. Remember, the maxim “measure twice, cut once” is a good rule to follow.
When it comes to the actual cutting, there are a few tips to keep in mind. Score the marked areas lightly using a utility knife. This cut should only penetrate the top paper of the drywall. Then, snap the board along the line. This should leave a clean, straight edge. Finally, cut through the remaining paper on the backside to free the section that you need.
Ensure you place the cut piece against the door frame to confirm it fits perfectly. If it doesn’t, make necessary adjustments to ensure a snug fit. This prepares you well for the next stage in your drywall finishing – positioning and securing it.
Inserting and Positioning the Drywall Correctly
Once the correctly measured drywall piece is ready, the placement process is essential to ensure a seamless finish. Start with the top piece, ensuring that the cut edge goes around the door frame. Position the panel horizontally so the ends fall in the center of the door frame’s studs, this will provide a solid foundation for fastening.
Check that the panel isn’t in direct contact with the floor; maintaining a small gap of about 1/2 inch will prevent moisture absorption and allow for seasonal expansion. Keep the factory edges of the drywall together as much as possible for a smoother seam.
Lastly, aim to keep the seam away from the door edge where the door interacts with the frame to avoid an unsightly line. This strategic positioning before securing the drywall will result in a professional, polished appearance.
Securing the Drywall Around the Door Frame With Screws
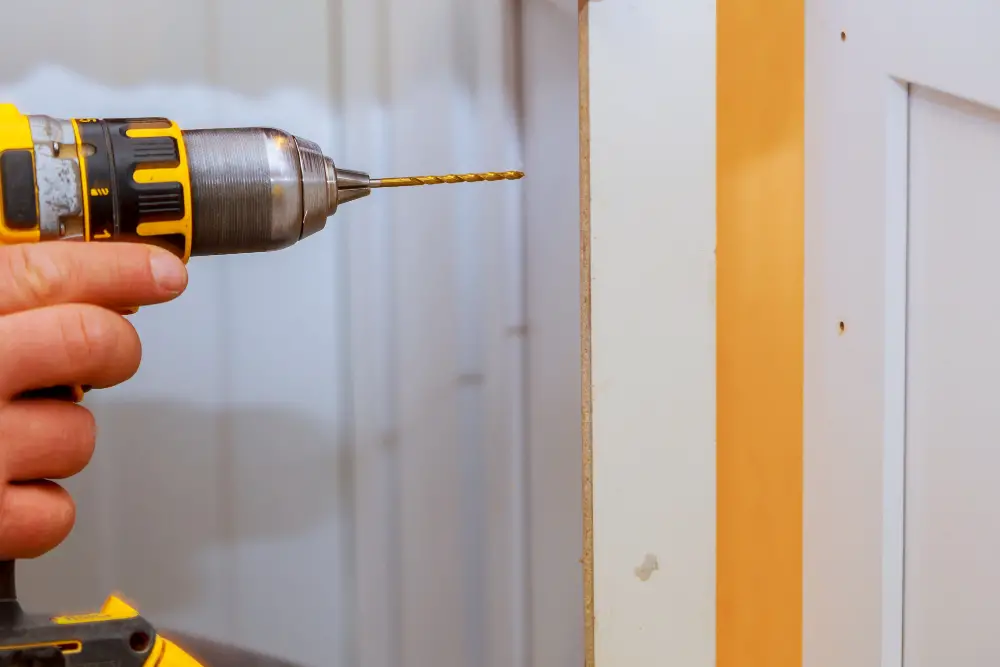
Making sure your drywall is in the right place, you’ll need a power drill and drywall screws. Here are some points to guide you through the process:
- 1. It’s essential to position the screws 16 inches apart vertically. This will allow them to line up with the studs behind the drywall.
- 2. Ensure the screws are driven till the heads are slightly beneath the surface of the drywall, but not too far to break the paper. This process is called dimpling.
- 3. Handle the power drill with care. The powerful tool can easily penetrate through the layer when overdriven, causing permanent damage to it.
- 4. Nonetheless, don’t under-drive the screws, as it will leave them sticking out, disrupting the uniformity of the wall surface.
Remember, securing the drywall correctly is a crucial factor for its longevity and appearance. Pay close attention to the details for a smooth, blemish-free finish. Incorporating these tips will help you avoid unnecessary pitfalls and enable you to achieve professional results.
Smoothing the Edges of the Cut Drywall for a Clean Finish
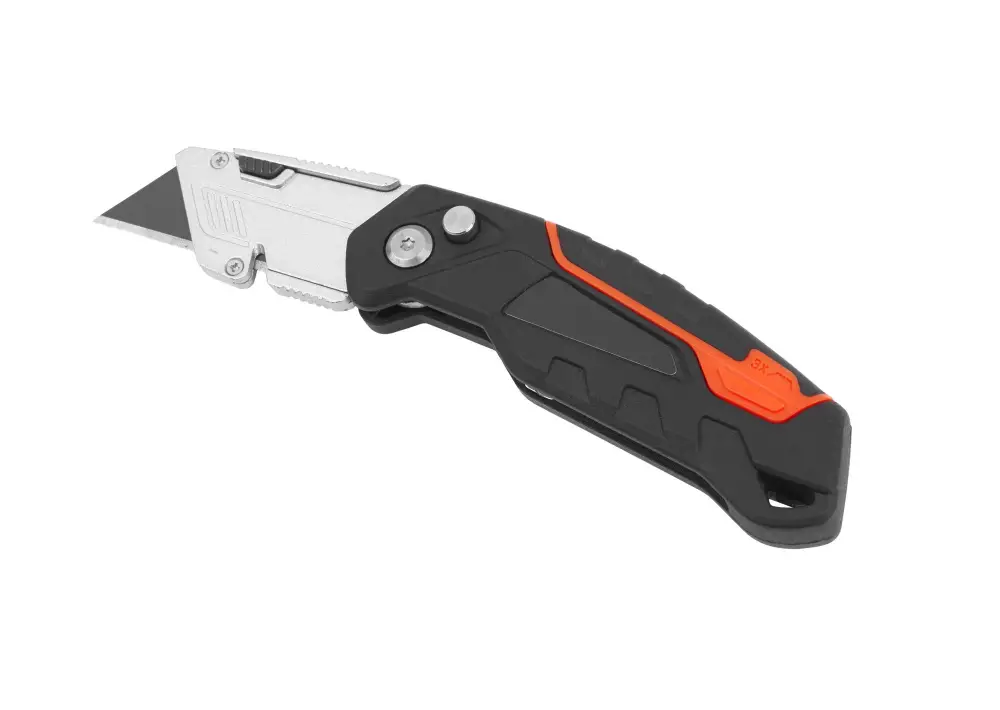
After securing the cut drywall, smoothing the edges is an imperative step. This process eliminates any irregularities and readies the surface for painting or wallpapering. Begin with a sharp utility knife to scrape off rough patches along the edges. Take your time and aim for a consistent, smooth surface. Sandpaper, particularly a medium-grit one, can also be employed to buff away imperfections.
Using a drywall sanding sponge can help to reach the tight spaces around the door frame. Remember to sand in a circular motion and apply even pressure. For larger dents or uneven areas, a drywall compound mixed to the consistency of frosting can fill and level the surface. Once applied and dried, be sure to sand it down to maintain a smooth and consistent texture. After these steps, vacuum the area to remove dust from the sanding process.
Remember to use safety glasses and a dust mask during this process to protect yourself. This meticulous attention to detail makes a significant difference in the final look, creating a seamless and professional finish around your door frame.
Installing Lower Drywall Panels Around the Door Frame
First, hold the panel against the frame, keeping the bottom edge about 1/2 inch above the floor to prevent moisture seeping into the drywall. Ensure the panel does not interfere with the door swing.
Once positioned correctly, fasten the panel using drywall screws, securing them about 16 inches apart. Be aware that it’s crucial to avoid screwing too close to the edge of the drywall, as this can cause unwanted crumbling.
Once all screws are in place, check for sturdiness before moving on. It’s as important to keep in mind that the lower panels must align with upper pieces for a seamless finish.
Aligning Drywall Over Outlet Boxes Near Door Frames
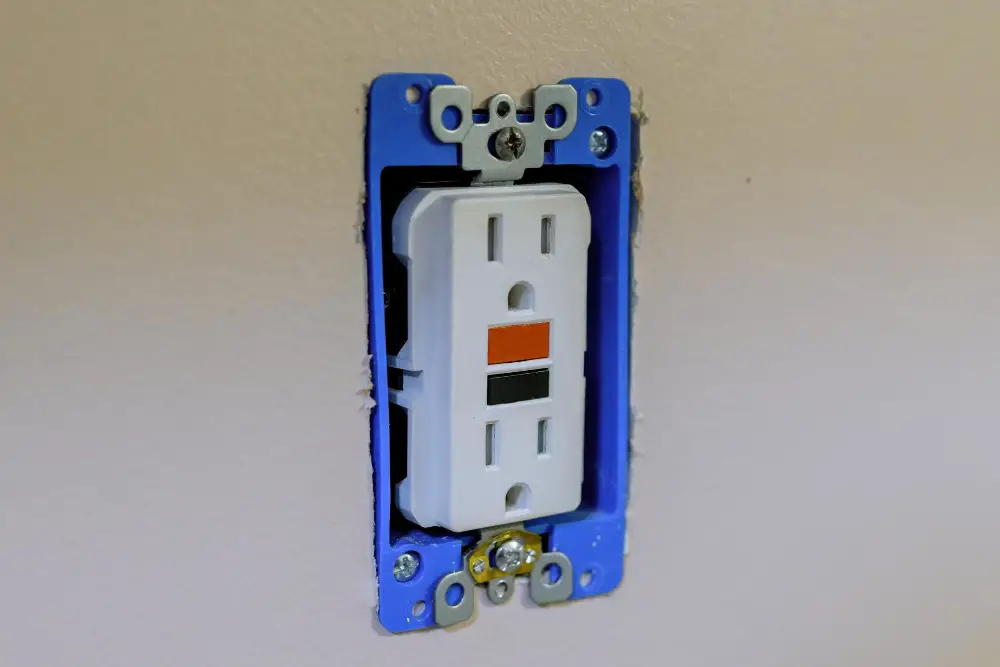
When tackling outlet boxes, precision is crucial. First, identify the exact locations of these boxes on the drywall panel before making any cuts. A careful measurement from the edge of the door frame to the edges of the outlet box will yield the most accurate result.
After measurements, use a drywall saw to cut out the box shapes. Ensure the cuts aren’t larger than the boxes to avoid gaps. Hold the panel up to the wall and test the fit of the outlet boxes in the cutouts.
Minor adjustments may be necessary to obtain a snug fit. Use a utility knife for fine trimming. Remember, it’s better to cut less and trim more as needed than to over-cut initially, risking a sloppy fit.
Consider safety precautions as well. Always turn off the electricity at the breaker box before installing drywall near outlets. This step will prevent any potential electrical incidents.
With precision and caution, you can align your drywall perfectly over outlet boxes near door frames. This method maintains not only functionality but also aesthetics.
Achieving an Exact Fit for Drywall Around the Door Frame
At this stage, precision is paramount. Start by taking accurate measurements of the door frame. It is essential to subtract the width of the frame from the overall width of the wall, so the drywall fits properly. To ensure accuracy, always double-check your measurements before cutting.
Use a T-square and utility knife for precise cutting. Cut squarely and firmly, but avoid applying excess pressure as this can damage the drywall. Remember, the aim is for it to snugly fit around the door frame without any gaps.
Once cut, fit the drywall against the door frame to double-check everything is correct. Minor adjustments can be made with a utility knife or sandpaper until the fit is ideal. Test out the fit repeatedly until you’re satisfied – patient repetition is key here.
Installing the piece of drywall onto the frame requires the right screws. Use drywall screws, ensuring adequate length to go through the drywall and into the frame securely. Distance between screws should be about 12 inches apart. The screw heads need be slightly under the surface but not breaking the paper layer.
Finally, remember that achieving an exact fit may take time and practice. Do not rush the process as every small detail counts in achieving a superior finish.
Preventing and Rectifying Drywall Cracks Around Door Frames
To forestall the development of cracks in your freshly placed drywall, it’s critical to ensure your door frame is perfectly level before installation. A sturdy, level frame provides better support, which can significantly reduce the occurrence of unwanted cracks.
In situations where you’re dealing with existing cracks, here’s a helpful step-by-step process:
- Use a utility knife to gently cut along the length of the crack, creating a small ‘V’ shaped channel. This gives the patching compound more surface area to adhere to.
- Remove loose debris with a soft brush or vacuum cleaner.
- Apply a thin coat of joint compound into the V-channel using a small putty knife. Ensure it is smooth and level with the rest of the wall.
- Place a drywall tape over the freshly filled crack and spread another thin layer of joint compound over it. This helps the tape to better bond with the wall.
- Allow time for the compound to dry completely, then gently sand it smooth. It’s crucial not to rush this process, let nature take its course. Making sure each layer is fully dry before adding another is key to getting a seamless and crack-free finish.
- You can apply a drywall primer over the area once you’re satisfied with the result. It preps the wall surface for any paint or wallpaper you wish to add, ensuring a flawless final look.
FAQ
Should drywall be flush with door jamb?
Yes, drywall should indeed be flush with the door jamb, but in instances where wall thickness is non-standard, an extension jamb should be used between the frame and the exterior trim.
Do you need corner bead around door frame?
No, corner bead is not necessary around a door frame, but is needed for other uncovered drywall corners.
What type of drywall is best used around a door frame?
Moisture-resistant drywall, also known as green board, is typically the best choice for use around a door frame, as its composition can withstand fluctuating conditions and offer additional durability.
How does one apply joint compound for a seamless finish?
To apply joint compound for a seamless finish, smooth it over the seams in the wall with a drywall trowel or knife, let it dry, then sand it down until it matches the rest of the wall surface.
What processes are involved in sanding drywall around door frames effectively?
The process of sanding drywall around door frames effectively involves careful usage of medium-grit sandpaper to smooth out the drywall surface, paying special attention to corners and edges to avoid damage to the door frame.


