Last updated on
In a house, plumbing typically starts at the main water supply line, connecting to the water meter or well system. From there, it branches out to various fixtures and appliances such as sinks, toilets, showers, and water heaters.
Plumbing is an essential part of any home, and it’s something that most homeowners take for granted. But have you ever wondered where all those pipes and fixtures come from? How do they get installed in the first place? If you’re building a new home or renovating an existing one, understanding the basics of plumbing is crucial.
In this blog post, we’ll explore where to start plumbing in a house so that you can ensure your project runs smoothly and without any leaks!
Key takeaways:
- Plumbing starts at the main water supply line.
- Main components of plumbing system: water supply lines and drainage pipes.
- Water supply system connects home to municipal or well-water source.
- Drainage system carries wastewater away from fixtures and appliances.
- Consider pipe materials, ventilation requirements, and plumbing codes.
Table of Contents
Plumbing Basics
Before we dive into the specifics of where to start plumbing in a house, let’s first cover some basic plumbing concepts. Plumbing is essentially a system of pipes and fixtures that carry water throughout your home for various purposes such as drinking, bathing, cooking and cleaning.
The two main components of any plumbing system are the water supply lines and drainage pipes. The water supply lines bring clean water into your home while the drainage pipes remove wastewater from sinks, toilets, showers etc.
It’s important to note that proper installation is crucial when it comes to plumbing systems. Poorly installed or maintained systems can lead to leaks which can cause significant damage over time if left unchecked.
Water Supply System
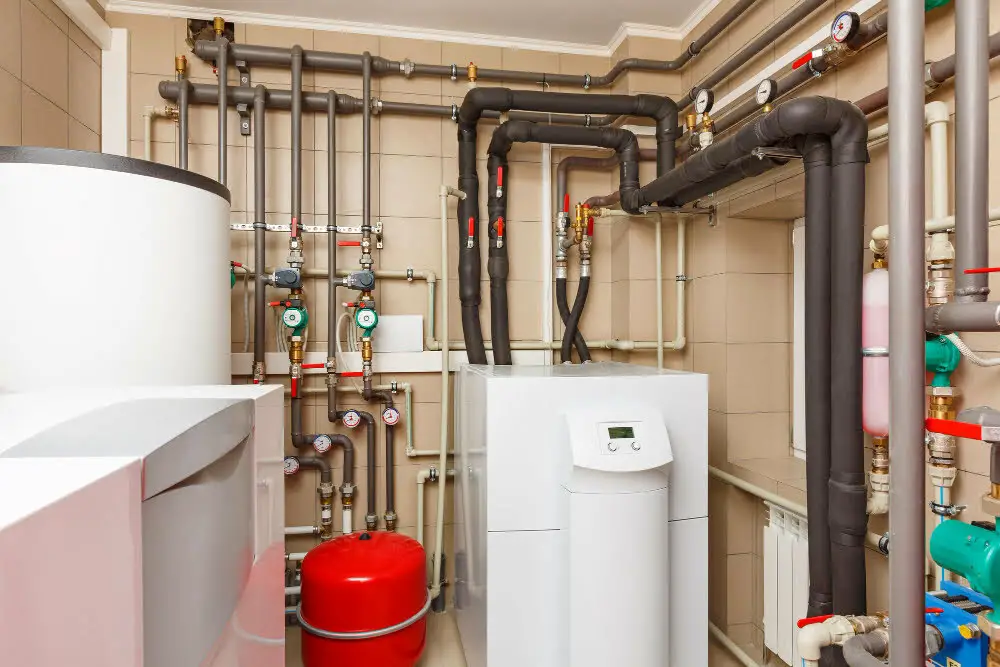
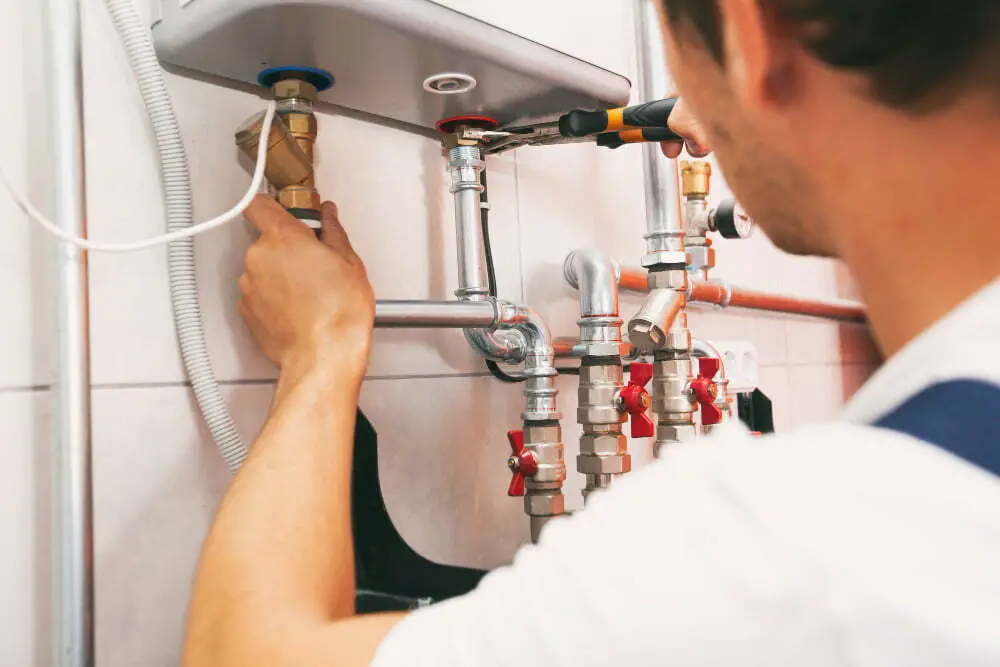
It’s responsible for bringing clean, potable water into your home and distributing it to all the fixtures and appliances that need it. The first step in setting up a water supply system is to connect your house to the main municipal or well-water source.
Once connected, you’ll need a shut-off valve installed near where the main line enters your home so that you can turn off the entire water supply if needed. From there, pipes will branch out from this point and run throughout your house delivering fresh drinking water wherever it’s needed.
It’s important to note that different types of pipes are used for different parts of a plumbing system depending on their intended use (hot vs cold) as well as local building codes. For example, copper piping may be required in some areas while PEX tubing may be more common elsewhere.
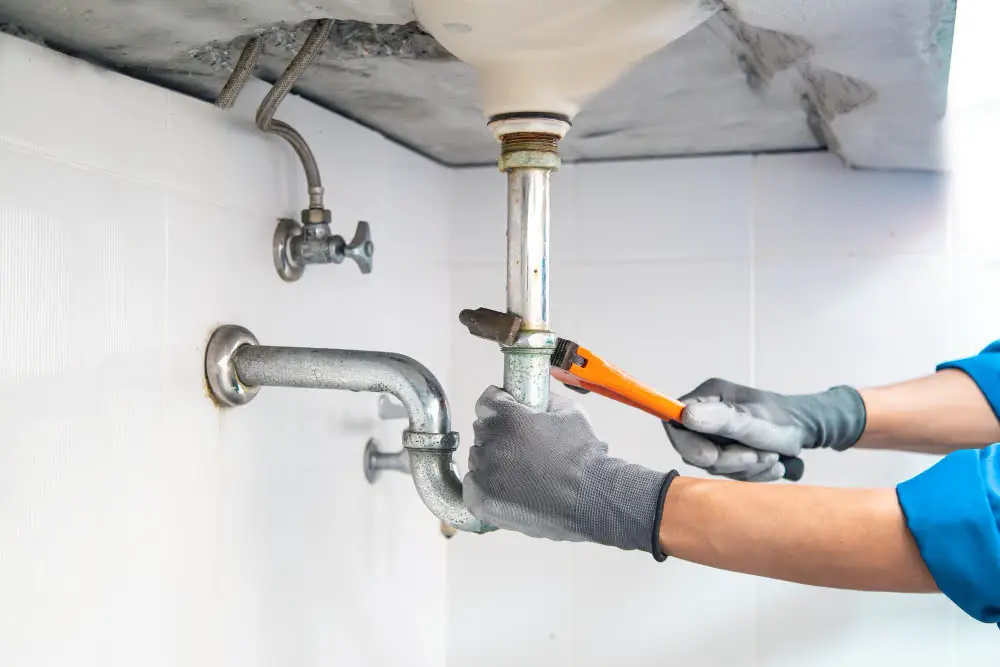
Drainage System
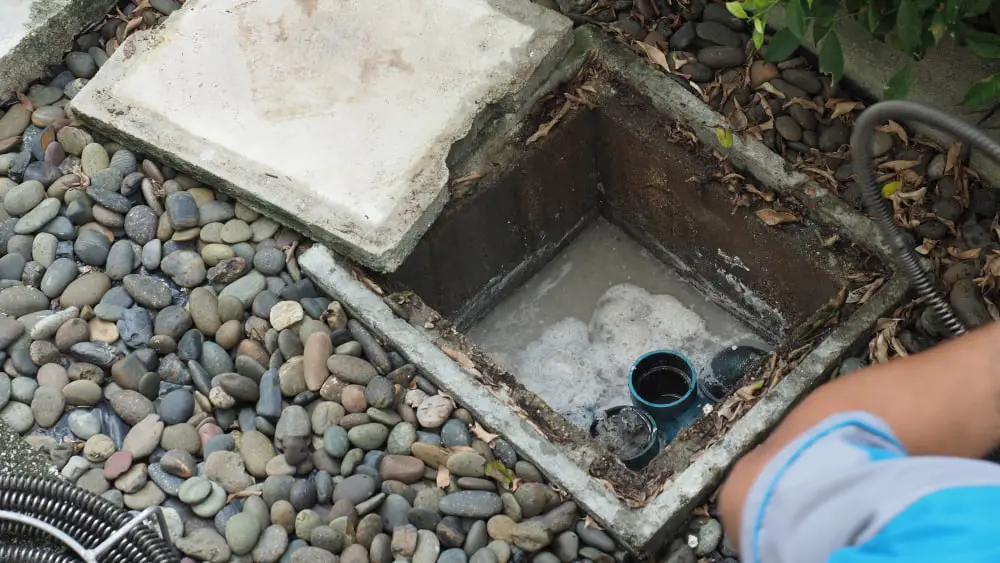
After all, you don’t want wastewater backing up into your home! The drainage system consists of a network of pipes that carry used water away from your fixtures and appliances and out to the sewer or septic tank.
The first step in installing a drainage system is determining where your main sewer line or septic tank will be located. This will dictate where you can place fixtures such as toilets and sinks.
From there, pipes are installed at a slight downward slope so that gravity can help move wastewater along.
It’s essential to ensure proper ventilation for drainpipes by adding vents through which air can escape when waste flows through them. Without adequate ventilation, drains may become slow-moving or even clogged entirely.
It’s crucial to follow local plumbing codes when installing any part of your home’s plumbing systems – including the drainage system -to avoid costly mistakes down the road.
Fixture Installation
This includes sinks, toilets, showers or bathtubs. Fixture installation requires careful planning and attention to detail as any mistakes can lead to leaks or other plumbing issues.
Before installing a fixture, make sure you have all the necessary tools and materials on hand. You’ll also need to follow manufacturer instructions carefully for each specific fixture type.
When installing a sink or toilet bowl for example, ensure that they are levelled properly before securing them in place with bolts. For showerheads and faucets installation; use Teflon tape around threaded connections between pipes so that there is no leakage of water from these joints.
It’s important not only to install fixtures correctly but also test them thoroughly after installation by running water through them at different pressures while checking for leaks along with ensuring proper drainage flow rate out of your home’s wastewater system.
Pipe Materials

The most common materials used for residential plumbing include copper, PVC (polyvinyl chloride), and PEX (cross-linked polyethylene). Copper pipes are durable and long-lasting but can be expensive.
PVC pipes are affordable and easy to install but may not be suitable for hot water applications. PEX pipes are flexible, making them ideal for tight spaces or retrofitting projects.
It’s important to consider factors such as cost, durability, ease of installation when selecting a pipe material that best suits your needs. Local building codes may dictate which types of materials you can use in your area.
Ventilation Requirements
Without it, sewer gases can build up and cause health hazards to the occupants of a home. Ventilation pipes are installed in parallel with drainpipes and extend through the roof of a house.
The size and placement of these pipes depend on various factors such as the number of fixtures connected to them, their distance from each other, and local building codes. It’s crucial to ensure that there is enough space between vent pipes so that they don’t interfere with one another.
In addition to preventing harmful gases from entering your home, proper ventilation also helps prevent clogs by allowing air into drainpipes. This air flow prevents water from being siphoned out of traps or creating negative pressure within your plumbing system.
When planning your plumbing project or renovation, make sure you consult local building codes regarding ventilation requirements before starting work on any part of your system.
Plumbing Codes and Permits

These regulations ensure that the work is done safely, efficiently, and up to standard. Before starting any plumbing work in your home, it’s crucial to check with your local building department for the necessary permits.
The codes vary from state to state and even between different municipalities within a state. The purpose of these codes is to protect public health by ensuring that all plumbing systems meet certain standards for safety and sanitation.
Some common requirements include proper pipe sizing, adequate ventilation systems, backflow prevention devices on water supply lines connected directly or indirectly with potable water sources such as wells or municipal supplies; installation of shut-off valves at each fixture location; proper drainage slope angles; correct use of materials like PVC pipes instead of lead pipes which can contaminate drinking water if corroded over time.
Plumbing codes exist for good reasons – they help ensure safe installations while protecting public health through sanitation measures such as preventing cross-contamination between wastewater/sewage lines versus clean drinking-water sources (e.g., wells). Be sure you’re aware what’s required before beginning any DIY projects!


