Last updated on
Exploring the functionality and benefits of the Permatex Windshield Repair Kit is essential because it can be your inexpensive, handy solution to annoying windshield chips and cracks.
Key takeaways:
- Practical solution for fixing chips and cracks in automotive glass
- Patented repair process evacuates air and fills with durable resin
- Kit includes advanced resin formula, syringe, pedestal, adhesive disc, and curing strip
- Ideal for repairing bull’s-eye cracks, star-shaped breaks, and spider web cracks
- DIY repair is cost-effective, convenient, and restores structural integrity.
Table of Contents
Overview of the Permatex Windshield Repair Kit

The Permatex Windshield Repair Kit is a practical solution for fixing chips and cracks in automotive glass. With its advanced resin formula, it effectively minimizes the appearance of less severe damage, like bullseye, star, and half-moon cracks.
A notable feature is the patented repair process that evacuates air from the break and fills it with durable resin, making the repair blend with the surrounding glass. This solution, designed for single-person use, does not require any special tools and cures quickly under natural sunlight.
While perfect for small-scale repairs, it’s important to note that the kit is not intended for larger or more complex damage that could compromise windshield integrity.
Components Included in the Kit
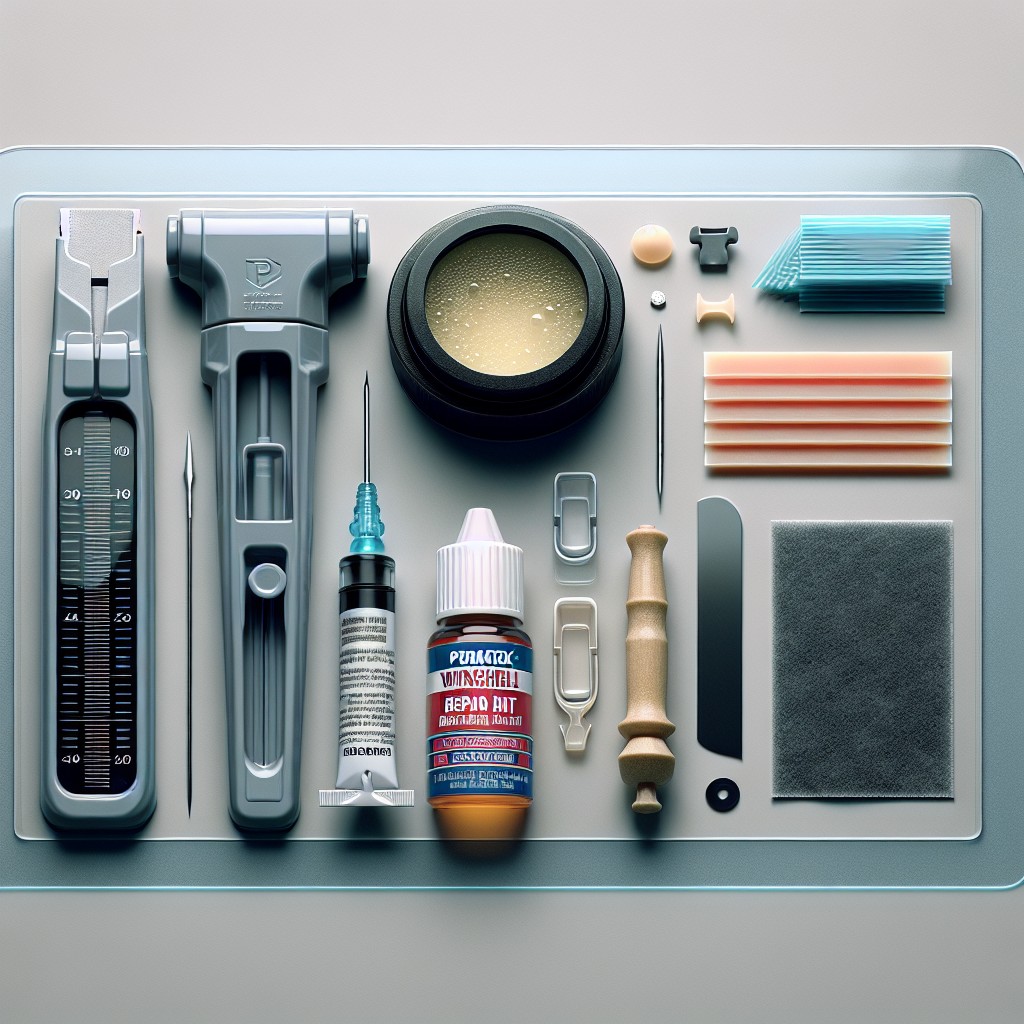
Inside the box, you’ll find everything needed for a quick and effective repair. The kit contains a patented advanced resin formula that is essential for filling cracks and stopping them from spreading. A syringe applicator is also provided to inject the resin into the damage accurately.
The package includes a pedestal and a clear adhesive disc, both of which assist in creating a tight seal over the damaged area, ensuring no external elements interfere during the repair process. Furthermore, a curing strip is part of the ensemble, designed to be placed over the resin before exposure to sunlight, which hardens the repair.
Lastly, detailed instructions guide you through the repair process, ensuring clarity and ease of use. These components work in unison to restore the integrity of the windshield without leaving any distracting residues.
Step-by-Step Guide to Using the Kit

Begin by cleaning the damaged area with a cloth to remove any loose glass fragments or debris. Apply the adhesive disc to the windshield, centering it over the chip. Peel off the backing of the disc, and place the pedestal on the adhesive side, ensuring it is directly upright.
Open the syringe of repair resin and insert it into the pedestal. Pull up on the syringe to create a vacuum, then lock it in place for 10 minutes. This will remove air from the break. Afterward, hold the syringe and push the plunger down to inject the resin into the crack. Let it sit for 20 minutes for the resin to cure.
Remove the pedestal and syringe, and apply a drop of the remaining resin to the area. Cover with the curing film, smoothing out any bubbles. Let this sit under direct sunlight for at least 15 minutes for it to fully cure. Lastly, scrape off the cured resin with the razor blade provided, ensuring that the surface is smooth and clear.
Types of Windshield Damage Addressed

The kit is adept at mending bull’s-eye cracks, which are circular damages often caused by the impact of a rock or other debris.
Star-shaped breaks, characterized by small cracks leading away from the central point of impact, can also be effectively treated.
Additionally, the kit handles smaller spider web cracks, which spread out in various directions from the point of impact.
Chips in the glass, no larger than one inch in diameter, can be filled in to prevent further spreading.
However, it’s important to note that the kit is not suitable for repairing cracks that are longer than six inches or ones that penetrate both layers of the windshield glass.
It’s also unsuitable for damage that’s within the driver’s direct line of vision, as the repair could leave a slight distortion.
With this in mind, acting swiftly to repair minor damage ensures the integrity of the windshield and the safety of vehicle occupants.
Tips for Achieving Best Results
For optimal outcomes when using the repair kit, cleanliness is paramount. Begin by thoroughly cleaning the damaged area with a glass cleaner to remove any dirt and debris that could hinder the resin from bonding properly. Dry the surface completely before proceeding.
The resin should be applied in a shaded area, away from direct sunlight, to avoid premature hardening. This ensures that the resin fills the crack or chip effectively before the curing process begins.
When applying pressure to the resin, do so gently. Too much force could cause the windshield to crack further. The goal is to allow the resin to penetrate all areas of the damage without creating additional stress on the glass.
As the resin cures, patience is key. Rushing through the curing process can lead to subpar repair quality, so follow the recommended curing times specified in the kit’s instructions.
Lastly, after completing the repair, remove any excess resin from the windshield. Doing so promptly leaves a smooth, clear finish, restoring maximum visibility. Using a razor blade held at a 90-degree angle to the glass can effectively scrape off the residue without scratching the surface.
Safety Precautions During Repair
When undertaking any auto glass repairs, prioritize your safety with these precautions:
- Park your vehicle in a shaded, well-ventilated area to prevent the resin from curing too quickly due to direct sunlight.
- Wear gloves to avoid direct contact with the resin, which can irritate the skin.
- Protect your eyes with safety glasses to prevent accidental splashes or debris from causing injury.
- Make sure the windshield is clean before starting the repair to prevent dirt particles from getting sealed in the glass.
- Follow the instructions carefully; each step is designed to maximize both the effectiveness of the repair and your safety.
- Keep the repair kit out of reach of children and pets, as the components are not intended for ingestion or play.
- Dispose of any used materials according to local regulations to help preserve the environment and maintain safety post-repair.
Expected Outcomes and Durability
When properly applied, the Permatex Windshield Repair Kit provides a durable solution for minor glass damage.
Here are key points to consider regarding the results and longevity of the repair:
- Restores structural integrity: The high-strength resin helps to bond the glass, preventing further cracking and damage.
- Aesthetic improvements: Although the kit won’t make the damage invisible, it significantly reduces the visibility of chips and cracks.
- Longevity: The resin is formulated to withstand varying weather conditions and temperatures, ensuring a long-lasting repair.
- Preventative measure: By addressing small issues promptly, you reduce the likelihood of needing a full windshield replacement in the future.
- Clarity: After curing under direct sunlight, the resin clarifies, blending with the windshield’s glass for a smoother appearance.
Comparing DIY Repair to Professional Services
Embarking on a windshield repair with the Permatex Kit offers several advantages over professional services. It’s a cost-effective solution, generally priced significantly lower than a trip to the auto glass shop. Convenience is also a factor; the repair can be done on your terms, time, and in the comfort of your driveway.
However, it’s crucial to weigh the complexity and size of the damage. The Permatex Kit is ideally suited for small chips and cracks, whereas professionals can tackle more extensive damage with specialized tools and resins.
Another consideration is the level of expertise. While the kit comes with detailed instructions, there’s a learning curve. Professional technicians bring years of experience and precision to the job, potentially providing a more seamless repair.
Finally, time investment can differ. DIY means taking it upon yourself to carefully follow the process, which can be a learning experience but also time-consuming. Professional services, on the other hand, allow you to entrust your vehicle to an expert, freeing up your schedule.
By evaluating these factors – cost, convenience, damage size, skill level, and time – you can make an informed decision that suits your situation best.
Troubleshooting Common Issues After Repair
Should any issues arise following a repair with the Permatex Windshield Repair Kit, a few troubleshooting steps can usually resolve them:
1. Bubbles in Resin: Sometimes, small bubbles can be trapped in the cured resin. To avoid this, ensure the resin is applied slowly and the syringe is pulled out gently during the repair process. If bubbles are present after curing, additional resin can be applied over the area to fill in any gaps.
2. Resin Not Curing Properly: If the resin seems not to cure or hardens too slowly, check the temperature. Resin cures best at temperatures between 50°F and 75°F (10°C to 24°C). If it’s too cold, move the vehicle to a warmer spot if possible, or wait for a warmer day.
3. Crack Still Visible: Post-repair, if the crack is still noticeable, it may be too deep or large for the kit to fully conceal. While the kit is designed to stop cracks from spreading, some cosmetic signs may remain. A second application of resin might improve appearance, but professional repair may be required for perfect clarity.
4. Surface Not Smooth: After the repair, if the windshield’s surface isn’t smooth to the touch, gently scrape over the cured resin with the provided razor blade to level it with the glass surface.
5. Dirt or Moisture in Crack: Dirt or moisture can interfere with the repair. Before application, thoroughly clean the damaged area with a quality glass cleaner and dry completely. If moisture is trapped, wait for it to evaporate or use a hairdryer on a low setting to expedite the process before applying the resin.
Remember, the key to a successful repair is following the instructions closely and working in the appropriate conditions, as the kit’s performance is influenced by factors like temperature and the size of the damage.
Find A Store for Purchasing
To purchase the Permatex Windshield Repair Kit, several convenient options are available:
- Online Retailers: Leading e-commerce platforms like Amazon, eBay, and Walmart provide easy access with home delivery. It’s worth comparing prices and checking for deals.
- Automotive Stores: Specialty automotive stores such as AutoZone, Advance Auto Parts, or Pep Boys stock windshield repair kits in their maintenance sections.
- Hardware Stores: Home improvement chains like Home Depot or Lowe’s often carry auto repair supplies, including windshield kits.
- Permatex Website: Direct purchase from the manufacturer’s site ensures you get genuine products and access to customer support.
Remember to check for any store-specific warranties or return policies before purchasing.


