Last updated on
Explore the comprehensive benefits of a fuel line repair kit because knowing its essential features and usefulness can potentially save you from pricy vehicle repairs down the road.
Key takeaways:
- Repair kits cover common fuel line sizes and materials.
- Kits restore fuel flow and prevent leaks and safety hazards.
- Kits include tubing, fittings, clamps, quick connectors, and seals.
- Signs of fuel line wear: cracks, fuel odors, engine issues.
- Kits are cost-effective, easy to use, and versatile.
Table of Contents
Understanding Fuel Line Repair Kits
Fuel line repair kits provide a specialized solution for fixing damaged fuel lines, a critical component in powering any combustion engine vehicle. These kits typically contain all the necessary items to create a secure and robust repair without the need for complete line replacement.
Key factors to understand:
- Repair kits are designed to cover common fuel line sizes and materials, making them versatile for a wide range of vehicles.
- They usually include pieces such as hoses, clamps, and connectors that must withstand the pressure and chemical nature of fuel.
- The concept behind these kits is to provide a quick and reliable fix that can be accomplished by a vehicle owner or a mechanic without requiring extensive downtime.
- An efficient repair kit not only restores the flow of fuel to the engine but also ensures that there are no leaks, which could lead to safety hazards or reduced vehicle performance.
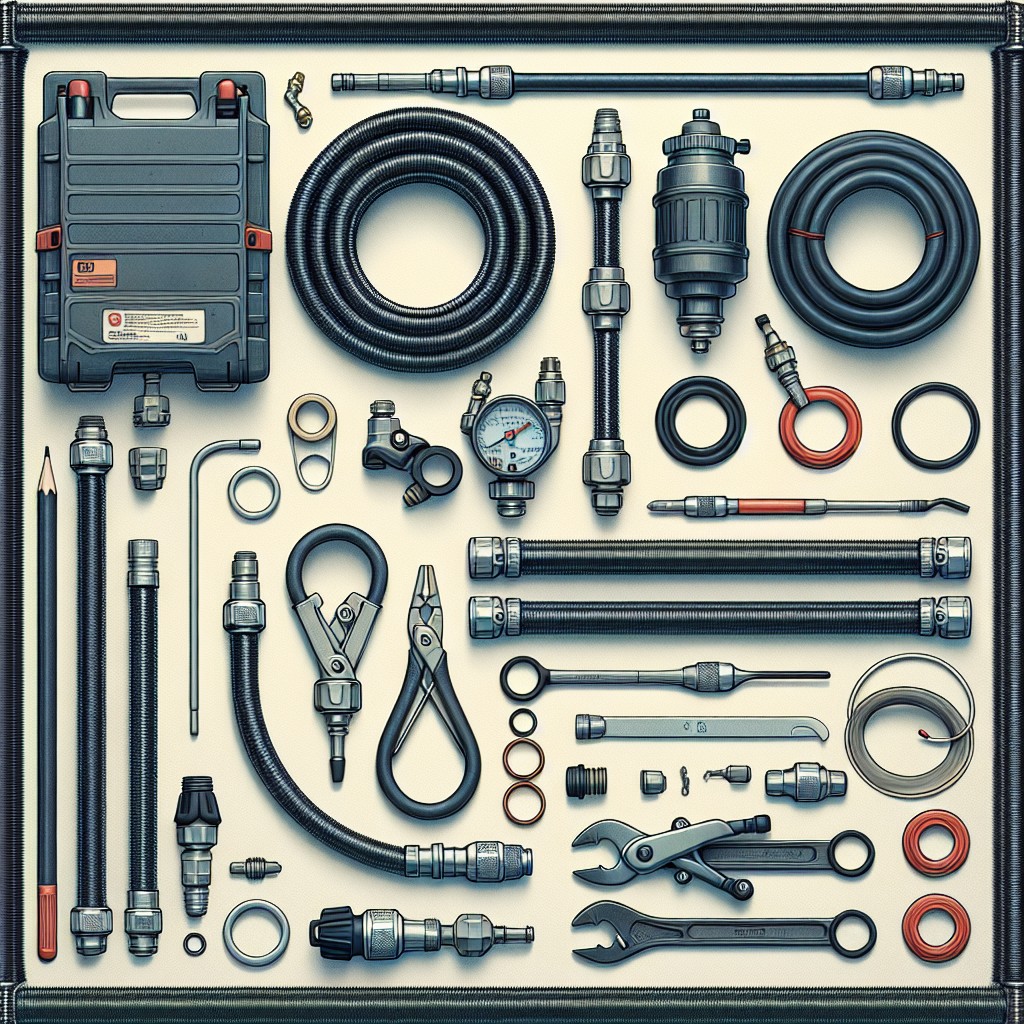
Common Components of Fuel Line Repair Kits
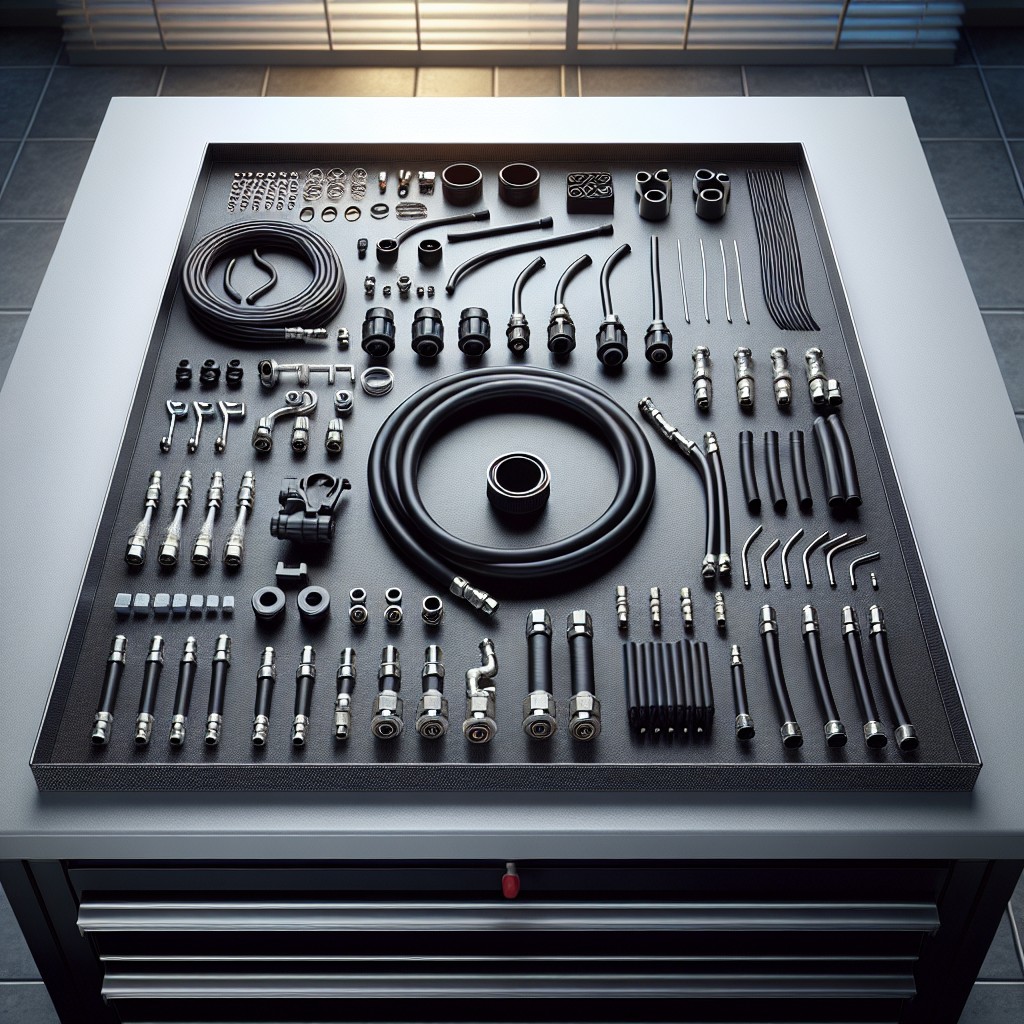
Fuel line repair kits typically include a variety of components to ensure a thorough repair that can withstand the pressure and corrosive nature of fuel. Key items often found within these kits are:
- Fuel Line Tubing: This flexible or rigid tubing is used to replace the damaged section of the fuel line. It’s usually made from materials resistant to corrosion and fuel such as nylon or steel.
- Fittings and Adapters: To ensure a secure connection between the new and existing lines, kits provide an array of fittings, including unions, elbows, and tees, made for the specific diameter of your vehicle’s fuel line.
- Hose Clamps: These are used to tightly secure the tubing ends to the fittings, preventing any leaks.
- Fuel Line Quick Connectors: These are for vehicles that use a quick-connection system, allowing for easy and secure connection without the need for clamps.
- O-rings and Seals: To prevent leaks at connection points, new o-rings and seals are essential. They must be compatible with the type of fuel used in the vehicle.
Each component plays a vital role in ensuring the integrity of the repair, promoting vehicle safety, and restoring proper fuel flow. Always check that the materials are compatible with your vehicle’s specifications and the type of fuel used.
Signs of Fuel Line Wear or Damage
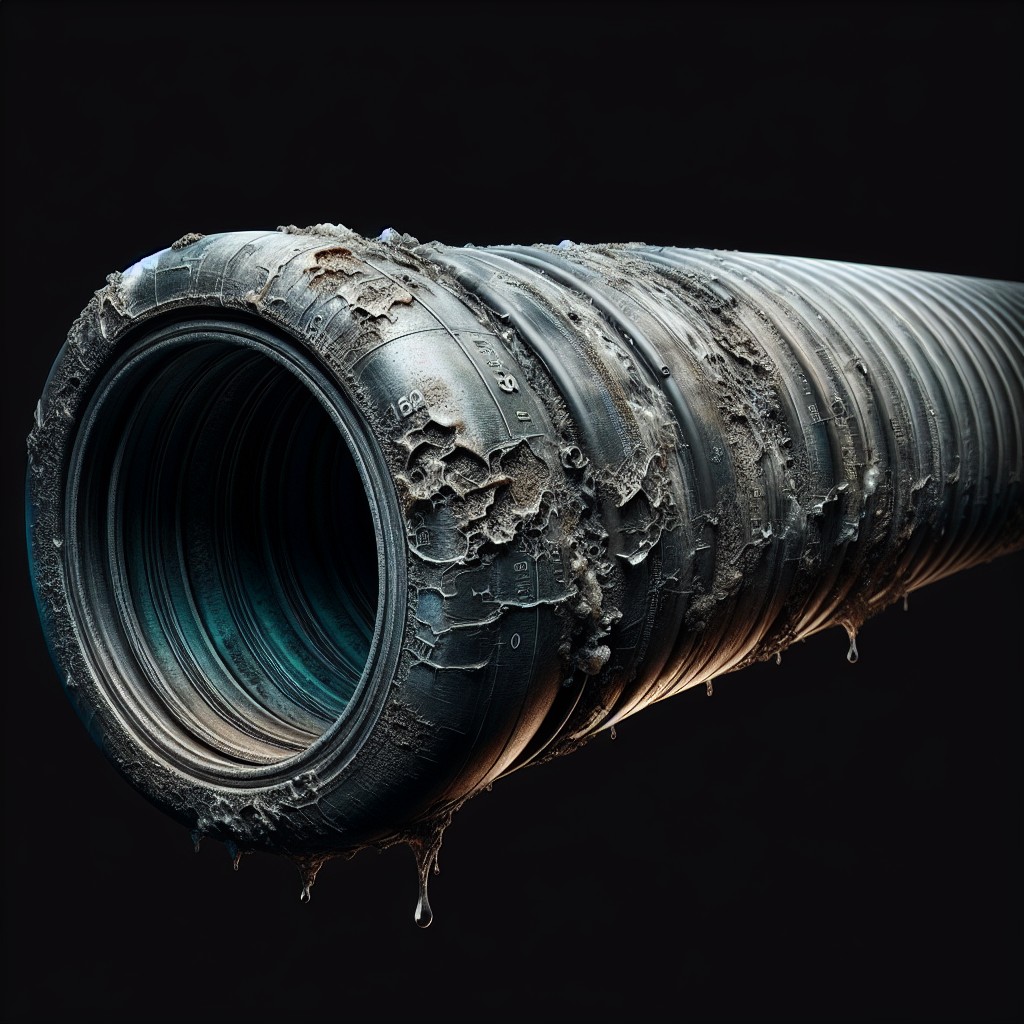
Identifying issues with your fuel line early can prevent more serious problems. Look out for these indicators:
- Visible Cracks or Wear: Regularly inspect your fuel lines for any cracks, brittleness, or signs of wear, especially if the vehicle is older.
- Fuel Odors: A persistent smell of fuel could suggest a leak in the fuel line, which requires immediate attention to avoid safety hazards.
- Engine Performance Issues: Difficulty starting the engine, inconsistent power delivery, or stalling could be symptoms of fuel restriction or leakage.
- Leaking Fluid: Any signs of wetness or drips along the fuel line could point to a leak. This may be more noticeable after the vehicle has been running and the fuel system is pressurized.
- Decreased Fuel Efficiency: An unexplained drop in miles per gallon could indicate a fuel line problem, as leaks or obstructions affect the optimal delivery of fuel to the engine.
- Check Engine Light: Modern vehicles may trigger the check engine light if a problem in the fuel system is detected by onboard diagnostics. It’s a prompt to conduct a more thorough investigation.
Addressing these signs swiftly with a repair kit can restore proper fuel flow and protect your engine from further damage.
Benefits of Using a Fuel Line Repair Kit
A fuel line repair kit serves as a quick and cost-effective solution to address minor leaks and damage, eliminating the need to replace entire fuel lines. Using these kits can significantly reduce vehicle downtime, ensuring that you can get back on the road swiftly.
They are designed for ease of use, making them accessible even to those with limited mechanical skills. Furthermore, the versatility of most kits allows for repairs on various types and sizes of fuel lines. The contained approach also helps to maintain the integrity of the existing fuel system, minimizing the risk of introducing contaminants during repairs.
Regular use of a repair kit on minor issues can prevent the progression of damage, prolonging the overall lifespan of the fuel line.
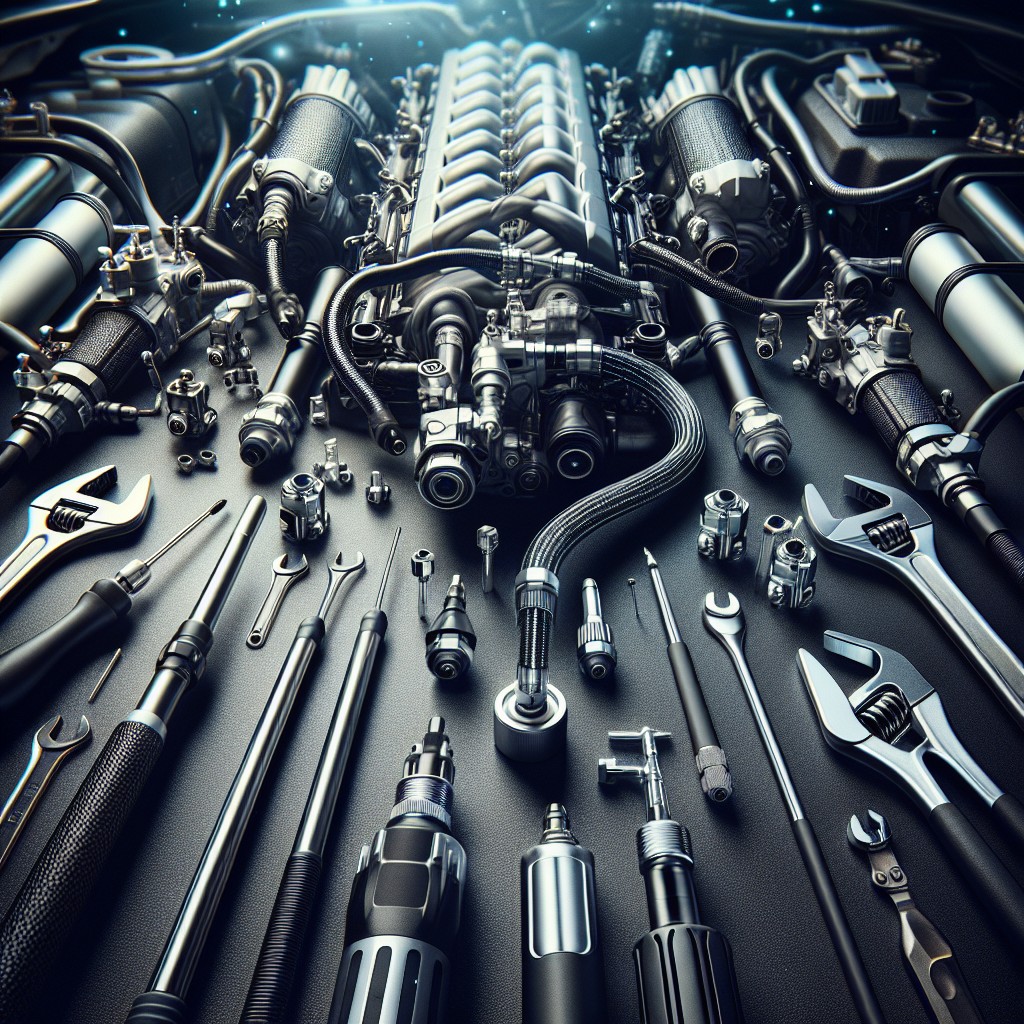
Step-by-Step Guide to Repairing a Fuel Line
Begin by ensuring the engine is cool, and the vehicle is parked on a level surface to prevent fuel flow. Disconnect the battery to eliminate any risk of sparks igniting fuel vapors.
Locate the damaged section of the fuel line. It usually exhibits signs of wear, such as cracks or rust. Use a fuel line disconnect tool if necessary to separate the line.
Measure the damaged portion accurately to determine the length of the replacement tubing needed. Cut out the defective segment with a tubing cutter for a clean cut, ensuring minimal debris.
Slide clamps onto the new tubing before inserting the repair line. If using a compression fitting kit, assemble the fittings onto each end of the tubing according to the manufacturer’s instructions.
Attach the new section securely to the remaining fuel line. Tighten the clamps or fittings with proper tools, but take care not to strip the threads.
Check for leaks by reconnecting the battery and turning the ignition to the on position without starting the engine. This will pressurize the fuel system, allowing you to inspect the repair.
In the absence of leaks, start the engine and recheck for any signs of fuel leakage. If all is well, you’ve successfully repaired the fuel line.
Selecting the Right Fuel Line Repair Kit for Your Vehicle
When choosing a kit, begin by consulting your vehicle’s manual to determine the appropriate specifications for the fuel lines, including the size and type of material. Kits vary, so it’s crucial to match the compatibility with your vehicle’s fuel system requirements. For older or vintage cars, specific kits tailored to classic models are available and may be necessary due to different design standards.
Moreover, consider the contents of the kit. A complete set should include clamps, hoses, and fittings necessary for a seamless repair. Higher quality kits often come with corrosion-resistant parts, ensuring longevity and reliability. Opt for kits with detailed instructions, especially if you’re new to DIY auto repairs. Extras like a fuel line removal tool can make the process smoother.
Always pay attention to the durability of the materials. A fuel line must withstand various temperatures, pressures, and chemical exposure. Rubber lines are standard, but stainless steel or nylon offer increased durability and resistance to wear. Upfront, these might be a costlier investment, but they can save money over time with fewer replacements.
Lastly, consider the brand’s reputation and customer reviews. Manufacturers with a proven track record in the automotive industry tend to offer more reliable and trustworthy repair solutions, and feedback from fellow users can guide you in avoiding kits with common defects or issues.
Tips for Successful Fuel Line Repair
Ensure the engine is cool before attempting repairs to avoid burns or other injuries.
Always depressurize the fuel system to prevent fuel spray, which can be hazardous.
Use only high-quality, compatible parts from the repair kit to ensure a proper fit and durability. Mismatched components can lead to leaks or breaks.
Keep the work area clean to prevent dirt and debris from entering the fuel line, which could clog the fuel system and cause engine issues.
Check both ends of the fuel line for corrosion or damage, as these areas are often points of failure and may need extra attention during repair.
Work in a well-ventilated space to avoid inhaling fuel vapors, which are harmful and potentially flammable.
Double-check all connections and fittings for tightness to prevent future leaks; however, avoid overtightening as this can strip threads or crack components.
Test the repaired fuel line with a pressure tester if available, or start the engine and monitor for leaks before putting the vehicle back into regular use.
Keep a fire extinguisher within reach as a precaution when working with flammable materials like fuel.
Maintenance After Fuel Line Repair
Regular inspection of the repaired area is crucial to ensure the repair is holding up and there are no leaks. Check for any signs of fuel smell or visible leaks especially after the vehicle has been running, as this could indicate a problem.
Monitor engine performance closely following the repair. Any irregularities such as difficulty starting the engine, stalling, or a decrease in fuel efficiency could signal an issue with the fuel line.
Replace fuel filters as recommended by your vehicle’s manufacturer. Clean filters help maintain fuel flow and prevent debris from reaching the repaired section, which can cause further damage.
Keep an eye on the clamps and connectors that were included in the kit. They should remain tight and corrosion-free to help maintain the integrity of the fuel line.
Consider scheduling a professional inspection after a significant number of miles post-repair, particularly if the repair was performed as a temporary solution. Professionals can ensure that the fuel line is in optimal condition and recommend if a full replacement is necessary.
Always use high-quality fuel to minimize contaminants that could clog or degrade the fuel line over time, potentially affecting the repaired section.
Safety Precautions When Using Fuel Line Repair Kits
When undertaking a fuel line repair, prioritize safety, as you’re dealing with flammable substances. Firstly, ensure the work area is well-ventilated to prevent the accumulation of fuel vapors, which can be harmful if inhaled and pose a fire risk. Secondly, wear protective gloves and safety glasses to safeguard your hands and eyes from fuel spills and debris.
It’s imperative to disconnect the vehicle’s battery before commencing any work to eliminate the hazard of sparks igniting fuel vapors. Always have a fire extinguisher designed for chemical fires within reach for immediate response in case of an accidental ignition.
Properly relieve the vehicle’s fuel system pressure according to the manufacturer’s guidelines to avoid fuel spraying out when disconnecting the fuel line. Clean the work area around the fuel line before and after the repair to prevent any contamination from entering the fuel system.
Last but not least, never smoke or allow open flames or hot work equipment near the repair site to avoid any risk of fire or explosion. Following these precautionary steps will not only keep you safe but also ensure a more successful repair.
Troubleshooting Common Issues After Repair
After conducting a repair with a fuel line repair kit, it’s essential to observe the vehicle for any signs that might point towards lingering or new issues. A persistent fuel smell or visible leaks could indicate a bad seal or that the fuel line isn’t properly connected. If you notice a rough idle or difficulty starting the vehicle, this could suggest a blockage or an improper fuel pressure.
To troubleshoot these issues, first inspect all fittings and connections for tightness. Ensure the clamps are secure and check for any kinks or bends in the line that may restrict flow. Additionally, verify that all O-rings and seals were correctly installed and undamaged during the repair process.
If problems persist, it might be necessary to use a pressure gauge to test the fuel pressure against the manufacturer’s specifications, which could reveal whether there is an issue upstream or downstream in the fuel system.
Lastly, do not overlook the possibility that the repair kit components could be defective or not suitable for your particular vehicle. Consult with the manufacturer or a professional if you’re unable to resolve the issues after these checks. Remember, a well-functioning fuel line is crucial for the safety and performance of your vehicle.


