Last updated on
Dive into the nuts and bolts of brake line repair kits because recognizing the right kit can save you time, money, and ensure your vehicle’s safety.
When it comes to ensuring the safety and performance of your vehicle, addressing brake line issues is paramount. A reliable brake line repair kit is not just a convenient solution; it’s a necessity for drivers who value durability and precision in their automotive repairs.
Whether you’re a hands-on car enthusiast looking to tackle a quick fix or a professional mechanic embarking on a comprehensive overhaul, the right kit can make all the difference.
This article delves into the vital components of brake line repair kits, explores options tailored to different levels of expertise, and guides you on selecting the perfect kit that aligns with your vehicle’s specifications and your personal needs.
Stay tuned for the complete breakdown, ensuring a smooth and secure repair process.
Key takeaways:
- Brake line repair kits provide essential components for replacing or repairing brake lines.
- Components of a kit include fittings, tubing, bending tools, and flaring tools.
- Consider the type of tubing material that best suits your needs.
- Choose between DIY kits for simple repairs or professional kits for more complex jobs.
- Select a kit that is compatible with your vehicle and meets quality standards.
Table of Contents
Understanding Brake Line Repair Kits
Brake line repair kits provide the essential components needed to replace or repair damaged brake lines, which are crucial for vehicle safety.
These kits typically include a selection of fittings, flexible brake lines or tubing, and sometimes tools like tube cutters or flaring tools.
Quality repair kits are designed to restore the integrity of the brake system, ensuring that the brake fluid can flow without leaks from the master cylinder to the brake calipers.
A reliable brake line connection is vital for responsive braking; hence each kit aims to ensure that you can achieve this connection securely.
Using a repair kit can also be a cost-effective alternative to a full professional service while still maintaining the high standards necessary for brake system repairs.
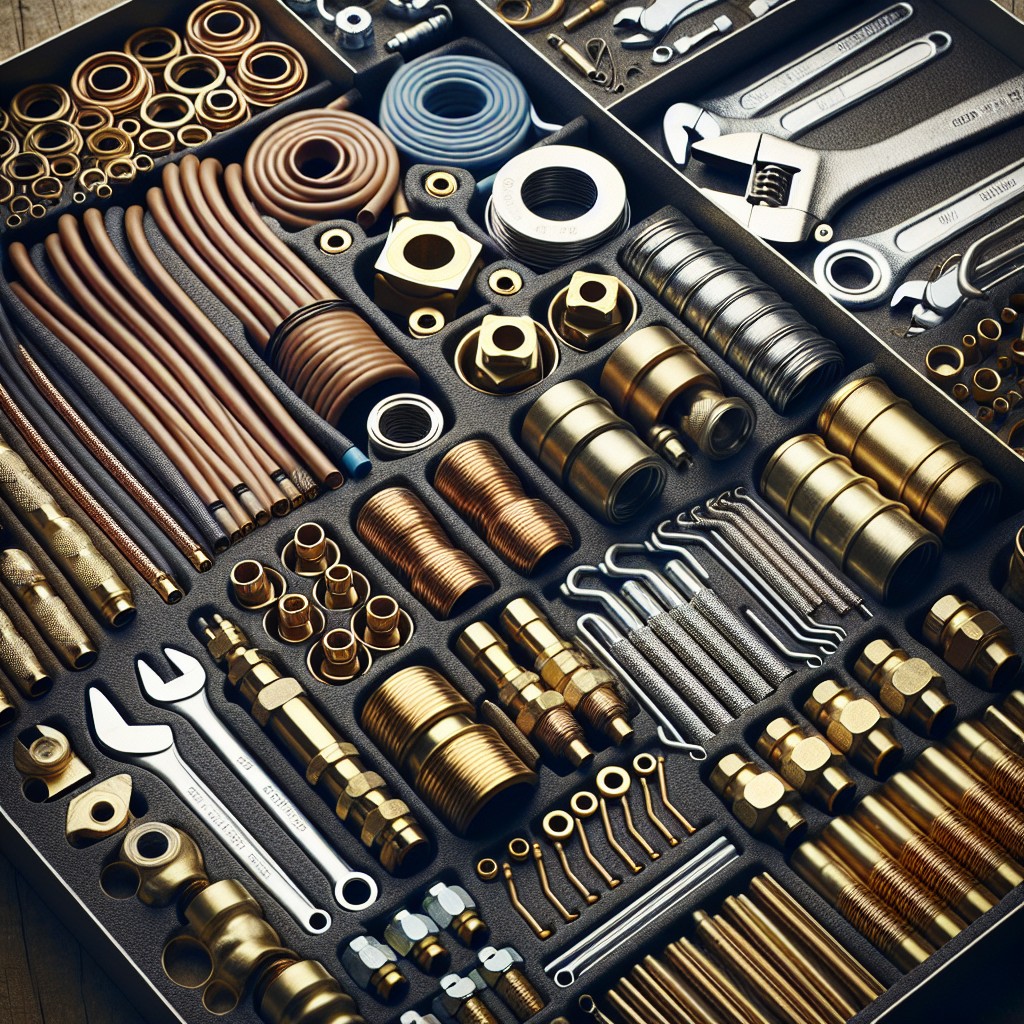
Components of a Brake Line Repair Kit
A comprehensive brake line repair kit typically includes several key items essential for replacing or mending damaged brake lines. The primary component is the tubing, which is usually made of steel, copper-nickel, or sometimes rubber for flexibility. To accommodate different vehicle models, tubing often comes in various diameters.
Fittings and connectors are also crucial since they ensure a secure connection between separate sections of brake lines. These can range from simple straight fittings to more complex shapes, depending on the vehicle’s brake line configuration.
To shape the tubing accordingly, a bending tool is provided. This helps in achieving the precise angles without kinking the line, which could impede brake fluid flow. For cutting the tubing to the needed length, a cutting tool is often included.
Flaring tools help create a widened end on the brake tube, allowing for a tight seal with the fittings. Some kits feature a double-flaring tool, which is essential for making the double flares found on many modern vehicles.
Lastly, brake fluid is a common inclusion to refill the system post-repair, along with a bleeding kit to remove air from the brake lines, which is critical for restoring full braking power.
Each item plays a vital role, and the quality of these components can significantly affect the effectiveness and longevity of the repair. Always ensure to verify the compatibility of the kit with your specific vehicle to guarantee a smooth repair process.
Types of Brake Line Tubing
Brake line tubing comes in various materials, each offering different benefits. Steel is traditional, known for its durability and resistance to corrosion; particularly, stainless steel is favored for its longevity.
Soft steel or “bundy tubing” is easier to bend and manipulate, making it a good choice for DIY projects, but it may be more susceptible to rust.
Alternatively, copper-nickel alloys provide a middle ground, combining ease of installation with considerable corrosion resistance. This material is often recommended for vehicles operated in corrosive environments, such as areas with heavy road salt usage.
On the performance end, reinforced braided brake lines are favored in racing due to their ability to withstand higher pressures and reduce brake line expansion for more consistent brake feel.
When selecting tubing material, it’s critical to consider factors such as the vehicle’s operating conditions, the driver’s technical skill for installation, budget, and regulatory compliance, as some regions have specific regulations on brake line materials.
DIY Versus Professional Repair Kits
Selecting between DIY and professional repair kits largely depends on your automotive repair skill level and the complexity of the job at hand.
– DIY kits usually cater to simple, straightforward repairs, ideal for car owners comfortable with basic mechanical tasks. These kits typically include the necessary lines, fittings, and hardware for standard repairs.
– Professional repair kits, on the other hand, offer more robust solutions. Designed for those with advanced mechanical knowledge or professional mechanics, these kits often come with a wider array of specialized tools and higher-grade materials suitable for a variety of situations, including custom or high-performance brakes.
Ease of use is another consideration. DIY kits often prioritize user-friendly instructions and quick fixes, whereas professional kits might require additional tools and technical understanding for installation.
Cost can be a deciding factor. While DIY kits might seem more economical upfront, the additional investment in a professional kit might save money in the long run. Professional-quality repairs tend to last longer and provide enhanced safety.
When deciding on the kit that’s right for you, consider the value of your time and the peace of mind that comes with a reliable repair. If you’re unsure about the process, it’s advisable to consult with an automotive professional to ensure the safety and integrity of your vehicle’s brake system.
Choosing the Right Kit for Your Vehicle
Selecting the appropriate brake line repair kit is critical for both vehicle compatibility and safety. Consider the following points when making your choice:
- Vehicle Specifications: Match the kit to your vehicle model’s specific requirements. Check your vehicle’s manual or consult with a manufacturer database to ensure compatibility.
- Material: Kits come with lines made from different materials like steel, copper-nickel, or rubber. Copper-nickel lines, for instance, are typically easier to bend and resistant to corrosion.
- Kit Contents: Look for kits that include all necessary fittings, flares, and hardware. This ensures a seamless installation process without the need for additional purchases.
- Quality Standards: Opt for kits that meet or exceed OEM (Original Equipment Manufacturer) standards to maintain the integrity of your vehicle’s braking system.
- Ease of Installation: If you plan to install the kit yourself, seek out options designed with DIY enthusiasts in mind. These may include pre-flared lines and comprehensive instructions.
Determining the right kit requires weighing these factors against your level of mechanical skill, the tools you have available, and the driving conditions your vehicle typically encounters.
Safety Considerations for Brake Line Repair
When dealing with brake line repairs, prioritizing safety cannot be overstated. Properly functioning brakes are critical, so take all necessary precautions:
- Always use jack stands, never rely solely on a jack to support the vehicle during repairs.
- Wear protective eyewear and gloves to safeguard against spills and sharp edges.
- Ensure the vehicle is parked on a flat surface to prevent any movement during the repair process.
- Depressurize the brake system before starting any work to avoid fluid spray or spills.
- Dispose of old brake fluid responsibly; it’s hazardous to the environment and toxic.
- Carefully follow the guidelines for fitting connections to prevent leaks that could lead to brake failure.
- After repair, bleed the brake system to remove air pockets, which can significantly impair braking performance.
- Conduct a thorough test drive in a safe area with no traffic to verify the effectiveness of the brakes before returning to regular driving conditions.
Troubleshooting Common Issues After Installation
Even with a new brake line repair kit installed, issues can occasionally arise that may require attention. It’s essential to monitor your vehicle’s performance immediately following the repair. If you notice a spongy or unresponsive brake pedal, it could indicate air still trapped in the brake lines—bleeding the brakes should rectify this problem.
Leaks are another concern. They can often be spotted by a pool of brake fluid under the car or by a decrease in the fluid reservoir. Recheck all connections for tightness and ensure that the fittings are properly flared to prevent fluid escape.
Strange noises when braking could suggest the presence of debris or incorrect fitting. Quieting these noises usually involves double-checking the installation for any overlooked foreign matter or misalignment.
If the brake warning light on your dashboard illuminates, it may be a sign of a deeper issue such as uneven pressure in the brake lines or malfunctioning sensors. Address this swiftly by conducting a thorough inspection or consulting a professional to avoid compromising your vehicle’s safety.
Installation Tips for Brake Lines
Begin with the correct equipment: A flare tool, line wrenches, and tubing cutter are essential for a clean installation. Always use a tubing cutter over a hacksaw to prevent irregular edges which can cause leaks.
Measure twice, cut once: Accuracy is vital when cutting new brake lines. Double-check measurements before making any cuts to ensure a proper fit without unnecessary joins which can become potential leak points.
Flare with care: When creating flares, ensure they are uniform and without cracks. An improper flare will not seal correctly, leading to brake fluid leaks and system failure.
Avoid bending by hand: Utilize a tubing bender for precise angles and to prevent kinks in the line. Kinks can obstruct brake fluid flow and compromise the integrity of the brake system.
Keep lines clear of moving parts: Route the brake lines away from suspension components and places with high heat sources to prevent wear and damage.
Check for leaks: After installation, bleed the brake system to remove air pockets and check for leaks at all connections.
Torque to specification: Consult your vehicle’s service manual for the appropriate torque specifications to avoid over-tightening, which could strip threads or under-tightening, which could cause leaks.
Protect against corrosion: Apply a protective coating to the lines, especially in areas with harsh weather conditions or where road salt is common. This helps prolong the lifespan of the new brake lines.
Maintenance Tips Post Repair
After repairing or replacing brake lines with a kit, it’s crucial to maintain them properly to ensure longevity and safety. Frequent checks should become part of your routine, especially in the initial months following repair:
- Regularly inspect the brake lines for signs of wear, rust, or damage. Look out for any visible leaks or wet spots, which could indicate a slow leak that might evolve into a bigger problem.
- Test your brakes frequently. During the first few weeks after repair, pay close attention to the brake response. If you notice any change in the braking power or if the brake pedal feels spongy, it could suggest the presence of air in the brake line, which will need bleeding.
- Ensure that the area around the brake lines remains clean. Dirt, grime, and road salt can lead to corrosion, so periodic cleaning, especially after driving in harsh conditions, can help prevent this.
- Check the tightness of the fittings. Over time, vibrations from the vehicle can loosen fittings, so make sure they remain snug to prevent leaks.
- Monitor the brake fluid level in the master cylinder reservoir. A dropping fluid level can indicate a leak in the brake system that might require attention. Remember to use the type of brake fluid recommended by your vehicle’s manufacturer.
Proactive maintenance can significantly extend the life of your brake lines and avoid costly repairs or dangerous brake failures on the road.
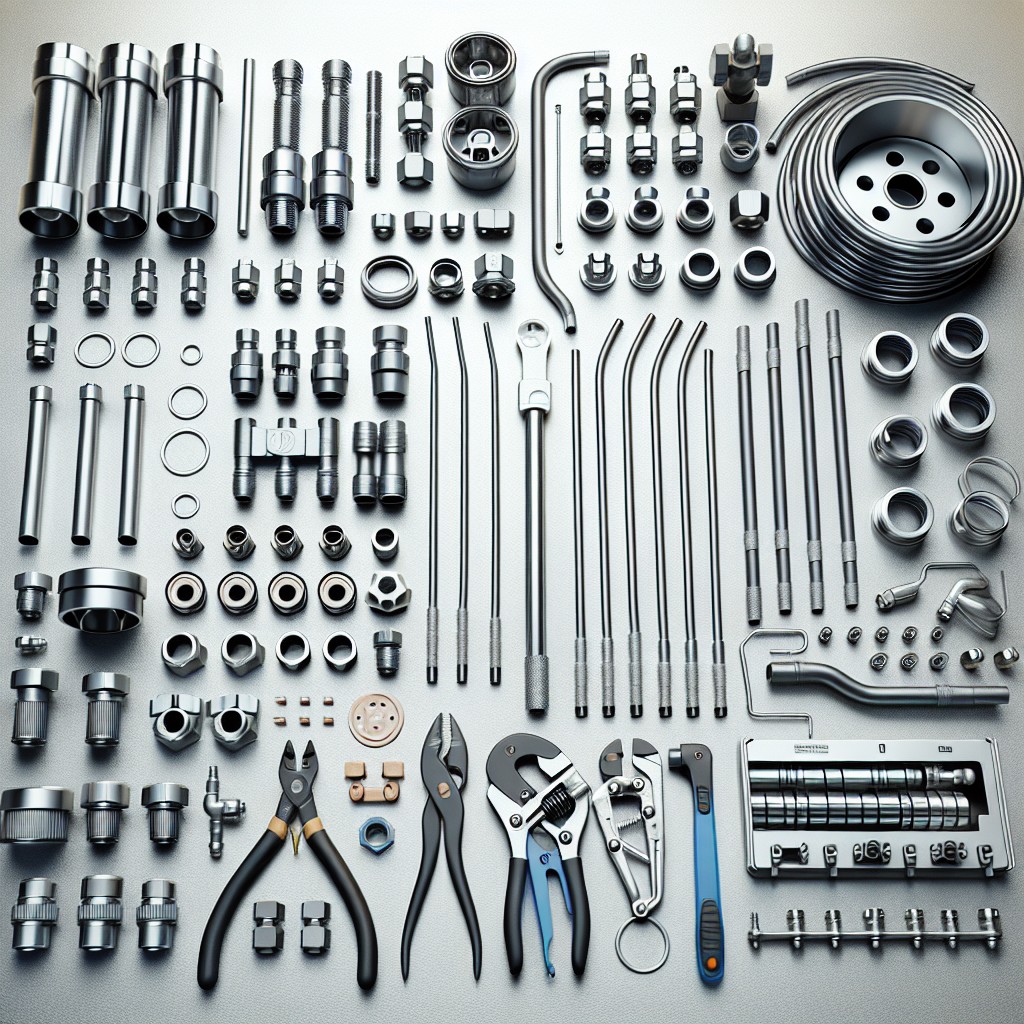
The Advantage of Complete Kits Over Individual Purchases
Opting for a complete brake line repair kit often leads to an efficient and hassle-free repair process as opposed to individual component purchases.
These kits typically include all essential fittings, clips, and lines, ensuring compatibility and reducing the likelihood of missing a crucial part during repair.
The uniform quality of parts in a kit mitigates the risk of mixing different metals that could lead to galvanic corrosion.
Moreover, bulk purchases can be cost-effective, offering better value than the cumulative cost of single items.
It also saves time, as you avoid multiple trips to the store or waiting on several deliveries of individual pieces.
These factors contribute to the popularity of complete kits among both professional mechanics and DIY enthusiasts.


