Last updated on
Discover the simple and efficient process of removing furniture connectors. Make disassembling your furniture a breeze with this step-by-step guide.
Have you ever tried to move a piece of furniture only to find that it’s connected in ways you never imagined? Frustrating, right? Whether you’re trying to rearrange your living room or move into a new home, furniture connectors can be a real pain.
But fear not! This article shows you how to remove furniture connectors with ease. Say goodbye to the struggle and hello to stress-free furniture moving. Let’s get started!
Key takeaways:
- Know the types of furniture connectors: cam locks, dowels, screws, and bolts.
- Take safety precautions by clearing your workspace and wearing protective gear.
- Gather necessary tools: screwdriver, pliers, hammer, Allen wrenches, rubber mallet.
- Locate the connectors by examining the furniture or consulting instructions.
- Disassemble joint by joint, tapping with a rubber mallet, using leverage if necessary.
Table of Contents
Types of Furniture Connectors
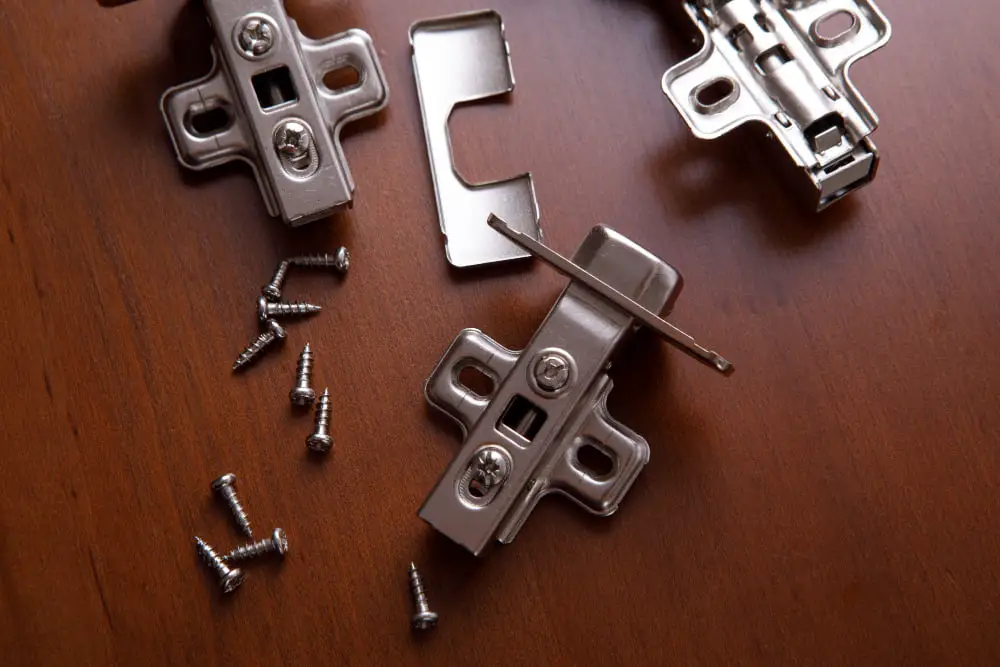
When it comes to furniture connectors, there are several types you may encounter. Some of the most common include cam locks, dowels, screws and bolts.
Cam locks are often used in flat-pack furniture and consist of a cylindrical piece that fits into a hole on another piece with a locking tab that secures them together. Dowels are wooden pegs inserted into pre-drilled holes to hold two pieces together without the need for screws or nails.
Screws and bolts can be found in various sizes depending on the weight-bearing capacity required by your furniture’s design. They’re typically used to connect metal parts or heavy-duty wood joints like bed frames.
Knowing which type of connector is being used will help you determine how best to remove it without damaging your furniture pieces during disassembly.
Safety Precautions

First and foremost, make sure you have a clear workspace with plenty of room to move around. Remove any obstacles or tripping hazards that could cause an accident.
Next, wear protective gear such as gloves and eye goggles to prevent injury from sharp edges or flying debris. If you’re working with power tools like drills or saws, be sure to follow all manufacturer instructions and use them safely.
If you’re unsure about how a particular connector works or are having trouble disassembling it safely on your own, don’t hesitate to seek professional help from a furniture repair expert.
Gather Necessary Tools
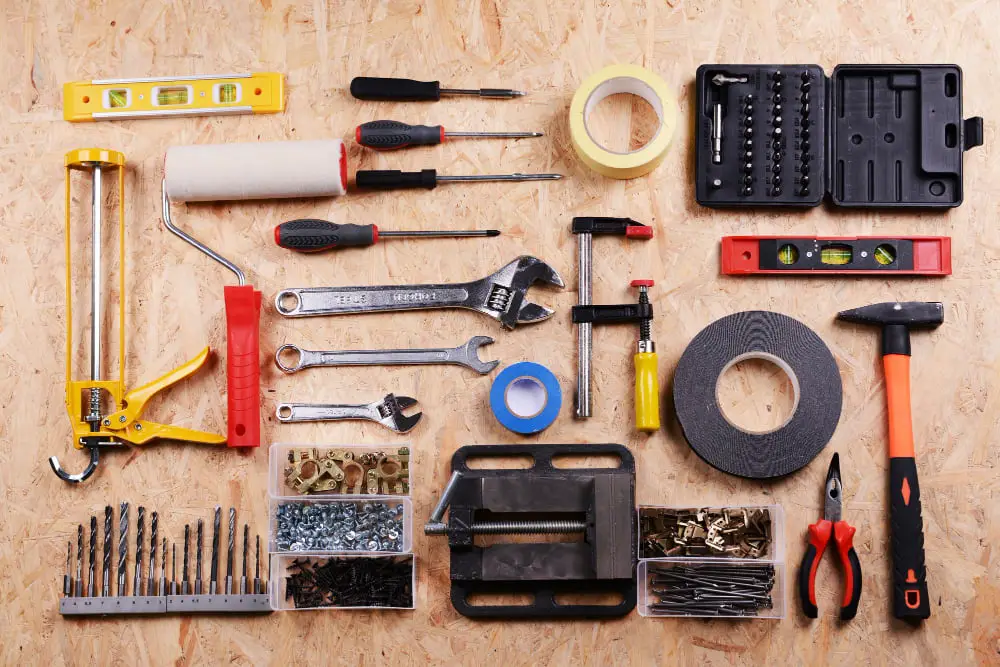
You don’t want to start disassembling your furniture only to realize halfway through that you don’t have the right equipment. Here are some of the essential tools you’ll need:
- Screwdriver: A screwdriver is a must-have tool for removing screws and bolts.
- Pliers: Pliers can be used for gripping and twisting stubborn connectors.
- Hammer: A hammer can help loosen glued or nailed parts.
- Allen wrenches: These hexagonal-shaped wrenches are commonly used with cam locks and other types of fasteners.
- Rubber mallet: If there are any tight-fitting joints, a rubber mallet will come in handy when trying not to damage them while separating them from each other.
Locate Furniture tools
This step is crucial as it will help you identify which parts of your furniture are connected and how they’re attached.
Start by examining your furniture closely, looking for any visible screws or bolts that may be holding pieces together. You can also check for dowels or cam locks that may be hidden beneath decorative caps or plugs.
If you’re having trouble locating connector points, consult the manufacturer’s instructions if available. Alternatively, try searching online for assembly diagrams specific to your piece of furniture.
Disassemble Joint By Joint
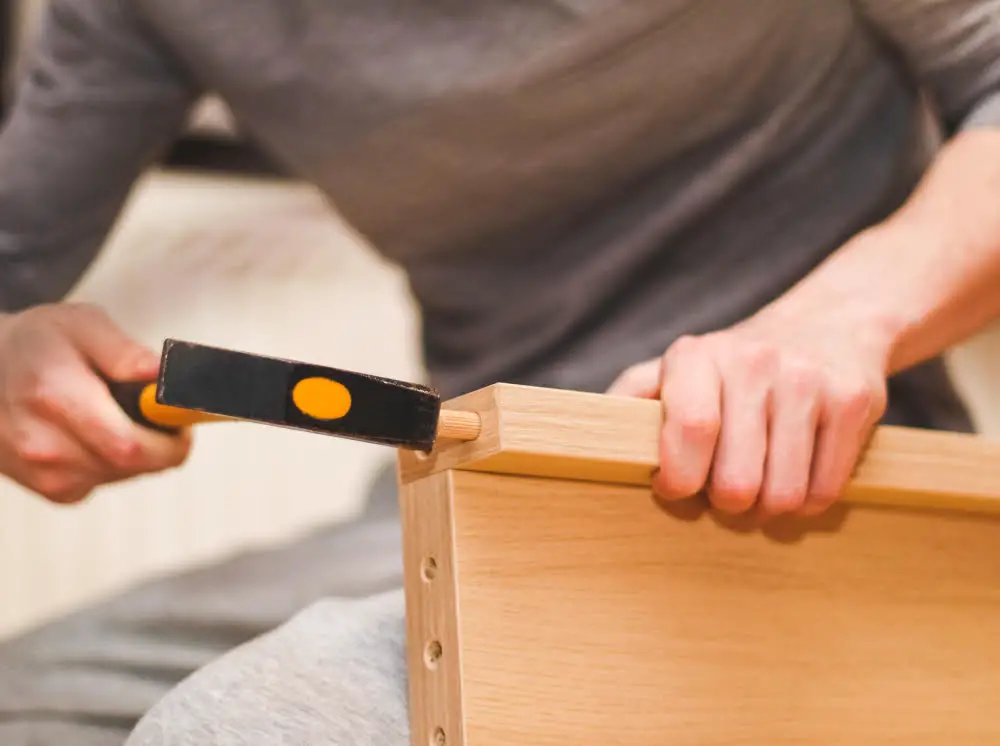
Start with one corner of the furniture and work your way around. Use a rubber mallet or hammer to gently tap on each joint until it starts to loosen up.
If you’re dealing with a wooden piece of furniture, be extra careful not to damage any delicate parts while tapping away at the joints. If necessary, use a pry bar or flathead screwdriver as leverage between two pieces that are stuck together.
Remember that patience is key when removing furniture connectors – rushing through this process can lead to broken parts and frustration down the line. Take your time and work methodically through each connection point until all joints have been loosened up enough for easy removal.
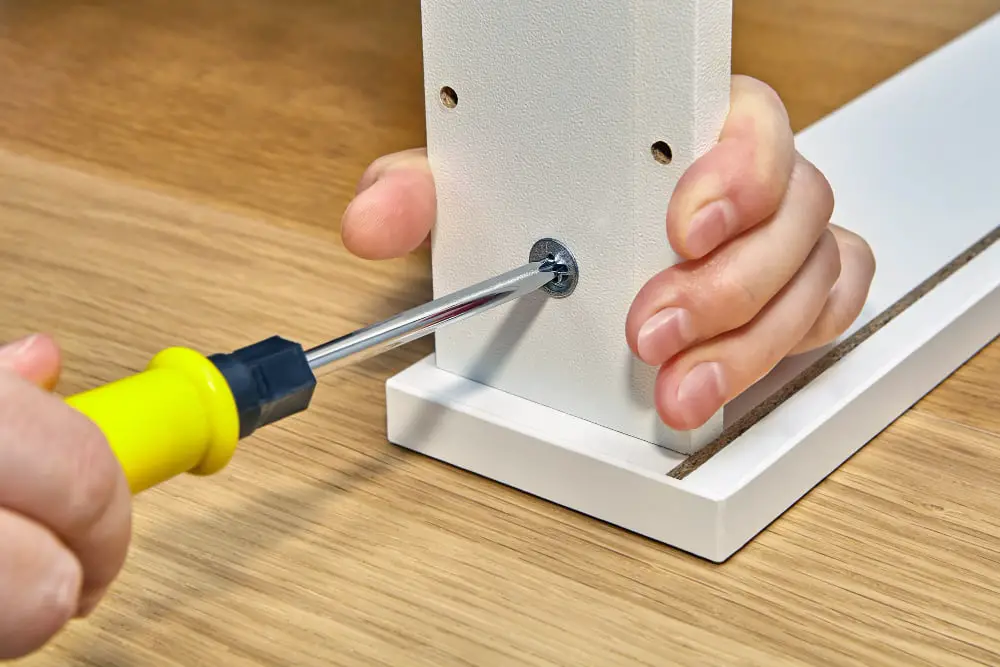
Detach Screws and Bolts
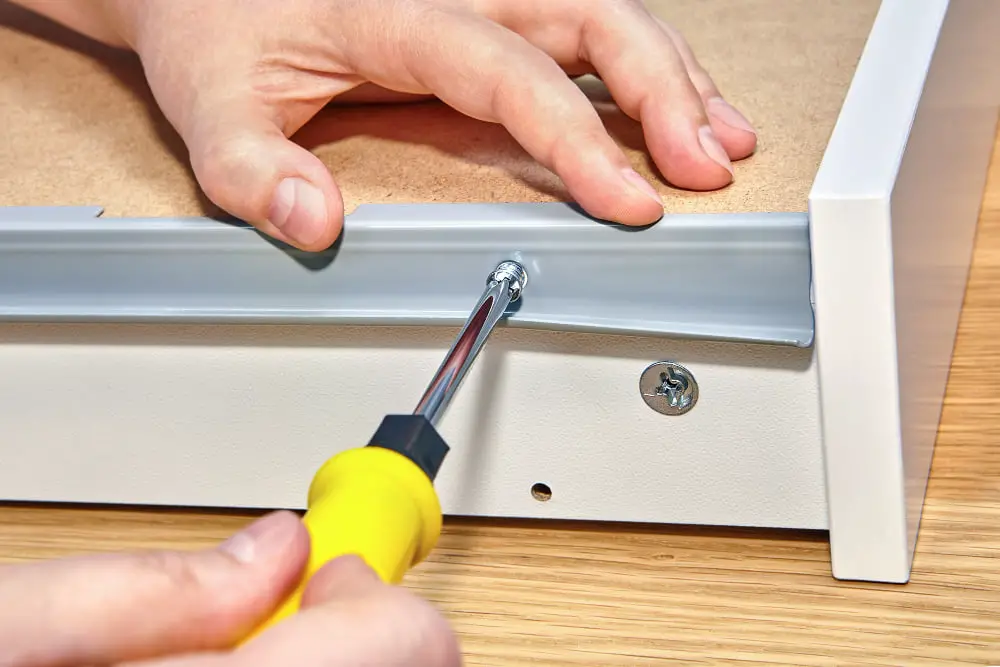
This step is crucial in disassembling your furniture, so make sure you have the right tools on hand before proceeding.
Using a screwdriver or wrench (depending on the type of connector), turn each screw or bolt counterclockwise until they are loose enough to remove by hand. Be careful not to strip any screws as this can make removal more difficult.
If some of the connectors are hard to reach with a tool, try using pliers or locking pliers for added grip and leverage. Once all screws and bolts have been removed from each joint, gently pull apart each section of your furniture until it is completely disassembled.
Remove Dowels and Cam Locks
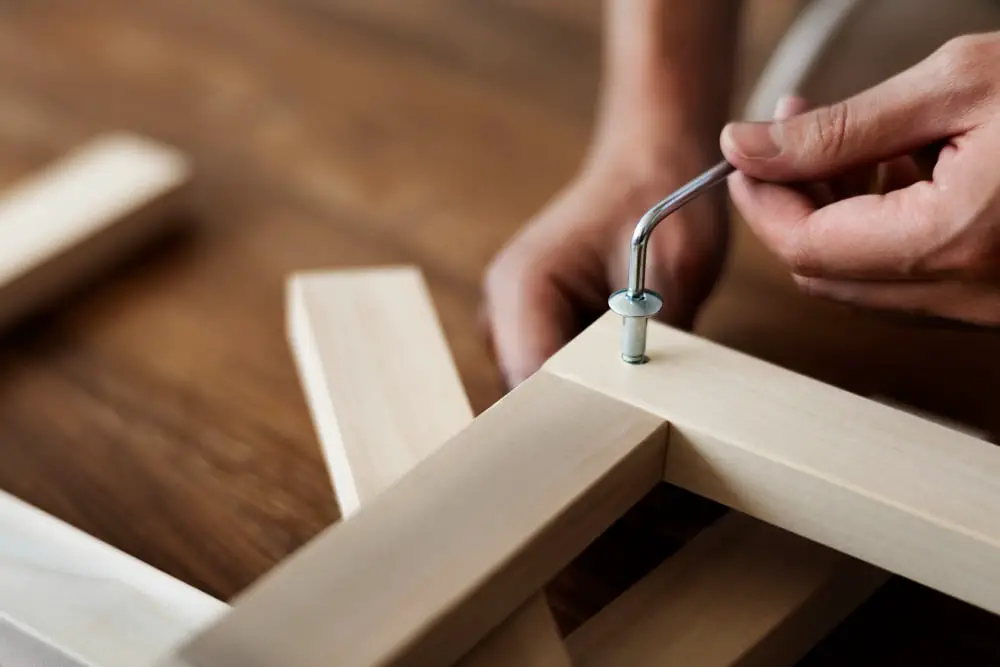
To remove dowels, use a pair of pliers or a flathead screwdriver to gently pry them out of their holes. If the dowel is glued in place, you may need to apply some force or use a hammer and chisel.
Cam locks can be removed by turning them counterclockwise with an Allen wrench until they come loose. Once the cam lock is removed, you should be able to easily separate the two pieces of furniture.
Remember that some connectors may require more effort than others depending on how tightly they were installed. Be patient and take your time when removing connectors so as not to damage any part of your furniture.
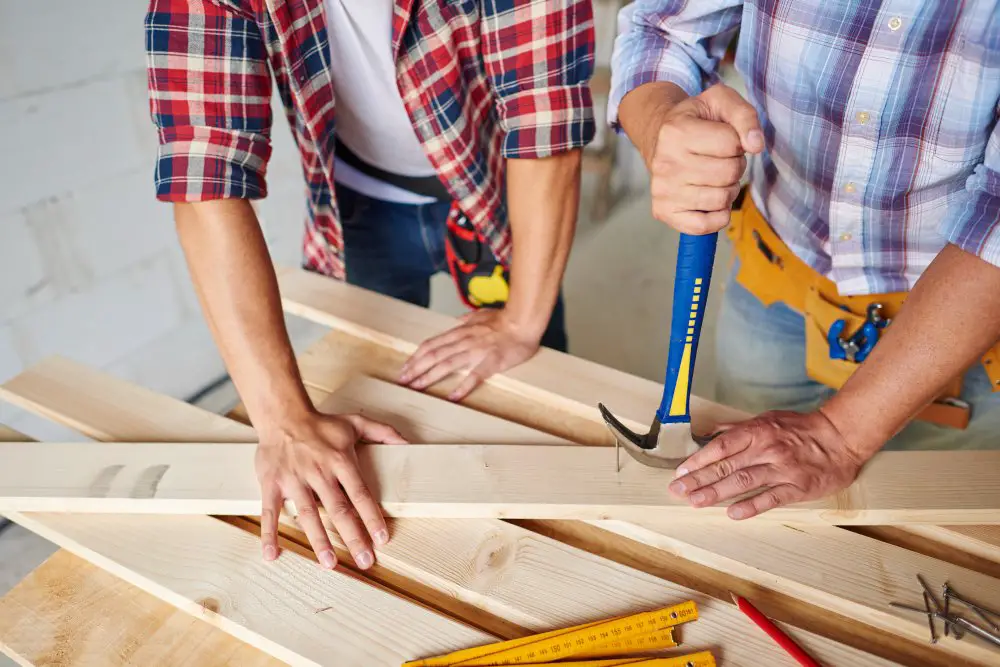
Separate Glued or Nailed Parts
However, it’s still possible to disassemble these pieces with the right tools and techniques.
To remove glued parts, you’ll need a heat gun and putty knife. Heat up the glue until it softens and then use the putty knife to gently pry apart the joint.
For nailed parts, you’ll need a hammer and nail punch tool. Use these tools to carefully remove any nails from the joint before attempting to separate it.
Remember that patience is key when dealing with glued or nailed joints as they may take longer to disassemble than other types of connectors.
By following these steps for all connector types in your furniture piece one by one will help make moving day much easier!