Last updated on
Discover the essential steps to easily and effectively install a protective roof over your front door, enhancing both curb appeal and functionality.
Welcome to another exciting home decor article! Today, we’re going to talk about something that might seem small but can make a big difference in the appearance and functionality of your home: putting a roof over your front door. Not only does it add a touch of style to your entryway, but it also provides protection from the elements for you and your guests.
Whether you’re looking to DIY or hire a professional, we’ve got you covered with all the information you need. So grab a cup of coffee and let’s dive into this project!
Key takeaways:
- Plan and design the roof structure before starting the project.
- Choose a roof style that complements your home’s architecture and suits your climate.
- Consider gable, shed, and hip roof designs for your front door overhang.
- Select materials and colors that enhance your home’s exterior and fit within your budget.
- Enhance curb appeal by adding decorative elements and proper lighting.
Table of Contents
Planning and Designing a Roof Over a Front Door
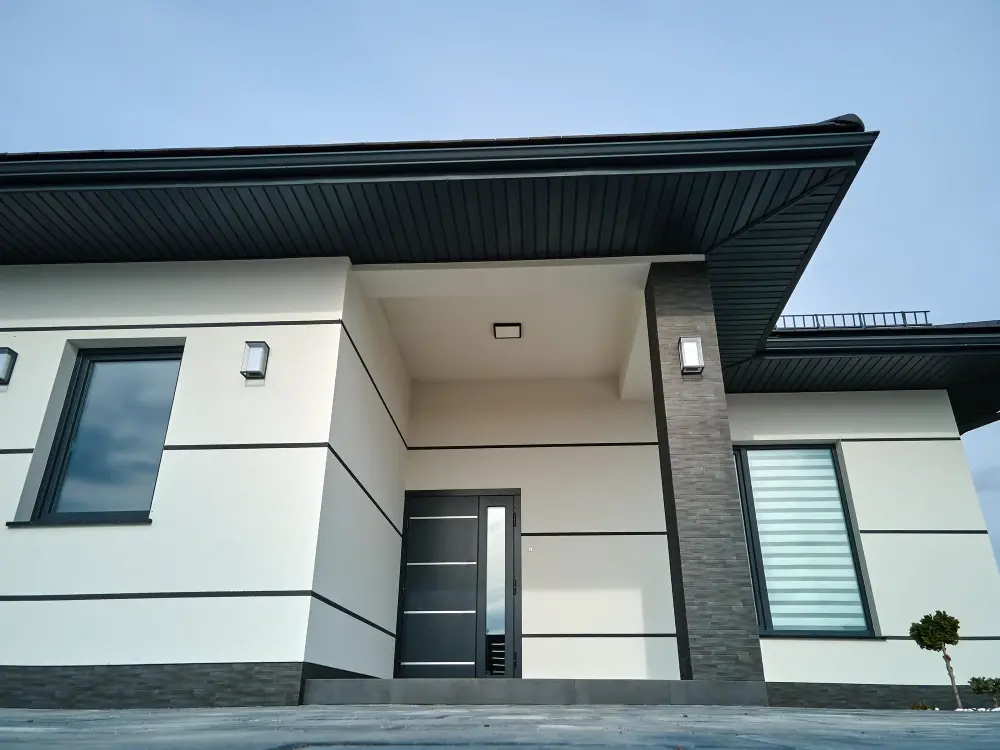
Before you start building a roof over your front door, it’s essential to plan and design the structure. This step is crucial because it will determine the style, size, and materials needed for your project.
You’ll want to consider several factors when planning your roof overhang:
Firstly, think about what type of protection you need from the elements. Do you live in an area with heavy rainfall or snowfall? If so, a steeper pitch may be necessary to ensure proper drainage.
Secondly, consider how much space is available above your doorway. A low clearance could limit the height of any support columns or beams that are required.
Thirdly, take into account how this new addition will complement or contrast with other exterior features on your home such as windowsills and shutters.
Lastly but not least important factor is budgeting – make sure that all costs associated with designing and constructing this new feature fit within reasonable limits before proceeding further.
Choosing the Right Roof Style
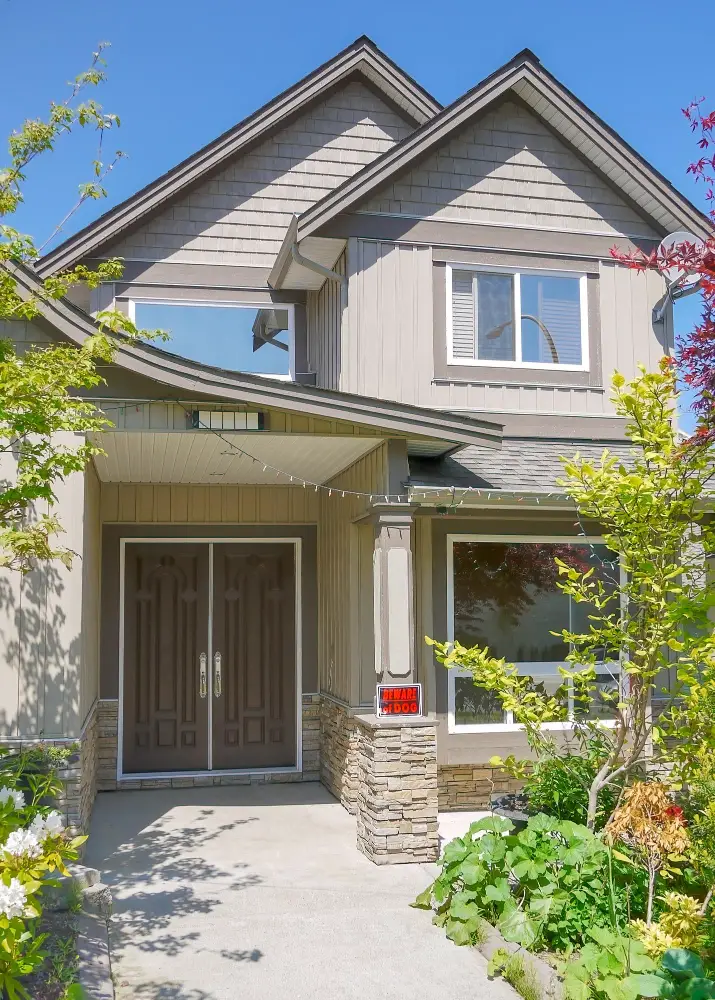
The first thing you need to think about is the overall design of your home. You want a roof that complements and enhances the existing architecture rather than detracting from it.
Another important consideration is functionality. Do you live in an area with heavy rainfall or snow? If so, a steeply pitched gable roof may be more suitable as it will allow water and snow to slide off easily.
Flat roofs are another popular option for modern homes but require regular maintenance due to their tendency towards pooling water if not properly installed with adequate drainage systems.
Hip roofs offer both aesthetic appeal and practicality by providing excellent protection against wind damage while also adding architectural interest.
Basic Roof Over Door Designs

The most common designs include gable, shed, and hip roofs. A gable roof is the classic triangular shape that slopes down on two sides of the house.
It’s simple yet elegant and can complement any home style.
A shed roof is a single sloping plane that extends out from the house wall above your front door. This design provides excellent protection against rain or snow while also adding an interesting architectural element to your entryway.
Hip roofs have four sloping sides that meet at a ridge in the center of the structure. They’re more complex than other designs but offer superior protection against wind and weather conditions.
Complementing Home Exterior With Roof Over Door
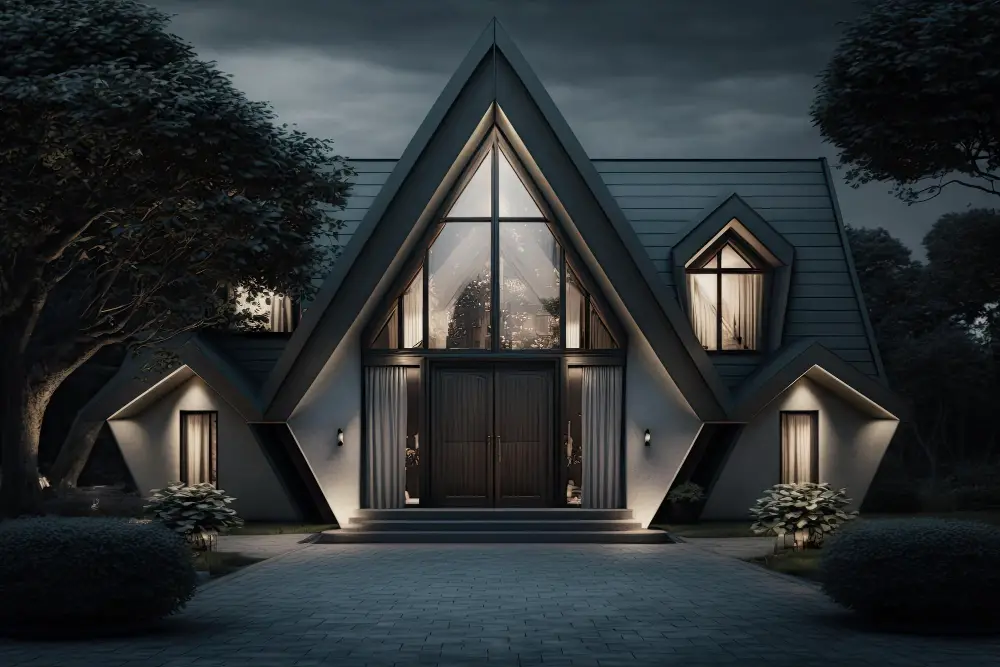
The style and color of the roof should blend seamlessly with the rest of your house, creating a cohesive look that enhances curb appeal.
Consider factors such as architectural style, color scheme, and materials used on other parts of your home when choosing a design for your front door roof. For example, if you have a traditional-style home with brick or stone accents, consider adding an arched portico-style roof over the doorway for added elegance.
On the other hand, if you have a modern or contemporary-style home with clean lines and minimalistic features like metal siding or large windows – opt for something sleeker like an angled flat-roof design in neutral colors such as black or gray.
Enhancing Curb Appeal With Roof Over Door
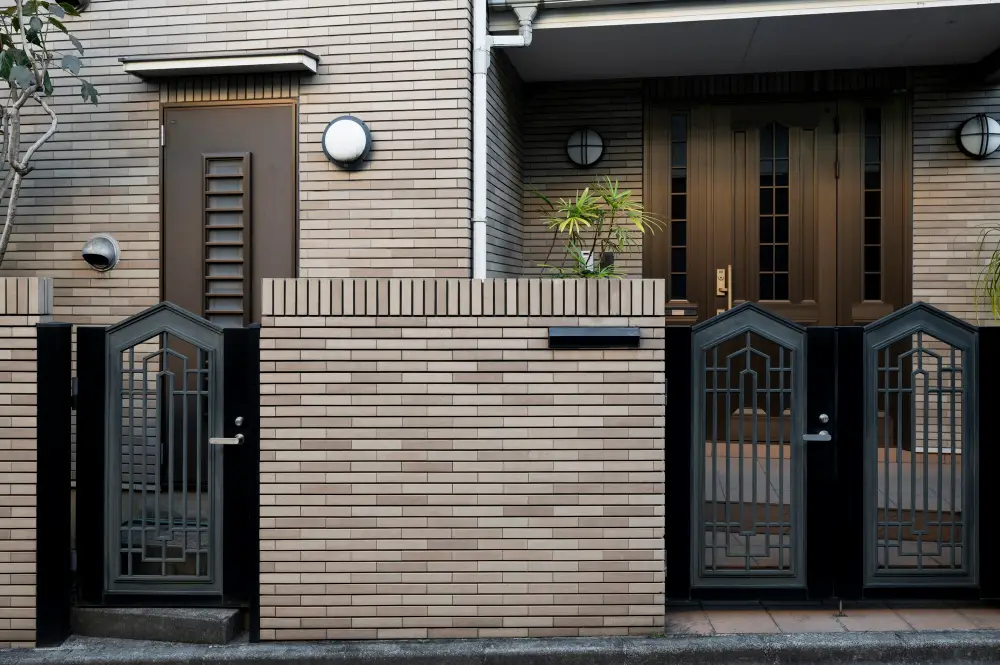
A well-designed and maintained exterior can make a significant difference in the value of your property. Adding a roof over your front door not only provides protection from the elements but also enhances the overall look of your home’s exterior.
To enhance curb appeal with a roof over door design, consider matching or complementing existing architectural features such as window frames or shutters. You can also choose materials that match other parts of your house like siding or roofing shingles for consistency.
Another way to add visual interest is by incorporating decorative elements into the design such as brackets, moldings, and columns that fit with the style of your home’s architecture.
Don’t forget about lighting! Properly placed outdoor lights can highlight both functional aspects like steps and walkways while adding ambiance at night-time.
Adding Architectural Interest With Portico Roof
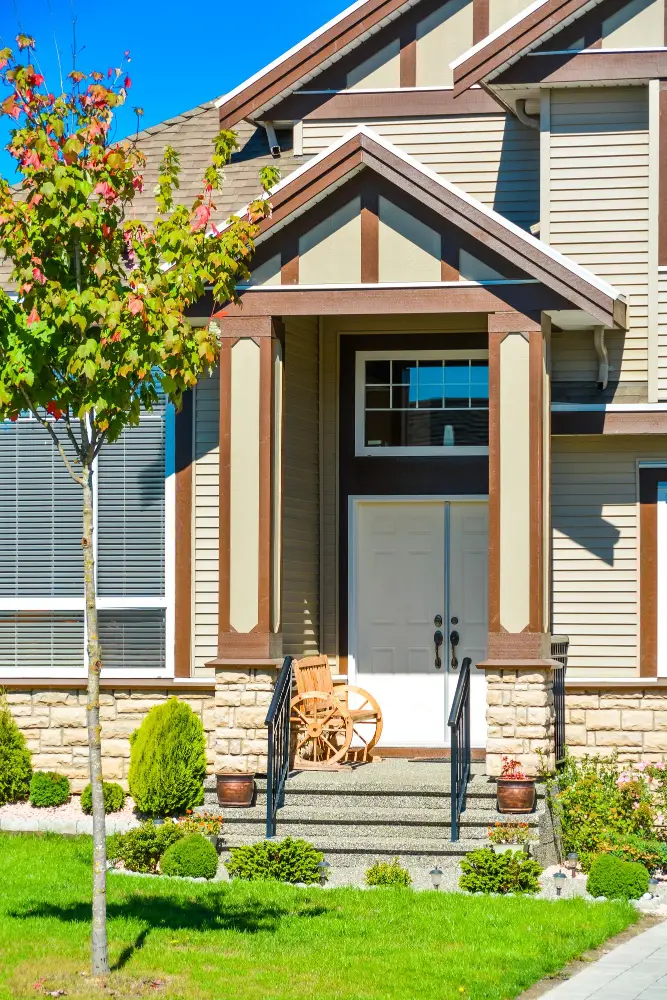
A portico is an architectural feature that consists of a covered entrance supported by columns or pillars. It can be designed in various styles, from classical Greek and Roman-inspired designs to more modern interpretations.
A well-designed portico not only adds visual interest but also provides shelter from the elements for you and your guests. You can choose from different materials such as wood, metal or stone depending on the style of your home.
When planning for a portico roof installation project, it’s important to take into account the size and scale of both the house facade and surrounding landscape features like trees or shrubs. The design should complement rather than overpower these existing elements.
Necessary Permits and Regulations

Depending on where you live, there may be specific requirements that need to be met before construction can begin. Failure to comply with these regulations could result in fines or even legal action.
To avoid any issues down the line, make sure you do your research beforehand and obtain all necessary permits before starting the project. This will ensure that everything is up to code and safe for both yourself and anyone who visits your home.
Choosing the Right Materials for Your Roof
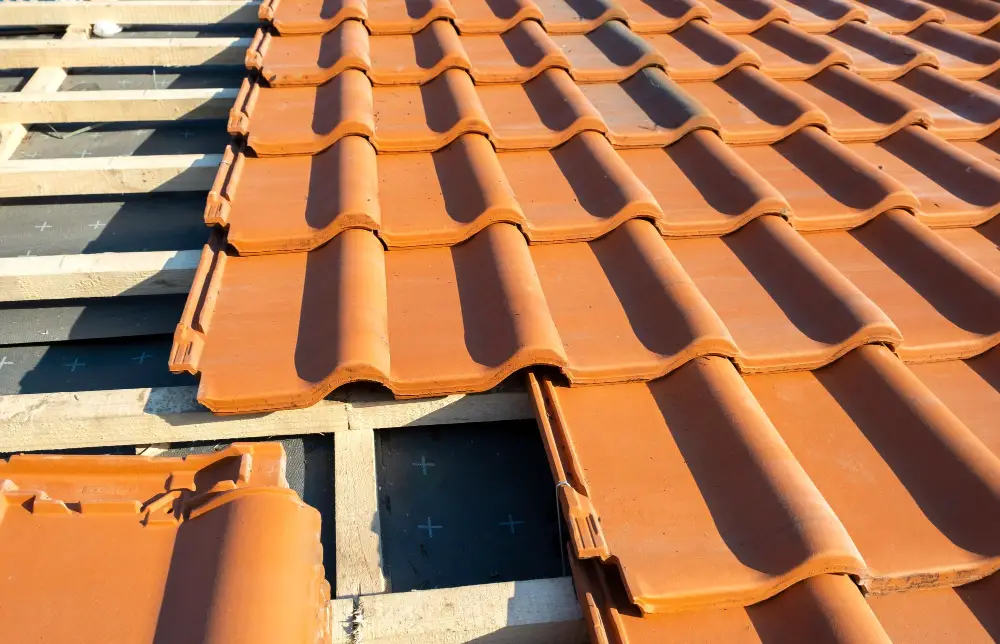
First and foremost, you want a material that is durable and can withstand harsh weather conditions. You want something that complements the style of your home while also fitting within your budget.
Some popular options for roofing materials include asphalt shingles, metal roofing, wood shakes or shingles, clay tiles or concrete tiles. Asphalt shingles are one of the most common choices due to their affordability and ease of installation.
Metal roofs offer durability and energy efficiency but may be more expensive upfront.
Wood shakes or shingles provide a natural look but require regular maintenance to prevent rotting or insect damage over time. Clay tiles offer an elegant appearance with excellent insulation properties but can be heavy on some structures requiring additional support during installation.
Concrete tiles come in various colors shapes sizes providing versatility in design options while being fire-resistant making them ideal for areas prone to wildfires.
Measuring and Calculating Dimensions
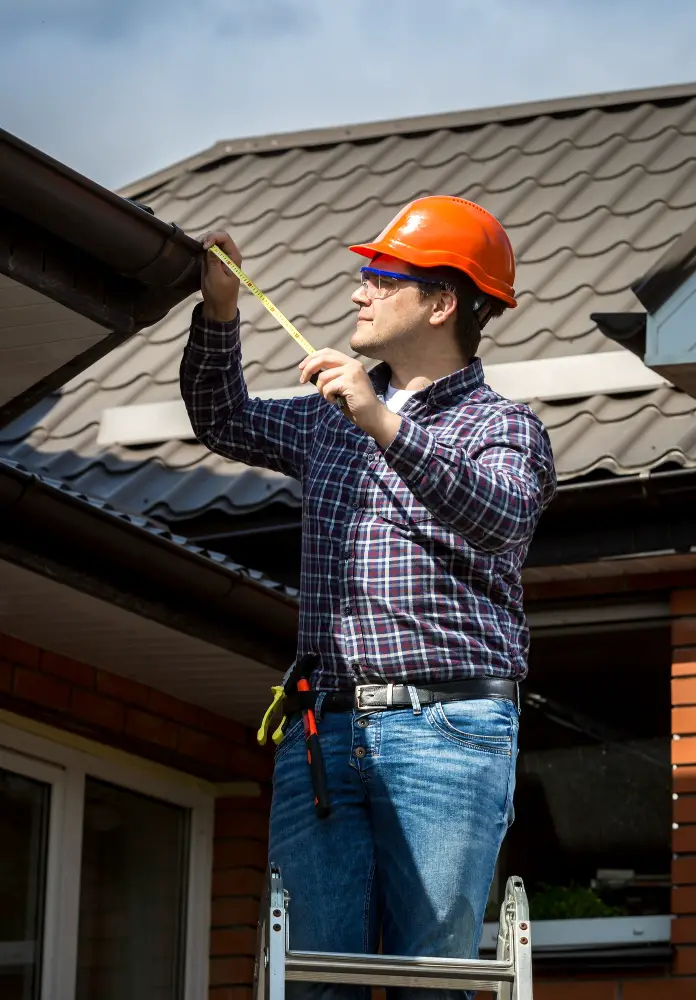
This step is essential in ensuring that your roof fits perfectly and functions as intended. Start by measuring the width of your doorway from one side to another, including any trim or molding around it.
Next, measure how far out you want the roof to extend beyond the doorway; typically, a minimum of 12 inches is recommended for adequate coverage.
Once you have these measurements down pat, use them to determine how much material will be needed for construction. You’ll need enough lumber for framing and support columns as well as roofing materials such as shingles or tiles.
Remember that accuracy is key when measuring and calculating dimensions since even small errors can lead to significant problems during installation later on.
Preparing the Site and Tools
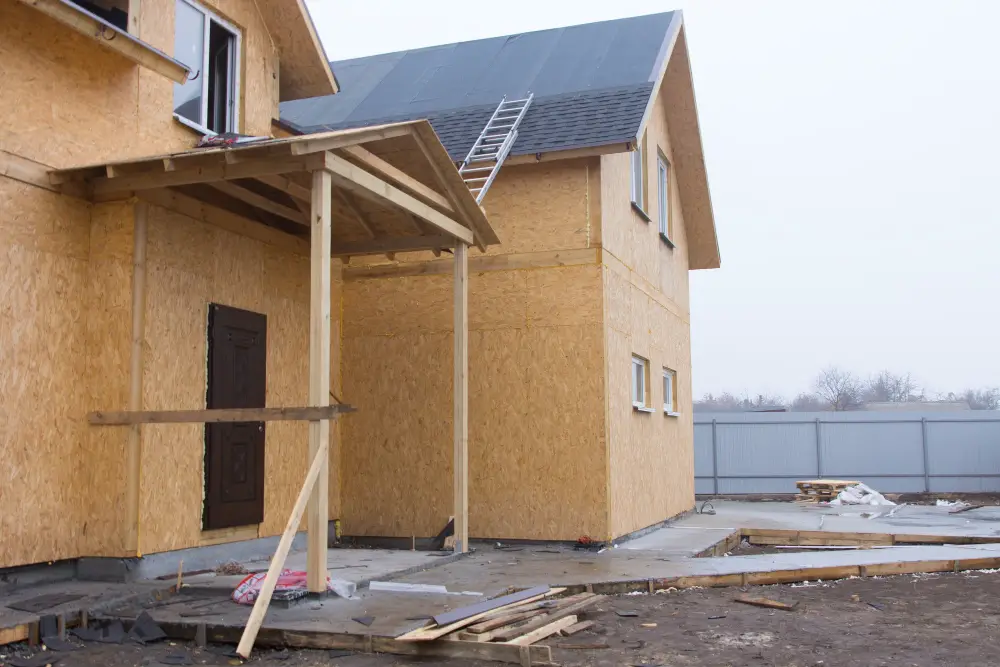
First, clear any debris or obstacles from the area where you plan to build. This will ensure that there is enough space for construction and prevent accidents during installation.
Next, make sure that you have all of the necessary tools on hand before starting work. Some essential items include a measuring tape, leveler, circular saw or handsaw (depending on your preference), drill with various bits including spade bits for drilling large holes in wood beams if needed; hammer; nails/screws/fasteners appropriate for materials being used; safety glasses/goggles as well as gloves if desired.
It’s also important to consider weather conditions when planning this project – avoid working in extreme heat or cold temperatures which can affect both materials and workers’ health.
Installing Support Columns
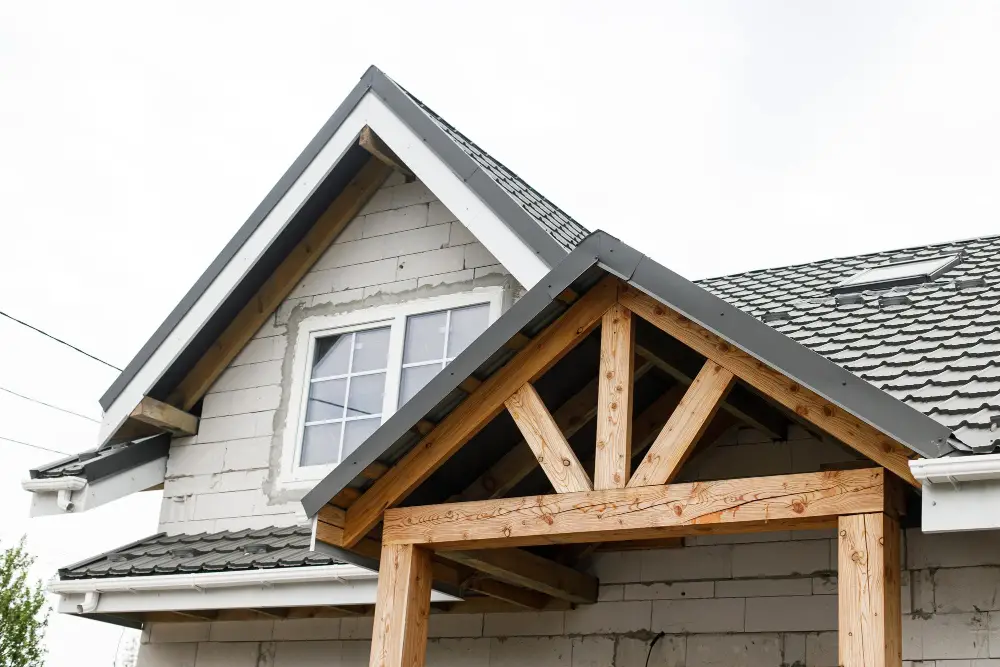
These columns will bear the weight of the roof structure and transfer it to the ground. The number of support columns needed depends on several factors such as size, shape, material used for roofing, local building codes or regulations.
Before installing any column supports make sure that you have marked out where they should be placed using a measuring tape or chalk line. You can use wood posts or metal poles as your column supports depending on what is available in your area.
To begin installation dig holes at each location where a post will be installed with an auger drill bit attached to a power drill machine. Make sure that these holes are deep enough so that when you place your post into them there is enough room left above ground level for attaching beams later on.
Next step involves placing concrete footings inside each hole before inserting posts into them ensuring they are plumb (straight up-and-down) using spirit levels while filling around with more concrete until solidly set in place.
Constructing the Roof Frame

The first step is to install support columns on either side of your front door. These columns will hold up the weight of the roof and provide stability for years to come.
Next, you’ll need to construct a beam that spans between these two support columns. This beam should be level with your home’s eaves and securely attached using bolts or screws.
After installing this main beam, it’s time to add rafters that run perpendicular from this central point out towards each end of the roofline. These rafters should be spaced evenly apart according to local building codes and secured in place with metal brackets or hangers.
Add additional framing pieces as needed for added strength before moving onto decking materials such as plywood or OSB board which will serve as a base layer for waterproofing materials like tar paper or roofing felt.
Installing Roof Decking and Waterproof Materials
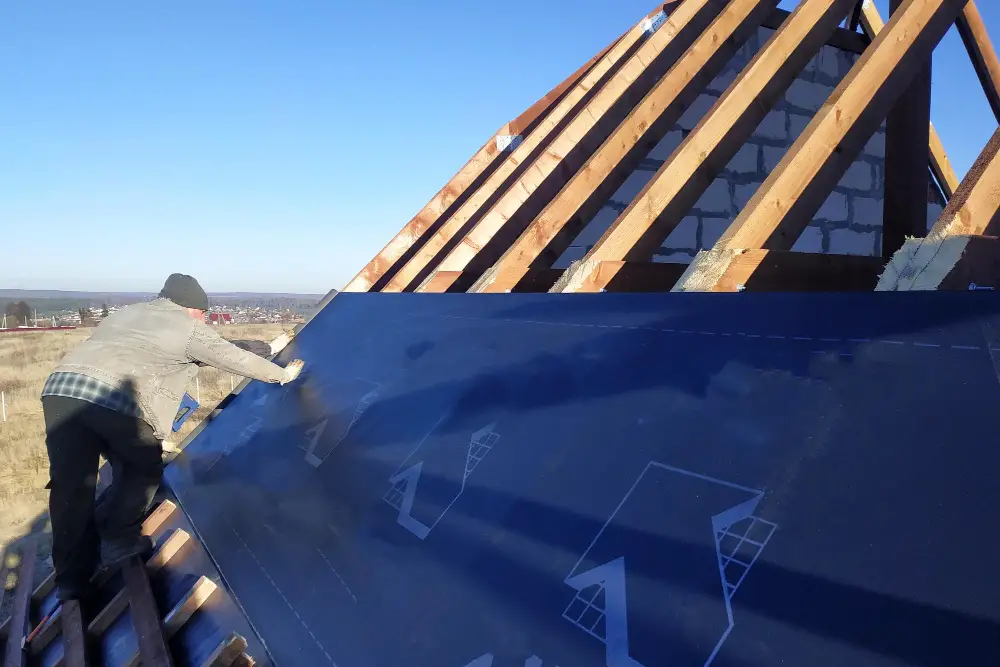
The decking is typically made of plywood or oriented strand board (OSB) and serves as a base for your roofing material. Before installing the decking, make sure to measure and cut it precisely according to your roof dimensions.
Next, apply a layer of waterproofing material over the entire surface of your deck using a roller or brush. This will prevent any moisture from seeping through into your home.
There are several types of waterproofing materials available in hardware stores such as asphalt felt paper, rubber membrane sheets or liquid-applied coatings that can be brushed on like paint.
Make sure you follow manufacturer instructions carefully when applying these products since improper installation could lead to leaks later on down the line.
Adding Roof Shingles or Tiles
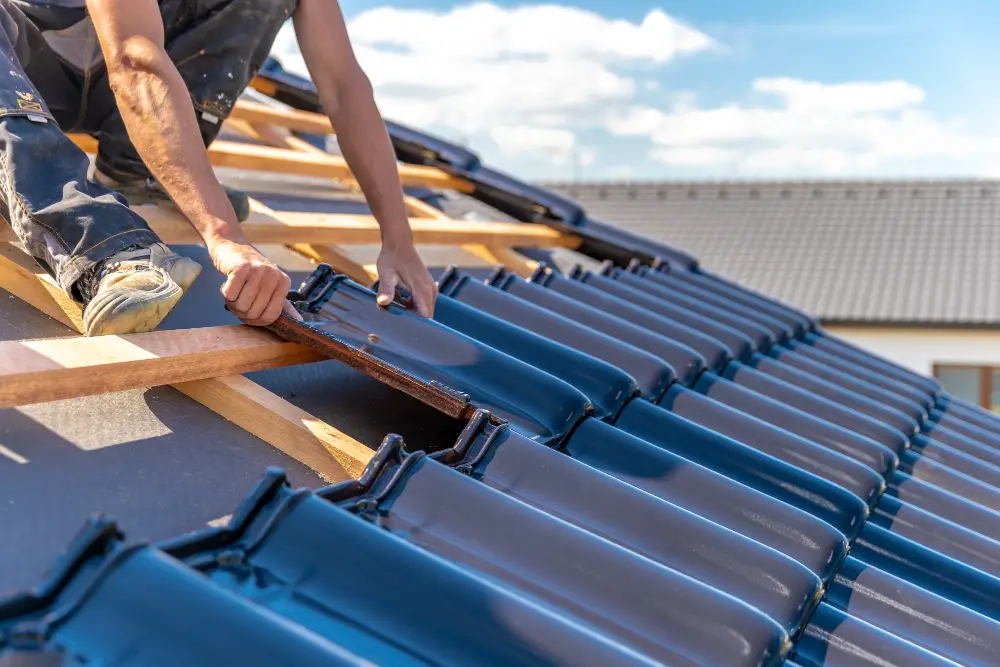
This is where you can get creative with your design choices and complement your home’s exterior. Asphalt shingles are a popular choice due to their affordability, durability, and ease of installation.
They come in a variety of colors and styles that can match any home aesthetic.
If you’re looking for something more upscale or unique, consider clay or concrete tiles. These options offer superior longevity but require professional installation due to their weight.
When installing shingles or tiles on your roof overhangs above the front door, make sure they overlap each other correctly according to manufacturer instructions for proper water drainage. It is also important not to nail them too tightly as this may cause damage during expansion from temperature changes.
Attaching Roof Frame to Doorway
This step requires careful attention and precision as any mistakes can lead to an unstable structure. First, position the frame on top of support columns and ensure that it is levelled correctly.
Then, use screws or bolts (depending on your chosen materials) to secure the roof frame onto your home’s exterior wall above your front door.
It is essential that you take into consideration any potential weather conditions in your area when attaching a roof over a front door. Strong winds or heavy snowfall can put extra pressure on this structure; therefore, make sure that all connections are sturdy enough for such situations.
Finishing and Sealing the Roof Edges
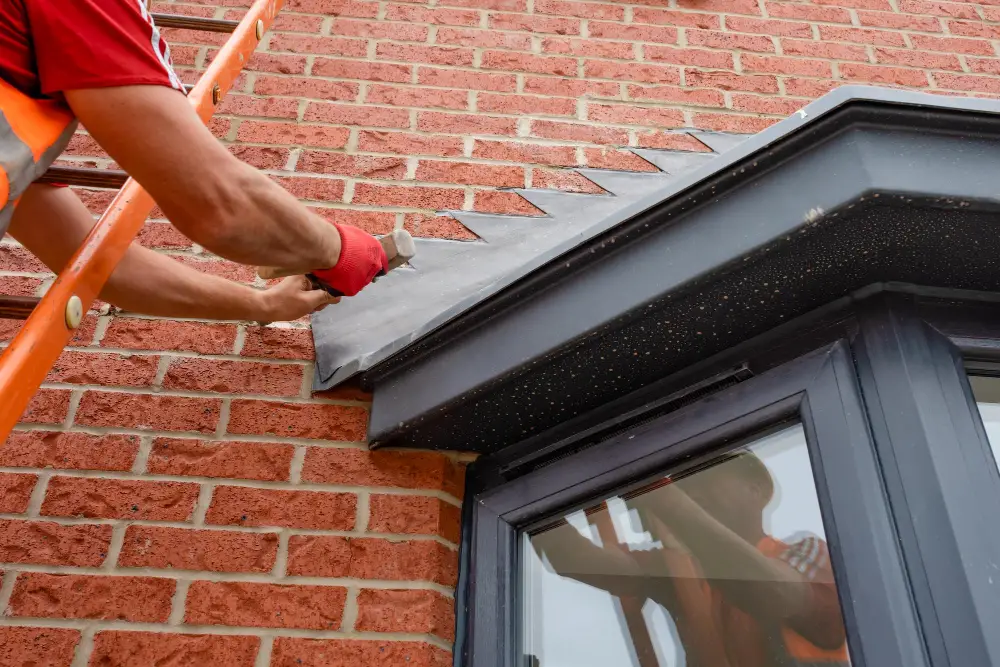
This will ensure that water doesn’t seep through any gaps or cracks in the roofing material and cause damage to your home. The first step is to install metal flashing along the edge of the roof where it meets with your house’s siding.
This will create a watertight barrier between these two surfaces.
Next, apply a layer of roofing cement along all exposed edges of both sides of flashing using a putty knife or trowel. Make sure that there are no gaps left uncovered by cement as this can lead to leaks later on.
Add an additional layer of shingles or tiles around all exposed edges for added protection against wind-driven rain and other elements.
Adding Gutter and Drainage

This will help prevent water damage to your home’s foundation and keep the area around your entryway dry and safe for visitors.
When choosing a gutter system, make sure it complements the style of your home. You can choose from various materials such as aluminum, copper or vinyl gutters.
It is also essential that you select an appropriate size based on rainfall intensity in your area.
Next, install downspouts at each corner of the roofline to direct water away from the house’s foundation. Make sure they are positioned correctly so that they do not interfere with foot traffic or landscaping features.
Ensure proper drainage by grading soil away from walkways leading up to the front door and installing splash blocks at downspout outlets where necessary.
Ensuring Proper Drainage and Gutter Systems

Without these systems, water can accumulate on the roof and cause damage to both the structure of your home and the roofing materials themselves.
To prevent this from happening, make sure that gutters are installed along with downspouts that direct water away from your home’s foundation. It is also essential to check regularly for any clogs or debris buildup in gutters as they can lead to overflow during heavy rainfall.
Consider installing a drip edge at the bottom of your roof overhangs. This will help channel rainwater into gutters while preventing it from seeping behind siding or causing other types of damage.
Selecting Proper Lighting
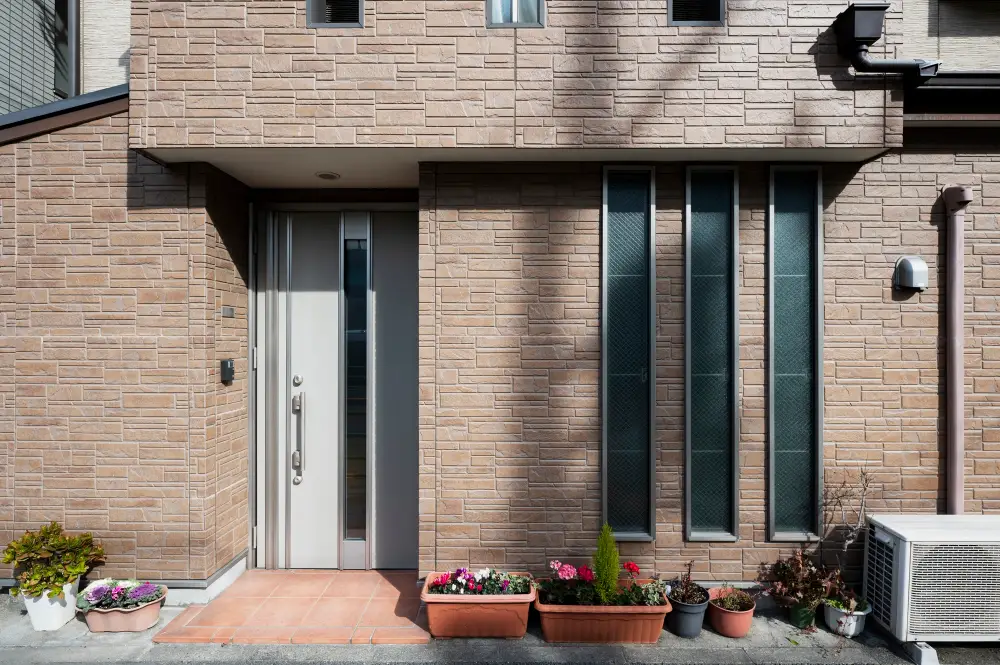
Proper lighting not only enhances the look of your entryway but also provides safety and security for you and your guests. There are several options available when selecting outdoor lighting fixtures, including wall-mounted sconces or pendant lights that hang from the roof itself.
Consider choosing LED bulbs for energy efficiency and longevity. You can also opt for motion-activated lights that turn on automatically when someone approaches the door.
It’s essential to ensure proper placement of light fixtures so they illuminate both the doorway area as well as any steps or walkways leading up to it. A professional electrician can help with wiring installation if needed.
Considering Safety and Weatherproofing

You want to make sure that the structure is sturdy enough to withstand harsh weather conditions such as heavy rain, snow or strong winds. You need to ensure that the roof does not pose any danger for people passing by or entering your home.
To guarantee safety and durability of your new addition, consider hiring a professional contractor who has experience in building roofs over doors. They will have knowledge about local regulations regarding roofing structures and can help you obtain necessary permits if required.
Moreover, when choosing materials for the roof construction process make sure they are suitable for outdoor use and resistant against moisture damage caused by rainwater or snowmelt. Proper sealing of edges is also crucial in preventing water from seeping into cracks which could lead to rotting woodwork underneath.
By taking these precautions into account during planning stages of this project ensures longevity while keeping everyone safe from potential hazards associated with poorly constructed roofs above entryways.
FAQ
What is the roof over the front door called?
The roof over the front door is called a portico, which is a small roof supported by columns and has its origins in ancient Greece.
Can you add a roof to a front porch?
Yes, you can add a roof to a front porch by constructing a shingled lean-to supported by vertical columns, although involving heavy building materials, having an assistant is helpful.
How much does it cost to add a portico to the front of a house?
The cost to add a portico to the front of a house starts at $5,000, with the final price depending on the style, size, and materials used for the columns and roof.
What are the different styles of roofs that can be used for a front door overhang?
Different styles of roofs for a front door overhang include flat, pitched, gabled, shed, hip, and arched roofs.
What factors should be considered when choosing materials for a front door roof?
When choosing materials for a front door roof, consider factors such as durability, weather resistance, aesthetics, and cost.
How can one ensure proper drainage and maintenance for a front door roof?
To ensure proper drainage and maintenance for a front door roof, one should regularly inspect and clean the gutter system, and maintain the slope of the roof to prevent water buildup.
