Last updated on
In this blog, we’ll guide you step by step on how to create a stunning curved top door that adds an elegant touch to your home’s entrance.
Are you tired of the standard rectangular doors in your home? Do you want to add a touch of elegance and uniqueness to your space? Look no further than a curved top door!
Not only does it add visual interest, but it can also make a room feel more spacious. In this article, we’ll walk you through the steps to create your own curved top door, whether you’re starting from scratch or converting an existing door.
Get ready to impress your guests with this stunning addition to your home decor!
Key takeaways:
- Take accurate measurements for the door and add extra wood for trimming purposes.
- Choose a wood species that suits your style and budget.
- Create an accurate template for cutting the desired curve.
- Use precision and patience when cutting the curve with a jigsaw or bandsaw.
- Select the appropriate joinery technique and assemble the door securely.
Table of Contents
Door Measurements

The first step in creating a curved top door is to take accurate measurements. Measure the height and width of your doorway, as well as the distance from the floor to where you want the curve to begin.
This will determine how much wood you’ll need for your project.
Once you have these measurements, adding an extra inch or two on each side is important for trimming and fitting purposes. Remember that having too much wood is always better than not enough!
If you’re converting an existing door into a curved top design, ensure enough material at both ends of the door frame before cutting off any excess length.
Wood Selection
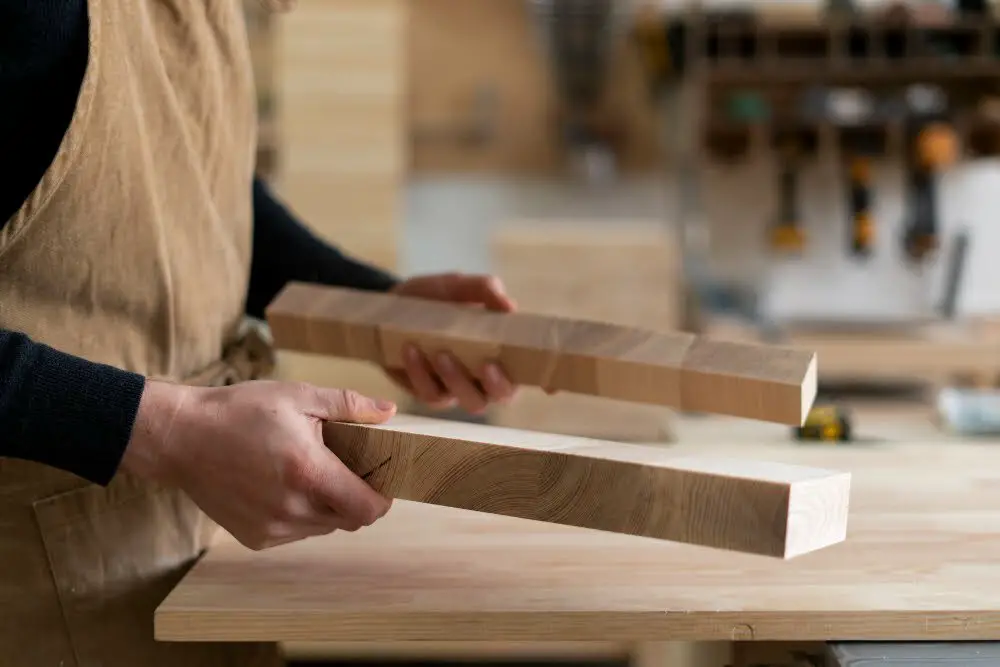
The type of wood you choose will affect the overall look and durability of your door. Some popular options include oak, maple, cherry, mahogany or walnut.
When selecting a wood species for your curved top door project consider factors such as color variation in grain patterns and hardness levels that can impact how easy it is to work with during construction.
It’s important to note that some woods are more expensive than others due to their rarity or unique characteristics. However, investing in high-quality materials will ensure a long-lasting finished product that adds value and beauty to any home.
Curved Template Creation

This will serve as a guide for cutting the wood into the desired curve. To make a template, start by drawing out your design on paper or cardboard.
Use this as a guide to cut out your desired shape from plywood or MDF board.
Next, use sandpaper to smooth any rough edges and ensure that all curves are even and symmetrical. Once you’re happy with the final product, trace around it onto each piece of wood that will make up your door.
Creating an accurate template is crucial in ensuring that each piece fits perfectly when assembling the door later in the process.
Cutting the Curve
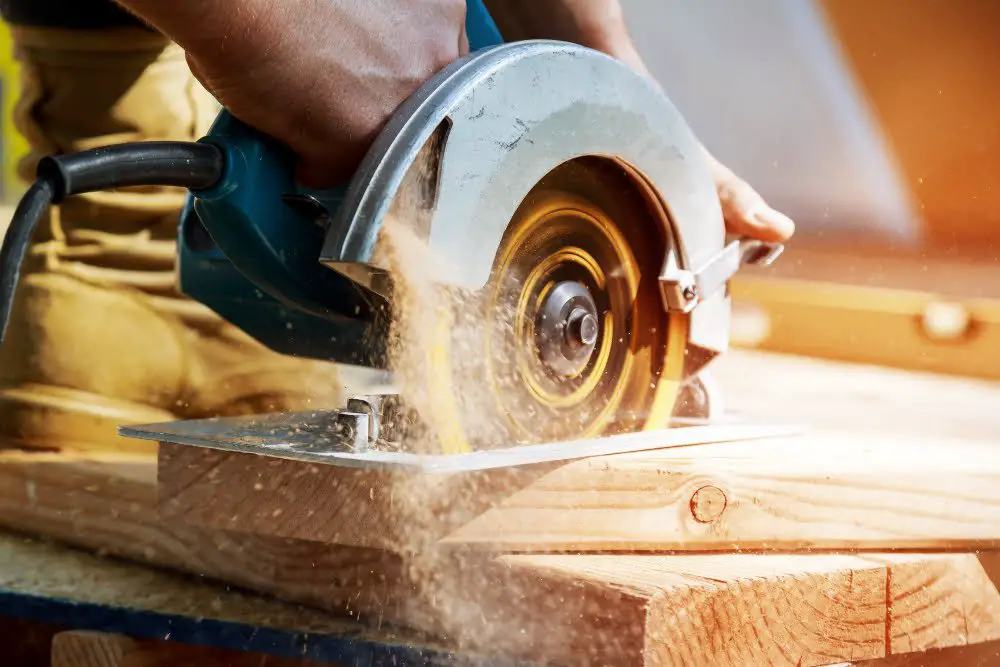
This step requires precision and patience, so take your time and double-check all measurements before making any cuts.
Using a jigsaw or bandsaw with a fine-tooth blade, carefully follow along the curved line of your template. It’s important to keep steady pressure on the saw as you move along the curve to ensure a smooth cut.
If you’re converting an existing door into a curved top design, be sure to remove any excess material from both sides of the door before cutting out your new shape. This will help prevent splintering or cracking during cutting.
Remember that practice makes perfect when it comes to cutting curves in wood.
Joinery Techniques
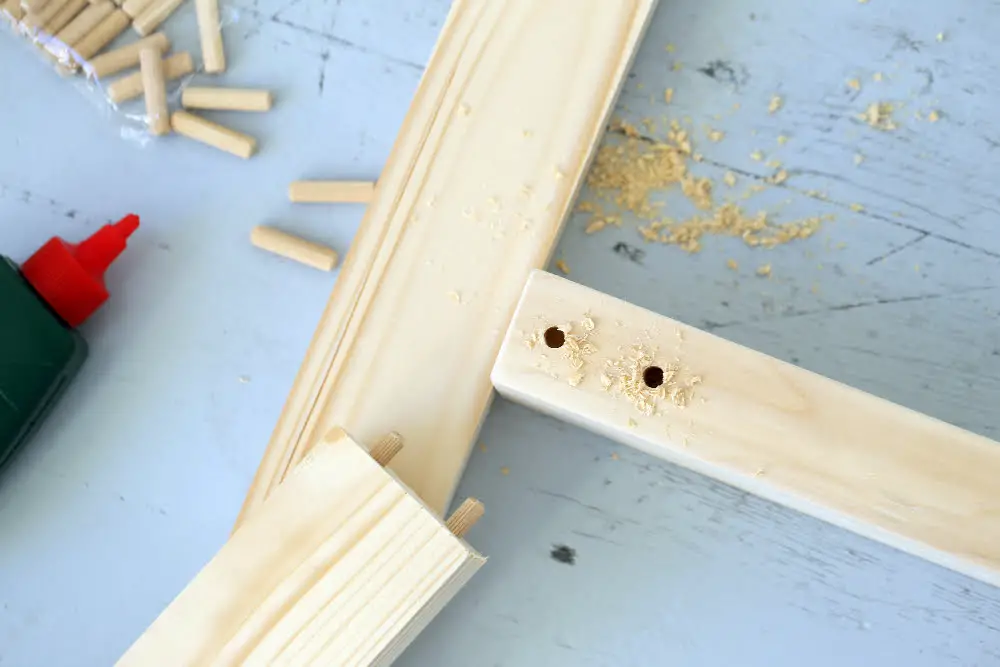
The type of joinery you choose will depend on the design and style of your door. One popular option is a mortise and tenon joint, which involves cutting a rectangular hole (mortise) into one piece of wood and creating a matching projection (tenon) on another piece that fits snugly into the mortise.
Another option is using dowels or biscuits to connect two pieces together. These methods are less visible than traditional joints but still support your curved top door strongly.
Whichever method you choose, make sure to take precise measurements and use high-quality tools for accurate cuts. Joining two pieces together can be tricky, so don’t hesitate to seek advice from an experienced woodworker if needed.
Assembling the Door
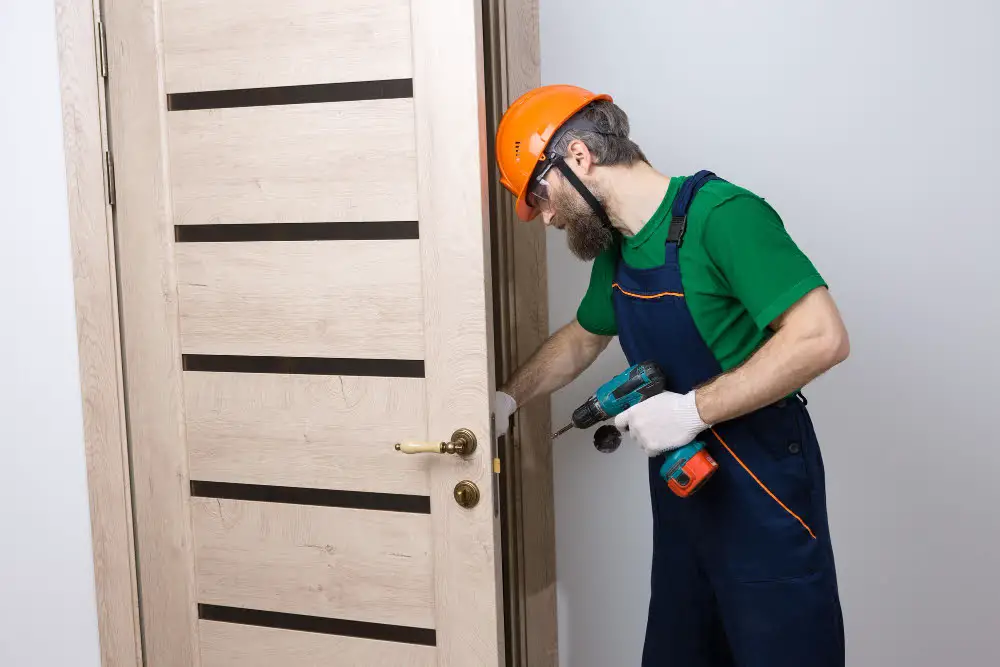
Start by laying out all of the pieces in order so that you can easily see how they fit together. Then, apply wood glue to each joint and clamp them together tightly.
Next, use a nail gun or screws to secure the joints further. Be sure not to overdo it with nails or screws as this could weaken the structure of your door.
After securely assembling everything, let it dry for at least 24 hours before removing clamps and sanding rough edges.
Add any hardware such as hinges or doorknobs according to manufacturer instructions.
Sanding and Finishing
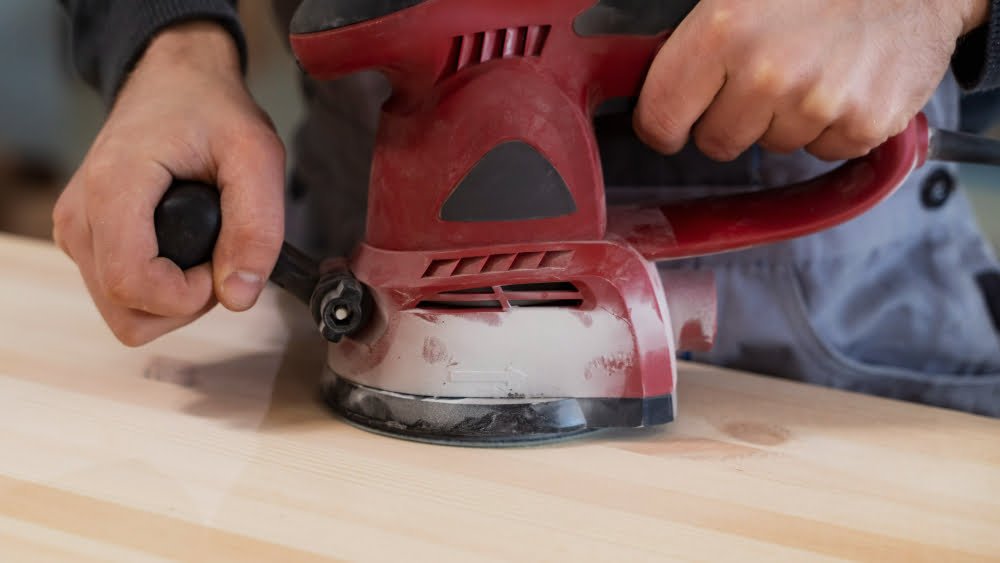
Sanding is an essential step in the process as it helps smooth out any rough edges or imperfections on the surface of the wood. Start by using a coarse-grit sandpaper to remove any bumps or ridges on the door’s surface.
Next, please switch to a finer grit sandpaper and continue smoothing out all surfaces until they are completely even. Be sure not to skip this step as uneven surfaces can cause issues when applying finishes later on.
After you’ve finished sanding, choose your desired finish for your curved top door. You can opt for paint if you want a bold statement piece or stain if you prefer highlighting natural wood grain patterns.
Apply multiple coats of paint or stain with light strokes using either a brush or spray gun depending upon what type of finish product that has been chosen. Allow each coat sufficient drying time before adding another layer; this will ensure that there are no bubbles in between layers which could ruin its appearance once dried up completely.
Creating a curved top door may seem like an intimidating task at first glance but following these simple steps will help make it easier than ever before! With some patience and attention-to-detail during every stage from measurements through finishing touches – anyone can create their own unique entranceway into their home with ease.


