Last updated on
Discover the essential steps to successfully cut out a vanity for plumbing, ensuring a seamless installation process and an aesthetically pleasing result.
Are you planning to install a new vanity in your bathroom? If so, you may be wondering how to cut out the necessary space for plumbing. Don’t worry, it’s not as daunting as it may seem.
In this article, we’ll guide you through the process of cutting out a vanity opening for your plumbing with ease and precision. Whether you’re a DIY enthusiast or just looking to save some money on installation costs, this guide will help ensure that your new vanity fits perfectly in your bathroom and functions flawlessly for years to come.
So let’s get started!
Key takeaways:
- Measure vanity space accurately
- Mark cutout area for precision
- Use proper tools and safety gear
- Make careful cuts on vanity top material
- Create plumbing holes and install pipes/fixtures securely
Table of Contents
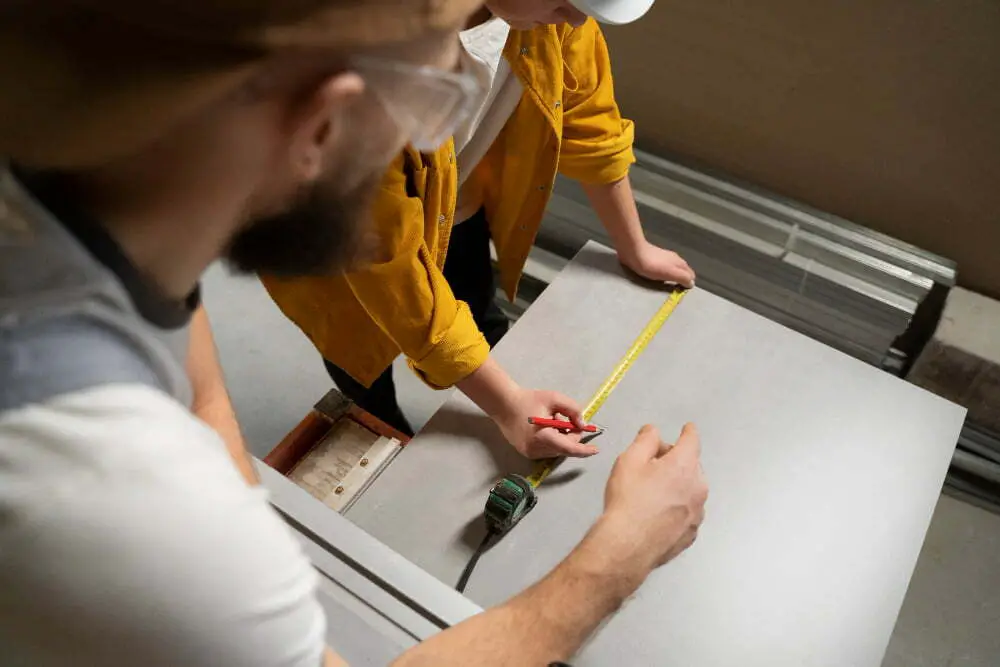
Measuring Vanity Space

The first step in cutting out a vanity for plumbing is to measure the space where your new vanity will be installed. This is crucial because it ensures that you have enough room for both the vanity and the necessary plumbing fixtures.
To get started, use a tape measure to determine the width and depth of your bathroom’s existing countertop or cabinet. If you’re installing a new vanity, make sure to take accurate measurements of both its width and depth as well.
Once you have these measurements, mark them on your bathroom wall using painter’s tape or chalk. This will give you an idea of how much space you’ll need to cut out from your existing countertop or cabinet in order to accommodate the new one.
Marking Cutout Area
This step is crucial as it ensures that your plumbing lines up perfectly with your new vanity. To begin, place the new vanity top upside down on a flat surface and position it where you want it in your bathroom.
Next, use a pencil or marker to trace around the edges of the old countertop onto your new one. Make sure to include any areas where pipes will need to fit through.
After marking out these areas, double-check that they align with existing plumbing fixtures such as drains and water supply lines before proceeding further.
It’s important not to rush this step since even small errors can cause significant problems later on during installation. Take extra care when marking out cutouts for sinks or other fixtures so that everything fits together seamlessly once installed.
Choosing the Right Tools
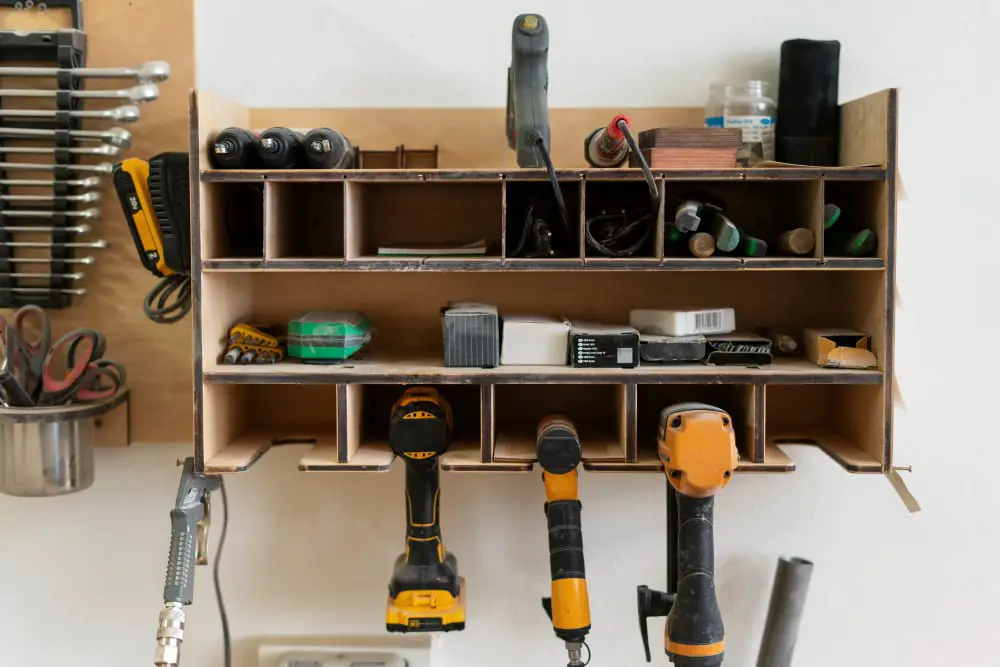
Having the proper tools will make cutting out your vanity much easier and more precise.
Firstly, you’ll need a jigsaw or reciprocating saw with a fine-toothed blade to cut through most types of countertop materials. If you’re working with granite or other hard stone surfaces, consider using a diamond-tipped blade instead.
Next, ensure that you have safety goggles and gloves on hand to protect yourself from flying debris while cutting. A dust mask is also recommended if there is any chance of inhaling harmful particles during cutting.
Don’t forget about measuring tapes and straight edges as they are essential in ensuring accurate cuts throughout this process.
Cutting the Vanity Top

Before you begin, make sure that your tools are sharp and in good condition. A dull blade can cause jagged edges or even damage to your vanity top.
Using a jigsaw or circular saw with a fine-toothed blade, carefully cut along the marked lines of your cutout area. Take care not to apply too much pressure as this can cause chipping or cracking of the material.
If you’re working with a stone countertop such as granite or marble, be sure to use specialized blades designed for these materials and take extra precautions when cutting due to their hardness.
Remember that patience is key during this step – take breaks if needed and double-check measurements before making any cuts.
Creating Plumbing Holes
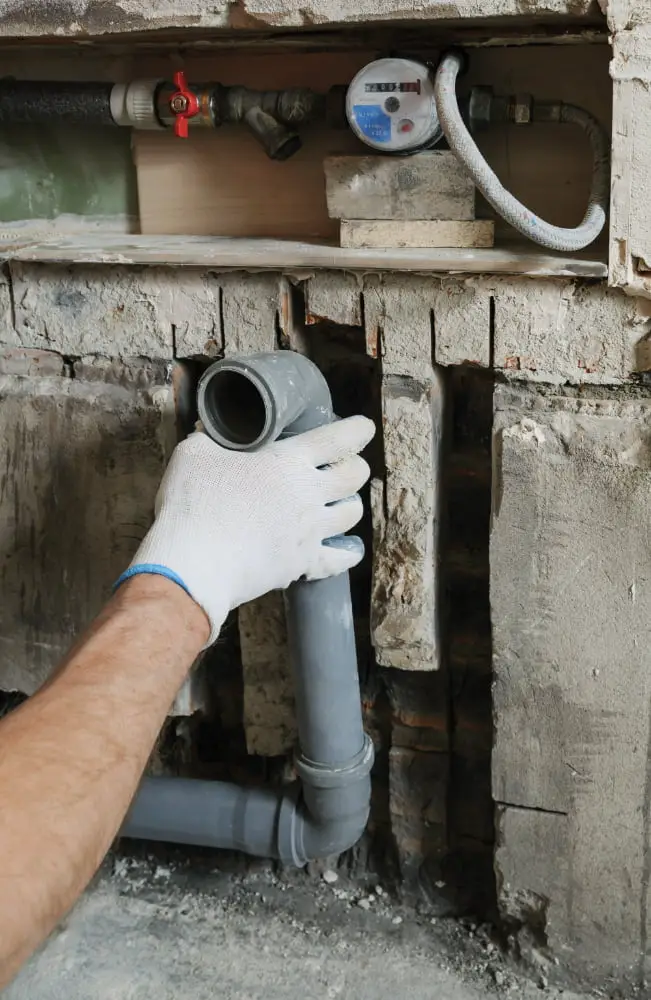
These holes will allow pipes and fixtures to pass through the vanity top and connect with your bathroom’s plumbing system.
To create these holes, use a hole saw or jigsaw. A hole saw is ideal for creating larger diameter openings while a jigsaw can be used for more intricate cuts.
Before cutting, make sure that you have measured and marked the exact location of each hole.
When using a power tool like a drill or jigsaw, always wear protective gear such as safety glasses and gloves to prevent injury. Take care not to apply too much pressure when cutting as this can cause damage or cracking in the surrounding material.
Once all necessary plumbing holes are created in your vanity top, test fit all pipes and fixtures before securing them into place permanently. This will ensure that everything fits properly before making any final adjustments or installations.
Installing Pipes and Fixtures

This step is crucial as it ensures that your vanity functions properly and prevents any leaks or water damage.
Firstly, attach the faucet to the sink before placing it on top of the vanity. Make sure that all connections are tight and secure.
Next, connect each water supply line to its corresponding valve using a wrench or pliers.
For drain installation, apply plumber’s putty around each drain opening before inserting them into their respective holes in the sink basin. Tighten them from underneath with a wrench until they’re snug but not too tight.
Connect all drain pipes together using PVC pipe fittings according to local codes and regulations. Ensure that everything is level by checking with a spirit level before tightening any connections completely.
Securing the Vanity
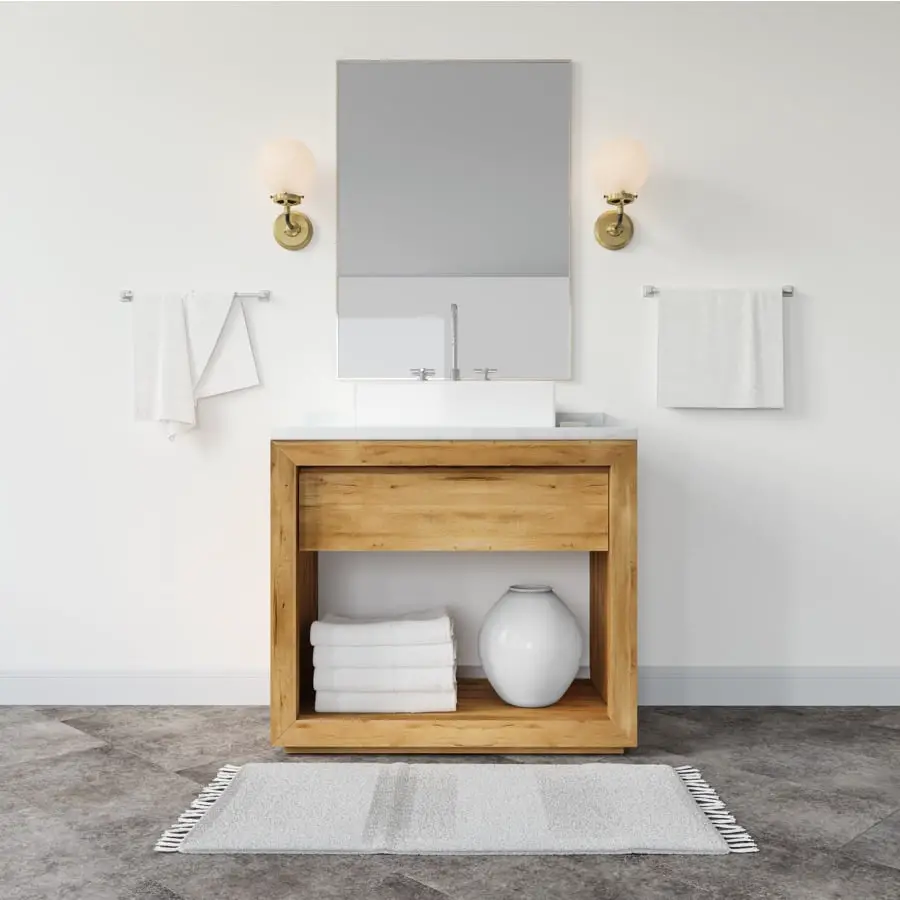
This step is crucial to ensure that your new fixture stays put and functions properly.
To begin, apply a bead of silicone caulk around the top edge of the cabinet where it will come into contact with the countertop. Then carefully lower your countertop onto its base and make sure that all edges are flush.
Next, use screws or brackets to attach both sides of your vanity cabinet securely to wall studs. Make sure they are level before tightening them down completely.
Connect any necessary plumbing fixtures such as faucets or drains according to manufacturer instructions. Double-check all connections for leaks before turning on water supply valves.
By following these steps carefully and thoroughly securing your new bathroom vanity in place, you can enjoy a beautiful addition that will serve you well for years to come!


