Last updated on
Cutting a plumbing pipe under the sink seems daunting, but with the right tools and guidance, it can be a manageable DIY task because knowing this skill can save you time and money in the future.

Cutting a plumbing pipe under the sink can seem daunting, but with the right tools and guidance, it can be a straightforward task. This article will provide a step-by-step guide on how to safely and efficiently cut plumbing pipe under your sink, covering everything from identifying the right pipe to cut, choosing the appropriate tools, making the cut, and ensuring everything is properly sealed afterwards.
Whether you’re a DIY enthusiast or a first-time plumber, this guide will equip you with the knowledge and confidence to tackle this task head-on.
Key takeaways:
- Identify the different types of pipes under your sink.
- Choose the appropriate cutting tools for different pipe materials.
- Adhere to safety measures while cutting plumbing pipes.
- Measure and mark the pipe for precise cutting.
- Follow a step-by-step process to cut the plumbing pipe.
Table of Contents
Identifying Plumbing Pipes Under Sink
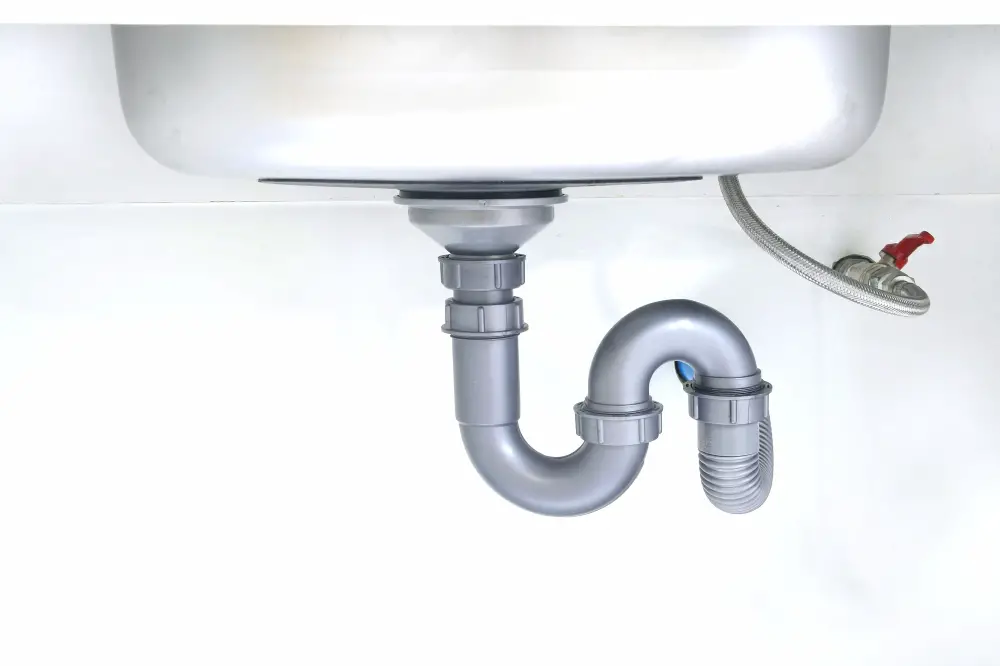
Primarily, two types of pipes are common under most kitchen sinks: the water supply pipes and the drainpipes.
Water supply pipes are generally thin copper or PEX pipes, distinguishable by their cold touch and often fitted with a water shut-off valve.
The drainpipes, larger and typically made of PVC, lead wastewater away from the sink.
Familiarizing yourself with these pipes will contribute to a smoother cutting process.
Remember, always trace back to the origin and destination points of a pipe before making any cut.
Choosing the Appropriate Cutting Tool for Plumbing Pipes
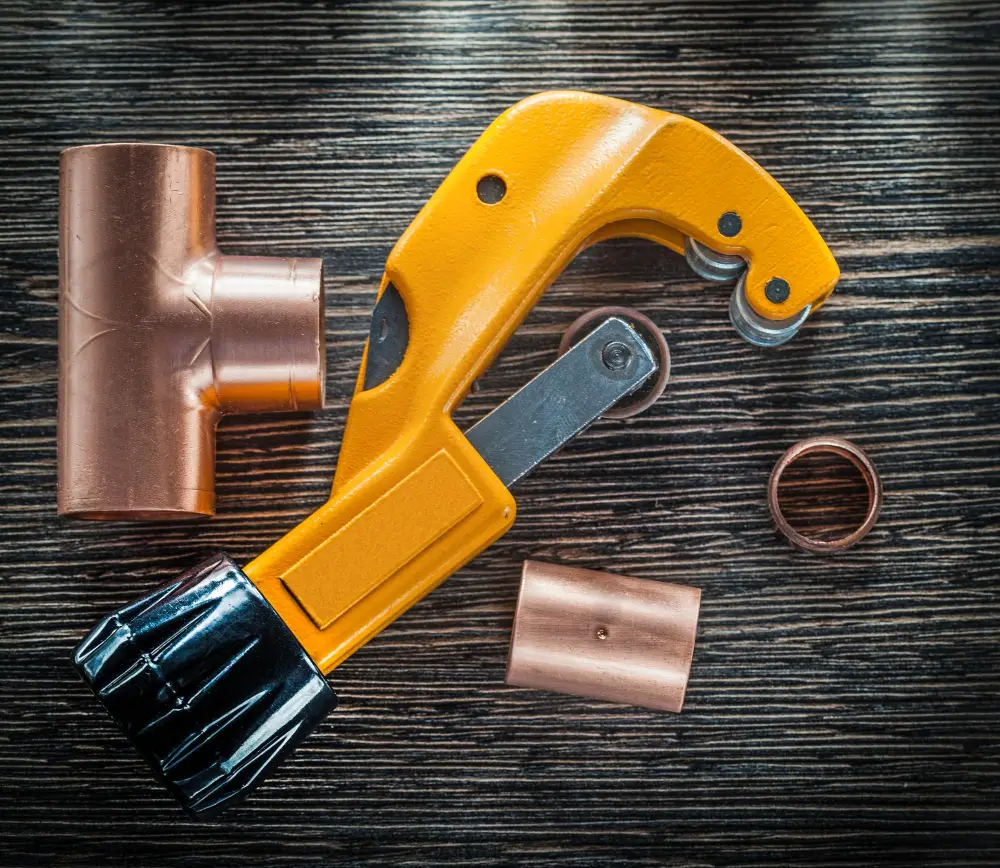
It is essential to pick the right tools for this task. Your decision will be influenced by the material of the pipe being cut. Here are some recommendations:
1. Copper Pipes: A pipe cutter will produce the cleanest cut. However, a hacksaw can also be utilized, but it may require additional effort to achieve a smooth edge.
2. PVC Pipes: A PVC cutter can efficiently slice through these pipes. Alternatively, a hacksaw or a fine-toothed saw can handle this job effectively.
3. Steel Pipes: A heavy-duty pipe cutter is recommended for this hardy material. As a more accessible option, a reciprocating saw or a hacksaw could work, but patience and a steady hand will be crucial.
Remember to always have a fitting brush and emery cloth on hand as these tools can help clean any burred edges after the cut. Your goal is a smooth, clean cut that will allow for the most effective reconnection or repair.
Adhering to Safety Measures When Cutting Plumbing Pipes

Before dashing ahead, take care to gear up correctly. Gloves, safety glasses, and sturdy footwear protect you from potential injuries, from nasty cuts to hazardous debris.
Make sure the area is well-lit to enhance visibility and avoid errors. Unhook any connections to electricity or gas to minimize risk. If you’re dealing with old pipework, test it for lead; if detected, engage a professional for a safe removal.
Remember to shut off the water supply, and place a bucket beneath the work area to catch any residual water from the pipe. Safety first, always!
Measuring and Marking Plumbing Pipe for Precise Cutting
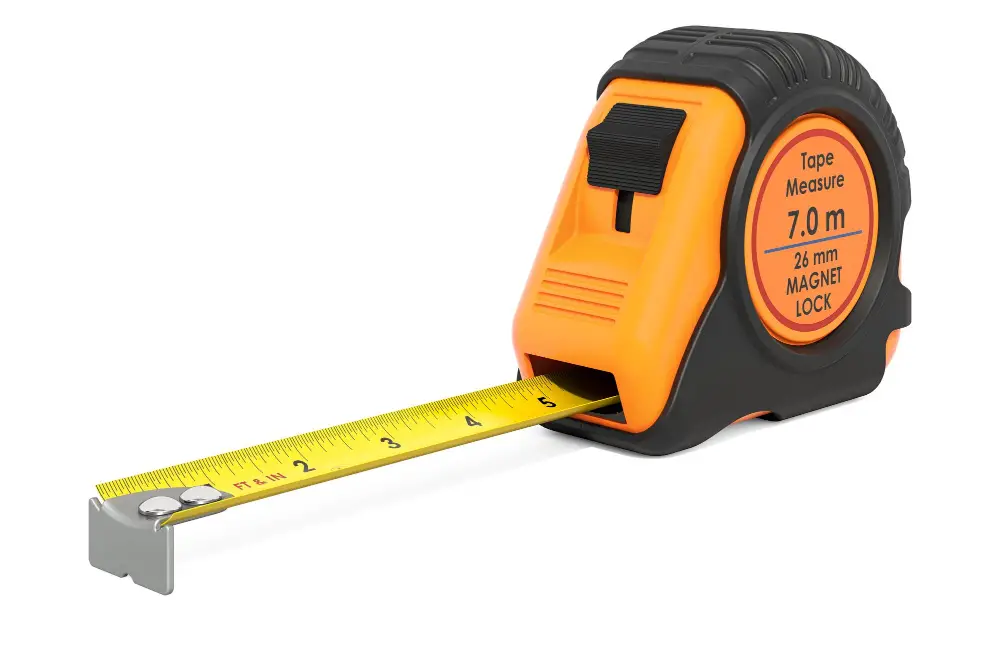
Begin with a precise tape measure. This tool will grant accuracy during the task. Measuring twice to confirm the mark is a cautionary but necessary step.
Stability is key; hold the pipe firmly but do not squeeze excessively to prevent any deformations.
Next, indicate the cut line. Either use a fine-tipped marker, especially helpful on darker pipes, or a piece of masking tape for lighter or shiny pipes.
Uniformity in the line marking all around the pipe can help ensure a straight cut.
It’s advantageous to take into consideration the structure of the bathroom sink and existing plumbing installation while marking. This could mean adjusting the cut location by a small margin to make it accessible.
Remember, well-measured and precisely marked pipes become a foundation for your successful plumbing project.
Step-by-Step Process of Cutting Plumbing Pipe Under Sink

First, put on your safety glasses and gloves. Then, position your pipe cutter around the pipe on the marked area. If you’re using a hacksaw, ensure it’s aligned to the mark properly. Start slowly to establish a groove in the pipe. Once the groove is established, increase your speed while maintaining control. If you’re using a pipe cutter, rotate it around the pipe while gradually tightening it after each couple of rotations. Continue this process until the pipe is cut through.
For much tighter spaces where conventional hacksaws and pipe cutters won’t fit, a close quarters tube cutter may be your only option. This device latches on like a socket and you rotate it around your pipe.
Once the cut is complete, it’s critical to remove any burrs or sharp metal pieces inside and outside of the pipe cut. A half round file, essentially a semi-circular shaped metal file, is typically used for this task. Run it around the inside and outside edges of the pipe to ensure a smooth surface.
Remember, practice makes perfect. If you’re new to this, practice a few times on scrap pipe before attempting the final cut. Although practical in some situations, it’s essential to remember that cutting should be a last resort measure, as cutting too short or incorrectly may result in the need for pipe replacement.
Effective Techniques for Reconnecting Sink Pipes After Cutting
After cutting the sink pipes, the next important step is reconnecting them to ensure a smooth, leak-free operation.
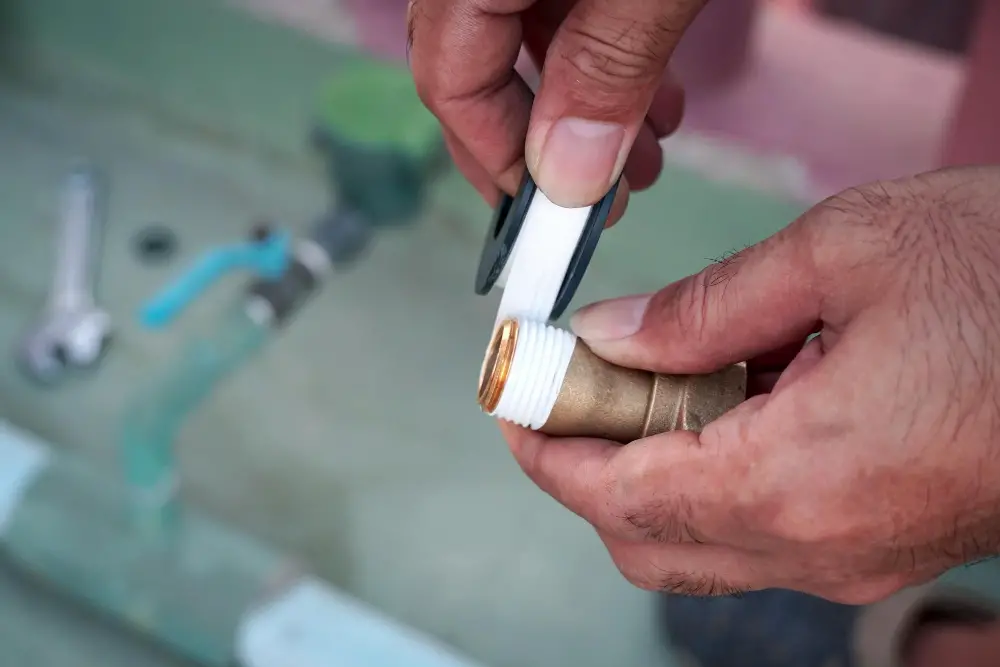
1. Pipe Fittings: Start with a suitable pipe fitting for the type of pipe you’re reconnecting. PVC pipes typically use couplings or unions, while metallic pipes may use compression fittings or ferrules.
2. Sealant Application: Use a suitable sealant such as plumber’s tape, pipe dope, or rubber gaskets to secure the connection and prevent leaks. Apply it onto the threads of the fitting before tightening.
3. Tightening: Attach the fittings to the pipe ends and tighten them using the correct tool (usually a wrench or pipe pliers). Do not overtighten as this can damage the fittings or pipe.
4. Checking Alignment: Confirm the reconnected sections are well-aligned. Misalignment can cause strains in the plumbing system and lead to leaks.
5. Testing: Finally, run water through the reconnected pipes to test the new connection. Look for any leaks and tighten the fittings if necessary. Remember, it’s easier to correct an issue now than after the whole plumbing system is back in operation.
Remember, each type of pipe may require a different method of reconnection, always consider the pipe material and fitting type before reattaching.
Clean-up Strategies After Cutting Plumbing Pipes

Once the cutting process is completed, it’s crucial to restore the work area to its pre-project state.
1. Dispose of or Can Recycle Scrap Metal: Offcuts from copper or other metal pipes can be recycled or sold as scrap. Clean these, arrange them in a bag or box and take them to a local recycling center.
2. Vacuum or Sweep Up Dust and Debris: Safety isn’t only important during the cutting process. Tiny metal pieces may harm people or pets, so ensure you use a shop vacuum or broom to collect all debris from around the workspace.
3. Clean Surfaces with a Damp Cloth: Wipe down the area under the sink and around it. This will collect any dust or small particles missed by the vacuum or broom.
4. Sanitize Area: Lastly, use a mild disinfectant spray and a cloth to sanitize the area. This is especially applicable if the pipe that was cut carried waste water.
Clean-up may seem like an additional chore, but it is a critical component of any DIY project, ensuring safety and hygiene.
FAQ
What are the best tools to use for cutting a plumbing pipe under the sink?
For cutting plumbing pipes under the sink, the most useful tools are specialized pipe cutters, reciprocating saws, or hacksaws.
How do you ensure safety while cutting plumbing pipes under a sink?
To ensure safety while cutting plumbing pipes under a sink, always use a pipe cutter, wear protective gloves, turn off the water supply, and ensure the area is well-lit.
What should you know before replacing the pipes under your sink?
Before replacing the pipes under your sink, it’s crucial to know the type of pipes you currently have, their arrangement, the necessary tools, safety precautions, and how to choose the right replacement pipes.
In order to provide a one-sentence answer, you will need to specify the question or topic you’re referring to.


