Last updated on
Discover the essential steps to seamlessly connect plumbing to your sink, ensuring a leak-free and efficient installation for your kitchen or bathroom space.
Are you planning to install a new sink in your bathroom or kitchen? Connecting plumbing to a sink may seem like a daunting task, but with the right tools and guidance, it can be done easily. In this article, we will guide you through the step-by-step process of connecting plumbing to a sink.
From choosing the right materials to installing pipes and fittings, we’ve got you covered. So grab your toolbox and let’s get started on creating a functional and stylish sink in your home!
Key takeaways:
- Measure sink space and consider usage and style preferences.
- Essential plumbing tools include adjustable wrench and pipe cutter.
- Turn off main water supply valve before installing water supply lines.
- Install drain assembly with rubber gasket and plastic washer.
- Install P-trap by measuring and cutting PVC pipes, then tighten connections.
Table of Contents
Sink Selection

When it comes to sink selection, there are a few things you need to consider before making your purchase. First and foremost, you’ll want to measure the space where your sink will be installed.
This will ensure that the sink fits perfectly in its designated spot.
Next, think about how you plan on using the sink. Will it be used for washing dishes or just handwashing? If it’s going in a bathroom, do you need one or two basins? These questions can help determine what type of sink is best suited for your needs.
Consider style and material options. Do you prefer an undermount or drop-in style? Stainless steel or porcelain finish?
Plumbing Tools
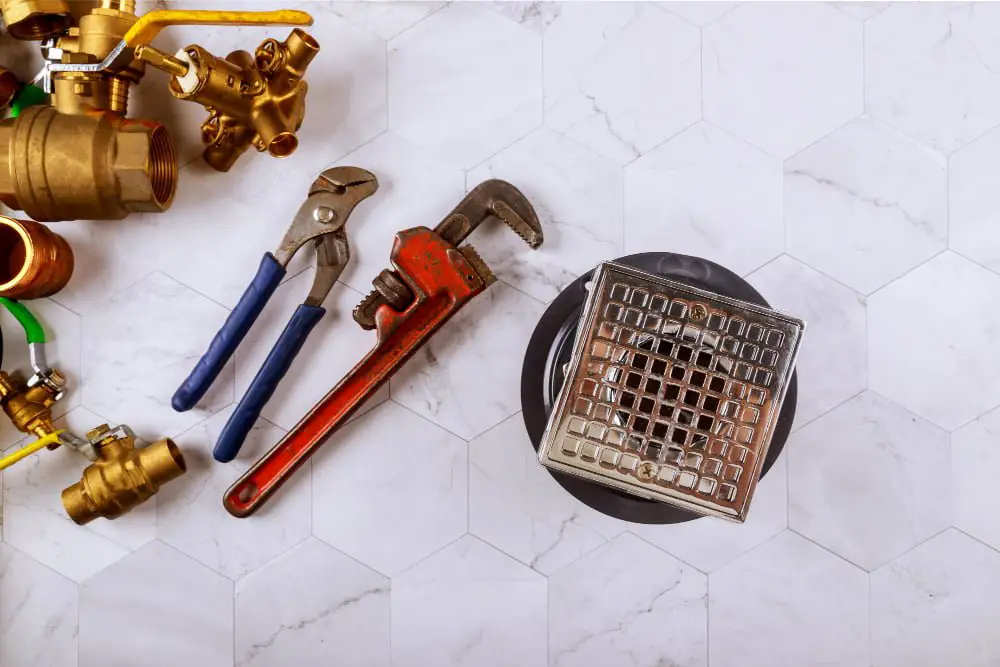
Here are some essential plumbing tools that will make the installation process much easier:
- Adjustable wrench
- Basin wrench
- Pipe cutter or hacksaw
- Teflon tape
- Plumber’s putty
An adjustable wrench is a versatile tool that can be used for tightening and loosening nuts and bolts of different sizes, while a basin wrench is specifically designed for working in tight spaces under sinks.
A pipe cutter or hacksaw will come in handy when cutting pipes to size during installation, while Teflon tape can be used to seal threaded connections and prevent leaks.
Plumber’s putty is an excellent material for sealing gaps around sink drains and faucets.
Water Supply Lines
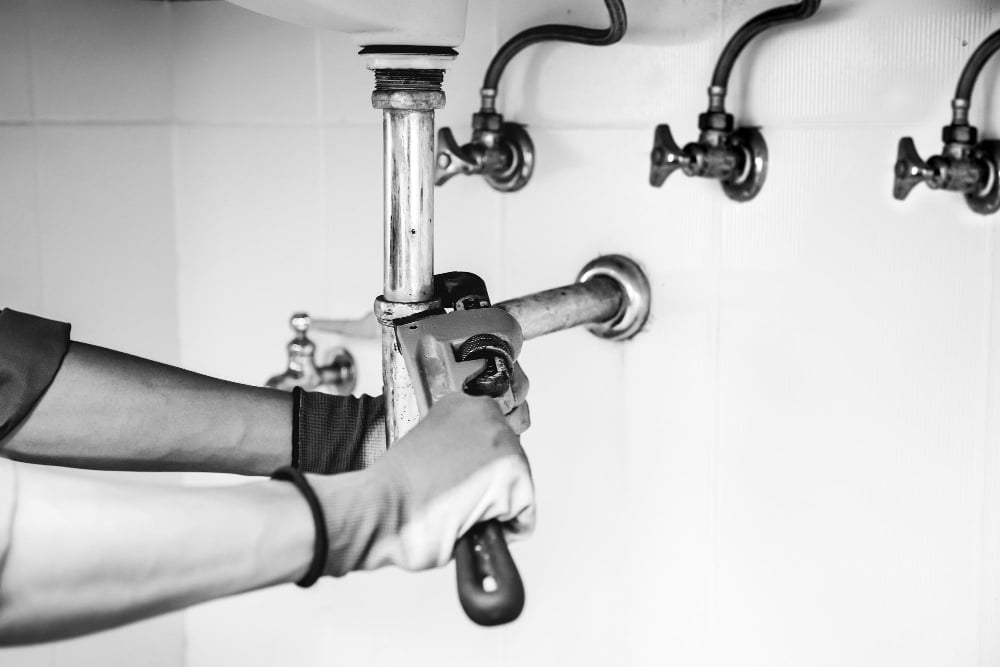
Before starting this process, make sure that you have turned off the main water supply valve. This will prevent any accidental leaks or flooding during installation.
Next, measure and cut copper pipes to fit between your shut-off valves and faucet connections. Use a pipe cutter or hacksaw to ensure clean cuts on each end of the pipe.
After cutting your pipes, use emery cloth or sandpaper to remove any burrs from both ends of each piece of tubing. Then slide compression nuts onto one end followed by ferrules (compression rings) onto another end.
Now insert one end into a shut-off valve and tighten with an adjustable wrench until snug but not over-tightened as this can damage threads on fittings leading them prone for leakage later down line when under pressure again after being loosened up too much initially during installation process).
Drain Assembly
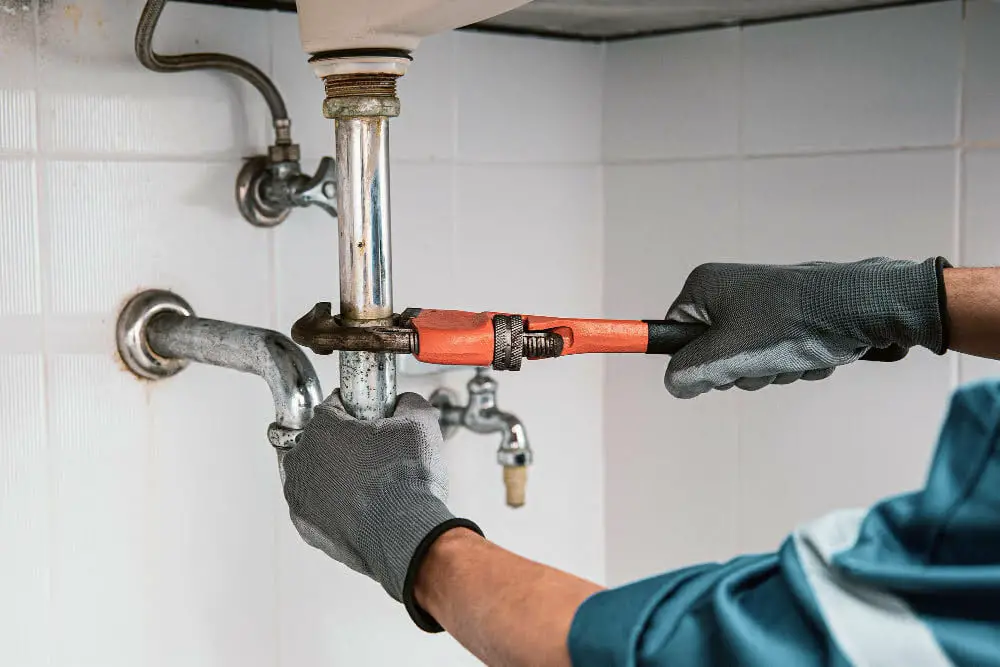
The drain assembly is an essential component of your sink plumbing system that helps remove wastewater from your sink.
- To install a drain assembly, start by placing a rubber gasket onto the bottom of the sink’s drainage hole.
- Then insert a plastic washer and tighten it with a locknut underneath.
- Next, attach one end of PVC pipe into the tailpiece and connect another end into P-trap using slip-joint nuts.
- Make sure not to overtighten these connections as they can cause leaks in future.
- Connect another piece of PVC pipe between P-trap and wall stub-out using slip-joint nuts again without over-tightening them.
P-Trap Installation

The P-trap is a curved pipe that connects your sink drain to the main plumbing system and prevents sewer gases from entering your home. Here are some simple steps for installing a P-trap:
- Measure and cut PVC pipes: Using a hacksaw or PVC cutter, measure and cut two pieces of PVC pipe according to the distance between your sink drain outlet and wall stub-out.
- Install slip-joint nuts: Slide slip-joint nuts onto each end of both pipes.
- Connect pipes: Insert one end of each pipe into its corresponding inlet on either side of the P-trap bend until they reach their respective slip joint nut.
- Tighten connections: Tighten all connections by hand first then use pliers or wrenches if necessary but be careful not over-tightening as this can cause damage.
- Check for leaks: Turn on water supply lines slowly while checking for any leaks around joints in piping system including those connected with p trap.
Faucet Connection

The first step is to attach any mounting hardware that came with your faucet onto the sink. Then, insert the gasket or rubber seal into place on top of the mounting hardware.
Next, carefully lower your faucet into position over its holes in a way that aligns with both handles and spout facing forward. Once aligned correctly, secure it by tightening nuts underneath using an adjustable wrench.
After securing all connections tightly but not too tight as this can cause damage or leaks later on down-the-line; turn off water supply valves before turning them back on again slowly so as not to create any sudden pressure changes which could lead to leaks elsewhere within plumbing system.
Finally, test out new installation by running some hot/cold water through faucets for several minutes while checking for signs of leakage around base where they meet countertop/sink basin area – if everything looks good then congratulations! You’ve successfully connected plumbing components together without issue!.


