Last updated on
When your garden hose runs into trouble, knowing about products like the Ray Padula Repair It! Hose Repair kit and the ELEY polyurethane garden hose repair kit is crucial because these kits ensure your watering routine isn’t compromised by unwanted leaks or damages.
Garden hose predicaments are no match for a well-stocked repair kit, the unsung hero stowed away in a gardener’s arsenal. Whether you’re dealing with a severed end or an unexpected hose puncture, understanding the role of male and female couplings, hose menders, repair tape, and patch kits can be the difference between a quick fix and an unwelcome trip to the store.
Not only does a DIY repair approach save money, it extends the life of your hose and contributes to waste reduction. Dive into the intricacies of hose repair and discover how these tools can restore the vitality of your garden’s lifeline, allowing you to maintain a lush and thriving outdoor space with minimal fuss.
Key takeaways:
- Male and Female Couplings replace damaged ends of the hose.
- Hose Menders fix punctures or ruptures in the middle section.
- Repair Tape is suitable for quick fixes on small leaks.
- Patch Kits are used for larger holes.
- Using a repair kit is cost-effective, convenient, and environmentally friendly.
Table of Contents
Types of Garden Hose Repair Kits
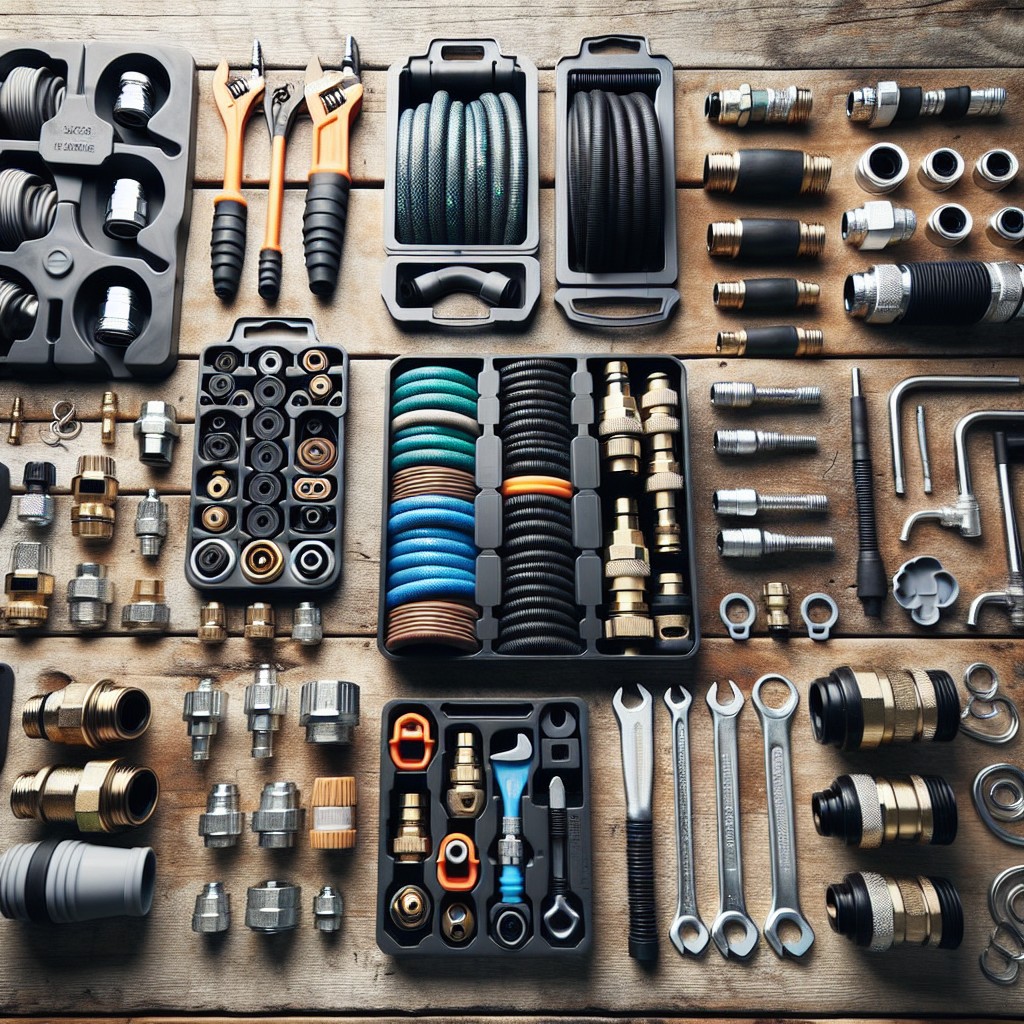
Garden hose repair kits come in various forms, each designed to solve specific types of damage or wear:
1. Male and Female Couplings: These brass or plastic fittings are used when the damage is near the end of the hose. They can replace the hose’s original male or female end.
2. Hose Menders: Ideal for fixing punctures or ruptures in the middle section of the hose, hose menders usually come with a barbed stem and clamp to create a watertight seal.
3. Repair Tape: Specialized silicone or rubber tapes are stretchy and water-resistant, making them suitable for quick fixes on small leaks.
4. Patch Kits: Typically used for larger holes, these kits include a special adhesive and a patch material to cover the damage.
Choosing the right type depends on the damage location and the size of the hole or rupture. Each repair method extends the life of a garden hose without the need for complete replacement.
Benefits of Using a Garden Hose Repair Kit
Utilizing a garden hose repair kit offers a cost-effective solution to extend the life of a hose instead of purchasing a new one. The ease of repair means even novice gardeners can fix leaks, bursts, or worn connections quickly, restoring full functionality.
The environmental aspect is also significant; by repairing instead of replacing, waste is reduced. Repair kits also enhance convenience, as they provide a quick fix, allowing you to return to watering your garden or washing your car without a lengthy interruption.
The compact size of these kits means they can be easily stored in a shed or garage, always on hand for when those unexpected hose mishaps occur.
Materials and Durability of Hose Repair Kits
Selecting the right materials is crucial for the longevity of your garden hose after repair. Most kits feature durable metals like brass or stainless steel, known for their rust resistance and strength under water pressure. Plastic components, commonly found in budget-friendly options, offer a lightweight alternative but may compromise on durability under high pressure or against the elements.
To ensure a tight seal, washers in these kits are typically made from rubber or silicone, materials chosen for their flexibility and water-resistant properties. With proper installation, these materials can withstand the wear and tear of regular use, ensuring your hose remains leak-free season after season. Always check the material compatibility with your specific hose type, as some materials may be better suited depending on the use-case and hose material.
Understanding Different Repair Kit Components
Garden hose repair kits come with various components, each serving a specific purpose to ensure a watertight seal and prolong the use of your hose.
- Couplings: These are the fittings that attach to the cut ends of your hose. They come in male or female versions depending on which end of the hose needs repair.
- Hose clamps: These circular clamps wrap around the outside of the hose to secure the coupling in place. They can typically be tightened with a screwdriver for a snug fit.
- Washers: Rubber or plastic washers are important for preventing leaks between the hose and the coupling. They should be replaced if they become dry or cracked.
- Menders: If there’s a small puncture or tear, a mender, which is a small tube or sleeve, can be used to connect and support the damaged section.
- Repair tape: Some kits include special waterproof tape designed for emergency or temporary fixes on small hose damage.
Understanding the role of each component will enable you to effectively restore your hose to full functionality with the confidence that it’s less likely to leak at the repaired spot.
Step-by-Step Guide to Repairing Your Hose
Begin by locating the damaged area of your hose. Once identified, use a utility knife to cut a clean, straight edge around the damaged section, removing it entirely. It’s important to ensure a smooth cut to avoid leaks at the repair site.
Next, take your hose repair kit, which should include two main components: a coupler and two clamps. The coupler acts as a bridge between the two ends of your hose after the damaged section has been removed.
Insert the cut ends of the hose into either side of the coupler. You may need to soften the ends with warm water to make attachment easier. Make sure they’re fully seated against the stop inside the coupler.
Now, tighten the clamps provided with your kit. Each end of the hose should have its own clamp, positioned over the area where the hose meets the coupler. Secure them firmly to ensure a tight seal, preventing any potential leaks.
Once the clamps are tightened, turn on the water and check for leaks. If there are no drips or seepage, your hose is ready for use. If a leak is present, recheck the clamp tightness and ensure that the hose ends are fully inserted into the coupler.
This simple fix can extend the life of your hose and save the time and expense associated with purchasing a new one.
When to Choose a Hose Repair Kit Over Replacement
Opting for a hose repair kit can be a wise decision in several scenarios. When the damage to your hose is localized, such as a small leak or a single puncture, a repair kit is an efficient solution that can restore functionality without the need for a full replacement. This is not only cost-effective but also environmentally friendly, as it reduces waste.
A hose with sentimental value or one that is part of a larger, integrated irrigation system might also be a good candidate for a repair kit. Disassembly of complex setups can be time-consuming and challenging, making quick fixes preferable.
Additionally, consider the quality of your current hose. If you have a high-end model with years of service left, utilizing a repair kit can extend its lifespan, ensuring you get the most out of your initial investment.
Finally, situations that require immediate resolution, such as a broken hose during peak gardening season, call for a speedy repair. Kits often offer the quickest way to address the issue and resume watering without disruptive downtime.
Practical Considerations Before Purchasing a Hose Repair Kit
Before adding a hose repair kit to your shopping cart, it’s crucial to assess a few factors. Firstly, examine the damage to your hose: small punctures or a simple burst typically merit a repair, while extensive damage might necessitate a full replacement. Additionally, consider the hose diameter; repair kits are designed to fit specific sizes, so matching the kit to your hose’s measurements ensures a seamless fix.
It’s also wise to evaluate the material compatibility. If your garden hose has a unique material composition, like reinforced rubber or a specific type of plastic, look for a kit that can effectively bond with that material. Another key factor is the working pressure rating of your hose. Make sure the repair kit can withstand the same level of water pressure to prevent future leaks or bursts.
Lastly, consider the surroundings where you’ll use the repaired hose. If it will be in constant sunlight, choose a kit with UV resistant materials. For those who often drag their hoses over rough terrain, a repair kit that offers a heavy-duty fix might be the best choice. By taking these practical considerations into account, you avoid the frustration of purchasing an incompatible kit and ensure a long-lasting repair.
Compatibility of Hose Repair Kits With Non-Brand Hoses
Ensuring that a garden hose repair kit is compatible with your non-brand hose is crucial for a successful fix. Here are a few pointers to assist you in this process:
- Check Hose Size: Kits are designed for specific hose diameters, typically ranging between 1/2 inch to 3/4 inch. Measure your hose’s diameter to match the kit.
- Material Match: Kits may include parts made for rubber, vinyl, or polyurethane hoses. Ensure the repair components are suitable for the material of your non-brand hose.
- Connector Types: Familiarize yourself with the types of connectors in your hose – compression, barbed, or push-on. Select a kit that offers the right type of connector.
- Hose End Repair: If repairing the end, confirm whether the kit supports male, female, or both types of hose ends as per your requirement.
Adhering to these guidelines will help you pick a repair kit that will work seamlessly with your non-brand garden hose, avoiding leaks or further damage.
Tools Needed for Hose Repair
Before diving into the repair process, ensure you have the right tools on hand. A pair of sharp scissors or a utility knife is crucial for cutting away the damaged section of your hose cleanly. Pliers may be required to remove any remaining bits and to secure the couplings in place. Some kits come with a wrench, which is especially useful when dealing with tight fittings. Additionally, if your repair kit includes clamps, a screwdriver might be needed to tighten these components. Having these tools ready can significantly streamline the repair process and help you achieve a watertight seal, ensuring your hose functions like new.
Remember to keep safety in mind; gloves can protect your hands during the cutting and fitting stages.
Warranty Information: 10-Year No-Leak, No-Break, No-Rust Guarantee
A robust warranty often accompanies high-quality garden hose repair kits, providing assurance against defects and long-term wear. Here’s what the comprehensive 10-year guarantee typically covers:
- No-Leak Promise: Manufacturers ensure the repair will hold, preventing water from seeping through the repaired section.
- No-Break Assurance: The repaired area will withstand regular use and pressure, so the hose remains intact without breaking.
- No-Rust Commitment: Components made from corrosion-resistant materials help maintain the integrity of the hose repair over time.
Holding onto your purchase receipt and being aware of the terms and conditions of the warranty might be required to take advantage of this guarantee. Moreover, being cognizant of proper installation as per the included instructions can help uphold the warranty.


