Last updated on
In this comprehensive step-by-step guide, learn how to reupholster your sofa like a pro and give it a new life.
As I walked into my living room, I couldn’t help but notice the sorry state of my sofa. The once plush cushions had lost their fluffiness, and the fabric was starting to wear out in places.
It was a hand-me-down from my parents, and while it held sentimental value, it was time for a makeover.
I toyed with the idea of buying a new sofa, but the thought of spending hundreds of dollars made me cringe. That’s when I stumbled upon reupholstering – a cost-effective way to give old furniture a new lease on life.
I scoured the internet for tutorials and guides but found them either too vague or too complicated for my liking. Determined to give this DIY project a shot, I decided to create my own comprehensive step-by-step guide.
And so, after weeks of research and trial-and-error attempts, I present to you – “DIY Sofa Reupholstering: A Comprehensive Step-by-Step Guide.” Whether you’re an experienced DIY-er or just starting out, this guide will take you through each stage in detail and equip you with all the necessary tools and techniques needed to transform your old sofa into something brand new! So roll up your sleeves and let’s get started!
Key takeaways:
- Use durable fabric for longevity of your reupholstered sofa.
- Invest in the right tools: staple gun, fabric, foam padding, etc.
- Take time to carefully disassemble and clean your sofa frame.
- Remove old upholstery with care, using pliers or staple remover.
- Repair any damaged frame before attaching new upholstery.
Table of Contents
Introduction to Reupholstering
Reupholstering is a great way to give old furniture a new lease on life. It’s an eco-friendly and cost-effective alternative to buying new furniture, especially if you have sentimental pieces that hold special memories.
Reupholstering can also be a fun DIY project for those who enjoy getting their hands dirty and creating something from scratch. However, before diving into the process of reupholstering your sofa, it’s important to understand what it entails.
Reupholstering involves removing the old fabric from your sofa and replacing it with new material while preserving its original structure. It may seem like an intimidating task at first glance but fear not! With proper guidance and tools in hand, anyone can learn how to reupholster their own furniture – even beginners! In this guide, we will take you through each step of the process in detail so that by the end of this article; you’ll feel confident enough to tackle any upholstery project thrown your way!
Tools and Materials Needed
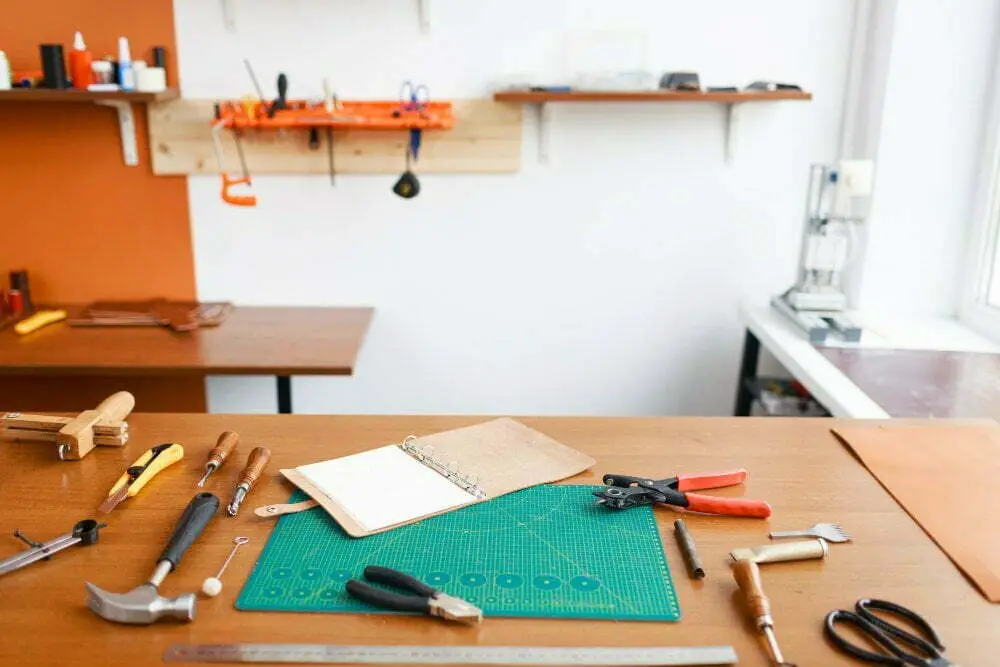
Before you start reupholstering your sofa, it’s essential to have the right tools and materials. Here the things you’ll need:
- Staple gun: A staple gun is a must-have tool for any upholstery project.
- Upholstery fabric: Choose a durable and high-quality fabric that complements your decor.
- Foam padding: You’ll need foam padding to replace worn-out cushions or add extra cushioning.
- Batting: Batting helps smooth out lumps and bumps in old cushions, giving them a new lease on life.
- Scissors or rotary cutter: These tools will come in handy when cutting fabric to size.
- Pliers: Pliers help remove staples from old upholstery without damaging the frame
- Sewing machine: If you’re making new cushion covers, having access to a sewing machine can save time
- Glue Gun: A glue gun can be used for attaching decorative trims like piping
Having these tools at hand will make your DIY sofa reupholstering project much easier!
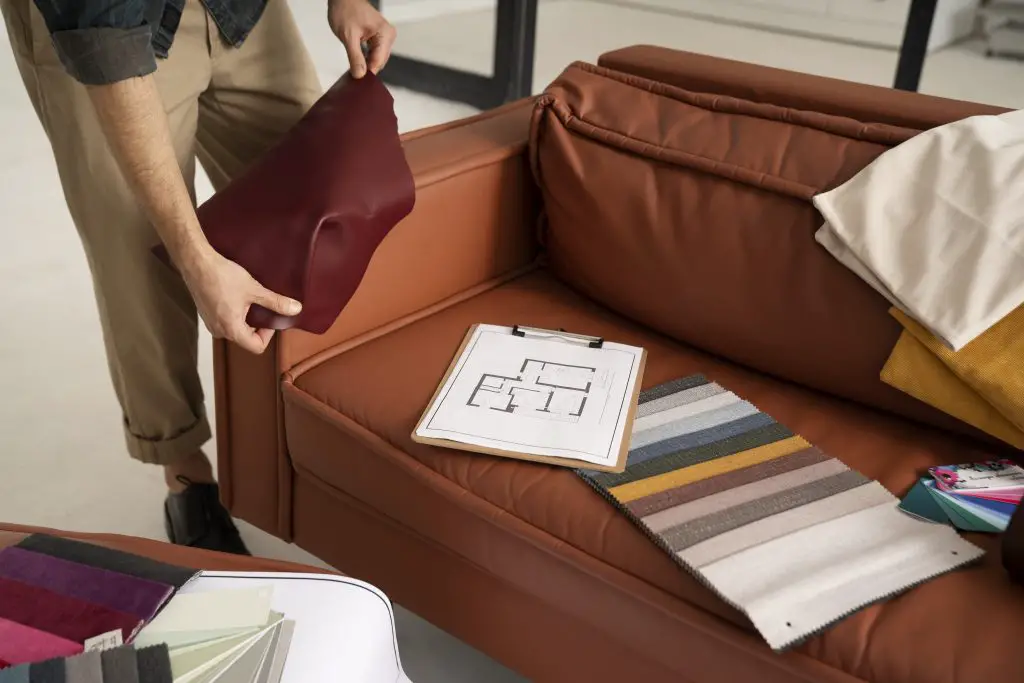
Choosing the Right Fabric
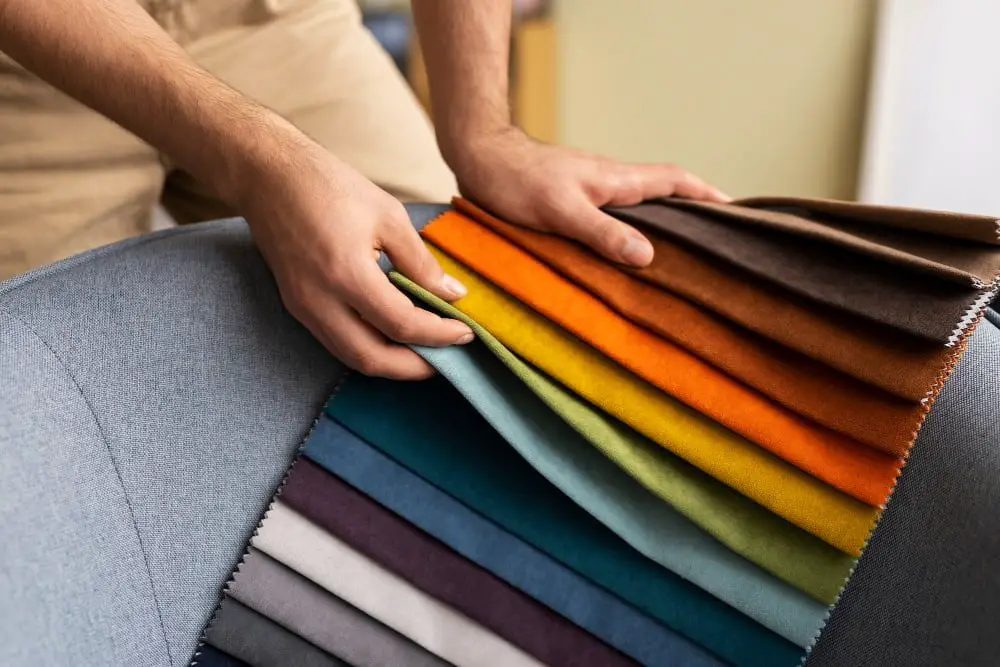
With so many options available, it can be overwhelming to decide which one is right for your project.
The first thing to consider when selecting a fabric is durability. Sofas are subjected to daily wear and tear, so you want something that can withstand frequent use without showing signs of damage too quickly.
Next up is color and pattern – this largely depends on personal preference but keep in mind that bold patterns or bright colors may not age well over time. Another factor worth considering is texture – do you prefer a smooth finish or something more textured? This will affect both the look and feel of your sofa once it’s reupholstered.
Lastly, don’t forget about maintenance – some fabrics require special care instructions such as dry cleaning only while others are machine washable.
When making my own choice for reupholstering my sofa I opted for a durable yet soft microfiber material in neutral tones that would complement any decor style while also being easy to maintain.
Disassembling the Sofa
The first step in reupholstering your sofa is to disassemble it. This may seem daunting, but trust me, it’s easier than you think! Start by removing all the cushions and pillows from the sofa.
Then use a screwdriver or drill to remove any screws or bolts holding the frame together. Be sure to keep track of where each piece goes as you take them apart – taking pictures can be helpful for reference later on.
Once everything is disassembled, thoroughly clean each piece with soap and water before moving on to the next step. Disassembling your sofa may take some time and effort, but it’s essential to ensure that your new upholstery fits perfectly and looks great once completed.
So don’t rush this stage – take your time and enjoy seeing how all those pieces fit together!
Removing Old Upholstery

Once you have disassembled your sofa, the next step is to remove the old upholstery. This can be time-consuming, but it’s crucial for achieving a professional-looking finish.
Start by removing any staples or tacks that are holding the fabric in place. You can use pliers or a staple remover for this task.
Be sure to keep track of these fasteners as you’ll need them later on.
Once all the staples and tacks are removed, carefully pull off the old fabric from each section of your sofa. If there is foam padding underneath, take care not to damage it while pulling off the upholstery.
If there are any stubborn areas where glue has been used instead of staples/tacks (such as around arms), use an adhesive remover and scraper tool to loosen and scrape away excess glue before proceeding with removal.
Removing old upholstery may seem like an arduous task but trust me; it’s worth putting in extra effort at this stage because having clean surfaces will make attaching new material much easier!
Repairing Sofa Frame
After removing the old upholstery, I noticed that some parts of the sofa frame were damaged. It’s essential to repair any broken or weakened areas before proceeding with reupholstering.
To fix a broken frame, you’ll need wood glue and clamps. Apply a generous amount of wood glue to both sides of the break and clamp them together tightly until they dry completely.
For weakened areas, use metal brackets or braces to reinforce them. You can find these at your local hardware store.
Once you’ve repaired any damage, sand down rough edges and wipe away excess dust with a damp cloth before moving on to measuring and cutting your new fabric. Remember that repairing your sofa frame is crucial for ensuring its longevity after reupholstering it!
Measuring and Cutting Fabric
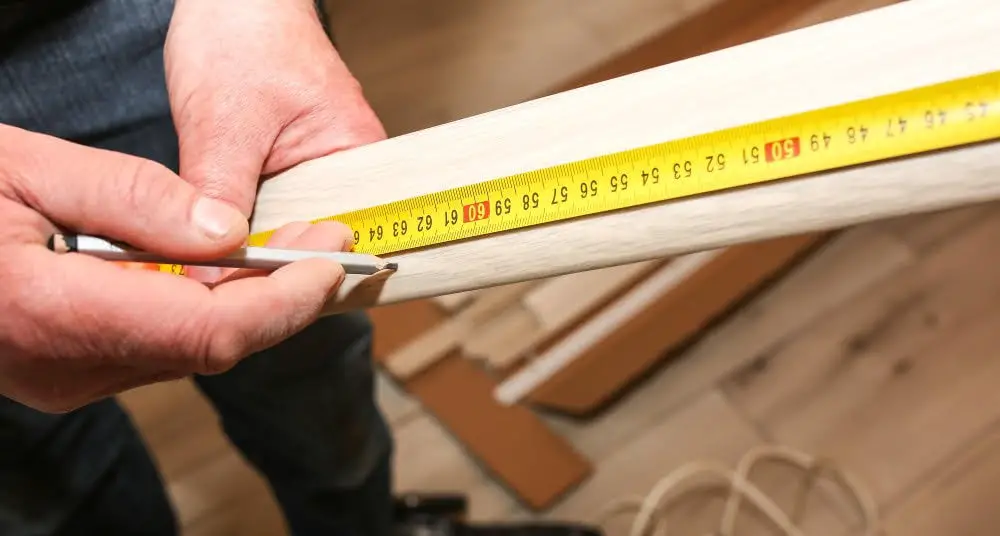
Once you have removed the old upholstery, it’s time to measure and cut your new fabric. This step is crucial as any mistakes can lead to ill-fitting covers or uneven seams.
Start by measuring each section of the sofa that needs covering – backrest, seat cushions, armrests etc. Make sure you add an extra inch on all sides for seam allowances.
Next up is cutting the fabric according to your measurements using a sharp pair of scissors or rotary cutter (if available). Be careful not to stretch or distort the fabric while cutting.
If your sofa has any curves or unusual shapes, consider making a paper template first before transferring it onto your actual fabric. This will help ensure accuracy and reduce wastage.
Remember that different fabrics have different properties – some may be more prone to fraying than others while some may shrink after washing. It’s always best practice to read through care instructions before purchasing so that you know what you’re getting into!
Once all pieces are cut out correctly, label them accordingly with chalk markings so that they can be easily identified during assembly later on. Measuring and cutting may seem like tedious tasks but taking time at this stage will save headaches down the line!
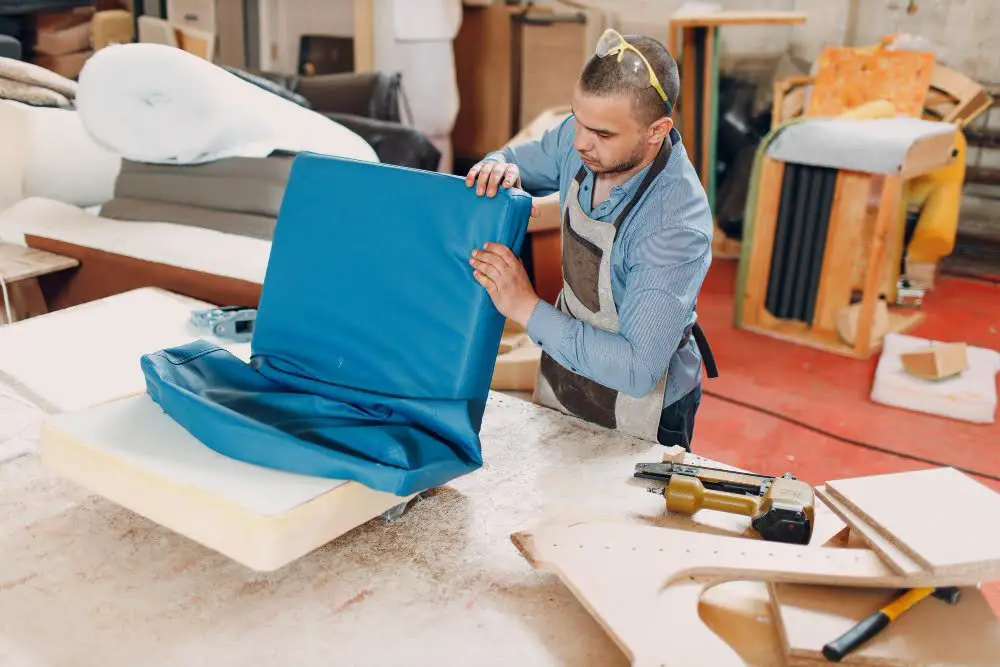
Sewing Cushion Covers
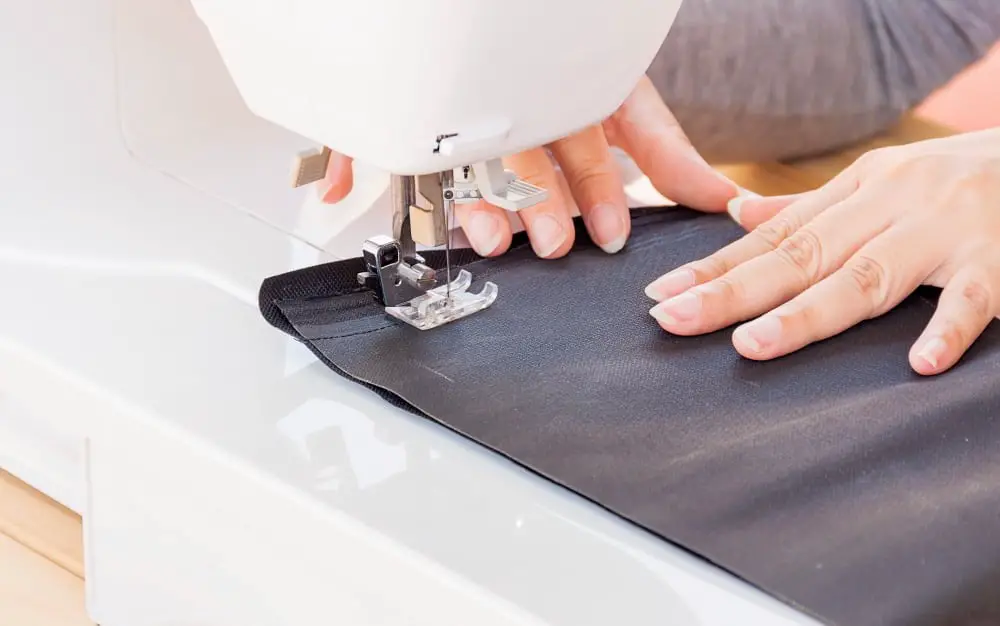
Make sure you measure each cushion carefully before cutting out the fabric pieces. When it comes to sewing, there are a few things you need to keep in mind.
Firstly, make sure your thread matches the color of your chosen fabric for a seamless finish. Secondly, use a heavy-duty needle that can handle thicker fabrics without breaking.
Start by pinning together two pieces of cut-out fabric with their right sides facing each other and sew along three edges using a straight stitch on your sewing machine or by hand if preferred. Turn them inside out so that their right side faces outward and insert foam cushions inside them before closing up with another seam along the fourth edge.
Repeat this process for all cushions until they’re all covered in new upholstery – giving an instant facelift!
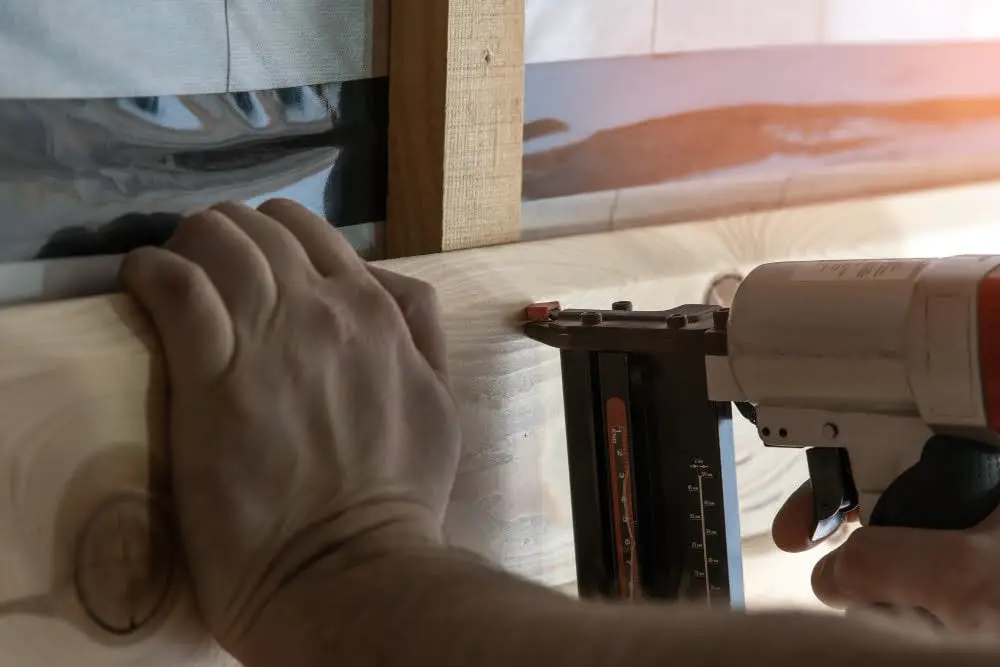
Attaching New Upholstery
After all the hard work of removing old upholstery, repairing the sofa frame, and sewing new cushion covers, it’s finally time to attach the new upholstery. This is where your patience and attention to detail will come in handy.
Start by laying out your fabric on a clean surface with its wrong side facing up. Place each cushion or section of the sofa onto this fabric and cut around it leaving an extra 2-3 inches on all sides for seam allowance.
Next, fold over one edge of your fabric towards its centerline (the line that runs down from top to bottom) so that you have a neat crease along this line. Repeat this step for both edges until they meet at their centerline creating two folds running parallel down either side of your piece.
Now place these folds over each other so they overlap slightly before pinning them together using straight pins or staples if you prefer more security when attaching fabrics together during reupholstering projects like ours today!
Use a staple gun or heavy-duty needle-and-thread combo (depending on how thick/strong/durable you want things) to secure everything in place as tightly as possible without causing any wrinkles or puckering along seams – which can be difficult but not impossible with practice!
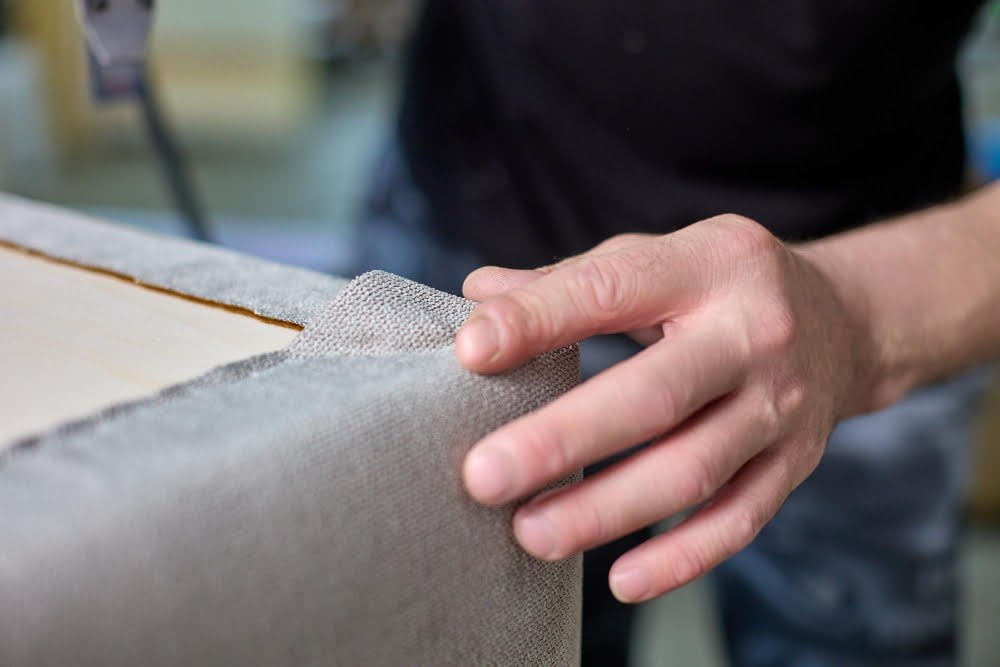
Finishing Touches
After hours of hard work, your sofa is finally starting to take shape. The new fabric has been attached, and the cushions are plump and inviting.
But before you sit back and relax on your newly upholstered sofa, a few finishing touches need to be made.
Firstly, trim any excess fabric from the edges of the sofa using sharp scissors or a rotary cutter. This will give it a neat finish.
Next up is adding decorative elements such as piping or buttons if desired. Piping can be added around cushion edges for an extra pop of color while buttons can add depth to tufted upholstery.
Lastly, give your newly reupholstered sofa one final inspection for any loose threads or uneven seams that may have been missed during construction.
With these final touches complete you’re ready to enjoy your revamped piece! Reupholstering furniture may seem daunting at first but with patience and attention-to-detail anyone can do it themselves – saving money in the process!


