Last updated on
In this guide, you’ll learn how to restore your classic leather sofa by reupholstering it, giving it a new lease of life.
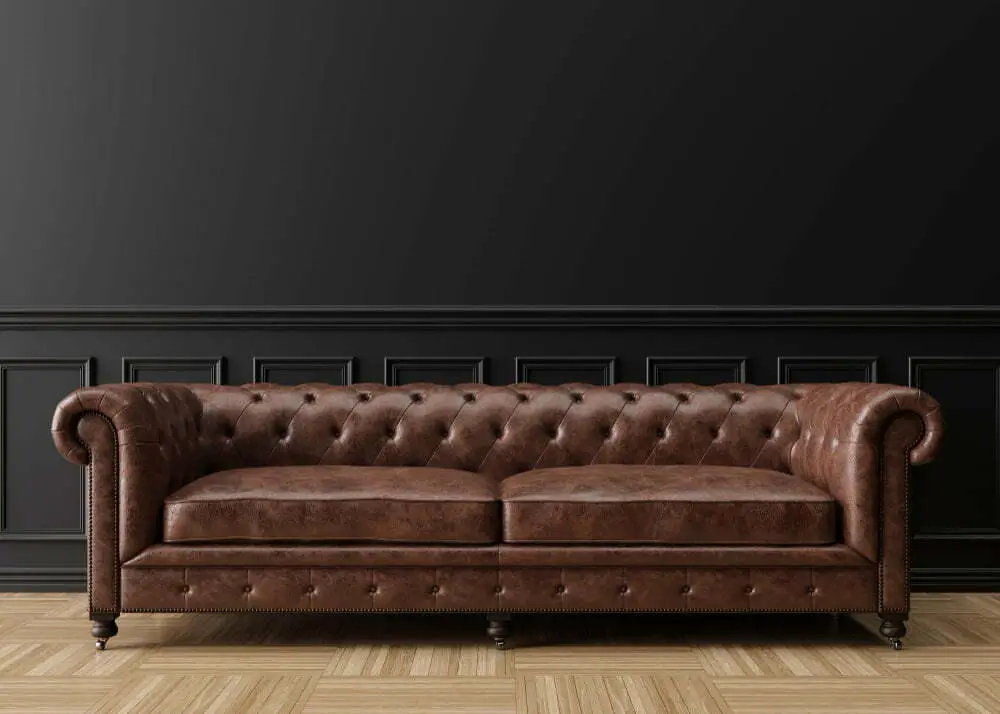
As I walked into my grandmother’s living room, I was immediately drawn to her leather sofa. It had been in the family for generations and had a classic elegance that couldn’t be replicated.
However, as I sat down on it, I realized that the once supple leather was now cracked and worn. The cushions sagged and the color had faded from years of use. As much as I loved this piece of furniture, it was clear that it needed some serious TLC.
That’s when I discovered the art of reupholstering – a process that could breathe new life into my grandmother’s beloved sofa. With a little research and some expert guidance, we were able to restore this piece to its former glory.
If you too have a cherished piece of furniture in need of restoration, then keep reading because today we’re going to dive deep into the world of leather sofa reupholstering!
Key takeaways:
- Assess the condition of your leather sofa before starting restoration.
- Choose high-quality, durable leather for reupholstering.
- Gather essential tools and supplies before beginning the process.
- Remove the old upholstery carefully to prepare for the new covering.
- Cut and sew the leather material with precision for a professional finish.
- Attach the new upholstery securely to the sofa frame.
- Restore the cushions with new foam inserts and batting.
- Add finishing touches like trim or decorative elements.
- Clean and maintain your restored leather sofa regularly for longevity.
Table of Contents
Assessing Sofa Condition
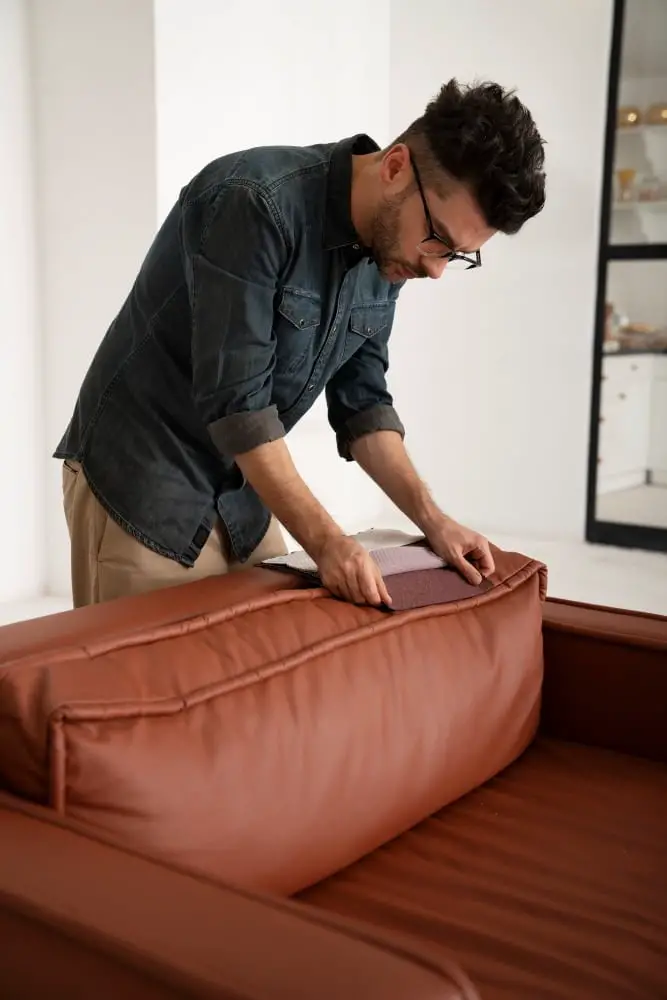
Before you start the reupholstering process, it’s important to assess the condition of your leather sofa. This will help you determine if it’s worth investing in restoration or if it’s time to say goodbye and invest in a new piece.
Begin by examining the frame for any damage or weakness. Check for loose joints, cracks, or warping that could affect the structural integrity of your sofa.
If there are any issues with the frame, consider consulting a professional before proceeding with reupholstering.
Next up is assessing cushion support and comfort level – sit on each cushion individually and check whether they sag too much when sat upon; this can be an indication that they need replacing as well.
Finally comes checking out how worn-out your leather upholstery is: look out for cracks on its surface which may indicate dryness due to age; also check whether there are stains from spills over time which might have seeped into deeper layers of padding beneath them making cleaning difficult without removing all old material first!
By taking these steps at this stage before starting work on restoring your classic piece back into shape again through re-upholstery techniques such as cutting/sewing new materials onto frames etc., you’ll ensure success down-the-line!
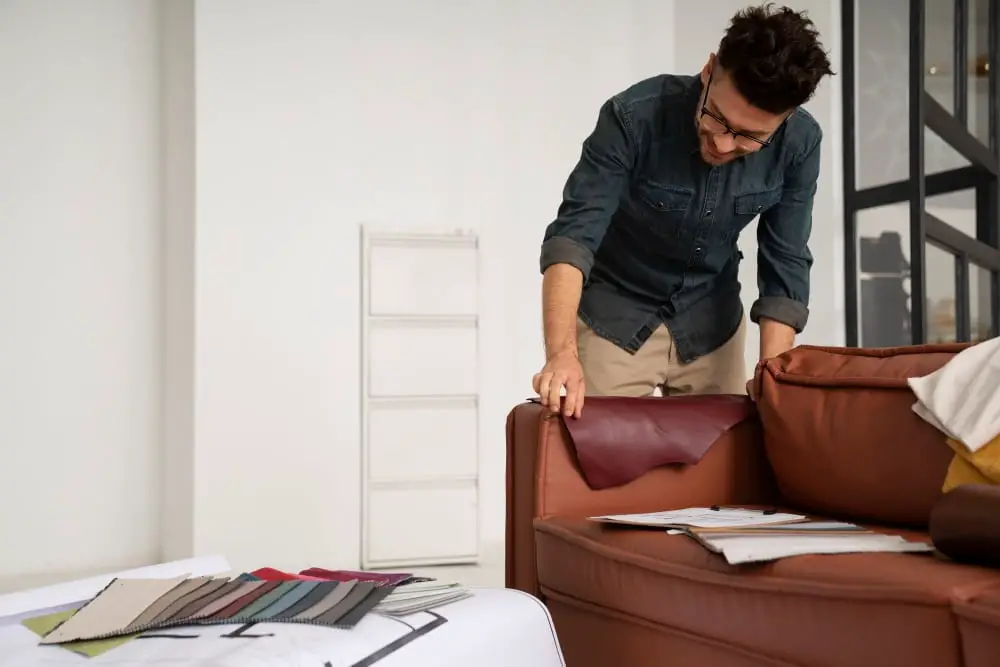
Choosing Leather Material

After assessing the condition of my grandmother’s leather sofa, it was time to choose the right material for reupholstering. This is a crucial step in the process as selecting high-quality leather will ensure that your restored piece lasts for years to come.
When choosing a leather material, there are several factors to consider. First and foremost is durability – you want a tough and long-lasting material that can withstand daily wear and tear.
Full-grain or top-grain leathers are excellent choices as they have natural oils that make them resistant to stains, scratches, and fading.
Next up is color – do you want something classic like brown or black? Or perhaps something more daring like red or blue? Keep in mind that darker colors tend to hide dirt better than lighter ones.
Think about texture – do you prefer smooth or textured finishes? Smooth leathers give off an elegant look while textured ones add depth and character.
Once we had considered all these factors carefully, we settled on a beautiful full-grain brown leather with subtle texture. It perfectly complemented our sofa’s classic design while also being durable enough for everyday use.
Choosing the right type of leather may seem overwhelming at first but taking your time with this step will pay off in spades when it comes time to enjoy your newly restored furniture piece!
Tools and Supplies Needed
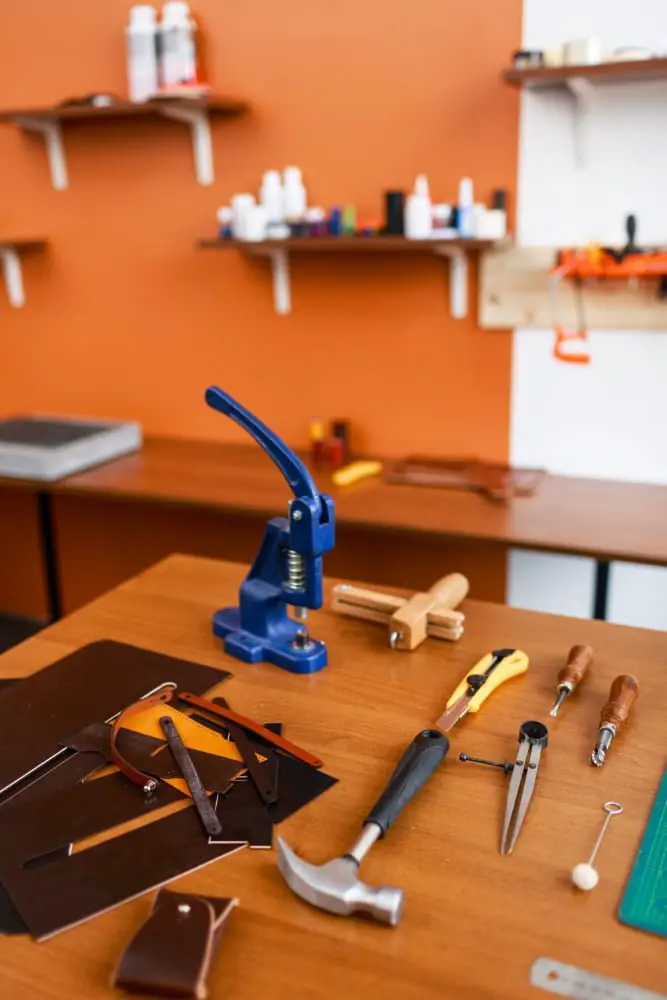
Reupholstering a sofa can be a daunting task, but having everything you need on hand will make it much easier.
Firstly, you’ll need some basic tools such as pliers, screwdrivers (both flathead and Phillips), staple remover tool or needle-nose pliers for removing staples from old upholstery. You may also require scissors or rotary cutters for cutting fabric.
Next up are materials like foam padding to replace worn-out cushions; batting that goes over foam padding before covering with new fabric; webbing straps which provide support under seat cushions; muslin cloth used as an underlining layer between cushion covers & stuffing material.
Finally comes your choice of leather – this is where quality matters most! Choose high-quality genuine leather that matches your style preference while being durable enough to withstand daily use without cracking or fading quickly.
With these essential items in hand, reupholstering your classic piece will become less intimidating than ever before!
Removing Old Upholstery
This process can be time-consuming and messy, but it is a crucial step in ensuring that your new upholstery will fit properly and look its best.
To begin removing the old upholstery, we first had to locate all of the staples or tacks holding it in place. Using a pair of pliers or staple remover tool, carefully pull out each staple one by one until all pieces are removed from their respective positions.
Once you have removed all visible staples/tacks on top layer fabric/leather material then gently peel off this layer using scissors if necessary. Be careful not to damage any underlying foam padding as this will need replacing later on during reupholstering process.
With patience and care, we were able to successfully remove every last bit of old fabric from our beloved sofa – revealing a blank canvas ready for its next transformation!
Preparing the Frame

Once you’ve removed the old upholstery, it’s time to prepare the frame for its new covering. This step is crucial in ensuring that your reupholstered sofa looks and feels as good as new.
Start by inspecting the frame for any damage or wear and tear. If there are any broken parts or loose joints, now is the time to fix them before proceeding with reupholstering.
Next, remove all staples and tacks from around the edges of where your old fabric was attached. You can use a staple remover tool or pliers for this task.
Once all of these have been removed, sand down any rough spots on your wooden frame using fine-grit sandpaper until they’re smooth again. This will help prevent snags in your new leather material when you attach it later on.
Give everything a thorough cleaning with a damp cloth to remove dust and debris that may have accumulated over time. With these steps completed successfully, you’ll be ready to move onto cutting out pieces of leather material!
Cutting and Sewing Leather
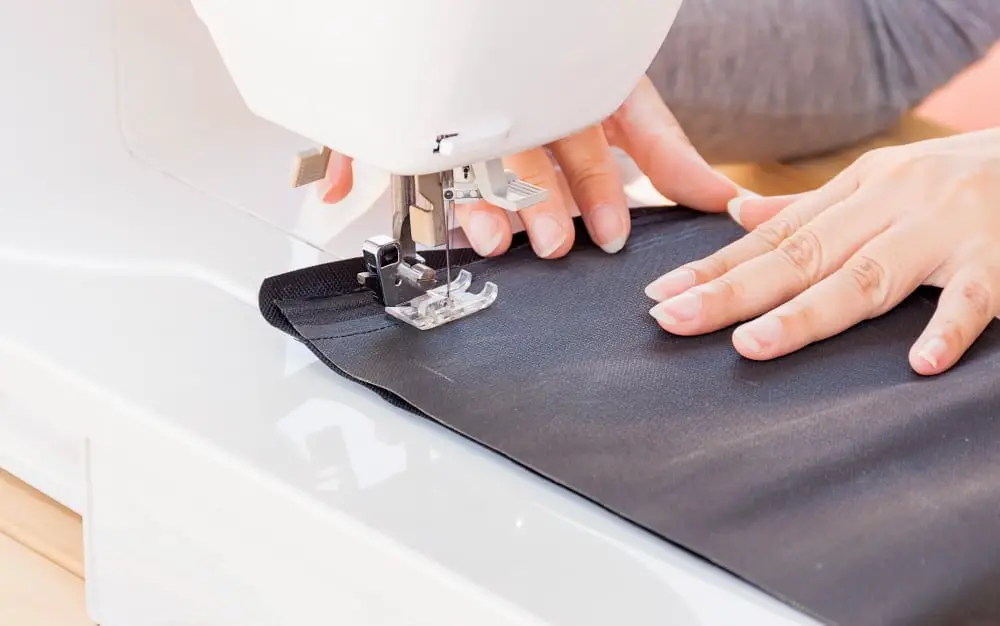
Once you have chosen the perfect leather material for your sofa, it’s time to start cutting and sewing. This step requires precision and patience, as any mistakes can be costly.
It’s important to measure twice before making any cuts.
Firstly, lay out the leather on a flat surface with the wrong side facing up. Use chalk or a fabric pen to mark where you need to cut according to your measurements.
Next, use sharp scissors or a rotary cutter (if available) along with a straight edge ruler or yardstick for accuracy when cutting through multiple layers of leather at once.
Once all pieces are cut out correctly, it is time for sewing them together using an industrial-grade sewing machine that can handle thick materials like leather without breaking needles easily. Make sure that seams are tight enough so they won’t come apart over time but not too tight which could cause puckering in areas where there is more tension such as corners and edges.
Cutting and Sewing Leather may seem daunting at first but with practice comes perfection!
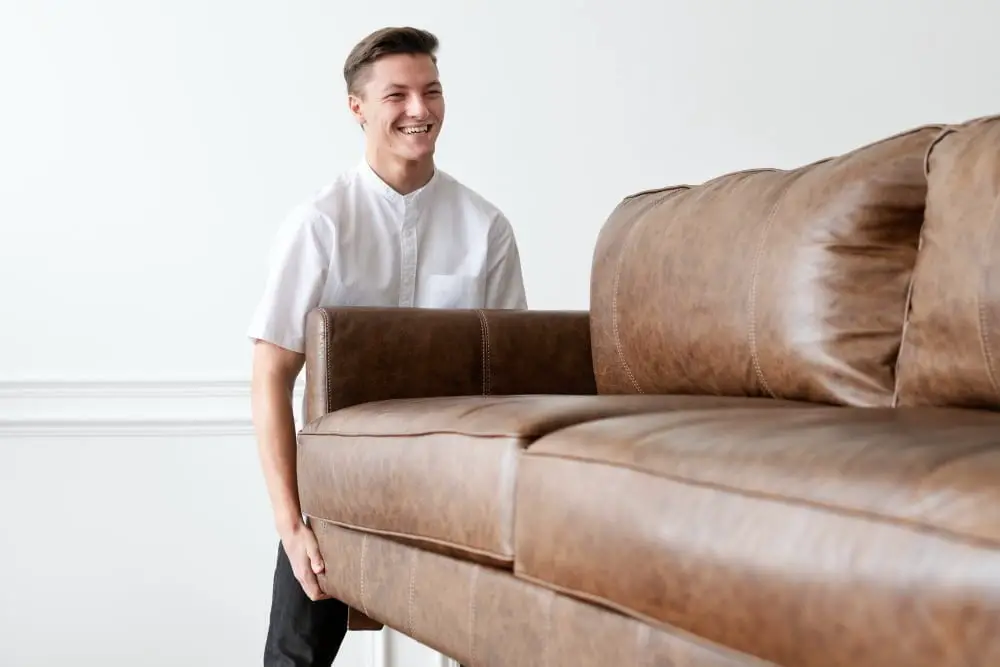
Attaching New Upholstery
After removing the old upholstery and preparing the frame, it’s time to attach the new leather. This is where your patience and attention to detail will come in handy.
Start by laying out your leather pieces on a flat surface, making sure they are aligned correctly with any patterns or seams matching up.
Using a staple gun, begin attaching one side of the leather piece to the sofa frame. Make sure you pull it taut as you go along so that there are no wrinkles or sagging areas.
Once one side is attached securely, move onto another section until all sides have been stapled down.
Next comes sewing any seams together using an industrial-grade sewing machine designed for working with thick materials like leather. If you’re not confident in your ability to sew straight lines or create even stitches, consider hiring a professional upholsterer for this step.
Trim off any excess material around edges and corners before securing them tightly into place using staples again if necessary. With these steps completed successfully ,your newly reupholstered sofa should look brand new!
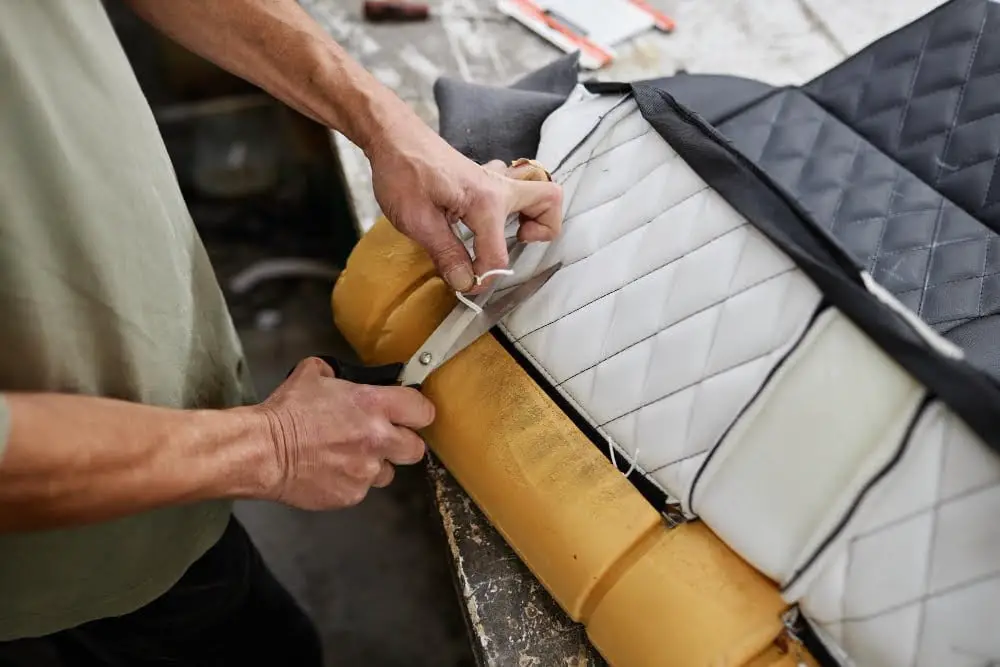
Cushion Restoration
Over time, even high-quality foam can lose its shape and supportiveness. Fortunately, there are a few ways you can bring them back to life.
Firstly, consider adding new foam inserts if necessary. This will provide a solid foundation for your cushions and ensure they maintain their shape over time.
Next up is batting – this material is used to add an extra layer of cushioning between the foam insert and leather cover. It also helps smooth out any lumps or bumps in the cushion surface.
Don’t forget about decorative details like piping or tufting! These elements not only add visual interest but also help keep everything in place by securing layers together with stitches that run through all layers of fabric at regular intervals along seams or edges where two pieces meet.
With these steps completed successfully you’ll have restored both comfortability as well as aesthetics of your beloved piece!
Finishing Touches
After all the hard work of reupholstering your leather sofa, it’s time to add those finishing touches that will make it look like new. One important step is to trim any excess fabric or leather from the edges and corners of your sofa.
This will give it a clean and polished appearance. Next, consider adding decorative elements such as nailhead trim or tufted buttons for an extra touch of elegance.
These details can be added during the upholstery process or after everything has been attached. Don’t forget about cleaning and conditioning your newly restored piece regularly to keep it looking its best for years to come.
Use a high-quality leather cleaner and conditioner recommended by professionals in order not damage the material. With these final steps completed, you can now sit back on your beautifully restored classic piece with pride knowing that you have given new life into something old but still valuable!
Care and Maintenance
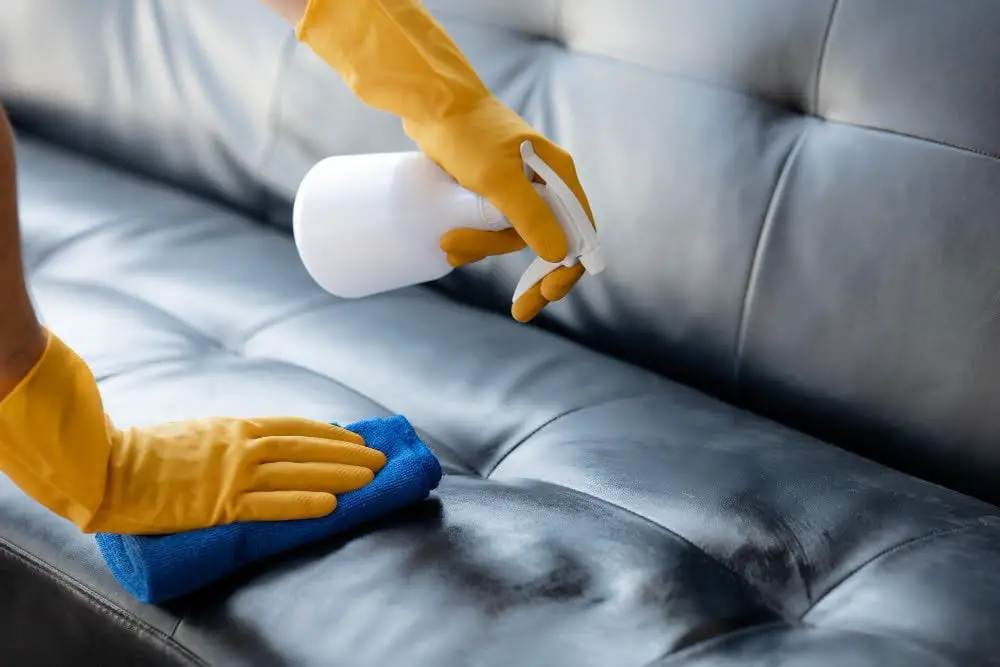
After all the hard work of reupholstering your leather sofa, it’s important to take care of it properly. Regular maintenance can help extend the life of your newly restored piece and keep it looking great for years to come.
To start, make sure you clean up any spills or stains as soon as possible. Use a soft cloth or sponge with warm water and mild soap to gently blot away any messes.
Avoid using harsh chemicals that could damage the leather.
It’s also a good idea to regularly dust and vacuum your sofa, especially in areas where dirt tends to accumulate like creases and corners. This will prevent dirt from settling into the pores of the leather which can cause discoloration over time.
Consider investing in some quality leather conditioner which will help keep your sofa supple and moisturized while protecting against cracking or fading due to sun exposure.
By following these simple care tips, you’ll be able enjoy your beautifully restored classic piece for many years!


