Last updated on
Because the charm of a beloved but aging couch can be prolonged with some creative visible mending ideas, this blog will uncover some of the most successful techniques to refresh your well-loved furniture piece.
I’m proud to present my original article and unique designs on “20 Innovative Visible Mending Couch Ideas: Your Ultimate Guide to Techniques”, and I sincerely hope it sparks as much inspiration and joy in you as it did in me while creating them.
Visible mending is a brilliant way to breathe new life into your couch, transforming wear and tear into a unique design feature. This article will guide you through a variety of creative and aesthetically pleasing visible mending ideas for your couch.
From patchwork techniques to embroidery and darning, these methods will not only cover up those pesky worn areas but also add a personalized touch to your living space.
Whether your style is modern, rustic, or eclectic, you’ll find a solution that matches your aesthetic and skill level. So, get ready to roll up your sleeves and let’s dive into the world of visible mending!
Table of Contents
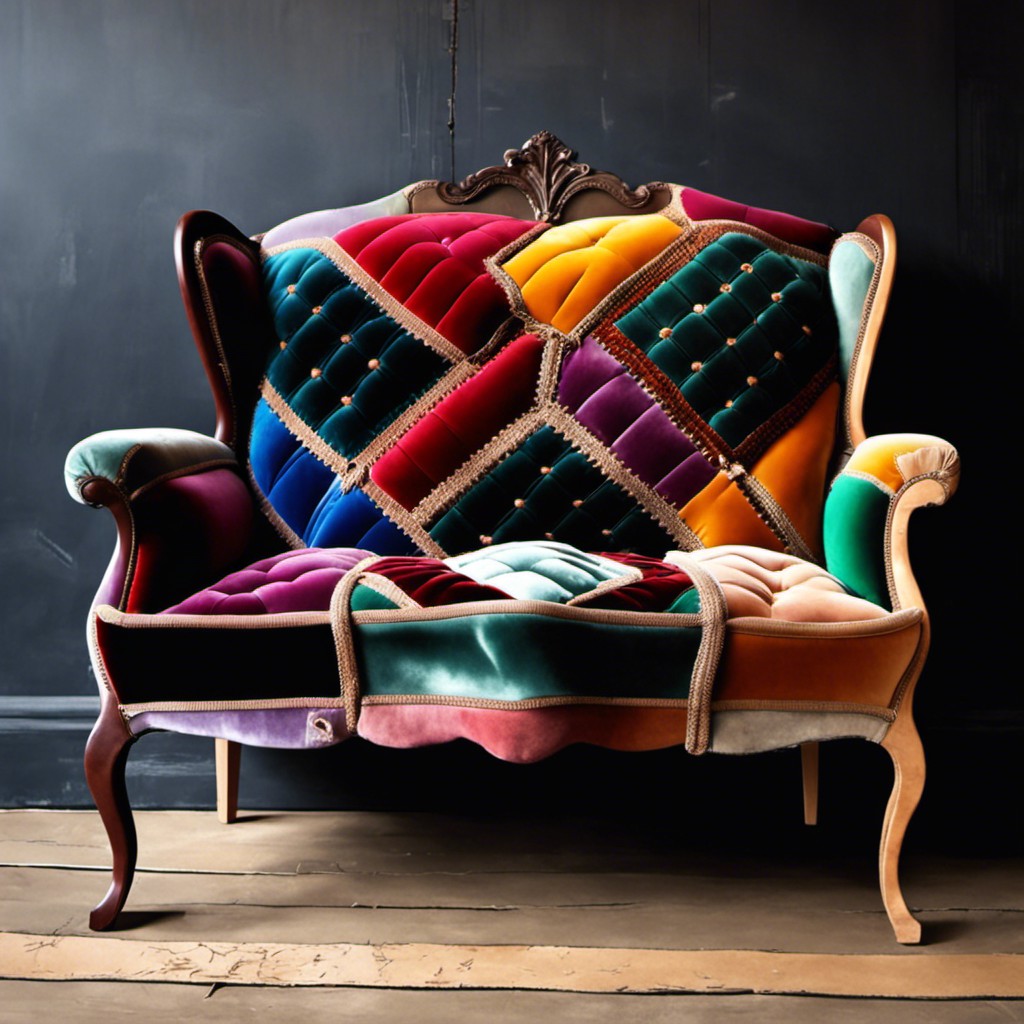
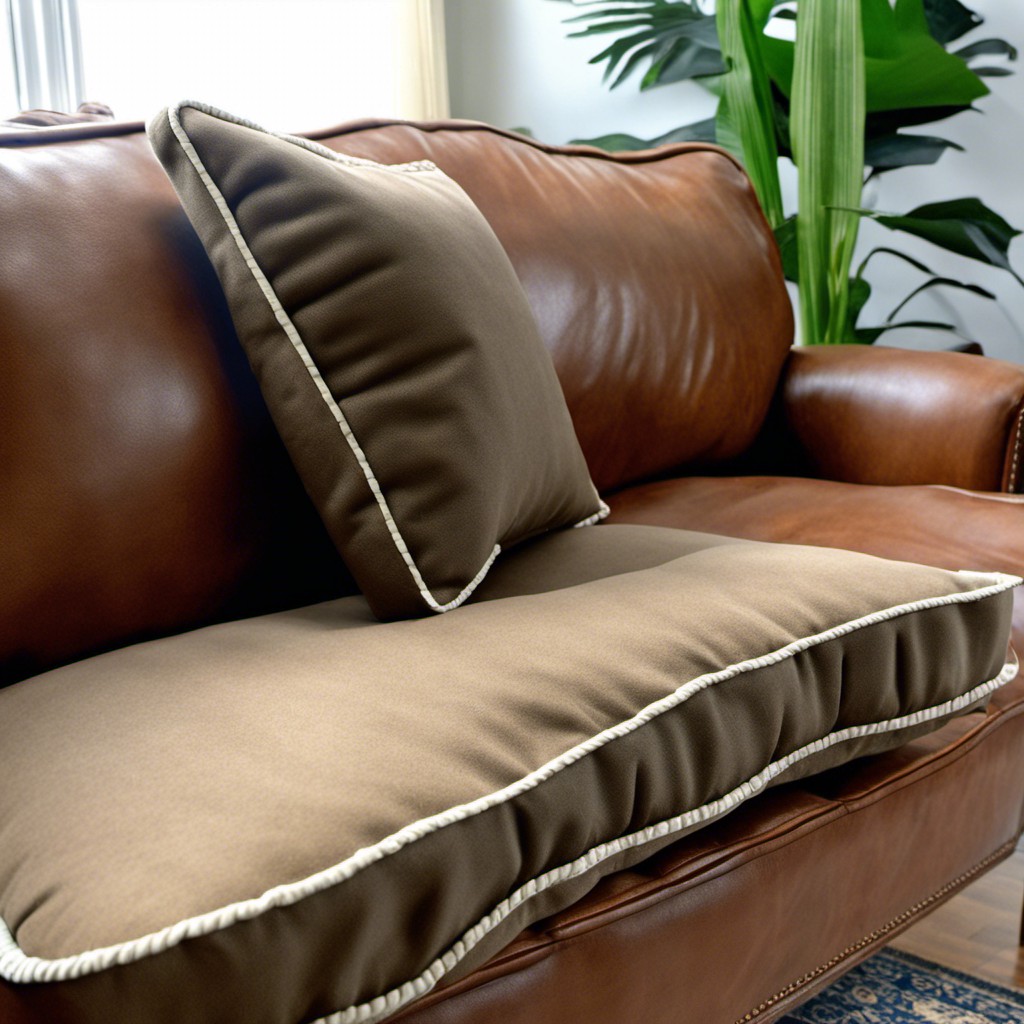
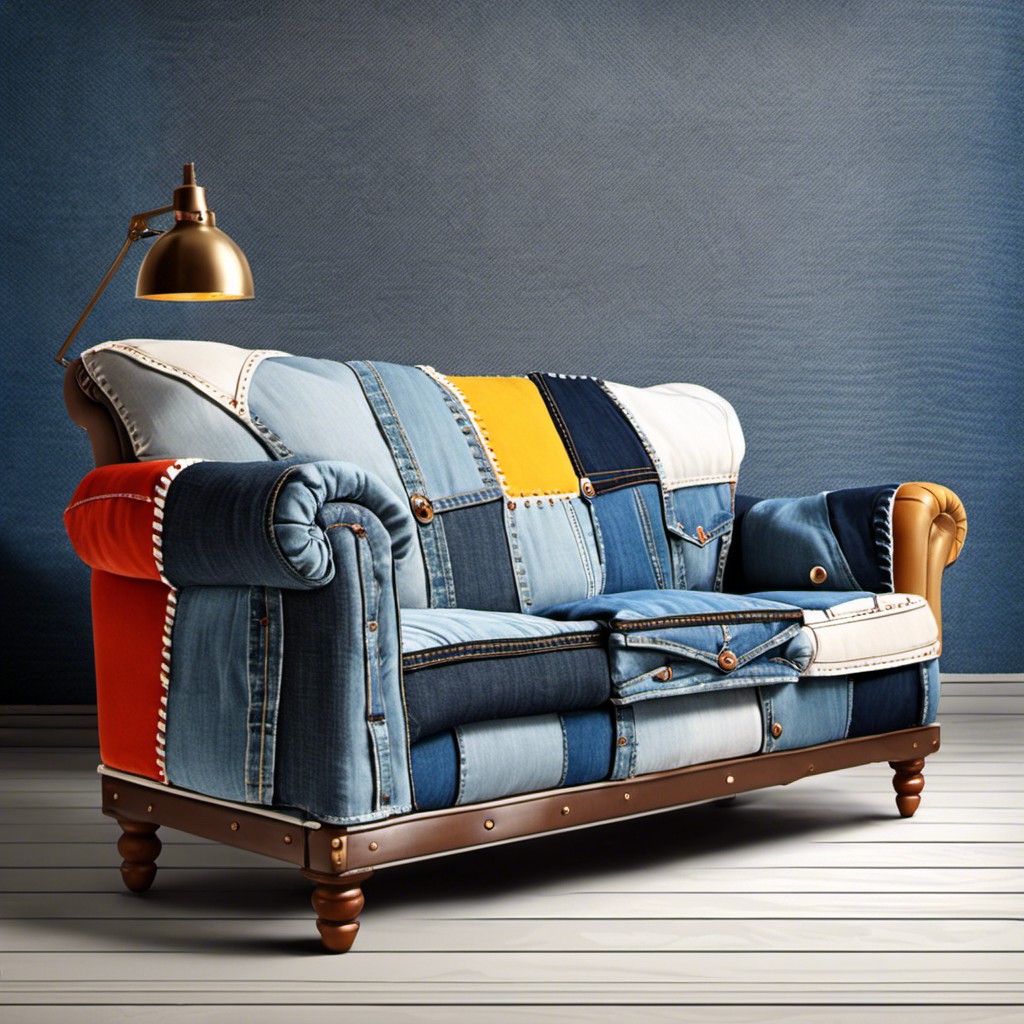
Colorful Patchwork
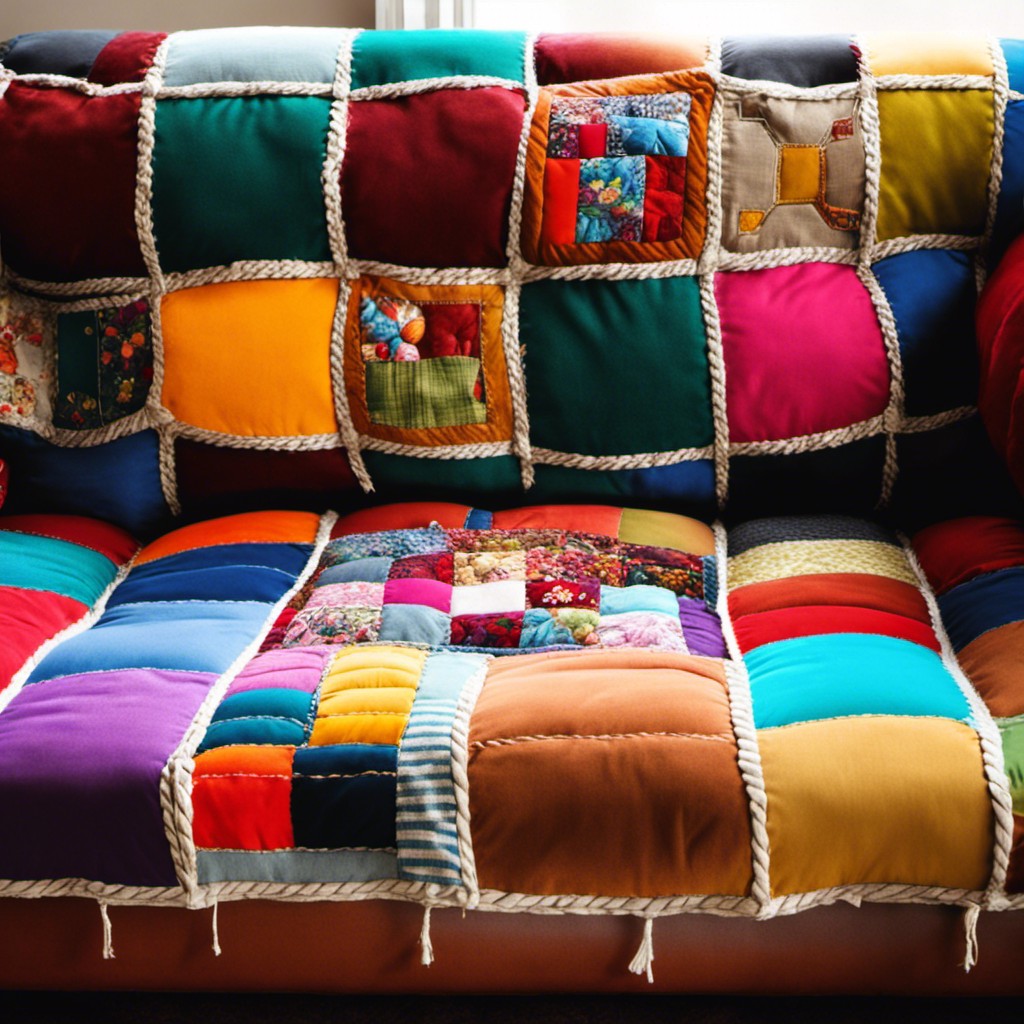
Delving into the artistry of patchwork can provide an attractive and creative solution for mended couches. Opt for differing shapes, sizes, and colors of fabric pieces for an eclectic result.
Here’s how it’s done:
- Collect fabric scraps or purchase them from craft stores.
- Cut the pieces into preferred shapes – squares, triangles, rectangles.
- Arrange your pieces for a composition that pleases the eye.
- Stitch them together to form a patch large enough to cover the torn couch area.
- Attach the patch to your couch using fabric glue or stitches.
For a vibrant finish, consider using bold, contrasting colors. Alternatively, a more subdued appeal can be achieved with pastel tones or monochrome hues. This method proves resourceful, economical, and artsy to mask damage while adding a personal creative touch to your living space.
Stitching Embroidery Patterns
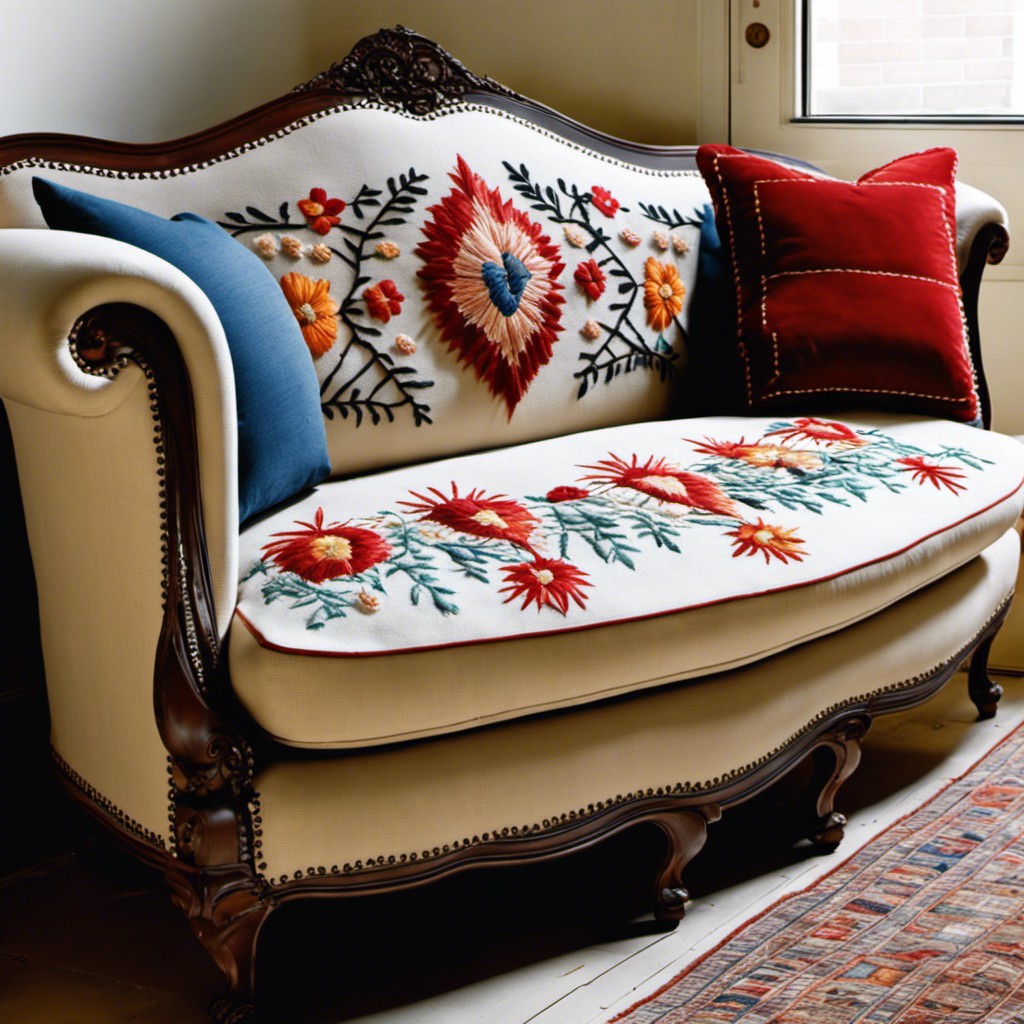
Embroidery provides a creative and uniquely charming way to mend your couch. It’s a technique where beauty meets functionality, covering up flaws while adding artistry to your furniture.
Here are some vital points to explore when turning to the needle and thread for repair:
- Design Selection: Opt for simple, appealing patterns that harmonize with the couch’s existing aesthetics.
- Thread Color: Choose colors that either blend with the existing fabric or stand out for an intentional, contrasting look.
- Technique: Mastery of fundamental stitches like cross-stitch, straight stitch, or French knot will give a smoother finishing. Make use of detailed embroidery guides or tutorials to refine your skills.
- Material Choice: Use robust embroidery thread for longevity.
Remember, the goal isn’t merely to fix a flaw; it’s to transform your couch into a statement piece with a story.
Felt Couch Repair
In applying felt as a repair method, careful selection is crucial. Choose a piece that closely matches your couch color for optimal blending.
With mild soap and water, clean the damaged area to clear out any dirt.
Cut the felt patch to a size slightly bigger than the tear or hole, ensuring enough coverage, but not too large as to be conspicuous.
For adhesion, use a high-strength fabric glue.
Apply a moderate amount on the cut felt without saturating it, then place it over the damaged area and press down gently but firmly.
To assure the patch has bonded well with the fabric, leave it to dry for the recommended time on the glue instructions.
This repair method is best for minor damage like small tears or holes but might not work as well for larger damages.
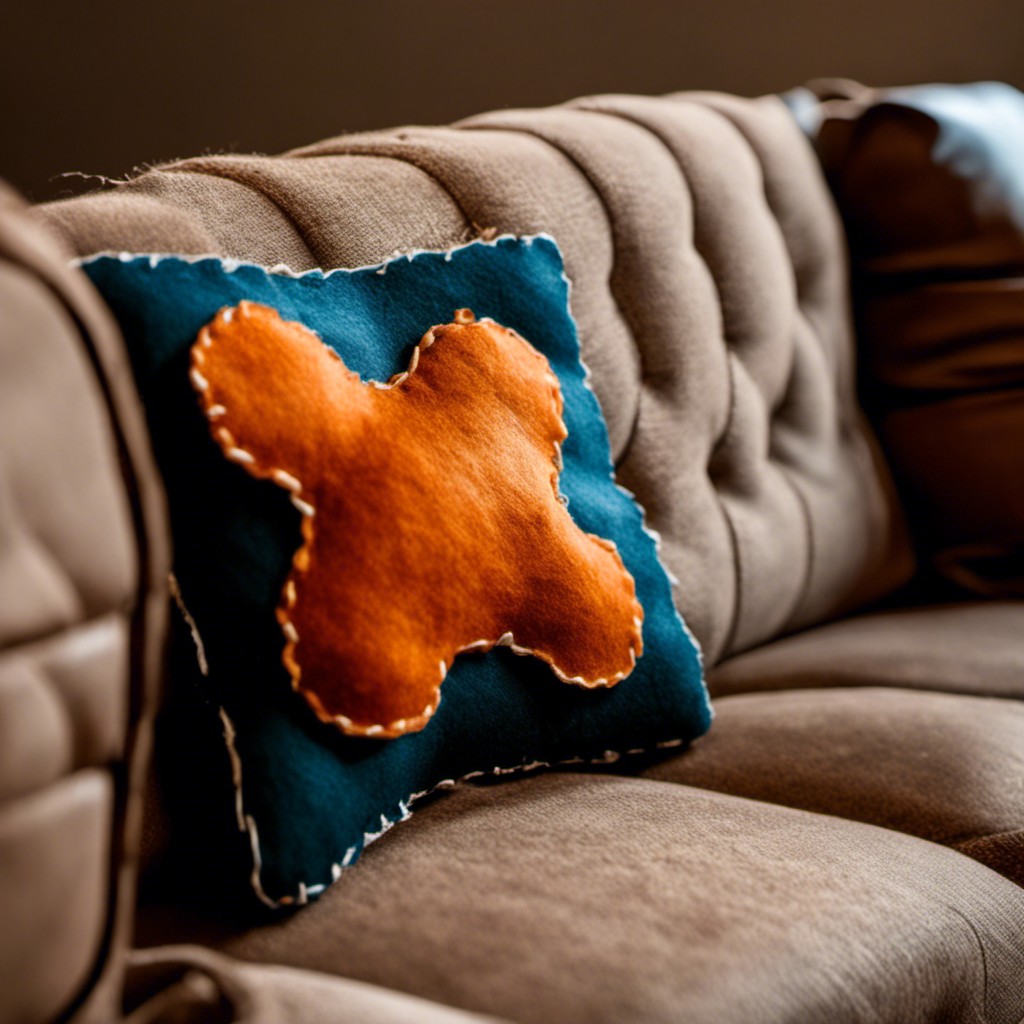
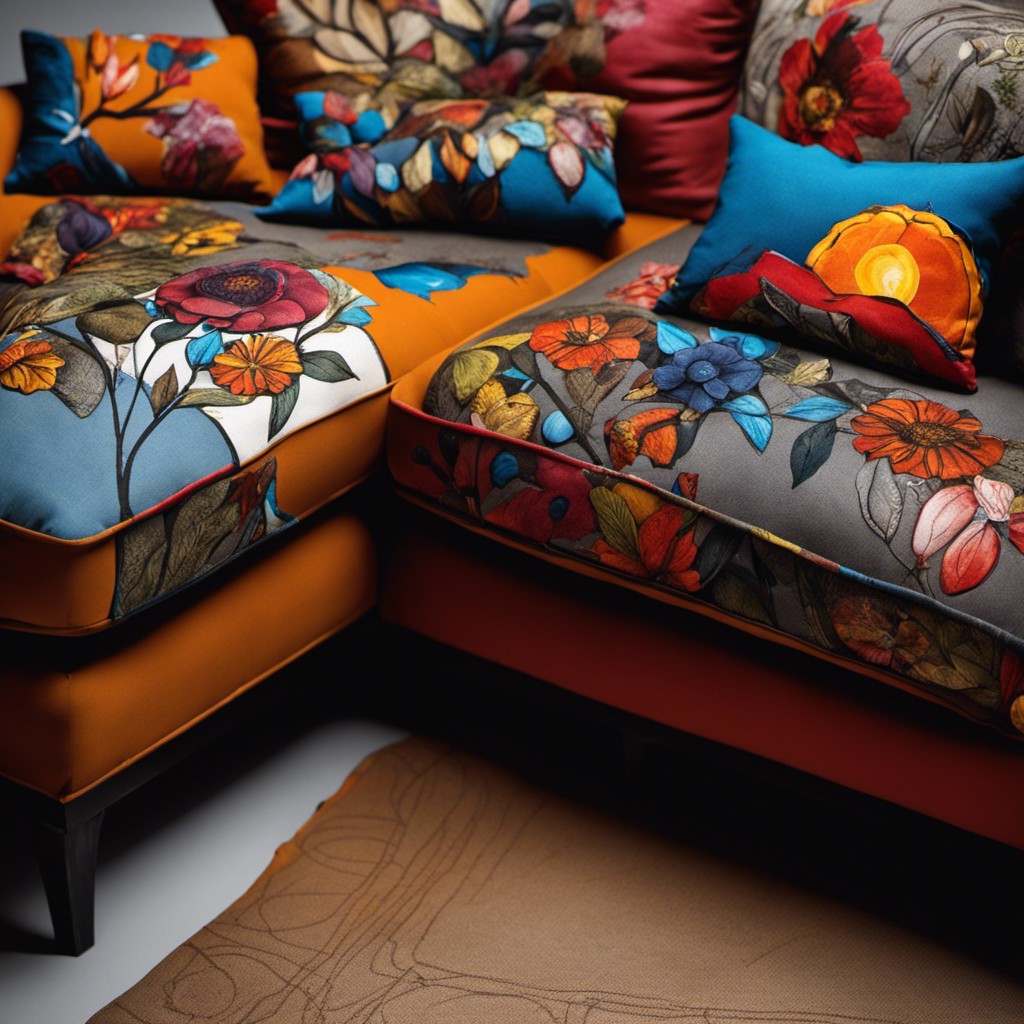
Sew On Fabric Artwork

Incorporating fabric art into your furniture repairs can serve a dual purpose—it rescues worn-out upholstery while also introducing a unique decorative element to your living room.
1. Choose Designs: Opt for motifs that match your existing decor, or take a daring leap and introduce a new color or pattern. Fabric stores or craft shops often have a variety of fabric cutouts perfect for your artistic endeavor.
2. Apply Adhesives: Special adhesives for fabric, available in any craft shop, can make your job easy. They hold the artwork firmly in place and dry clear for a neat finish.
3. Secure with Stitches: Use a needle and thread to stitch around the edges of the fabric art piece. This will act as an additional layer of security while adding a touch of charm.
4. Iron it On: As an alternative, look to iron-on fabric pieces, which offer ease of application.
Remember to be patient and precise when applying your fabric art for the best results, creating an impressive statement piece out of your once-worn couch!
Leather Couch Repair Kit
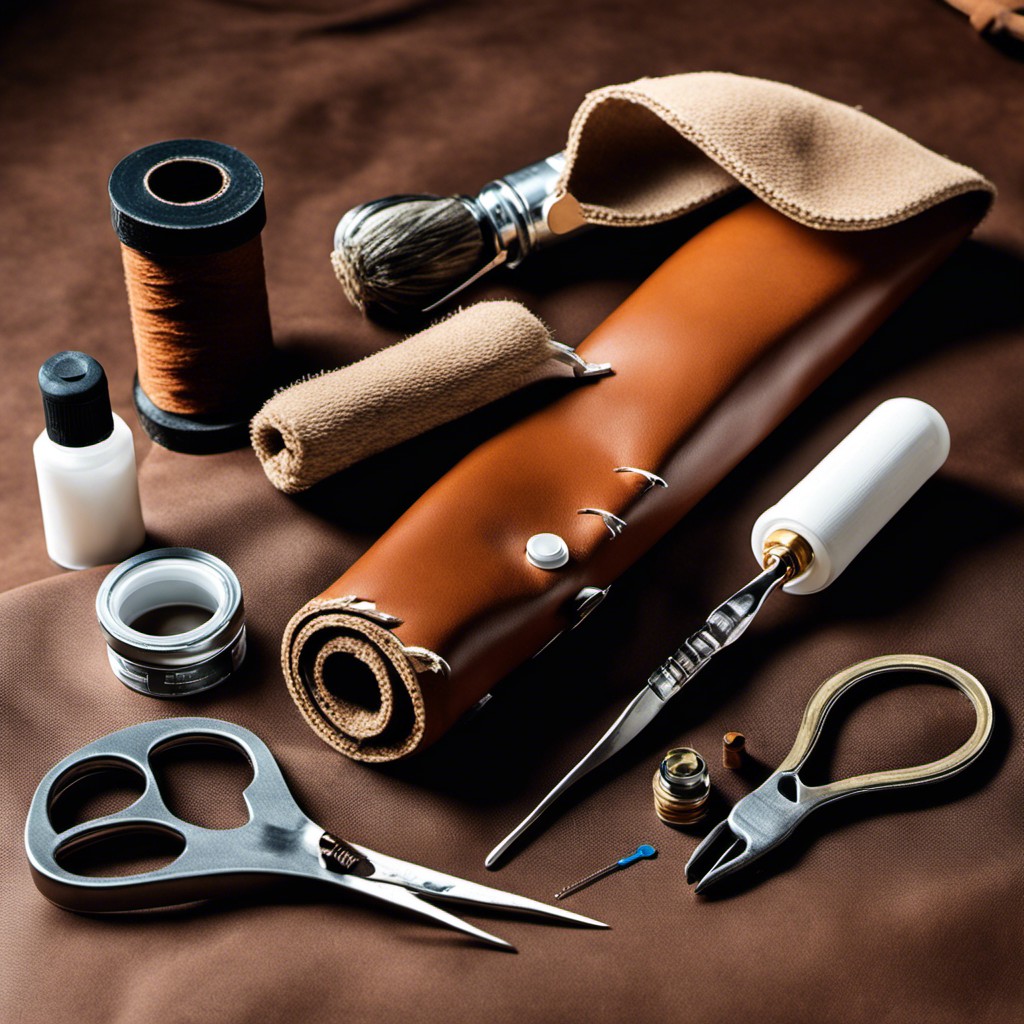
Leveraging a leather repair kit can be a convenient and economical solution for minor to moderate damages. This kit generally includes premixed leather repair compounds, backing fabric, adhesive, and various textured paper for achieving a close match with your couch surface.
To utilize this, first determine the extent and type of damage – whether it’s a scratch, tear, or hole. Then, choose an appropriately colored compound from your kit, apply thoroughly, and let it dry. Following the instructions provided can lead to professional-looking results. It’s essential to remember that the repaired area may not fully match the rest of the furniture’s color, depending on the kit and the leather’s age.
Backup fabric inside the hole, if it’s a tear, will provide support for the applied compound. Use the textured paper over the compound while drying to mimic the leather’s appearance. The process requires patience and precision, but with practice, the results can wonderfully extend the lifetime of your leather couch.
DIY Couch Slipcovers
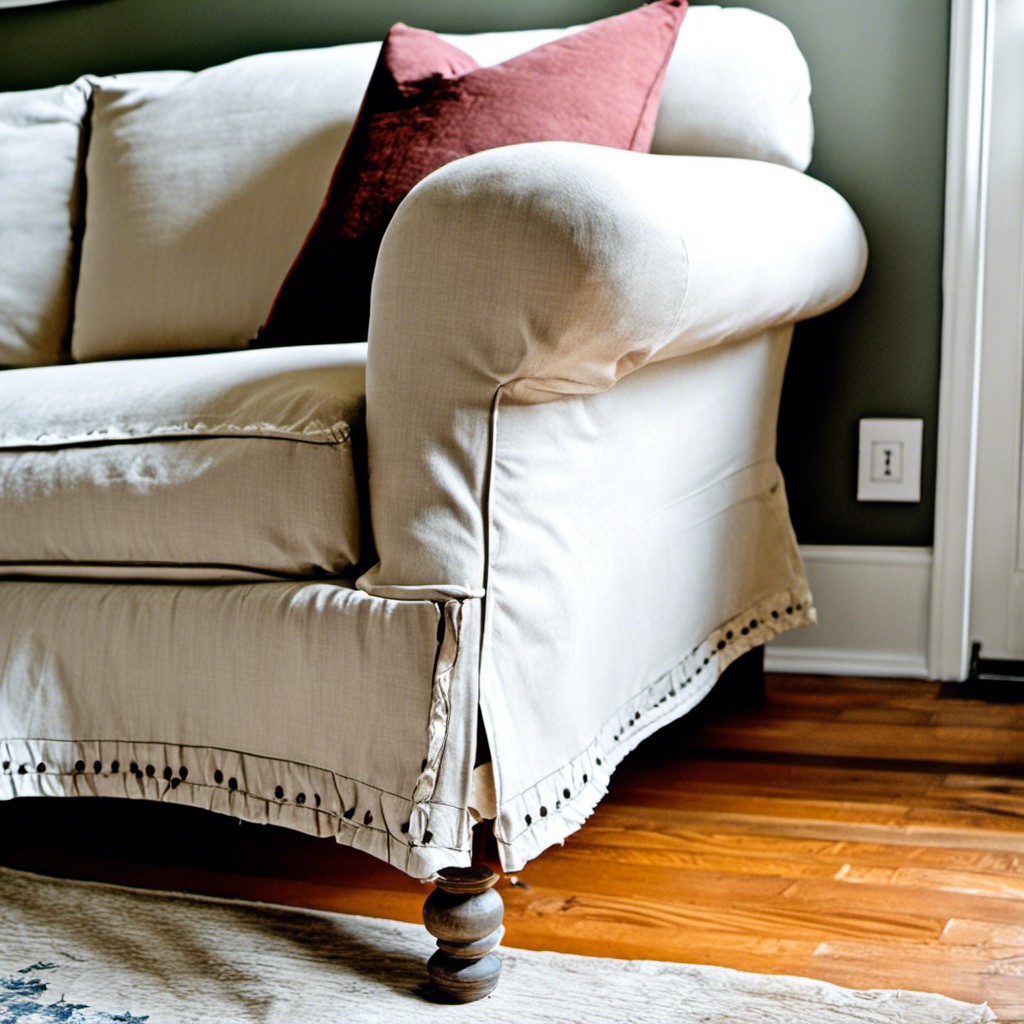
Slipcovers offer a dual-purpose solution: hiding imperfections and giving your couch a new look. And the best part? You can create one yourself.
First, measure your couch carefully. You’ll need to cover each section separately for a tailored fit. Next, select a fabric that pairs well with your interior decor. Durable materials, such as cotton or denim, can withstand regular usage and washing.
Make sure you have enough fabric to tuck into the sofa and seat cushions. Use pins to secure the fabric and create a road map for the sewing.
For a smooth finish, don’t forget to include a hem at the cover’s bottom. And there you have it. A neat, custom-fit cover that not only disguises any wear and tear but also adds a fresh touch to your room. Remember, perfection is not the aim here, a little irregularity gives it that homemade charm.
Using Couch Arm Protectors
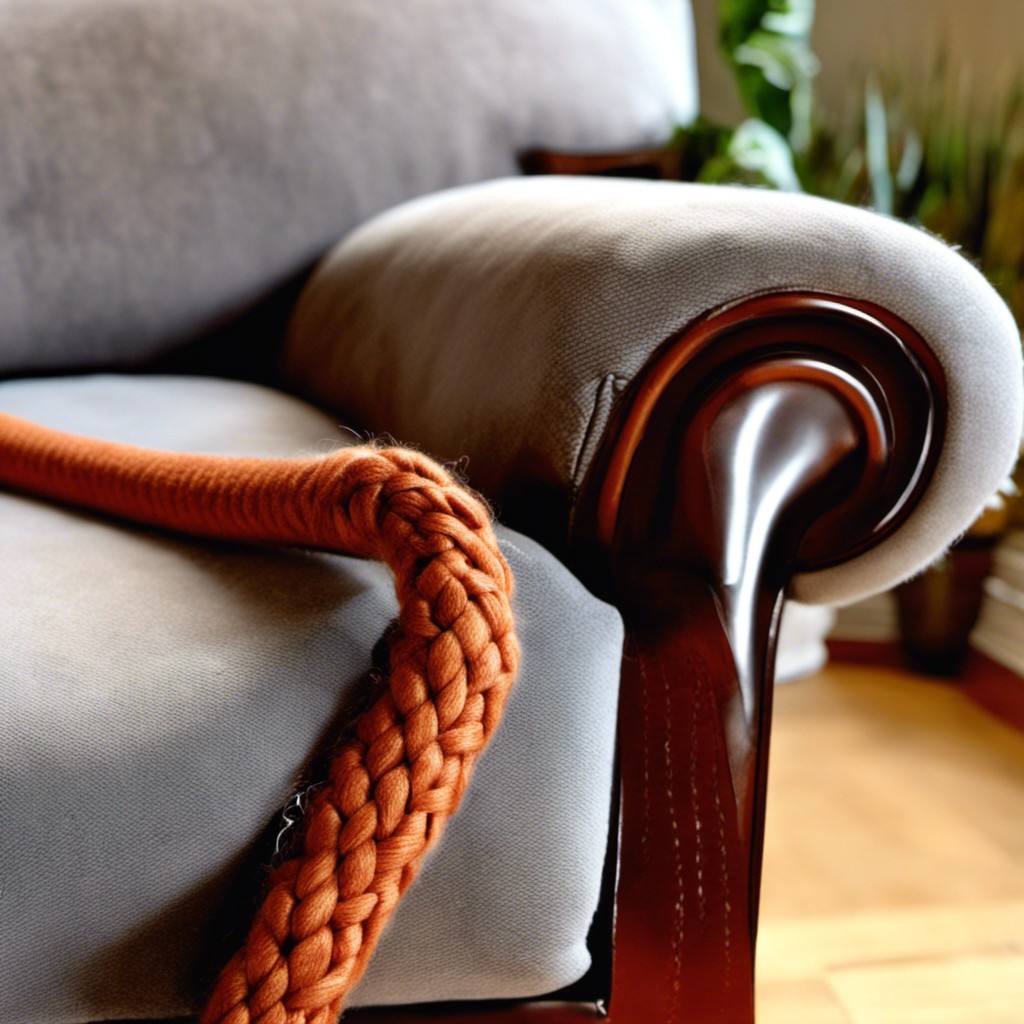
In the quest for visible mending, arm protectors serve as brilliant solutions. These add-ons not only prevent further damage but also conceal existing wear and tear effectively.
Here are simple ways to integrate them into your couch decoration:
- Material Choice: Opt for a material that complements the rest of the decor. Leather enhances a sophisticated look, while fabric patterns add a dash of quirkiness.
- Measure Accurately: Arm protectors should fit flawlessly. Ensure to take precise measurements before buying or customizing them.
- Attachment Method: Depending on the couch type, you can tuck in, snap on, or even stick the arm protectors.
- Decorative Touch: Arm protectors are a prime space for adding creative elements such as embroidery or patches, elevating their aesthetic appeal.
Remember, arm protectors can be just as stylish as they are practical. Break the conventional mold and let them serve as a statement piece in your visible repair process.
No matter the method, focus on personalizing your space, making it truly unique to you.
Utilize Upholstery Tacks
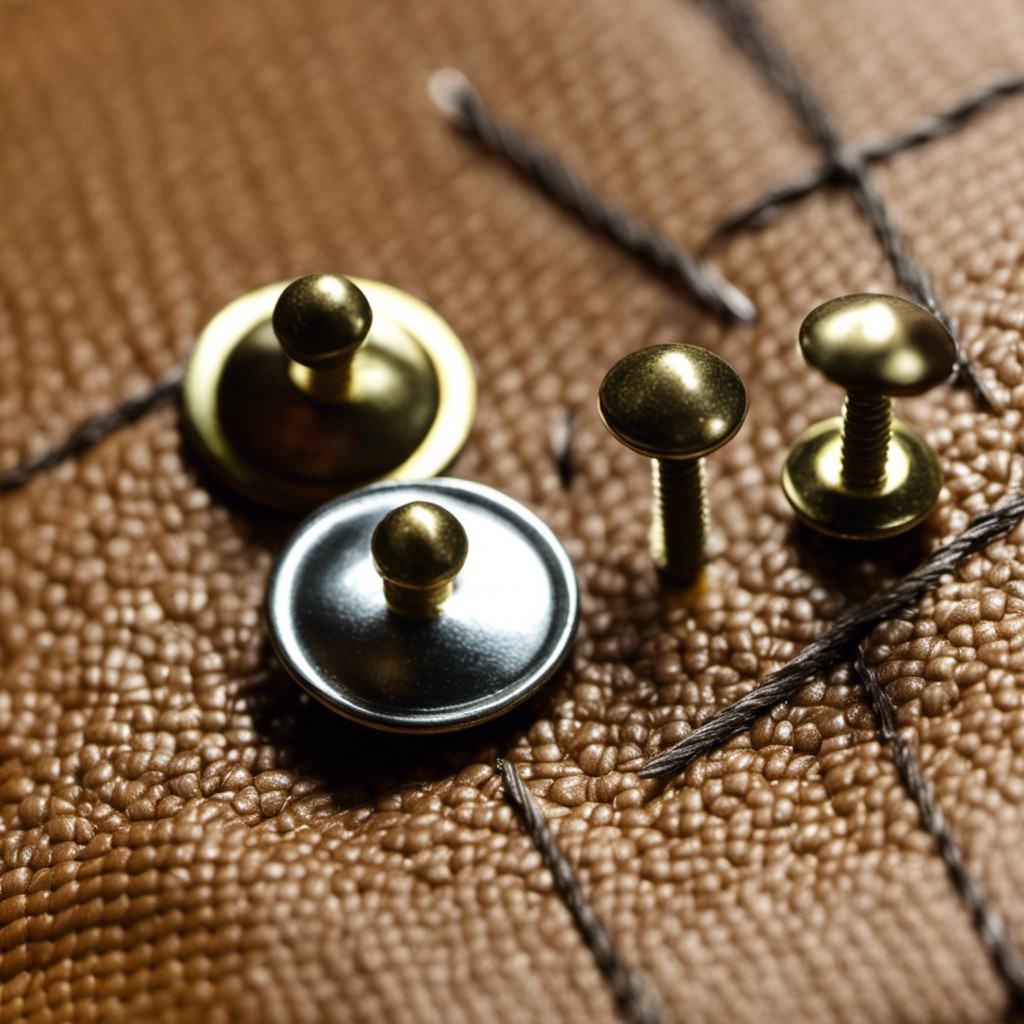
When considering giving your couch a remodel, upholstery tacks are a simple yet effective tool. They offer both functional and decorative roles.
1. Enhance Appearance: With their variety in designs and finishes – like antique brass or polished nickel – they can add a charming and custom touch to your furniture piece.
2. Ease of Use: Tacks are fairly straightforward to apply. A tack hammer suffices for driving them into the couch. Make sure to maintain straight lines by using an upholstery regulator.
3. Perfect for Sagging Issues: A vital tool in upholstery, these tacks can pin down any loose fabric and prevent it from sagging.
4. Revamping: If you’re bored with your old couch look, a tack line along the sofa’s arms or base can elevate the overall appearance with minimal effort.
Remember, the key lies in taking your time to space them evenly, ensuring a professional finish. Always purchase extra tacks because a few may bend in the process.
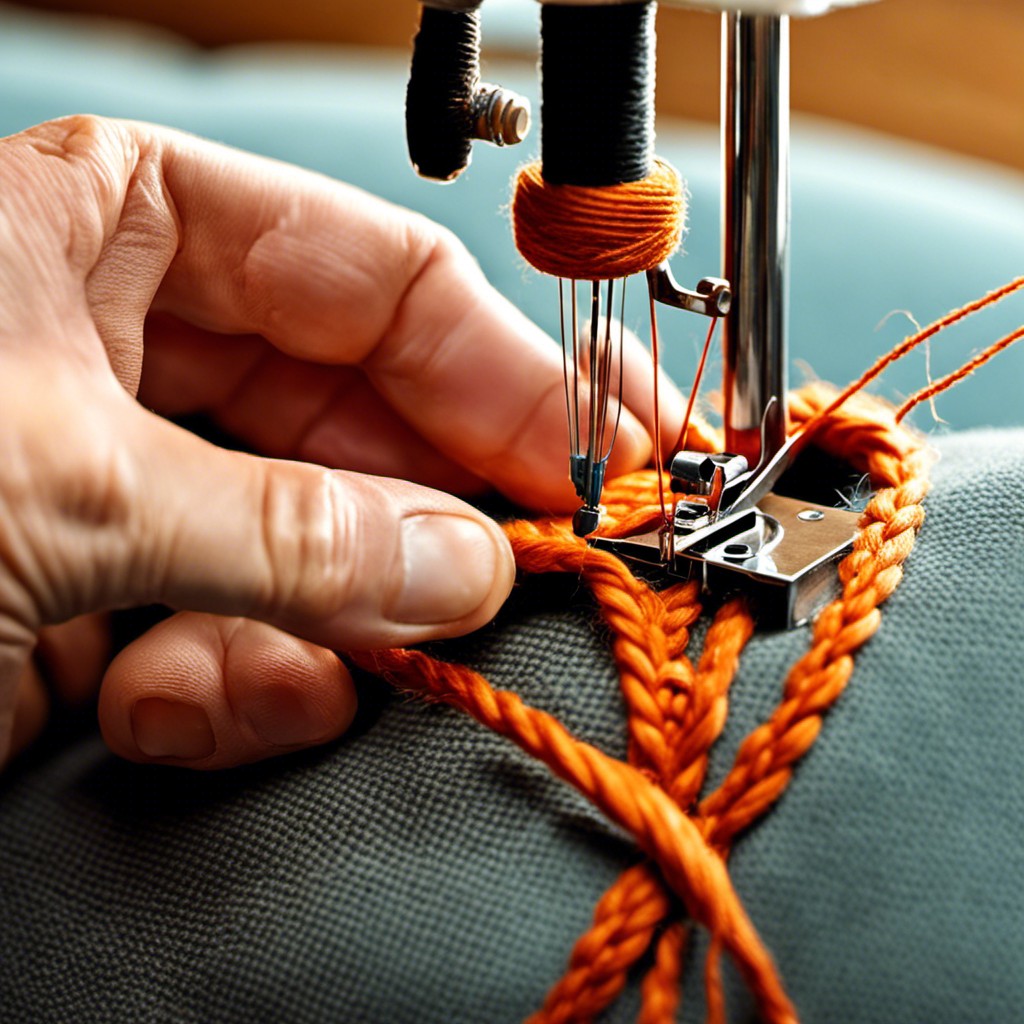
Adopting Sashiko Stitching
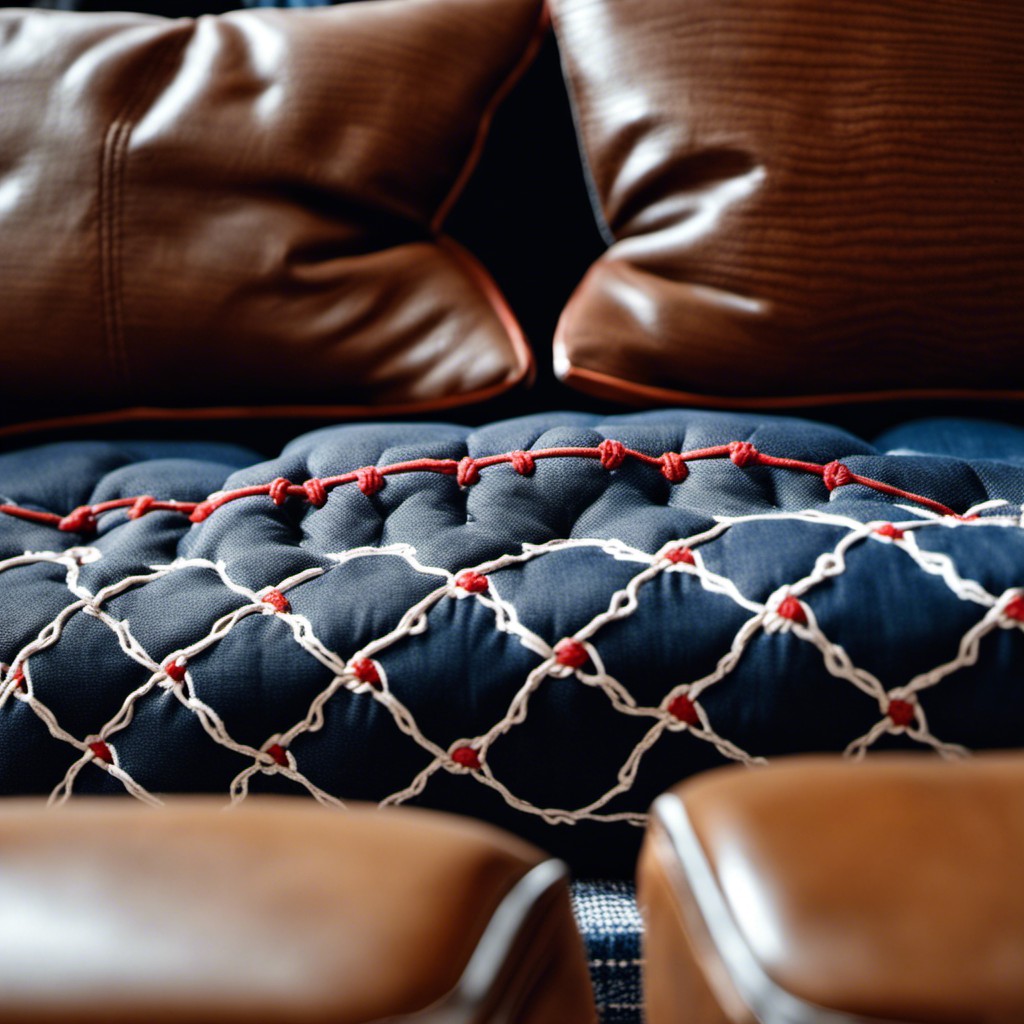
Sashiko stitching carries an element of tradition, originating from Japan, where it served as a practical repair method. To incorporate it in your couch mending process, you’ll first need a sashiko embroidery needle and thread. Usually, thicker than the common variety, this special thread enhances the decorative aspect of the repair.
Working on a flat surface, start by drawing your desired pattern over the tear or stain. Traditional designs include geometric shapes, waves, and grids.
Moving the needle in an up and down motion, stitch over your marked pattern, making sure to leave a small loop at the end of each stitch. This loop prevents the fabric from pulling when you sit on the couch.
Though this method visibly showcases the repair, the result is a unique, artistic pattern that adds character to your furniture. Remember, the key is to embrace the imperfections – an approach that highlights the beauty of this traditional craft.
Velvet Patchwork
Choosing the right fabric is critical when it comes to velvet patchwork. This method allows you to infuse your personality into your couch, transforming its look entirely. Follow a few simple steps:
- Collect cuttings of velvet fabric, preferably in different shades or patterns. This will give your couch a chic, bohemian look.
- Cut the scraps into squares or another shape of choice.
- Align the pieces and start sewing them together. The goal is to create larger patches that fit over the areas you wish to mend.
- After stitching the large patch, secure it to the couch’s worn-out area using a strong fabric glue or upholstery needle and thread.
Remember to smooth out the velvet in the same direction when laying the pieces. This process gives an incredible effect of texture and color depth. It may take time, but the end result will be an artsy, personalized coach worth bragging about.
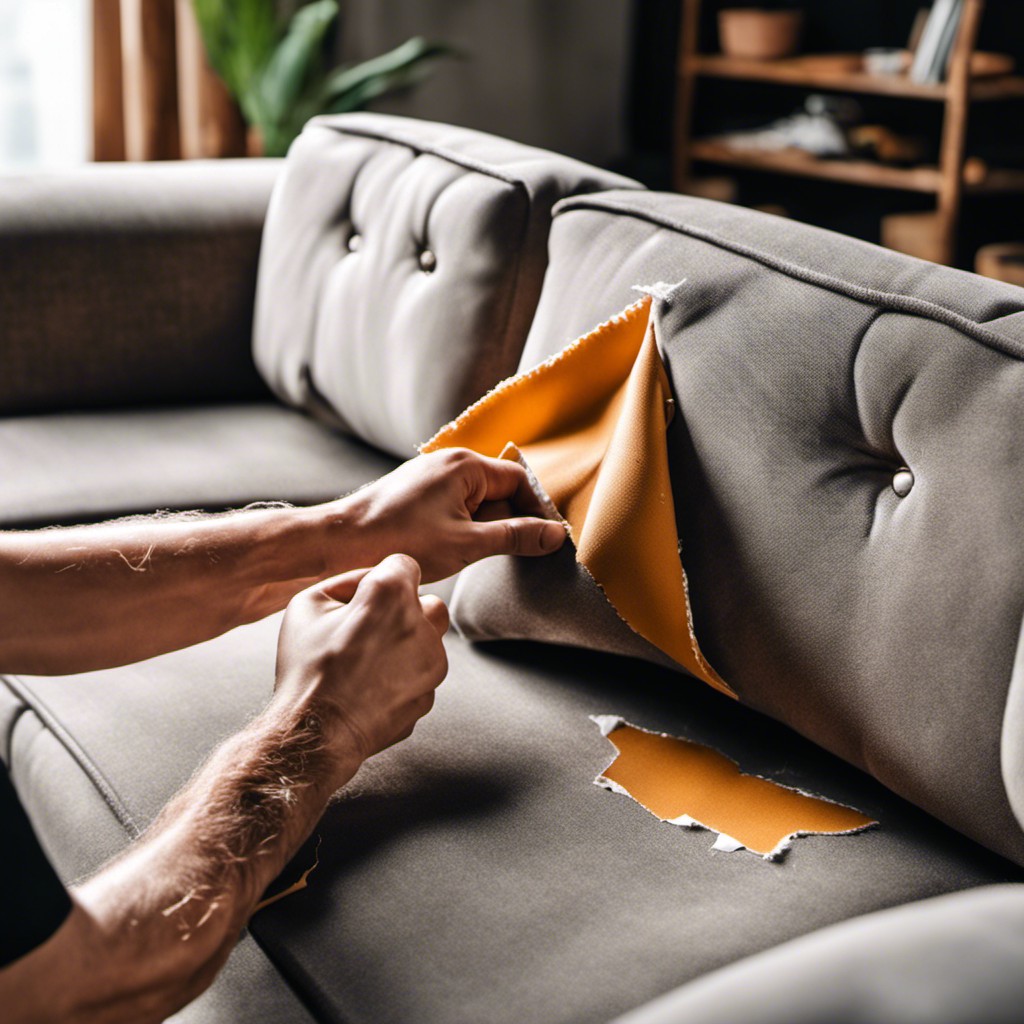
Utilizing Spare Fabric
Having a collection of spare fabric can become your savior for visible mending. If your couch has a tear or stain, strategically placing a piece of spare fabric can cover it up beautifully. A priority should be finding a match or close match to the couch’s material, especially if you’re aiming for a seamless look.
However, if a pop of contrast appeals to your aesthetic, a diverse fabric can work exceptionally well. Ensure to prepare your fabric by washing and ironing it to sink any shrinkage before you stitch. From there, decide on an appropriate mending technique — hand sewing, iron-on adhesive, or even fabric glue can work depending on your comfort and skill level.
Always remember, the end goal is repair, but flair and creativity are equally essential in the process.
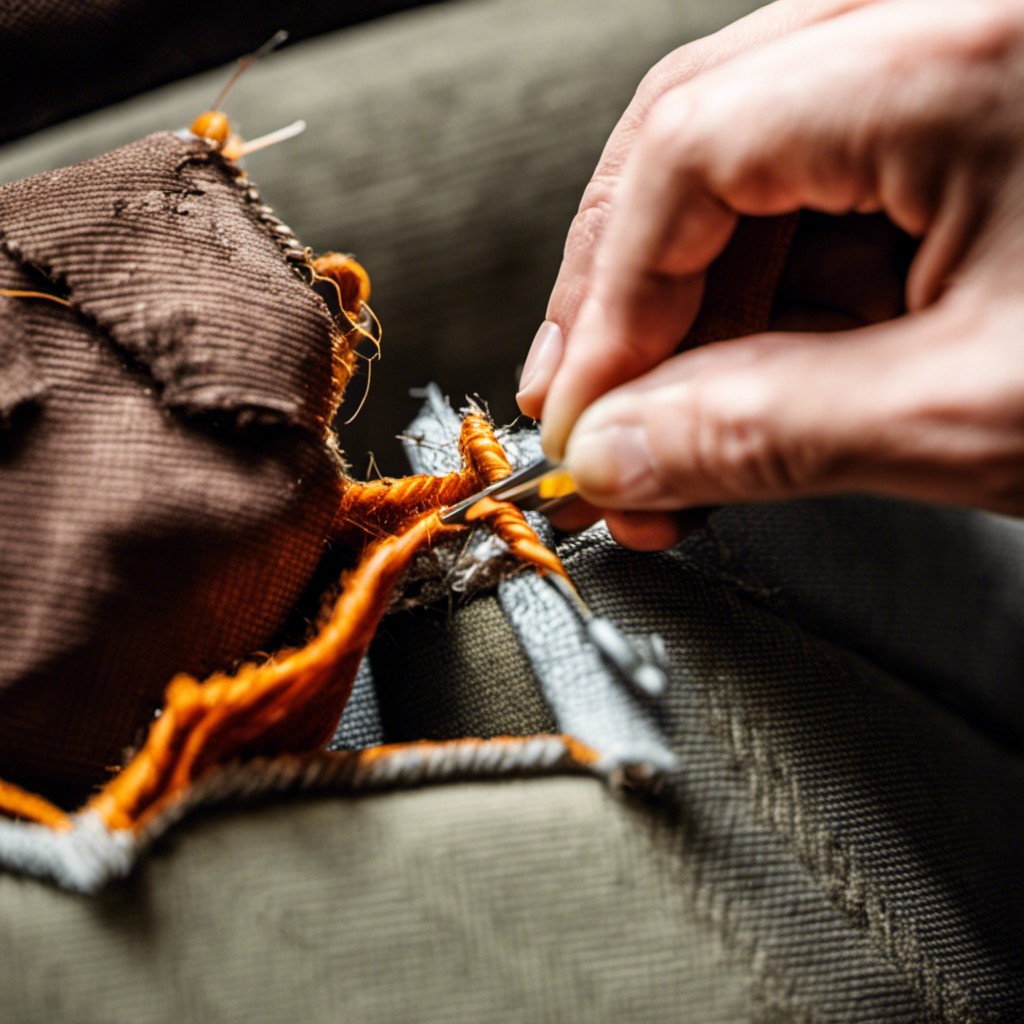
Darning With Matching Thread
Delving further into the technique, it is vital to remember that darning works best for small tears and holes. Essentially, it involves interlacing the thread with the damaged fabric in a weave-like pattern.
1. Start by finding a thread that matches your couch’s color closely. Achieving a seamless look largely depends on this step.
2. Use a darning needle. The eye of the needle should comfortably accommodate the thickness of your thread.
3. Begin at the edge of the tear and run your needle under the undamaged threads, both horizontally and vertically. This will fortify the torn section before you actually start the darning process.
4. Now, move onto the torn section and sew across the top, emulating the fabric’s weave. After, move vertically to seamlessly blend your stitches into the fabric.
5. Lastly, avoid pulling the thread too tight. This causes bunching and leaves the repair noticeable.
Bear in mind, this technique does require patience and practice. However, once mastered, it can revive your couch to its former glory subtly. Practice on spare fabric first, if available, before attempting on your actual couch.
Remember, the goal here is to make the repair nearly invisible by keeping the patch integrated with the fabric’s original pattern or texture. Opt for this technique when dealing with minor fabric fraying or small holes.
Fabric Paint Designs
Fabric paint designs offer a quick and effortless solution for masking defects and worn-out areas on your couch. With a vivid palette of hues at your disposal, you can create a variety of motifs and patterns to reinvent your couch’s aesthetic in no time.
1. Selecting Paint: Use specialized fabric paints for long-lasting results. They are wash-proof and do not stiffen the fabric post-drying.
2. Design Choice: Opt for abstract patterns for a modern look, or classic botanical prints for a vintage ambiance. Geometric designs also work well.
3. Stencil Use: To ensure perfect shapes and patterns, utilize stencils. These can be store-bought or homemade.
4. Paint Application: Use brushes or sponges to apply paint. For larger sections, a foam roller provides an even coat.
5. Drying Process: Let the paint dry completely before using the couch. This prevents smearing and ensures the design’s durability.
Remember to protect your surrounding areas with a tarp or old sheets before you start your project. Enjoy revamping your beloved couch with your creativity and a handful of fabric paints!
Couch Cushion Replacements
Moving forward, you may encounter wear and tear that makes replacements an inevitable necessity.
Selecting the right cushion can make a world of difference in both comfort and appearance. First off, know the dimensions of your couch; measure the length, width, and thickness of the cushions you need.
Materials matter too. Polyurethane foam is a common choice for its balance of comfort and durability, but memory foam is a premium option known for its long-term resilience. Feather-filled cushions offer a more traditional, luxurious feel, though they require more maintenance.
When it comes to the upholstery, it’s equally important to consider the aesthetics and practicality. Choose a fabric that matches your couch or adds a splash of contrast. Natural fibers like cotton or linen are a charming choice, but synthetic options like microfiber are usually more resistant to staining and daily wear.
Lastly, consider getting your cushions professionally fitted to ensure a seamless look and feel. DIY is an option but might be challenging for novices.
Applying Iron-on Patches
Iron-on patches are a practical repair mechanism. They are available in various sizes, colors, and patterns, fitting for any gap you want to mend. Being self-adhesive, they eliminate the need for sewing, sticking to the fabric with the aid of heat. They play a dual role – providing a quick fix and adding a decorative element.
Begin by cleaning the area that needs mending. Cut the patch to a size slightly larger than the hole or tear. Place the patch adhesive-side down over the tear, then glide a preheated iron over the patch for about 30 seconds. Remember to set the iron to the recommended heat for your couch’s material. It’s also important to iron the patch evenly to ensure it adheres properly to the couch. To prevent scorching, a thin cloth can be placed between the patch and the iron. Allow the patch to cool for a few minutes, and the couch is ready for use.
Ensure you select patches that complement or add an interesting contrast to your couch’s existing color scheme. This visible mending technique not only covers the tear but also lifts the aesthetics of the couch, giving it a cool, customized look.
Use of Self-adhesive Vinyl
When choosing self-adhesive vinyl, be sure to pick a color and texture that matches your couch for an inconspicuous repair. This option is a fuss-free method requiring minimal skills and tools. Simply cut the vinyl to the correct size, peel off the backing, and stick it on the damaged area. Remember to smooth it out to eliminate any bubbles or wrinkles.
While the fix is quick and easy, it’s best for small rips or scuffs rather than large tears. The adhesive will bond with the fabric of your couch, but durability may vary with use and time. Cleaning instructions remain largely unaltered as the vinyl is usually waterproof and stain-resistant.
To take it a step further, themed or patterned vinyl can be used creatively to turn tears into attention-grabbing artful patches, transforming the whole look of the sofa without spending a fortune.
Applying Fabric Tape
Fabric tape offers an adhesive solution that’s not only effective but also unnoticeable. To ensure optimal results, start by cleaning the area of the couch to be mended. Once dry, carefully cut the fabric tape according to the size of the tear or hole. Keep in mind that it’s always better to overestimate than underestimate.
Next, peel off the backing and position the tape on the damaged area. Apply even pressure across the tape to secure it firmly. If the color of the fabric tape matches your couch, it should blend right in.
Although fabric tape is adhesive, it’s advisable to stitch along the edges for added durability, especially for areas that receive heavy usage. A simple running stitch or backstitch can work wonders here. This method is quick, easy, and can be a lifesaver for minor couch repairs.
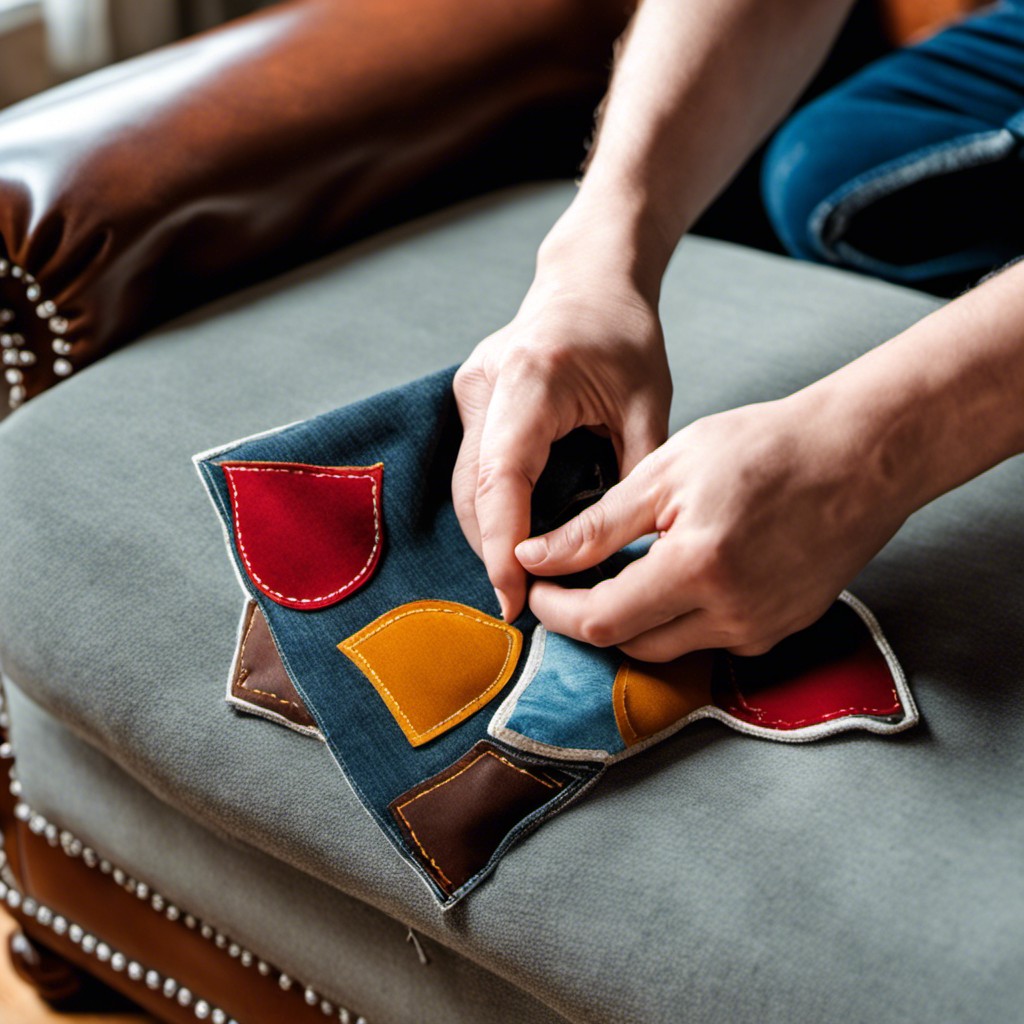
Conduct Denim Patchwork Repair
One appealing technique for mending your couch is by utilizing pieces of denim, which offer a blend of durability and rustic charm. Follow the steps below to adopt this practical, stylish fix:
- Measure the size of the damaged area to determine the size of denim required.
- Cut your denim patch about an inch larger than the damage to allow for seaming.
- Position the denim patch over the damage, ensuring it fits correctly.
- Use a heavy-duty needle and strong thread to secure it in place, following a regular pattern to reinforce it.
- Maintain a consistent tension on the thread to create a snug fit, hence preventing further fraying around the edges.
- Finish by tying off the thread securely at the back.
This method lends a creative, cool aesthetic to your couch, turning damages into design features! Plus, it’s a great way to repurpose old jeans.
Couch Cover With Quilting
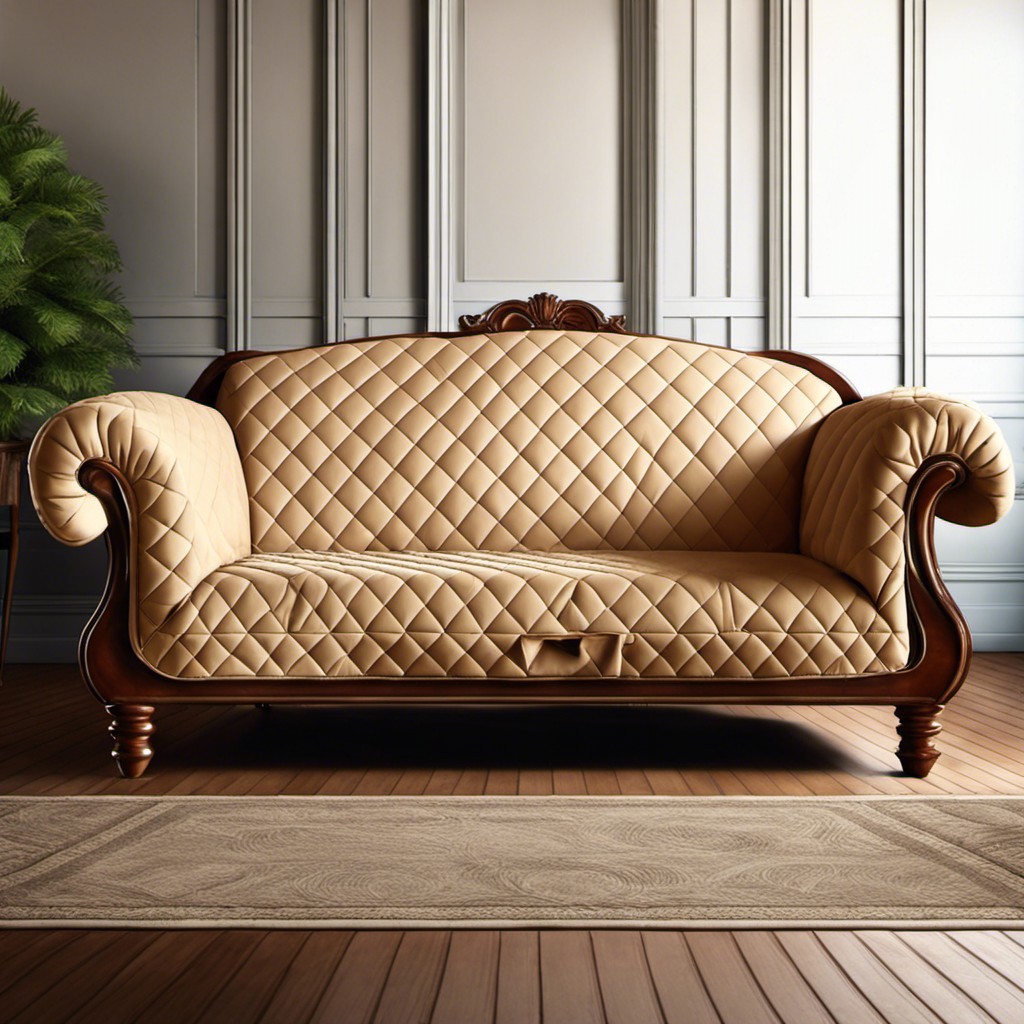
Quilting is a perfect way to mask any imperfections on your couch while infusing a stylish vibe.
To start, take accurate measurements of your couch’s distinct sections – the back, arms, and seat.
Select your choice of fabric that complements your overall décor, and cut them to the measured sizes with an allowance for seams.
Embed a layer of batting between two pieces of your fabric to provide a decorative puffy look, then stitch them together using your preferred quilt pattern.
Lastly, secure the completed quilt cover neatly on your couch using elastic straps or Velcro.
Just like that, a creative solution that combines design and functionality to mask imperfections on your couch!
Re-weaving Damaged Areas
Working on damaged areas is a sensitive task that requires appropriate skills and tools. Re-weaving, in particular, is a popular method for treating punctures or tears in woven fabric upholstery. Here’s what you need to know:
1. Use appropriate tools: Tools like a round-point needle can help to reduce the risk of causing more damage during the procedure.
2. Understand your fabric: Assess the type and weave of your fabric; this knowledge is crucial for a successful re-weaving process.
3. Match the weave: When restoring a damaged area, strive to follow the original pattern or weave as closely as possible.
4. Practice makes perfect: Initially, you might find this procedure challenging, but with practice, you can perfect it.
5. Create a patch: In some cases, you might need to create a patch to fit into the damaged spot.
6. Proper knotting: Ensuring that the re-weaving doesn’t come off requires proper knotting techniques.
7. Care and maintenance: After re-weaving, regular care is beneficial in preserving the repaired area. Use a fabric protector spray to prevent further damage.
Remember, for visible repairs, the re-weaving can be done in a contrasting thread for an intentional, stylish look.


