Last updated on
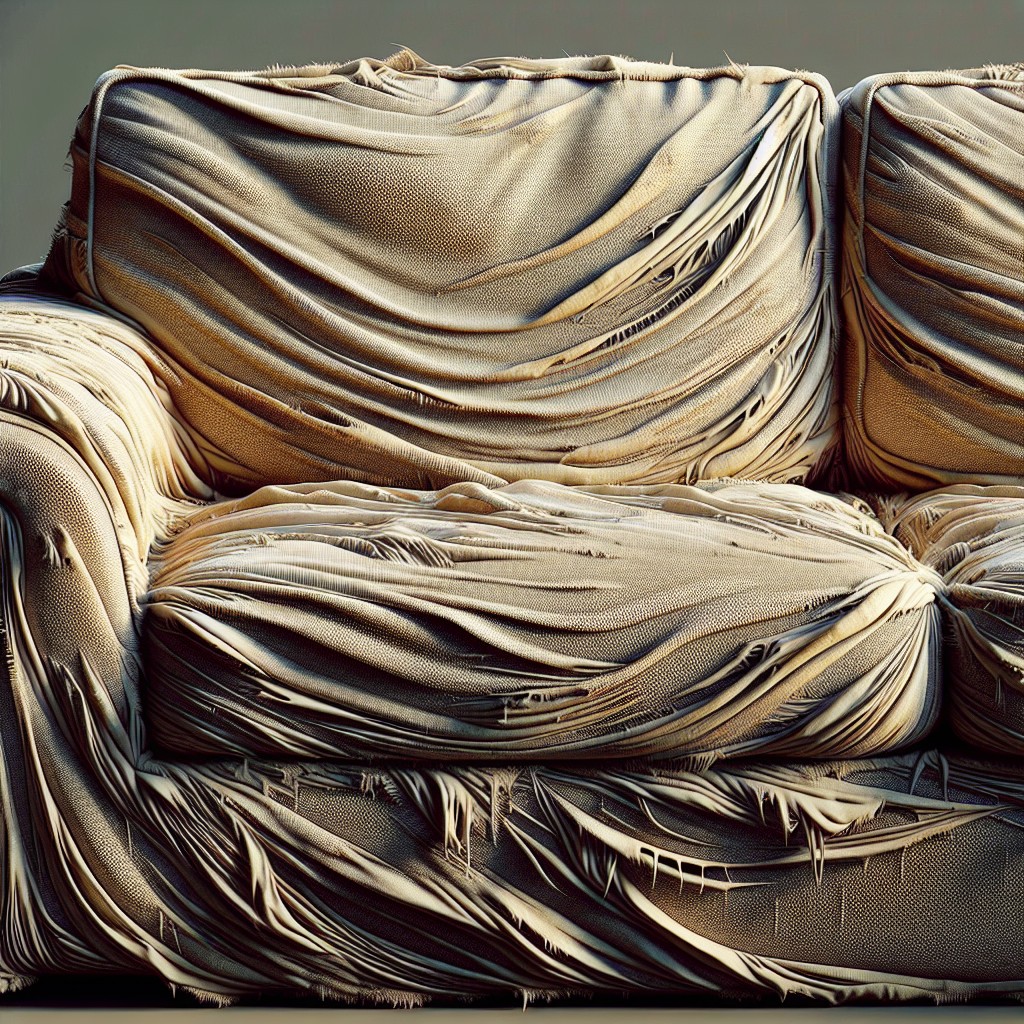
Unraveling seams on your couch shouldn’t dampen your spirits, because this article offers easy-to-follow steps for a swift and effective fix.

Fixing the stitching on your couch is a simple task that you can undertake even without prior sewing experience. You’ll need a heavy-duty needle, heavy-duty thread, a thimble, and a pair of wire cutters. Don’t rush, and remember, patience is paramount with these repairs.
This simple guide will take you through each of the critical steps in fixing the stitching on your couch; from identifying the area that needs repair, prepping your tools, then sewing and securing the area, ensuring it blends seamlessly with the rest of your couch.
Hang on for all the nitty-gritty details to get your couch back to its perfect condition.
Key takeaways:
- Assess the damage: Determine the extent and type of stitching repair needed.
- Gather necessary materials: Have upholstery needle, heavy-duty thread, and other tools ready.
- Thread selection: Choose a strong, color-matched thread for durability and seamless results.
- Prepare the couch: Clear the area, clean debris, trim loose threads, and set up good lighting.
- Stitching technique: Use straight or ladder stitch, take your time, and be patient.
Table of Contents
Assess the Damage
Begin by closely examining the extent of the damage to your couch’s stitching. Look for any loose threads, the length of the tear, or if any stuffing is protruding. Pay attention to the type of fabric and the stitching pattern used, as this will determine your repair approach.
Note if the tear is along a seam or in the middle of a fabric panel, as seams may require a different stitching strategy than surface tears. By understanding the specific nature of the damage, you’ll be able to tailor your repair technique and prevent further unravelling or tearing during the fixing process.
Gather Necessary Materials

Before embarking on your repair, ensure you have all the right tools at your disposal. A basic sewing kit should suffice for small fixes, but here’s a more detailed list of materials for optimal results:
- Upholstery Needle: Longer and stronger than regular sewing needles, these are designed to penetrate thick fabric with ease.
- Heavy Duty Thread: Choose a strong thread that matches the color of your couch for a seamless look. Upholstery thread is ideal.
- Scissors: A sharp pair for cutting thread and trimming excess fabric if needed.
- Thimble: Protect your finger when pushing the needle through tough material.
- Curved Needle (optional): Helpful for blind stitching or when working in tight spaces.
- Tweezers (optional): Useful for pulling through stubborn threads or positioning patches.
- Fabric Glue (optional): In some cases, a small amount of fabric glue can help secure the stitch or a patch in place.
Having these materials on hand will streamline the repair process, ensuring you can tackle any rip or tear with confidence.
Thread Selection
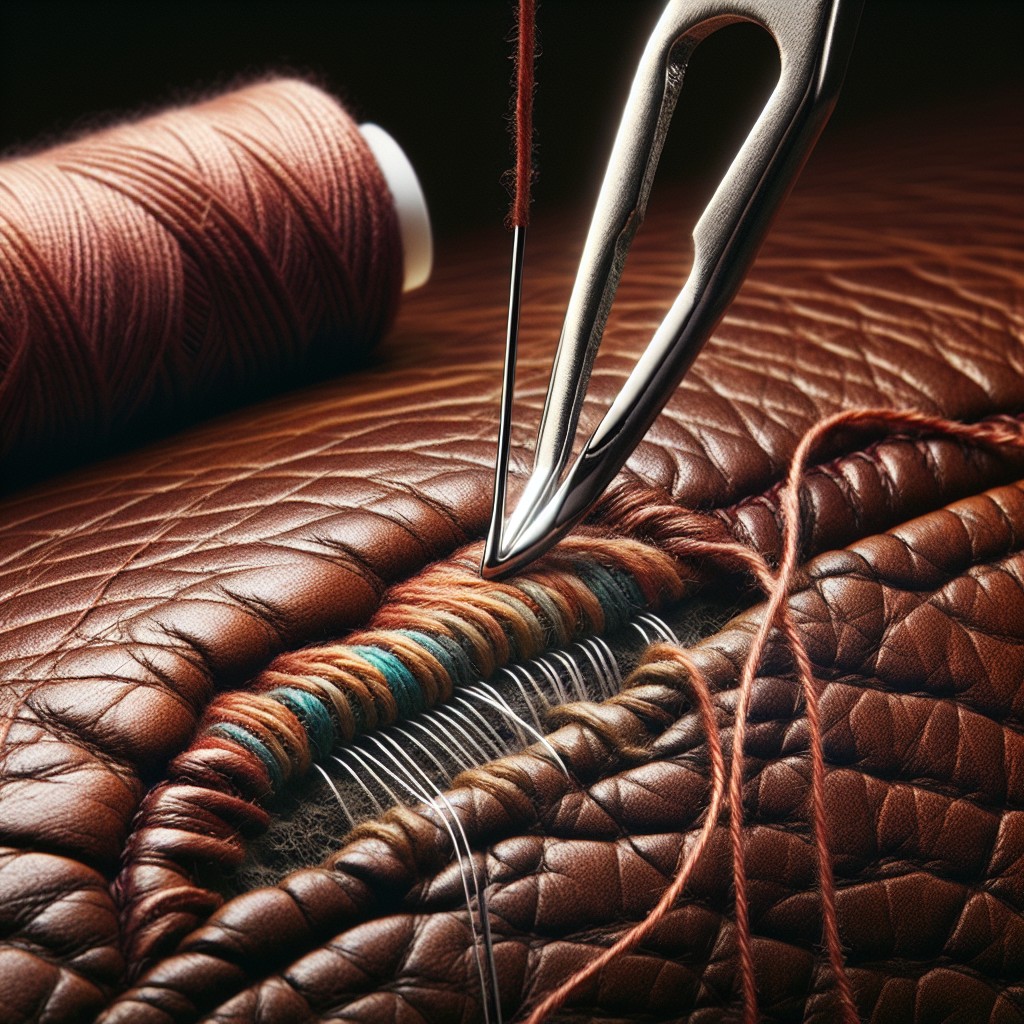
Choosing the right thread is crucial for a durable repair. Opt for a strong, upholstery-grade thread to match the weight and wear of the fabric. Nylon or polyester threads are excellent choices due to their high tensile strength and resistance to abrasion, which is essential for couches that receive a lot of use.
Color-match the thread to your couch as closely as possible to ensure the repair blends in seamlessly. If an exact match is elusive, select a shade slightly darker rather than lighter, as it tends to be less noticeable. Always test the thread on an inconspicuous area to confirm its suitability before beginning the repair.
Prepare the Couch

Begin by clearing the area around the couch to provide ample workspace. This ensures mobility and accessibility when performing the repair. Remove any cushions or objects that might get in the way.
Inspect the area closely to understand the extent of the stitching required. Use a lint roller or a vacuum with an upholstery attachment to clean debris and dust from the couch, particularly around the damaged spot.
If loose threads are protruding from the damaged stitch line, carefully trim them with scissors without further unraveling the fabric. Ensure the area is as smooth as possible to allow for a seamless repair.
Position adequate lighting over the work area to have a clear view of the task at hand. Good lighting helps prevent eye strain and helps you spot even the smallest imperfections that need attention.
Lay out your materials within reach. This preparation minimizes disruptions once you start sewing and maintains your focus on the repair work.
Thread the Needle
Cut a length of thread approximately 24 inches long to provide ample flexibility while sewing without becoming unwieldy. If the thread is too thin for the couch material’s thickness, consider doubling it for added strength.
Carefully thread the needle, pulling the thread through until there is an equal length on each side. This technique ensures that stitching remains consistent and reduces the likelihood of the thread becoming knotted. For visibility and ease, try threading the needle under good lighting, and if necessary, use a needle threader to help guide the thread through the small eye.
Knotting the Thread
Once your needle is threaded with a suitable length of thread, it’s time to create a strong knot at one end to prevent it from slipping through the fabric as you sew.
To do this efficiently, hold the tail of the thread close to the needle between your thumb and forefinger. Wrap the longer portion of the thread around your needle three times. Grasp the wraps with the same fingers, pulling the needle and the rest of the thread through the loops you’ve created, sliding them down to the end of the thread. A neat knot will form.
For added durability, repeat this process to make a double knot, ensuring it’s sizable enough not to pull through the couch material when you begin stitching.
Stitching Technique
Before diving in, ensure the couch fabric is taut to avoid puckering. Then, opt for a simple straight stitch or a ladder stitch for hidden seams. Here’s how to execute them properly:
1. Straight Stitch: Push the needle through from the underside, pull until the knot hits. Bring it back down about 1/4 inch away. Continue, keeping your stitches uniform and tight enough to hold but not so tight they gather the fabric.
2. Ladder Stitch: This invisible stitch is perfect for seams. Start inside the fold to hide your knot. Stitch opposite sides alternately, mimicking a ladder. When pulled tight, the threads disappear, closing the seam beautifully.
Remember, patience yields the neatest results; take your time with each stitch.
Securing the Stitch
Once you’ve completed the necessary stitches along the tear, it’s crucial to prevent unraveling. To secure your work, approach the final stitch as if you are about to continue stitching, but instead of pulling the needle all the way through, leave a small loop. Pass the needle through this loop twice to create a knot, then gently pull it tight to the fabric.
Repeat this process a couple of times to ensure a solid knot. For added security, take the needle through a few stitches on the backside of the fabric away from the knot before snipping off the thread. This hides the tail and reduces the risk of the knot coming undone.
Hidden Stitch for Aesthetics
A hidden stitch, often known as a ladder stitch or blind stitch, enhances the repair’s finished look by making the stitching less noticeable. This technique is particularly valuable in areas of your couch that are highly visible.
To execute a hidden stitch:
- Begin by inserting the needle inside the seam allowance to conceal the knot.
- Alternate between sewing small stitches on each side of the tear, closely mirroring the seam’s original alignment.
- Keep the thread tension even but not too tight, as this could cause puckering.
- If the fabric is patterned, aim to insert the needle along the pattern lines to further disguise your work.
- Draw the thread through carefully after each segment of stitches to maintain the ladder-like structure, which helps the stitches become nearly invisible once pulled tight.
- Continue until you’ve closed the entire opening, always taking care to evenly space your stitches for consistency.
Finishing Touches
Once you’ve secured the last stitch, snip the excess thread close to the knot to maintain a tidy appearance.
If visible repairs concern you, consider applying a small amount of fabric sealant over the knot for added discreetness and to prevent fraying.
Fluff any compressed cushions to ensure your handiwork blends seamlessly with the couch’s original look.
Finally, evaluate the entire area to ensure consistency with the surrounding fabric – a well-done repair should be virtually unnoticeable.
Remember to handle the repaired spot with care in the following weeks to allow the stitch to set fully.
Caring for Repaired Stitching
To ensure your couch’s repaired stitching stands the test of time, regular maintenance is key. Lightly dust the seams with a soft brush to prevent dirt accumulation, which can strain the threads.
If vacuuming, use an upholstery attachment and a gentle touch to avoid snagging the new stitches. For spills, promptly blot the area with a clean, damp cloth, but avoid rubbing the stitches directly. When using any cleaning products, test them on an inconspicuous area first to ensure they don’t damage the thread or fabric.
Rotate cushions periodically to distribute wear evenly, and avoid placing sharp objects near the repaired area. Keep the couch out of direct sunlight, as UV rays can weaken fibers over time. By following these simple steps, your couch’s stitching will remain secure and look great for years to come.
Troubleshooting Common Stitching Issues
Even the most careful repair can encounter issues. If the thread seems too loose or tight, reevaluate your stitch tension. Tight stitches may cause fabric to bunch, while loose ones lack support. Adjust accordingly.
Should the new thread color stand out, consider matching the thread to the dominant color of the pattern or fabric, blending it seamlessly. If knots become visible, gently tug them into the fabric’s underside with a needle.
Finally, dealing with fraying fabric edges might require an initial reinforcing stitch or fabric glue application before the main repair. This helps prevent further damage during the stitching process. If a hole reopens shortly after repair, inspect for weakened fabric around the original tear, which may need a patch for proper reinforcement.
FAQ
How do you fix a ripped couch seam without sewing?
To fix a ripped couch seam without sewing, cut a piece of fabric large enough to cover the hole with an extra half inch on each side, insert it beneath the tear using a small stick, and then apply vinyl repair adhesive of matching color to your couch over the fabric.
What are some effective techniques for patching up a tear in a leather sofa?
For patching up a tear in a leather sofa, applying a sub-patch to the underside of the tear and using a leather repair kit with color-matching compound provides an effective and seamless solution.
Is it possible to repair a deep tear in a fabric sofa without resorting to professional services?
Yes, it is possible to repair a deep tear in a fabric sofa using some materials like fabric glue, sub patch, and heavy filler without resorting to professional services.
How can one utilize upholstery nails to secure seams on a couch that have started to fray?
To secure fraying seams on a couch, you can apply upholstery nails along the seam, ensuring to push each nail into the framing of the furniture for a robust grip that not only secures but also enhances aesthetics.


