Last updated on
Running plumbing pipes may seem daunting, but by grasping correct procedures, it becomes manageable, because understanding these techniques eliminates common plumbing mishaps.
Running plumbing pipes can seem like a daunting task, but with the right guidance, it’s entirely possible to do it yourself. This article will walk you through the basics of running plumbing pipes, including choosing the correct pipe material, understanding the layout, and properly installing the pipes.
Whether you’re tackling a renovation project or building from scratch, you’ll find detailed, step-by-step instructions here that cater to every skill level. Read on to gain the knowledge and confidence to successfully run your own plumbing pipes.
Key takeaways:
- PVC, PEX, copper, and galvanized steel are common pipe materials.
- Essential tools include a pipe cutter, wrenches, basin wrench, pipe bender, and blowlamp.
- Understand home structure, drill accurately, and allow for pipe expansion when running pipes through walls and floors.
- Properly cut and assemble pipes using a tube cutter, deburring, and gluing techniques.
- Stabilize pipes with brackets, use isolation clips and insulation, avoid tight installations, and regulate temperature.
Table of Contents
Choosing Appropriate Materials for Your Piping Job
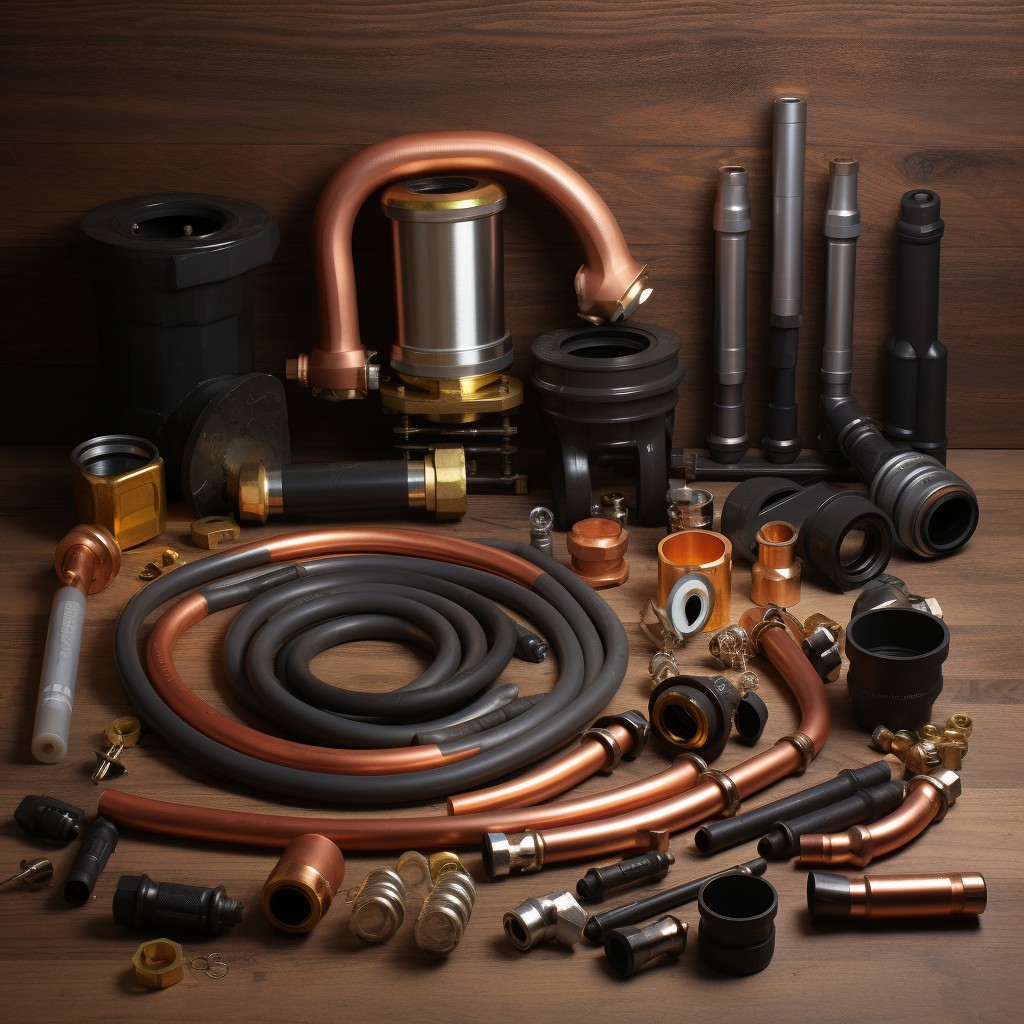
Material selection is critical when planning for pipe installation. Predominantly, pipes come in materials like PVC, PEX, copper, and galvanized steel.
PVC pipes are cost-effective and easy to work with, often used in applications like drain, waste, and vent piping. PEX is quite flexible and perfect for water supply lines. It resists scale and chlorine, doesn’t corrode or develop pinholes.
Copper, although expensive, is highly durable and suited for both hot and cold water supply lines. Galvanized steel, popular in the past, is less used today due to potential for rusting. However, they’re strong and are used in cases where strength surpasses other considerations.
Remember, each material has its unique characteristics, benefits, and drawbacks. No one-size-fits-all here. Match the pipe material to the needs of your specific job for optimal performance and durability.
Selecting the Right Equipment/Tools for Plumbing Work

Knowing your way around the toolbox is paramount in producing quality plumbing work. It starts with a pipe cutter, crucial for sizing your pipes accurately.
A couple of adjustable wrenches come in handy when connecting pipes, with sizes varying based on your specific job.
A basin wrench becomes a necessity when working in tight spaces, specifically for faucet attachment in sinks.
Moreover, a pipe bender is a practical ally in achieving clean and kink-free bends, especially for copper pipes.
Lastly, a blowlamp and soldering tools are indispensable when committing to a permanent joint connection. PTFE tape, also known as thread seal tape, helps in ensuring leakproof joints when screwing pipes together.
Always remember, having the right tools doesn’t just make the job faster and easier, it also guarantees the longevity of your work.
Understanding and Running Pipes Through Walls and Floors
To seamlessly integrate your plumbing pipes through existing walls and floors, a number of factors need to be considered.
Firstly, identify the best routing for your pipes. This involves understanding the frame of your house, taking into account the positioning of studs, joists, and beams which could obstruct your desired path. Always ensure pipes are taking the straightest and shortest path possible to enhance efficiency.
When it comes to the drilling process, accuracy is crucial. Use an adequately sized drill bit to make holes through which the pipes will run. Always refrain from cutting into load-bearing structures, unless absolutely necessary – even so, consult a professional to avoid compromising structural integrity.
Lastly, remember that pipes expand and contract due to temperature changes. To accommodate this, do not tightly pack pipes through holes. Instead, allow a bit of wiggle room for these natural adjustments.
To sum it up, understanding your home’s structure, accurate drilling, and considering pipe flexibility are integral in successfully running plumbing pipes through walls and floors.
Appropriate Steps for DIY Plumbing Installation: Cutting and Assembling Pipes
To properly cut your pipes, a tube cutter is the preferred tool. Consistent, smooth cuts are essential for creating a secure fitting. To begin, place the tube into the cutter’s jaws and slowly clamp them shut. Rotate the cutter around the tube, periodically tightening the cutter until a clean cut is accomplished.
Once the pipe is ready, you’ll need to deburr the cut ends. This process takes away any sharp edges from the cut, making them more adaptable for fittings.
Assembling might seem like a daunting task, but in essence, it involves three key steps. Initially, dry fit all parts together, meaning without glue, this will ensure everything aligns correctly. Next, take them apart and apply a specific glue for your pipe type on the joint areas. Swiftly reconnect the components before the glue dries, securing the fitting.
Preparation is crucial, but don’t forget safety. Always wear gloves when handling these adhesives as they can cause skin irritation. Assembling pipes can be a rewarding endeavor if planned carefully, equipping you with a sense of accomplishment while enhancing your DIY skills.
Tips and Methods to Stabilize and Protect Pipes
A well-executed job doesn’t just stop at running the pipes. Ensuring their stability and protection is vital, as it prevents premature wear and tear, possible leaks, and promotes longevity. Here are the key points to keep in mind:
1. Bracket Placement: Regularly space brackets along your pipe to provide reliable support. Remember, vertical pipes need brackets every 2.5-3 feet, while horizontal pipes require them every 5-6 feet.
2. Isolation Clips: Use these handy tools to fasten your pipe firmly in its insulation. They’re perfect for preventing vibration and the resultant noise.
3. Pipe Insulation: Don’t overlook this! Besides reducing heat loss in hot pipes and preventing freezing in cold ones, insulation also shields pipes from physical damage.
4. Avoid Tight Installations: Leaving a little room around your pipes allows easy access for inspections, maintenance, or repairs.
5. Temperature Regulation: Keep a check on the surrounding temperature, especially if pipes traverse exterior walls or unheated spaces. Heat tapes can prevent freezing in colder seasons.
By applying these tips, your plumbing pipes are sure to remain stable, secure, and in top-notch condition for years to come.
What You’ll Need for Plumbing Pipe Installation
To ensure a successful installation, it’s essential to gather all necessary tools and materials in advance. First, pipes and fittings form the core of your supplies. Choose these based on your system needs, with options including PVC, copper, or PEX. Measure and record sizes accurately to ensure a good fit.
Next, pipe cutters or a hacksaw will be indispensable for sizing your pipes, while a filing tool smooths rough edges. Use a tape measure for accurate lengths and a leveling tool to ensure correct pipe alignment.
When connecting pipes, you’ll need adhesive for PVC or a torch and solder for copper. PEX connections require a special crimping tool. Lastly, grab a plumber’s wrench, valuable for tightening fittings, and Teflon tape to create watertight seals.
Remember, proper safety gear, including goggles and gloves, is also key. Now, better-equipped and prepared, you’re ready to plunge into your plumbing project!
Keep Pipes in Optimal Condition: Maintenance Tips
Ensuring the longevity of your newly installed plumbing pipes revolves around proper maintenance. Adhering to a few important practices can prevent damage and ensure efficient water flow.
1. Regular Inspection: At least once a year, inspect for leaks, corrosion, or damage. Small issues can escalate if left unchecked.
2. Avoid Chemical Cleaners: Harsh chemicals can degrade your pipes over time. Instead, opt for natural alternatives like baking soda and vinegar mixture.
3. Insulate Against Freezing: In colder climates, pipes can freeze, causing them to burst. Insulation sleeves can provide an excellent preventative measure.
4. Watch What Goes Down the Drain: Avoid disposing grease or hard food waste in sinks as they can cause clogs. Use strainers to catch excess debris.
5. Reducing Pressure: High water pressure can cause unnecessary strain on your pipes. Consider installing a pressure reducer if your water pressure is high.
6. Consider Professional Servicing: If you’re unsure or uncomfortable performing maintenance, hiring a professional for an annual service can be a worthwhile investment.
FAQ
How is plumbing ran in a house?
In a house, plumbing is arranged by first splitting the main water line into two separate hot and cold lines, with the cold line further branching out to different fixtures to supply cold water.
Does hot and cold water run through the same pipes?
No, hot and cold water do not run through the same pipes; they have separate lines running parallel throughout the house.
Is there a specific technique for running plumbing pipes behind walls?
Yes, plumbing pipes are typically run behind walls using a method called ‘pipe chase,’ which involves the creation of a space within the wall specifically for pipe placement.
What materials are best suited for indoor plumbing pipes and why?
Copper, PEX, and PVC are the best materials for indoor plumbing pipes due to their durability, flexibility, resistance to corrosion, and cost-effectiveness.
How does the slope or gradient of the pipe affect plumbing systems?
The slope or gradient of a pipe significantly affects plumbing systems, as it determines the speed and efficiency of water flow, improving drainage and reducing potential blockages.


