Last updated on
Discover the transformative power of painting your leather couch with this comprehensive guide that will take you through each step for a stunning result.
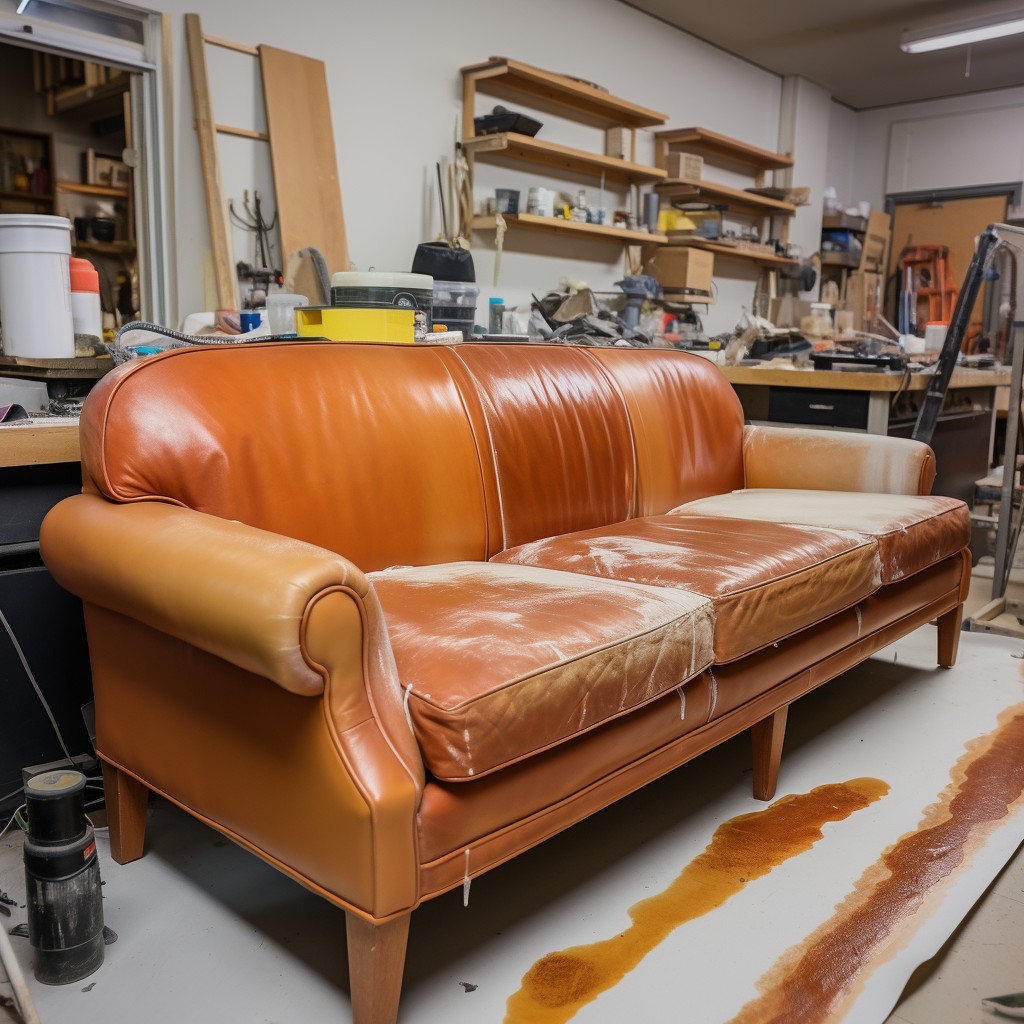
Leather couches are a timeless piece of furniture that can add elegance and sophistication to any living space. However, as time goes on, the leather may start to fade or show signs of wear and tear.
Instead of shelling out hundreds or even thousands of dollars for a new couch, why not consider painting your leather couch? Yes, you read that right – painting! With the right tools and techniques, you can transform your old leather couch into a brand new statement piece that will have all your guests asking where you got it from. In this article, we’ll guide you through the process of how to paint a leather couch step-by-step so that you can achieve professional-looking results without breaking the bank.
Table of Contents
Preparing the Leather Couch
Before you start painting your leather couch, it’s essential to prepare the surface properly. This step is crucial for ensuring that the paint adheres correctly and lasts as long as possible.
First, remove any cushions or pillows from the couch and clean them separately according to their care instructions.
Next, use a soft-bristled brush or vacuum cleaner attachment to remove any dust or debris from the surface of your leather couch. Be sure not to scratch or damage the material during this process.
After cleaning off loose dirt and debris, wipe down all surfaces with a damp cloth soaked in warm water mixed with mild soap solution (such as dishwashing liquid). Avoid using harsh chemicals like bleach that can damage leather fibers.
Let your sofa dry completely before moving on to sanding it down in preparation for painting.
Gather Your Materials
This will ensure that you have everything on hand and won’t need to make any last-minute trips to the store. Here are some of the essential items you’ll need:
– Leather cleaner: Before painting, it’s crucial that your leather couch is clean and free from dirt or oils. Choose a cleaner specifically designed for use on leather furniture.
– Sandpaper: You’ll need sandpaper with a fine grit (around 220) to lightly sand down the surface of your couch before applying paint.
– Leather deglazer: A deglazer helps remove any remaining finish or coating from your leather so that paint can adhere better.
– Painter’s tape: Use painter’s tape around areas where you don’t want paint applied such as legs, buttons or zippers.
– Paintbrushes/paint sprayer: Depending on what type of look and feel you’re going for, choose between using brushes or spray guns when applying paint onto surfaces.
-Paints: There are different types of paints available in stores but acrylic-based paints work best for this project since they dry quickly without cracking over time.
Choosing the Right Paint
Not all paints are created equal, and using the wrong type of paint can result in cracking or peeling over time. So what kind of paint should you use?
Firstly, avoid using regular wall or furniture paints as they won’t adhere well to leather surfaces and will likely crack after some time. Instead, opt for specially formulated leather dyes or acrylic-based paints that are designed specifically for use on leather materials.
Leather dyes penetrate deep into the pores of the material and create a long-lasting color that won’t peel off easily. They’re available in various colors but may require multiple coats to achieve full coverage.
Acrylic-based paints provide excellent adhesion while still allowing flexibility in your painted surface – perfect for something like a couch that will be sat on frequently! These types of paints come with added benefits such as being water-resistant and easy-to-clean.
Cleaning the Surface
Dirt and oils can prevent the paint from adhering correctly, leading to a patchy finish. To clean your leather couch, use a soft cloth or sponge and mild soap mixed with warm water.
Avoid using harsh chemicals or abrasive materials that could damage the leather.
Gently wipe down every inch of the couch until all dirt and grime are removed. Be sure to pay extra attention to areas that receive more wear such as armrests and seat cushions.
Once you’ve finished cleaning, allow ample time for your sofa to dry completely before moving on with any other steps in this guide.
Sanding the Leather
One of the first steps in this process is sanding the leather. Sanding helps to remove any existing finish or coating on the leather and creates a rougher surface for better paint adhesion.
To sand your leather couch, use fine-grit sandpaper (around 220 grit) and gently rub it over all areas that will be painted. Be sure not to press too hard as this can damage or scratch the material.
After you’ve finished sanding, wipe down your couch with a damp cloth to remove any dust or debris left behind from sanding. This step ensures that there are no particles on your furniture that could interfere with paint adhesion later on.
Applying a Leather Deglazer
One crucial step in this process is applying a leather deglazer. This product removes any existing finish or coating on the leather and helps the paint adhere better to the surface.
To apply a leather deglazer, first, make sure that your work area is well-ventilated as these products can have strong fumes. Then, using a clean cloth or sponge applicator (avoid using anything too abrasive), apply an even layer of deglazer onto all areas of your couch that will be painted.
Be careful not to oversaturate any one area with too much product as this can cause damage to the material. Allow it some time for drying completely before moving on with sanding and taping off non-painting areas.
Taping Off Non-Painting Areas
This step is crucial in ensuring that only the intended areas are painted and no paint gets on any other parts of your furniture or surrounding surfaces.
To begin, use painter’s tape to cover any buttons, zippers, or seams on your leather couch. You should also tape off any wooden legs or metal accents that you don’t want to be painted.
Make sure that the edges of the tape are firmly pressed down so that there is no chance for paint seepage underneath. Take extra care when taping around corners and curves as these can be tricky spots where paint may accidentally get onto unwanted areas.
By taking this precautionary measure before painting begins, you’ll save yourself a lot of time and effort in cleaning up mistakes later on.
Mixing the Paint
When choosing a paint color, keep in mind that darker colors will require fewer coats than lighter ones. You can use either acrylic or latex-based paints for this project.
To mix the paint, start by pouring some of it into a container and adding water to thin it out slightly. The consistency should be similar to that of milk – not too thick but not too runny either.
Next, add in any desired tinting agents or additives according to their instructions on how much is needed per gallon of paint. Mix everything together thoroughly until there are no lumps or clumps left behind.
It’s important to note that you should only mix enough paint for one coat at a time as leftover mixed paints may dry up quickly and become unusable later on.
Using a Paint Sprayer
It allows for even coverage and can save you time compared to using a brush or roller. When choosing a paint sprayer, look for one that is specifically designed for furniture and has adjustable settings so that you can control the amount of paint being sprayed.
Before using the spray gun, practice on a piece of cardboard or scrap fabric to get comfortable with how it works. Once you’re ready, start spraying in long strokes across the surface of your leather couch while holding the nozzle about 6-8 inches away from it.
Be sure not to overspray any areas as this could cause drips or unevenness in your finish. If necessary, apply multiple thin coats rather than one thick coat as this will help prevent these issues from occurring.
Once finished with spraying all areas evenly let dry completely before applying another coat if needed.
Test Painting On a Hidden Spot
This will allow you to see how well the paint adheres and dries on your specific type of leather without risking ruining visible areas. Choose an inconspicuous area such as under a cushion or behind the backrest and apply a small amount of paint with a brush or sponge.
Allow it to dry completely before checking for any signs of peeling, cracking, or discoloration.
If everything looks good after testing, then you can proceed with confidence knowing that your painted couch will look great once completed! However, if there are any issues during this stage then it’s best to troubleshoot them before continuing further in order to avoid wasting time and resources.
Painting the Couch
Begin by applying a thin coat of paint using a paint sprayer or brush. It’s important to apply multiple thin coats rather than one thick coat as this will help prevent cracking and peeling in the future.
Allow each layer of paint to dry completely before applying another coat. Depending on the type of paint you’re using, this may take anywhere from 30 minutes to several hours.
As you continue painting your leather couch, be sure not to miss any spots or leave behind any drips or streaks. Take your time and work carefully for best results.
Once all layers are applied and dried thoroughly, inspect your work for imperfections such as missed spots or uneven coverage. Touch up these areas with additional coats if necessary until everything looks smooth and even.
Applying Multiple Coats
Depending on the type of paint you are using and how much coverage you want, two or three coats may be necessary. It’s important to wait for each coat to dry completely before applying another one.
When applying additional coats, use a light touch with your spray gun or brush. You don’t want too much pressure that could cause drips or unevenness in the finish.
Instead, apply thin layers and allow them to dry thoroughly before adding more.
Be sure not to rush this process as it can affect the final outcome of your painted leather couch.
Drying the Paint
Drying times can vary depending on the type of paint used and environmental factors such as humidity and temperature. Generally, most paints will take around 24 hours to dry fully.
To ensure that your painted leather couch dries evenly, make sure that there is adequate ventilation in the room where you are working. You may also want to use a fan or open windows to help speed up drying time.
Avoid sitting or placing any objects on the painted surface until it has dried completely as this could cause smudging or damage to the finish. Once your newly-painted leather couch is fully dried, you can add a protective finish for added durability and longevity.
Adding a Protective Finish
A clear topcoat will help protect the paint from scratches and fading caused by daily wear and tear. There are several options for protective finishes, including polyurethane or acrylic sealers that can be applied with a brush or spray gun.
Before applying any type of topcoat, make sure that the painted surface is completely dry. Follow manufacturer instructions for application and drying times as they may vary depending on product type.
When applying the protective finish, use long even strokes in one direction to avoid streaks or bubbles in the final result. Allow each coat to dry completely before adding another layer – typically 2-3 coats should suffice.
Removing the Tape
This step is crucial to ensure that your newly painted leather couch looks neat and professional. Carefully peel off the painter’s tape from all non-painted areas, making sure not to damage any of your hard work in the process.
If you notice any spots where paint has bled through or uneven edges, use a small brush or sponge applicator to touch up those areas with a steady hand. Once you’re satisfied with how everything looks, let it dry completely before using your newly restored leather furniture.
Touching Up Imperfections
Even with careful application, there may be areas that require touch-ups. To do this, simply use a small brush or sponge to apply paint in thin layers over the affected area until it blends seamlessly with the rest of the couch.
If you notice any bumps or bubbles on your newly painted leather couch, don’t panic! These can easily be fixed by lightly sanding down the area and applying another coat of paint.
Remember that patience is key when touching up imperfections on a painted leather couch. Take your time and allow each layer of paint to dry completely before adding another one.
This will ensure that you achieve a smooth and flawless finish.
Maintaining the Paint
One of the best ways to do this is by regularly cleaning and conditioning your newly painted leather furniture. Use a soft cloth or microfiber towel to gently wipe down the surface of your couch, being careful not to scratch or damage the paint.
Avoid using harsh chemicals or abrasive cleaners on your painted leather couch, as these can strip away both color and protective finish. Instead, opt for a mild soap solution mixed with warm water for general cleaning purposes.
In addition to regular cleaning and conditioning, be mindful of how you use and treat your newly restored furniture piece. Avoid placing sharp objects on its surface that could scratch off any layers of paint over time.
Cleaning the Painted Couch
Regular cleaning will help preserve the paint job and extend the life of your newly restored furniture.
To clean a painted leather couch, start by vacuuming any loose dirt or debris from the surface. Then, use a soft cloth or sponge dampened with warm water to wipe down the entire surface of the couch.
Avoid using harsh chemicals or abrasive cleaners that could damage both the paint and leather.
For tougher stains like ink marks or food spills, try using a mild soap solution made from one part white vinegar mixed with two parts water. Dip a soft cloth into this solution and gently rub over any stained areas until they disappear.
After cleaning your painted leather couch, be sure to let it air dry completely before sitting on it again. This will prevent any moisture buildup that could cause mold growth underneath cushions or in crevices between seams.
Troubleshooting Common Problems
Here are some common problems you may encounter when painting a leather couch and how to troubleshoot them:
1. Cracking or Peeling: If your paint is cracking or peeling after it has dried, it could be due to poor adhesion caused by not cleaning the surface properly before painting.
To fix this issue, sand down the affected area lightly and apply another coat of paint.
2. Uneven Color: If you notice that your painted couch has uneven color in certain areas, it could be because of inconsistent application techniques or inadequate mixing of the paint before use.
To solve this problem, apply an additional coat using even strokes while ensuring proper mixing.
3. Stiffness: After applying multiple coats of paint on your leather couch can make its surface stiffen up a bit which makes sitting uncomfortable for some people.To avoid stiffness in such cases add fabric softener into water then wipe over painted surfaces with a damp cloth.
4. Fading Over Time: Even though high-quality paints are used for painting leather furniture but still they tend to fade over time especially if exposed directly under sunlight .To prevent fading ,keep away from direct sunlight.
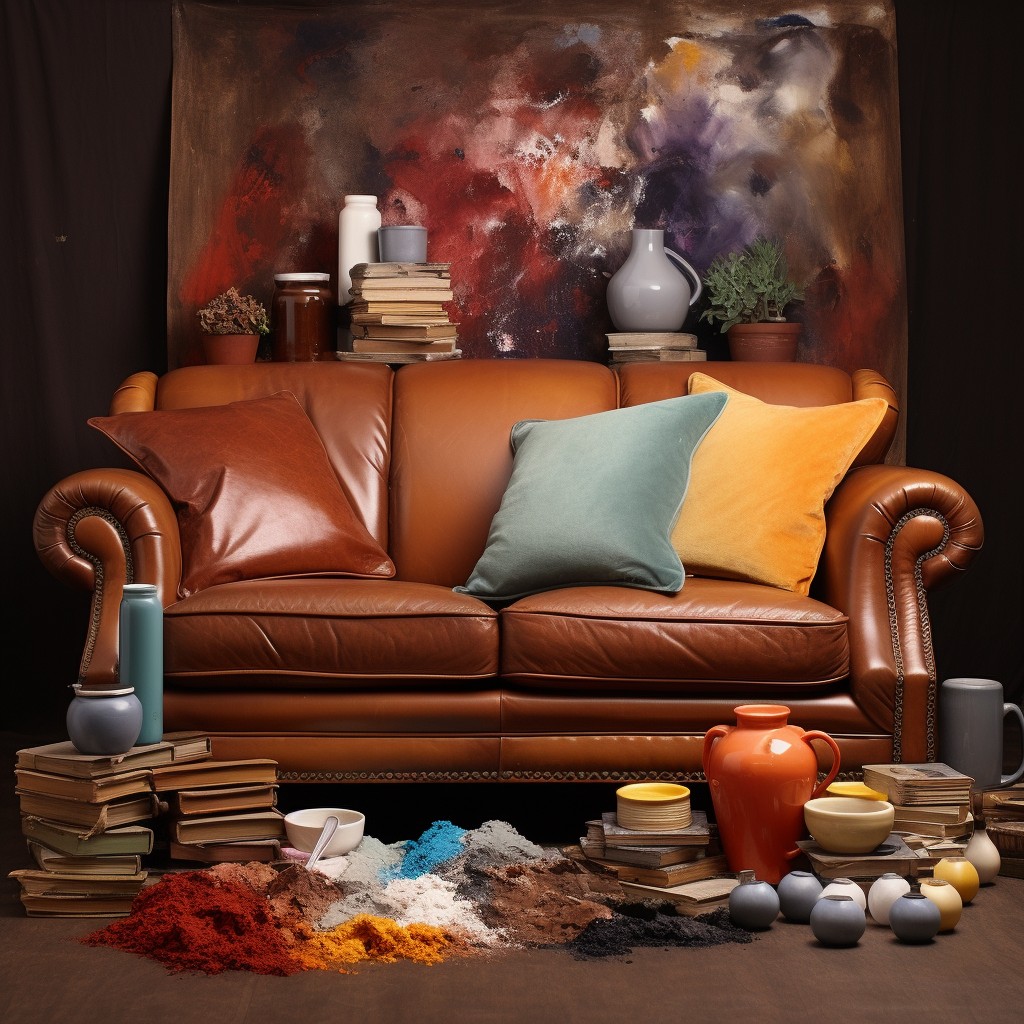
Enjoy Your Restored Leather Furniture!
Your once faded or worn-out leather couch now looks brand new, with a fresh coat of paint that will last for years to come.
To keep your painted leather couch looking its best, be sure to follow some basic maintenance tips. Avoid placing sharp objects on the surface of the sofa as they can scratch or damage the paint.
Clean up spills immediately using a damp cloth and mild soap solution.
Regularly dusting off any dirt or debris from your painted leather furniture is also important in maintaining its appearance over time. You may want to consider investing in specialized cleaning products designed specifically for use on painted surfaces if you want an extra layer of protection against wear and tear.
With these simple steps, you can enjoy your beautifully restored piece of furniture for many years while saving money by not having to purchase new ones every few years!
FAQ
What paint can I use on leather sofa?
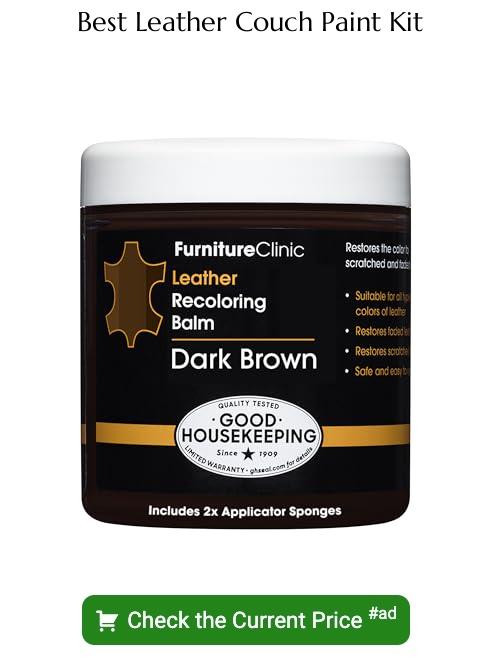
You can use acrylic paint on a leather sofa, as it works well on both leather and faux leather furniture and is available in various shades at craft stores or online.
Is painting a leather couch a good idea?
Yes, painting a leather couch is a good idea as it can rejuvenate dated or worn furniture.
What kind of paint will stay on leather?
Acrylic paint is the most common type of paint for leather, being non-toxic, water-based, and easy to fix mistakes and clean up, while specific leather dyes are also an option for hiding tears and furniture purposes.
What is the proper preparation process before painting a leather couch?
The proper preparation process before painting a leather couch involves cleaning it thoroughly, gently sanding the surface, and applying a suitable primer to ensure a smooth and long-lasting finish.
How can I ensure the paint on my leather sofa does not crack or peel over time?
To prevent the paint on your leather sofa from cracking or peeling over time, ensure you use a high-quality, flexible acrylic paint specifically designed for leather surfaces and follow the manufacturer’s guidelines for application and maintenance.
Are there any alternative methods to refresh the appearance of my leather couch without painting?
Alternative methods to refresh the appearance of your leather couch include cleaning, conditioning, and buffing it to restore its natural luster.


