Last updated on
Here are the instructions for making an L-shaped (sectional) sofa. Read on!
As I sat on my old, worn-out sofa, I couldn’t help but daydream about a new piece of furniture that would fit perfectly in my living room. With limited space and a desire for something unique, an L-shaped sofa seemed like the perfect solution.
But how does one go about making such a complex piece of furniture? As someone who loves to DIY and create things from scratch, I decided to dive into the woodworking world and figure out how to make an L-shaped sofa.
So come along with me on this journey as we explore the process step-by-step and create a beautiful addition to any home.
Key takeaways:
- L-shaped sofas are versatile and maximize space in your living room.
- Plan the size, style, and functionality of your L-shaped sofa.
- Use hardwoods like oak or maple for the frame and high-density foam for cushions.
- Assemble the frame and base structure carefully, following a detailed plan.
- Sew customized slipcovers and add pillows and accessories for the finishing touch.
Table of Contents
The L-Shaped Sofa: A Cozy Corner
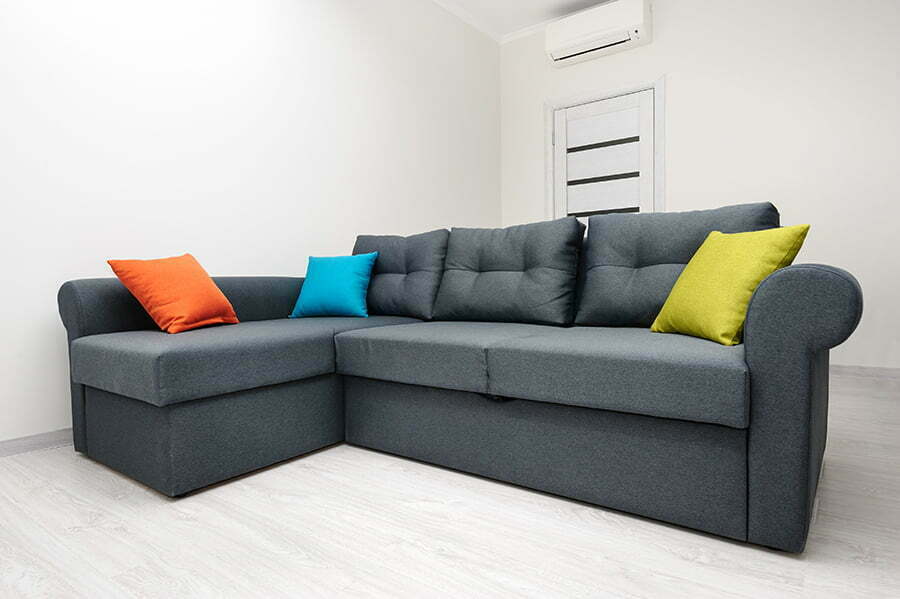
The L-shaped sofa is a versatile piece of furniture that can transform any living space into a cozy corner. It’s perfect for lounging, watching TV, or even taking an afternoon nap.
But what makes this type of sofa so special? Its unique shape allows it to fit snugly into corners and awkward spaces that traditional sofas cannot. This means you can maximize your living room’s square footage while having plenty of seating options for guests.
As I began my journey to create my own L-shaped sofa, I knew that the end result would be more than just another piece of furniture in my home – it would be a cozy corner where memories are made and stories are shared with loved ones. So armed with determination and some basic woodworking skills, I set out to make the perfect addition to my living room: an L-shaped sofa crafted by hand from scratch.
The process was not without its challenges but seeing the finished product come together was incredibly rewarding. In this article, we’ll explore step-by-step how you too can make your very own L-shaped sofa – one that will become the centerpiece of your home and provide endless comfort for years to come!
Planning Your Perfect L-Shaped Sofa
Before diving into the construction process, it’s important to plan out your perfect L-shaped sofa. As I began my own planning process, I considered factors such as size, style, and functionality.
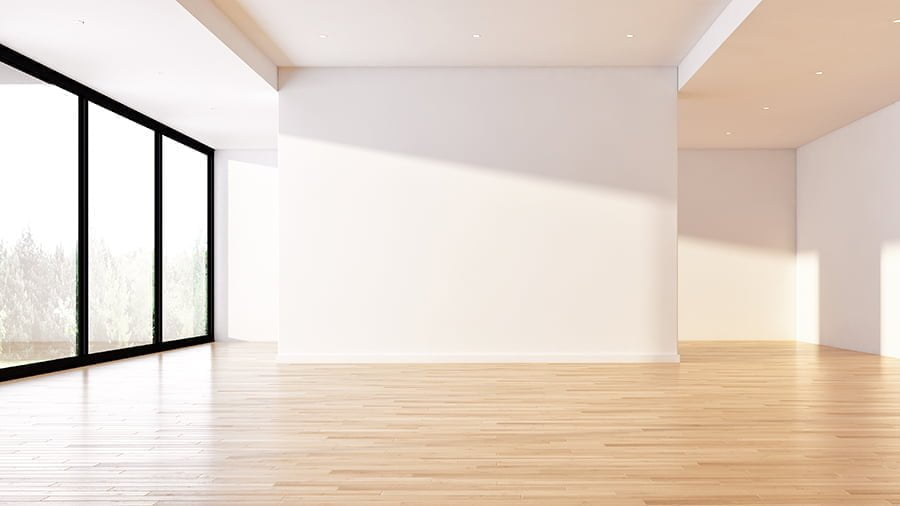
Firstly, measure the space where you want to place your sofa and determine how large you want it to be. This will help guide you in selecting materials and designing a blueprint for construction.
Next up is style – do you prefer a modern or traditional look? Do you want something with clean lines or more ornate details? Consider what fits best with your existing decor.
Finally comes functionality – think about how many people will be using the sofa at once and whether additional features like storage compartments would come in handy.
As someone who loves DIY projects but has limited experience in woodworking specifically (I’m more of a generalist), this planning stage was crucial for me before starting any actual building work on my L-shaped sofa project.
With these considerations taken care of upfront though, I felt confident moving forward knowing that every step along the way would bring me closer towards creating something truly special for my home!
Materials and Tools for Success

Before we dive into the nitty-gritty of making an L-shaped sofa, let’s talk about the materials and tools you’ll need to make this project a success.
Firstly, you’ll need to decide on what type of wood you want to use for your sofa frame. Hardwoods like oak or maple are great options as they’re durable and can withstand weight over time.
You’ll also need foam cushions for seating and backrests, fabric or leather upholstery material depending on your preference.
In terms of tools, a table saw will be essential in cutting down large pieces of wood into smaller sections that fit together perfectly. A drill with various bits is necessary for drilling holes where screws will go in order to hold everything together securely.
As someone who has dabbled in woodworking before but never attempted something quite as complex as an L-shaped sofa, I was excited yet nervous about taking on this challenge. But armed with my materials and trusty tools by my side (and maybe some coffee), I was ready to get started!
Measuring and Cutting the Frame

After doing some research and sketching out a rough design, it was time to start building the frame for my L-shaped sofa. The first step in this process was measuring and cutting the wood to size.
I carefully measured each piece of lumber, making sure they were all cut precisely according to my design. It’s important to take your time during this step as any mistakes can throw off the entire project.
Once I had all of my pieces cut, I began assembling them together using screws and wood glue. As someone who is relatively new to woodworking, I found that having a detailed plan helped me stay organized throughout the process.
Assembling the frame took several hours but seeing it come together made all of that hard work worth it. With one major component completed, next up on our journey towards creating an L-shaped sofa is adding cushions!
Assembling the Base Structure
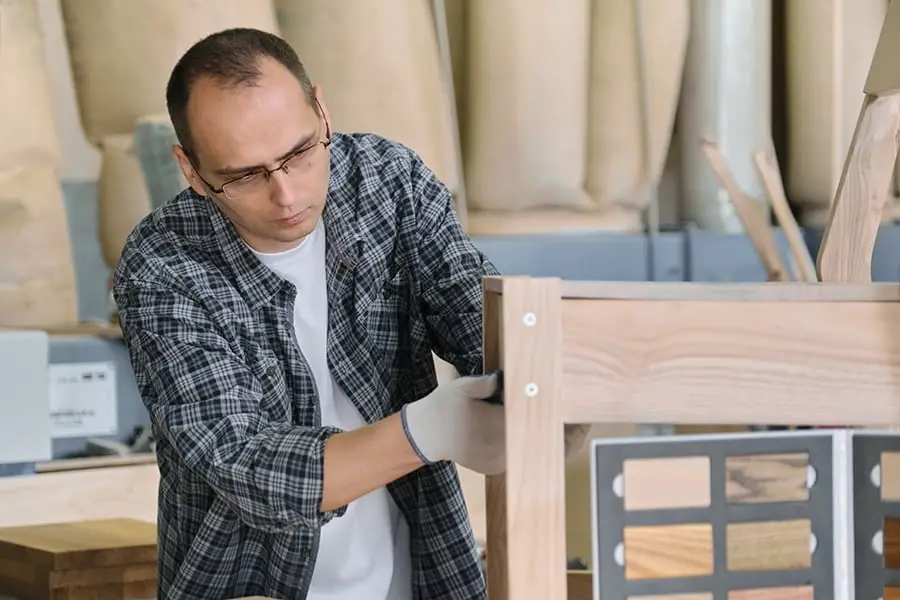
After researching and sketching out my design, it was time to start building the base structure of my L-shaped sofa. I began by measuring and cutting the wood pieces for the frame, making sure they were all precise in length.
Then came the fun part – assembling everything together.
I started with one side of the L-shape, attaching two long pieces of wood to a shorter piece at a 90-degree angle using screws and wood glue. Once that was secure, I added support beams along both sides for extra stability.
Next up was connecting this first section to another set of wooden frames that would make up the other side of my sofa’s base structure. This required some careful measuring and aligning before screwing everything together tightly.
Assembling this base structure took some time but seeing it come together made me feel accomplished already! The next step is adding cushions which will be exciting as we’ll get closer to having our very own custom-made L-shaped sofa!
Cushioning Comfort: Foam and Upholstery
After researching and designing the frame for my L-shaped sofa, it was time to focus on cushioning comfort. The foam and upholstery are crucial components that can make or break the overall feel of a sofa.
I wanted something that would be both comfortable and durable, so I did some research on different types of foam.
I settled on high-density foam as it provides excellent support while still being soft enough to sink into comfortably. It’s also long-lasting, which is important when investing time in creating a piece like this.
Next came choosing the right upholstery fabric – one that would complement my living room decor while also being practical for everyday use. After considering various options such as leather and velvet, I decided to go with a sturdy linen blend fabric in a neutral color.
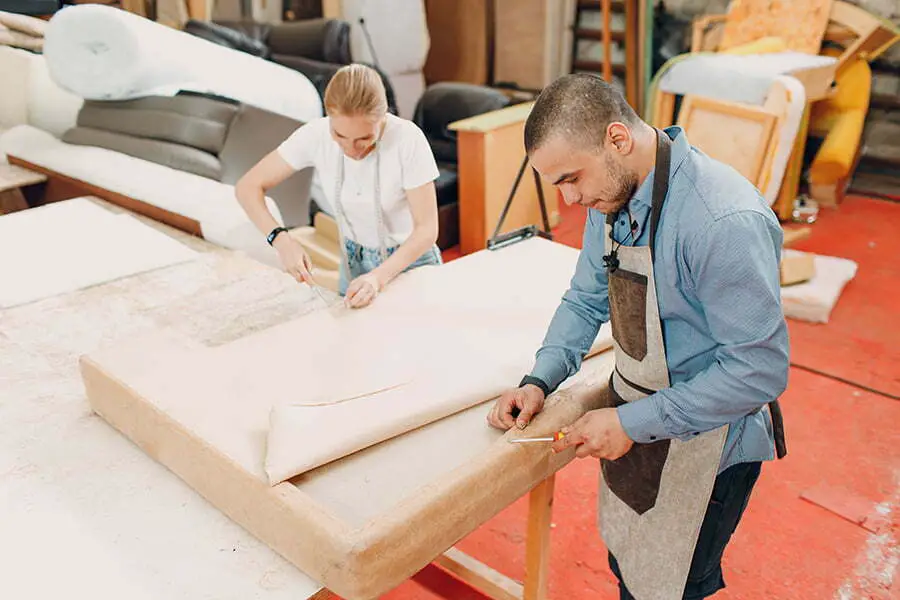
With these decisions made, it was time to get down to business! Cutting out precise measurements for each cushion took some patience but seeing them come together was incredibly satisfying. Once everything had been cut out correctly according to plan (with extra care taken around corners), we began assembling our cushions using an industrial-grade sewing machine.
The end result? A beautiful L-shaped sofa with comfortable cushions perfect for lounging after work or entertaining guests over drinks!
Sewing Customized Slipcovers
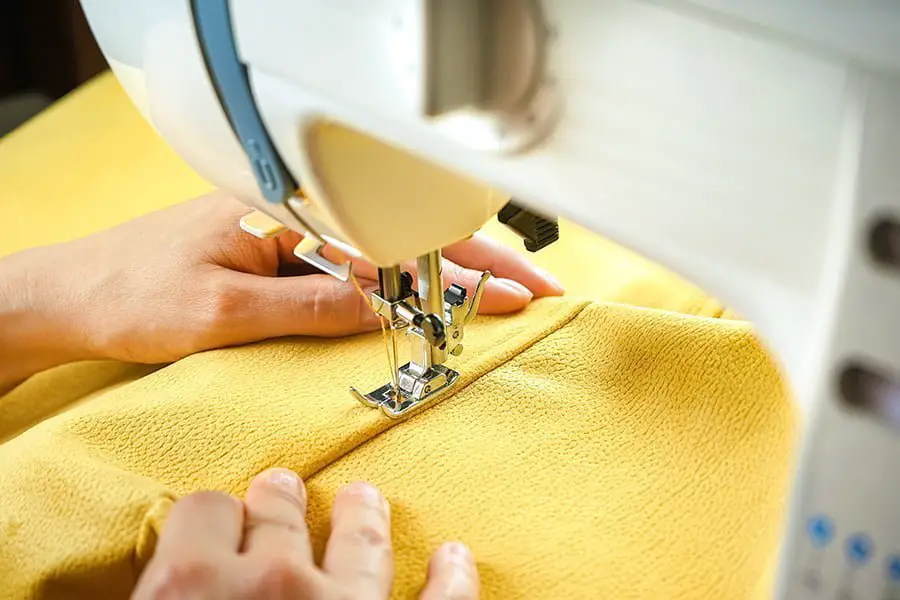
After completing the wooden frame for my L-shaped sofa, I realized that it needed a finishing touch to make it truly unique. That’s when I decided to sew customized slipcovers for each section of the sofa.
Not only did this add a pop of color and personality, but it also protected the cushions from wear and tear.
To start, I measured each section of the sofa individually and created patterns using muslin fabric. This allowed me to create custom-fit slipcovers that would hug every curve and angle perfectly.
Next came choosing fabrics – this was perhaps one of my favorite parts! With so many options available in terms of colors, textures, patterns – there was no shortage of creativity here. After much deliberation (and maybe some indecisiveness), I finally settled on two complementary shades: a deep navy blue velvet for one side and an off-white linen blend for the other.
Sewing slipcovers can be time-consuming but with patience comes great reward! The end result was stunning; not only did they fit like gloves over each cushioned seat but they added an extra layer comfort too!
With these customized slipcovers in place on my L-shaped sofa project complete- It’s now ready to take pride-of-place in any living room or family space!
Finishing Touches: Pillows and Accessories
After hours of hard work and dedication, my L-shaped sofa was finally complete. The wood had been cut, sanded, and assembled to create a beautiful piece of furniture that fit perfectly in my living room.
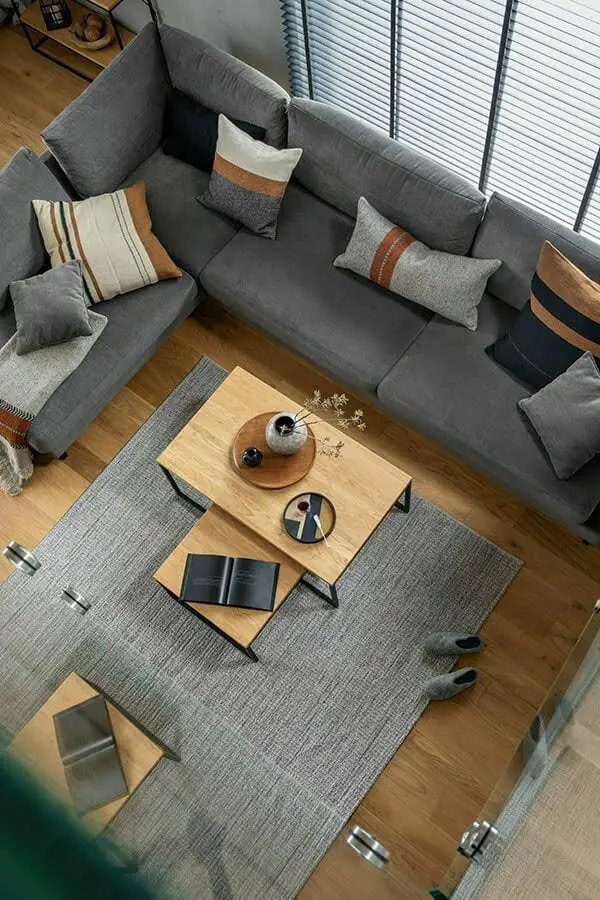
But no sofa is complete without the finishing touches – pillows and accessories.
I wanted to add some color and texture to the neutral tones of the wood, so I decided on a few throw pillows with bold patterns. I also added a cozy blanket draped over one end for those chilly nights spent binge-watching Netflix.
To tie everything together, I placed a small side table next to the sofa with some decorative accents like candles and books. It’s amazing how these little details can transform an ordinary piece of furniture into something truly special.
Making an L-shaped sofa may seem daunting at first but it’s definitely worth it in the end when you have created something unique that fits your space perfectly. And don’t forget about those finishing touches – they can make all the difference!


