Last updated on
Engage in this comprehensive review of the “Casual Furniture Repair” service because understanding the intricacies of this offering can transform your worn-out pieces into bespoke items.
Key takeaways:
- Identify common types of casual furniture damage
- List essential tools and materials needed for casual furniture repair
- Provide a step-by-step guide to repairing worn furniture cushions
- Explain techniques for mending broken furniture straps
- Offer DIY solutions for fixing scratches in wooden furniture
Table of Contents
Common Types of Casual Furniture Damage
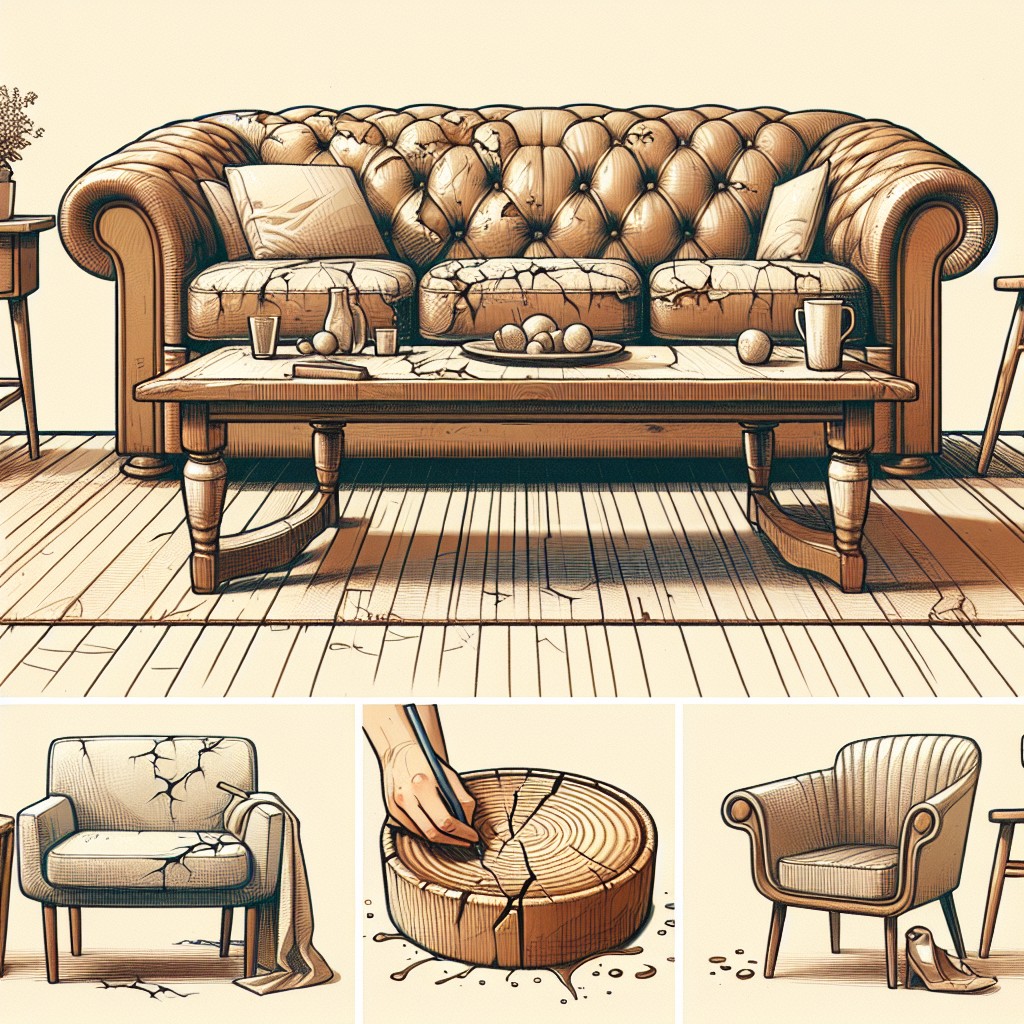
Casual furniture, which often includes items such as patio chairs, garden tables, and loungers, can be prone to various types of damage due to regular use and exposure to the elements.
One common issue is weathering, where prolonged exposure to sun, rain, and changing temperatures causes fading, cracking, or warping of materials.
Fabric components, like cushions, may suffer from tears, stains, or mildew growth.
Structural problems, such as loose joints or broken slats, can occur due to physical stress or poor maintenance.
Additionally, metal pieces might experience rust or corrosion, while wooden furniture can be susceptible to scratches or water damage.
It’s important to identify these issues promptly to ensure a successful repair process.
Tools and Materials Needed for Casual Furniture Repair
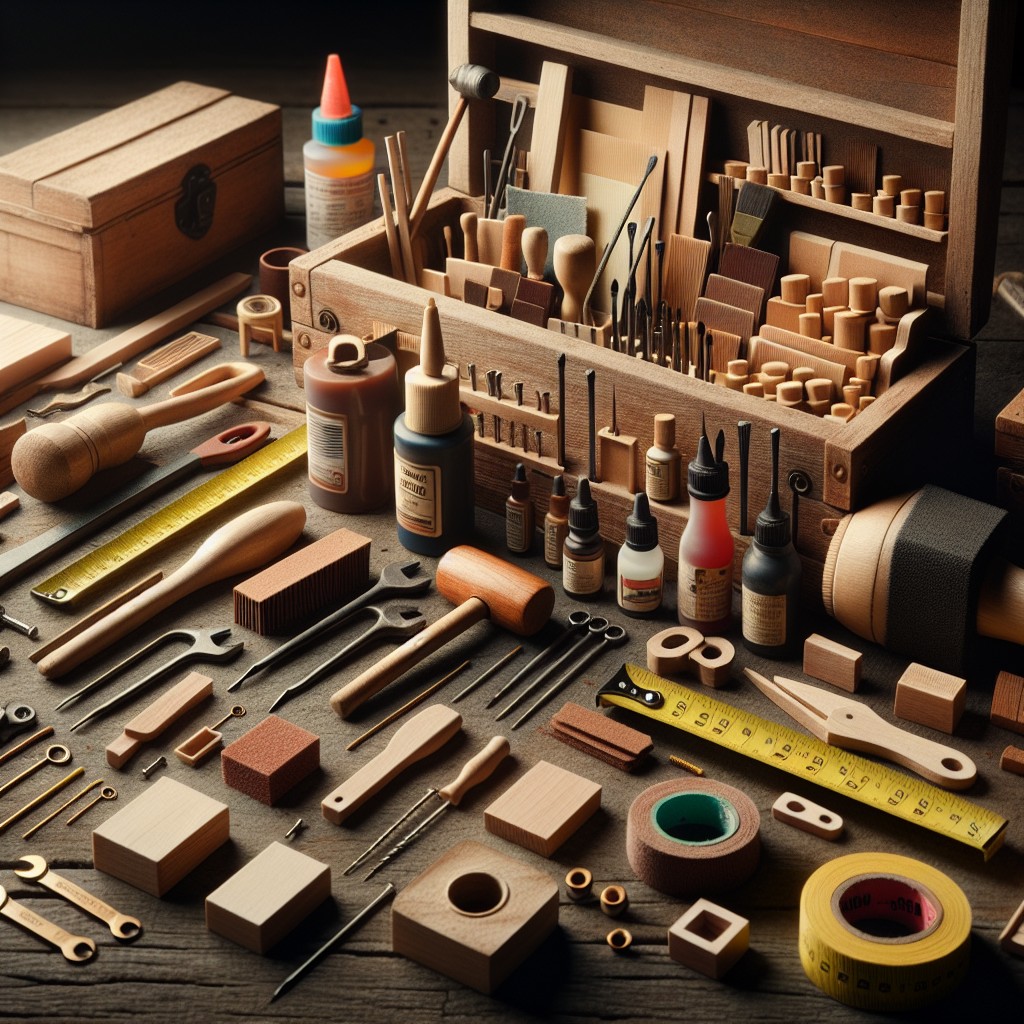
Embarking on a furniture repair project requires appropriate tools and materials at the ready to ensure a smooth and efficient restoration process. Key items include:
- Screwdrivers: For tightening or replacing hardware.
- Wood glue: Essential for repairing loose joints or broken pieces.
- Sandpaper: To smooth rough surfaces and prepare for painting or staining.
- Paint or stain: Matching your furniture’s finish to conceal repairs.
- Fabric or strapping: Necessary for the replacement of damaged cushions or support systems.
- Staple gun and staples: Ideal for reattaching fabric or webbing.
- Upholstery needle and thread: Used in mending tears or re-stitching seams.
- Epoxy resin: For stronger, more durable bonding on breaks or cracks.
- Furniture clamps: To hold pieces securely while adhesives set.
- Touch-up markers: To quickly fix minor scratches in wood finishes.
Having these items accessible will equip individuals with the basics to tackle common repairs and breathe new life into their casual furniture.
Step-by-Step Guide to Repairing Worn Furniture Cushions
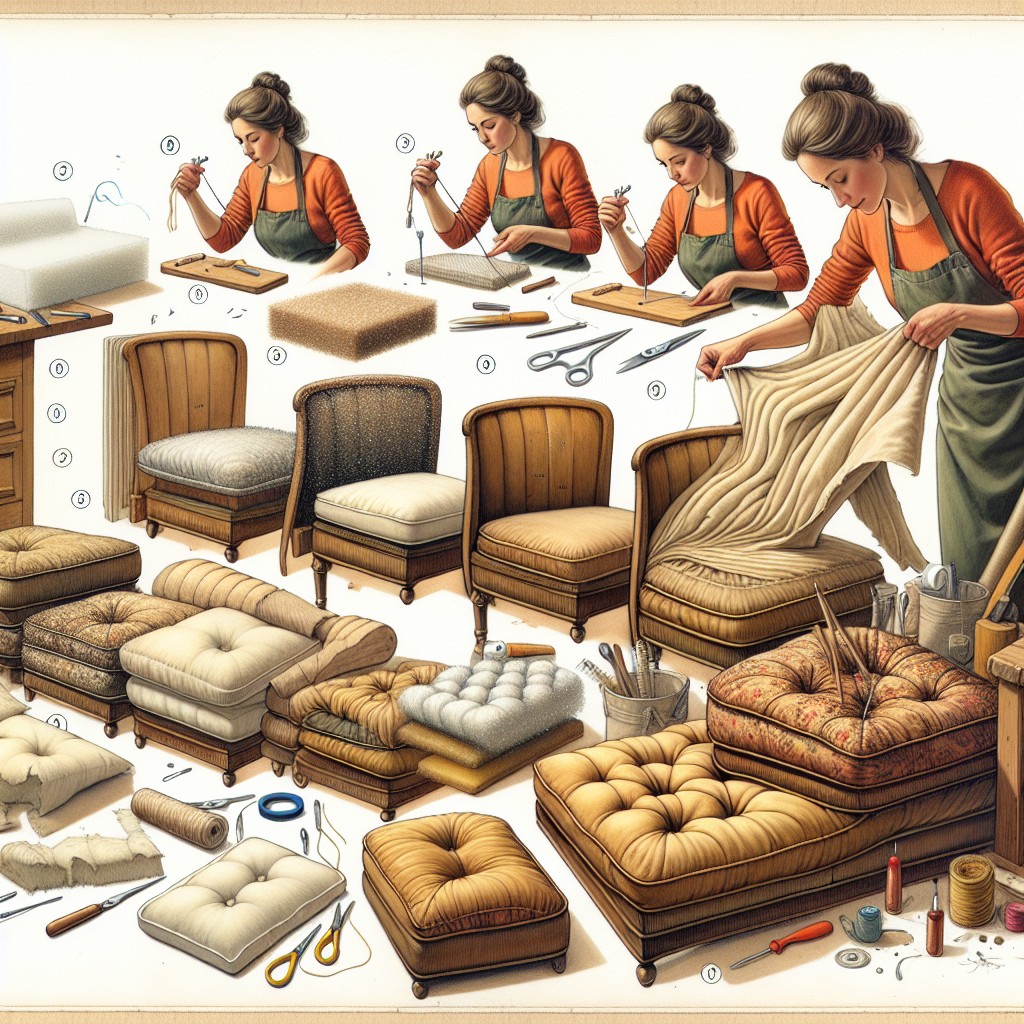
Begin by assessing the extent of the wear to determine if the cushions require simple patchwork, new fabric, or a complete filling replacement.
To address surface-level damage:
- Carefully remove the cushion cover, if it’s removable. Some cushions may have zippers, while others might need to be unstitched.
- For small tears or holes, use a needle and thread that matches the color of the cushion fabric to sew the damaged area closed.
For extensive fabric damage or style updates:
- Choose a durable, high-quality fabric suited to your furniture’s use.
- Measure the cushion, adding seam allowances, and cut the new fabric accordingly.
- Place the cushion on top of the fabric, fold the material over, and sew along the edges, leaving one side open for the cushion to be inserted.
- Turn the cover right side out, insert the cushion, and sew the opening closed either by hand or with a sewing machine.
If the filling is compromised:
- Open the cushion cover and remove the old stuffing.
- Cut the replacement foam to the correct size using an electric carving knife for a clean edge.
- Slip the new foam into the cover, ensuring it fits snugly to restore the cushion’s original shape and firmness.
Remember to work carefully when handling fabric and foam to avoid any unintended snags or tears. Regular maintenance and prompt repair can extend the life of your furniture’s cushions significantly.
Techniques for Mending Broken Furniture Straps
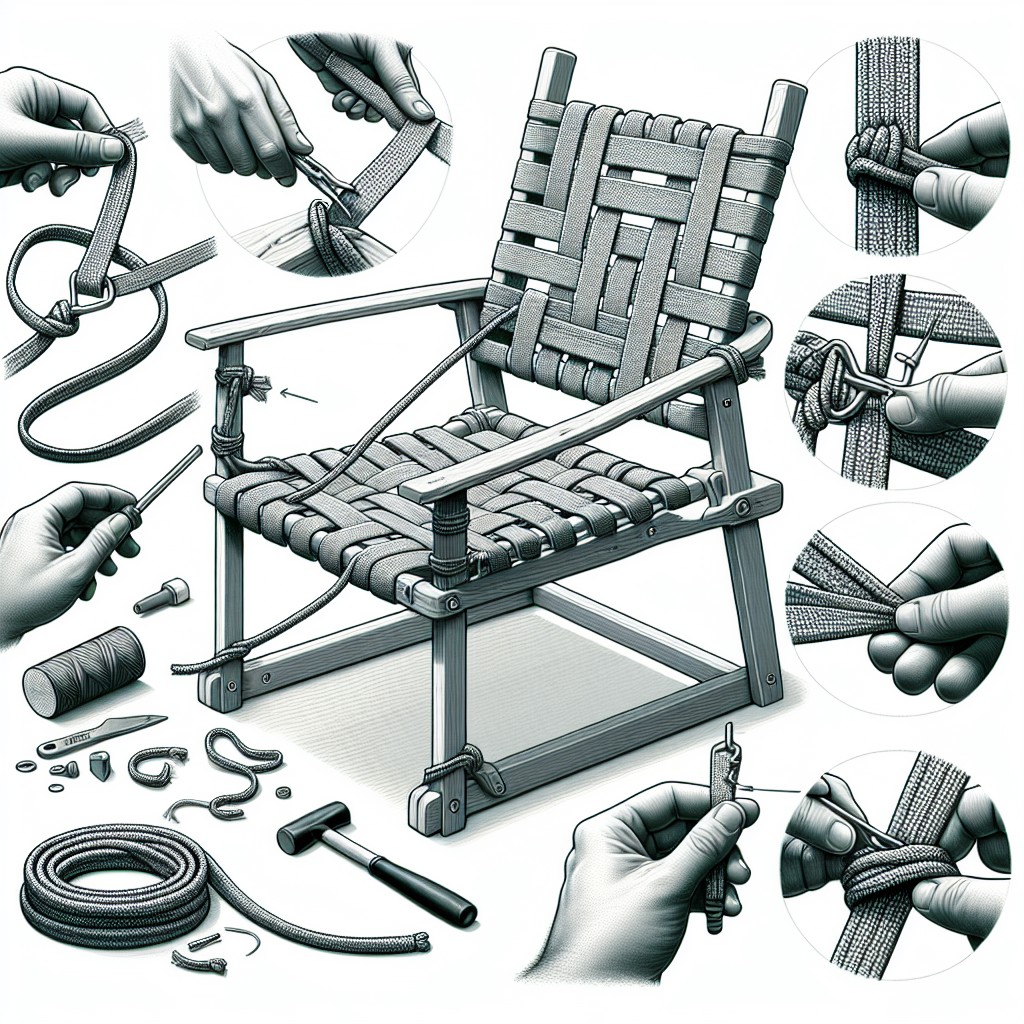
Repairing broken furniture straps can restore the functionality and appearance of your patio chairs and lounges. Begin by assessing the damage to determine if the straps can be reattached or if they need to be replaced completely.
For reattachment, use a durable adhesive designed for outdoor use and follow the manufacturer’s instructions for the best bond. Make sure the surface is clean and dry before application.
If the straps are beyond repair, you’ll need to measure and cut new ones from a roll of suitable strapping material, available at most home improvement stores. Heat the ends of the straps with a hairdryer or heat gun to prevent fraying.
When attaching the new straps, start by securing one end with screws or rivets, ensuring the strap is taut before fastening the other end. For chairs with a single frame, use a strap weaving pattern for even distribution of weight and to maintain the aesthetic appeal of your furniture.
Some furniture designs may require specialized fastening systems or tools such as a strap stretcher to get the right tension. This tool helps to pull the strap tight to the frame before securing. If in doubt or if the repair seems extensive, consulting with a professional can save time and ensure the longevity of the repairs.
Regular inspection and timely mending of straps will ensure that your casual furniture remains comfortable and safe for use.
How to Fix Loose Joints in Casual Furniture
Loose joints in casual furniture can cause instability and reduce the lifespan of the piece. Here’s a simple process to tighten those wobbly connections:
1. Identify the Loose Joint: Check for movement where two parts of the furniture meet. This could be where legs attach to a chair’s seat or at the arms of a couch.
2. Disassemble if Necessary: Carefully take apart the connected sections of the furniture. This will enable you to apply repairs directly to the joint without obstructions.
3. Clean the Joint: Remove old glue or debris from the joint area with a small brush or cloth. A clean joint will ensure better adhesion when you reapply glue.
4. Apply Wood Glue: Use a high-strength wood glue, applying it generously to both sides of the joint. For a stronger bond, spread the glue evenly with a small brush or a toothpick.
5. Clamp the Joint: After reassembling the joint, secure it with a clamp. This will hold the pieces together tightly while the glue dries. If you don’t have a clamp, heavy objects can serve as makeshift weights.
6. Wipe Away Excess Glue: Before the glue dries, wipe away any excess with a damp cloth to ensure a clean finish.
7. Allow to Dry: Refer to the glue’s instructions for drying times; however, it’s generally advisable to wait at least 24 hours to ensure the glue has fully cured.
By following these steps, a loose joint can often be corrected without the need for professional repair, restoring solidity to your furniture. Remember to always handle the disassembly and reassembly process gently to avoid further damage.
DIY Solutions for Fixing Scratches in Wooden Furniture
Minor scratches on wooden furniture are often surface-level and can be addressed with a few simple DIY methods. For fine scratches, rubbing a walnut or Brazil nut along the mark is a natural way to deposit oils that darken the wood and camouflage the blemish. Alternatively, applying a mixture of olive oil and vinegar with a microfiber cloth can both clean and reduce the visibility of light scratches.
Deeper grooves may require a bit more effort. Colored wood filler or wax sticks matched to the furniture’s finish can be used to fill in the scratch. Once the filler sets, gently sanding over the area with fine-grit sandpaper smooths the surface, ensuring it is flush with the surrounding wood. Afterwards, applying a coat of furniture polish or wood conditioner helps to restore the sheen and offers some protection against future wear.
These quick fixes are cost-effective and can extend the life and beauty of your casual wood furniture without necessitating professional intervention. With care and the right supplies, maintaining the pristine condition of your furniture becomes an achievable task.
Restoring Color and Finish to Sun-Faded Furniture
Sunlight can take a toll on your furniture’s appearance, causing the color to fade and the finish to deteriorate. To restore the vibrant look, first, clean the surface with mild soap and water, then let it dry completely.
For wood, lightly sand the faded areas to remove the sun-damaged layer. Apply a matching wood stain in even strokes, following the wood grain, and seal with a clear protective coat for longevity.
For synthetic materials like plastic, use a specialized paint or a dye designed for outdoor furniture to rejuvenate the color. Ensure each layer is thin to avoid drips and give time for drying between coats.
When tackling fabrics, fabric spray paint can be an effective way to bring back the original color or even try a new shade. Always test a small, inconspicuous spot first to ensure it adheres well and produces the desired color.
Regular maintenance and the use of UV-resistant protective sprays can help keep your furniture looking fresh and vibrant for seasons to come.
Professional Services Versus DIY for Furniture Repair
When deciding between tackling furniture repairs yourself or hiring a professional, consider the following:
1. Complexity of the repair: Small fixes like tightening screws or patching minor tears in fabric can often be handled at home. For structural issues or intricate mechanisms, professional expertise might be necessary.
2. Cost-effectiveness: DIY repairs can save you money on labor costs. However, if you need to purchase specialized tools or materials, it could end up being more economical to hire a service.
3. Time investment: DIY projects require your time. Evaluate whether you can spare the hours needed for repair, or if it would be more convenient to have a professional quickly resolve the issue.
4. Quality of the result: Professionals guarantee a certain level of quality and often provide warranties for their work. If you are uncertain about your ability to produce a durable and aesthetically pleasing repair, a professional might be the better option.
5. Tools and resources: Assess if you have the necessary tools and knowledge resources to complete the repair. If not, you may need to consider the potential costs and learning curve involved in acquiring them.
By weighing these points, you’ll be better positioned to choose the most suitable approach for your casual furniture repair needs.
Safety Precautions During Casual Furniture Repair
Prioritizing safety ensures a successful furniture repair project. Wear protective eyewear to guard against dust and debris, especially when sanding or sawing. Gloves are essential when handling sharp tools or working with chemicals like paint strippers. In well-ventilated areas, use masks to prevent inhalation of fumes from adhesives or finishes.
Always disconnect electrical tools before changing parts, and be mindful of cords to prevent tripping. Keep a first aid kit handy for any minor injuries, and know when to seek professional help for repairs that are beyond your skill level or involve safety risks.
Maintenance Tips to Prevent Future Damage to Casual Furniture
Proper care extends the life of your casual furniture, keeping repair needs at bay. Here are practical maintenance tips:
- Cover or store: Shield your items from the elements when not in use, either with protective covers or by placing them in a secure storage area.
- Clean regularly: Remove dust, spills, and stains promptly. Use gentle cleaners suited to the furniture’s material to avoid degradation.
- Tighten fasteners: Inspect screws and bolts periodically, tightening any that have become loose to maintain stability and prevent structural damage.
- Avoid direct sunlight: Position furniture away from prolonged exposure to sunlight to prevent fading and weakening of materials.
- Apply protective finishes: Treat wood and metal surfaces with appropriate sealants or paints to fend off moisture and rust.
- Rotate cushions: Switch around cushions to ensure even wear and prolong their plushness and appearance.
By incorporating these practices, you can reduce wear and tear, making the most out of your casual furniture for years to come.


