Last updated on
To fit a couch cover, remove any loose cushions and tuck the cover tightly around the arms and back of the couch. Smooth any wrinkles or creases, then replace the cushions and adjust as necessary.
As I sat on my couch, sipping on a cup of coffee and admiring the beautiful view outside, I couldn’t help but notice how worn out my couch looked. The once vibrant color had faded, with stains and scratches.
It was time for a change, but buying a new couch was not an option for me. So, I decided to give my old faithful companion a makeover by getting a new cover.
But as soon as I got home with the cover, reality hit me – how do I fit this thing onto my couch? It seemed like an impossible task at first glance. But I finally figured it out after some trial and error (and maybe some frustration).
Keep reading if you’re in the same boat as me or just curious about how to fit a couch cover properly! In this article, we’ll go through all the steps you must take to get that perfect fit without breaking a sweat.
Key takeaways:
- Remove cushions and tuck cover tightly around arms and back.
- Measure sofa carefully before buying the right size cover.
- Prep the couch by cleaning and taking measurements.
- Unfold cover with patience and attention to detail.
- Align, tuck in excess fabric, smooth out wrinkles, and secure with straps/ties.
Table of Contents
The Couch Cover Story

As I mentioned earlier, my couch had seen better days. It was a hand-me-down from my parents when I moved into my first apartment, and it had been through multiple moves and countless movie nights with friends.
But despite its wear and tear, it held sentimental value to me. So instead of getting rid of it altogether, I decided to give it a new lease on life by purchasing a couch cover.
The process seemed simple enough – find the right size cover for your couch and slip it on like you would with a fitted sheet. But as soon as I got home with the cover in tow, reality hit me hard – this would not be easy!
The fabric felt stiff and unyielding in my hands; some straps needed securing underneath the cushions, not to mention all those pesky corners that refused to cooperate! I spent hours trying different methods until I finally figured out how everything fit together perfectly without any wrinkles or sagging areas left behind.
Today’s article will review some tips and tricks for fitting your sofa covers so you can enjoy them just like we do!
Choosing the Perfect Fit

Before we dive into the nitty-gritty of fitting a couch cover, let’s talk about choosing the perfect fit. When I went to buy my couch cover, I was overwhelmed by all the different sizes and styles available.
It can be challenging to know which one will fit your specific couch.
The first thing you need to do is measure your sofa carefully. Measure arm to arm across the backrest and then from front to back along each cushion’s length.
Ensure you note any unique features like curved arms or a reclining mechanism that may affect how well a particular cover fits.
Once you have these measurements in hand, it’s time to shop for covers that closely match those dimensions. Don’t forget about style! You want something that complements your decor while providing practical protection for your furniture.
After searching online and in-store, I finally found a few options that seemed to work well with my sofa size-wise and aesthetically speaking. Now comes the fun part – fitting it onto the couch!
Prepping Your Couch
Before we dive into the nitty-gritty of fitting a couch cover, it’s essential to prep your couch first. This step is crucial as it ensures that the cover fits perfectly and looks neat once you’re done.
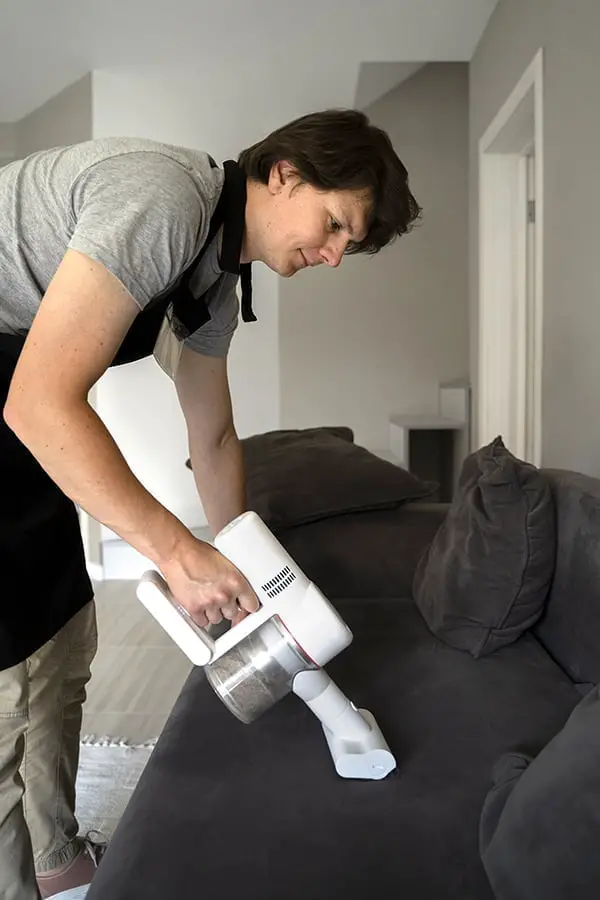
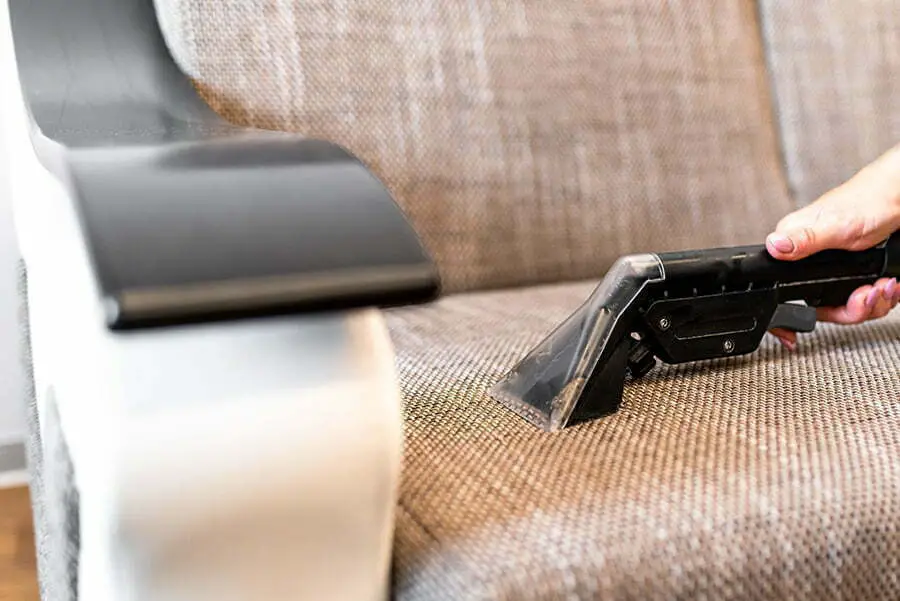
To start, remove all cushions from your couch and set them aside. Next, thoroughly clean your sofa by vacuuming or wiping down any dirt or debris on its surface.
If there are any stains on the fabric, use an appropriate cleaner to remove them before proceeding.
Once you’ve cleaned up your sofa thoroughly, take measurements of its length and width using a measuring tape. These measurements will be handy when selecting the right size for your new cover.
Now that we have prepped our couch let’s move on to how to fit our new covers seamlessly without breaking much sweat!
Unfolding the Magic

Now that you have your couch cover, it’s time to unfold the magic. But before we dive into the fitting process, let me tell you about my experience with unfolding a couch cover for the first time.
As I opened up my new cover, I was greeted by a bundle of fabric that seemed impossible to decipher. It looked like an origami puzzle without instructions on solving it.
After some fumbling and frustration, I finally figured out how to unfold it properly.
The key is patience and attention to detail. Take your time and make sure each fold is smooth and even before moving on to the next one.
Once you’ve unfolded everything correctly, lay your cover flat on top of your couch so that all sides hang evenly over its edges.
Now comes the fun part – fitting!
Aligning and Tucking In

Once I had the couch cover on my sofa, it was time to align and tuck in all the excess fabric. This step is crucial for achieving a polished and professional look.
Firstly, I made sure the cover was centered on my couch by adjusting it from left to right. Then, I tucked in any extra fabric between the cushions and arms of my sofa.
It’s important not to leave loose or sagging areas, as this can make your furniture look sloppy.
Next up were the corners – these are often tricky spots when fitting a couch cover, but with some patience and practice, you’ll get there! At one corner of your sofa, lift both layers of fabric (the original upholstery plus the new slipcover) so they’re standing upright like little ears. Then fold them down together towards each other until they meet at a neat angle – usually around 45 degrees works well here!
Finally came tucking in all those pesky bits around buttons or seams where there might be more bulk than usual; take care not to pull too hard, as this could cause tearing over time if done repeatedly.
With everything aligned nicely (thanks mainly to due diligence during the alignment/tucking process), my old worn-out-looking piece has been transformed into something fresh again – ready for another few years’ worth of use before needing replacement!
Smoothing Out Wrinkles
After struggling to get the couch cover onto my sofa, I finally fit it on. But as I looked at it, there were wrinkles and creases all over the fabric.
It didn’t look as neat as I had hoped. To fix this issue, remove any large wrinkles with your hands.
Then use a fabric steamer or iron on low heat to remove any remaining creases in the material. Be sure not to leave the steamer or iron in one spot for too long; keep moving it around until you’ve covered every inch of the cover.
This will help prevent burning or damaging your new couch cover. Once you’re done with that step, take a step back and admire your handiwork! Your newly fitted couch cover should look smooth and wrinkle-free – like a brand-new sofa!
Securing With Straps or Ties

After struggling with the first few steps of fitting my couch cover, I finally managed to get it over the cushions and arms. But then came another challenge – keeping it in place.
The last thing I wanted was for my new cover to slip and slide whenever someone sat on the couch. That’s when I realized that most covers come with straps or ties that can be used to secure them in place.
These are usually located at the bottom of the cover, near where it meets your floor. To use these straps or ties, you’ll need to tuck any excess fabric into your couch crevices before securing them tightly around each leg of your furniture piece.
This will help keep everything snugly fitted without wrinkles or bunching up along its surface area.
It may take more effort than just throwing a blanket over your sofa, but trust me, once you’ve secured those straps correctly? You won’t have anything else left to worry about!