Last updated on
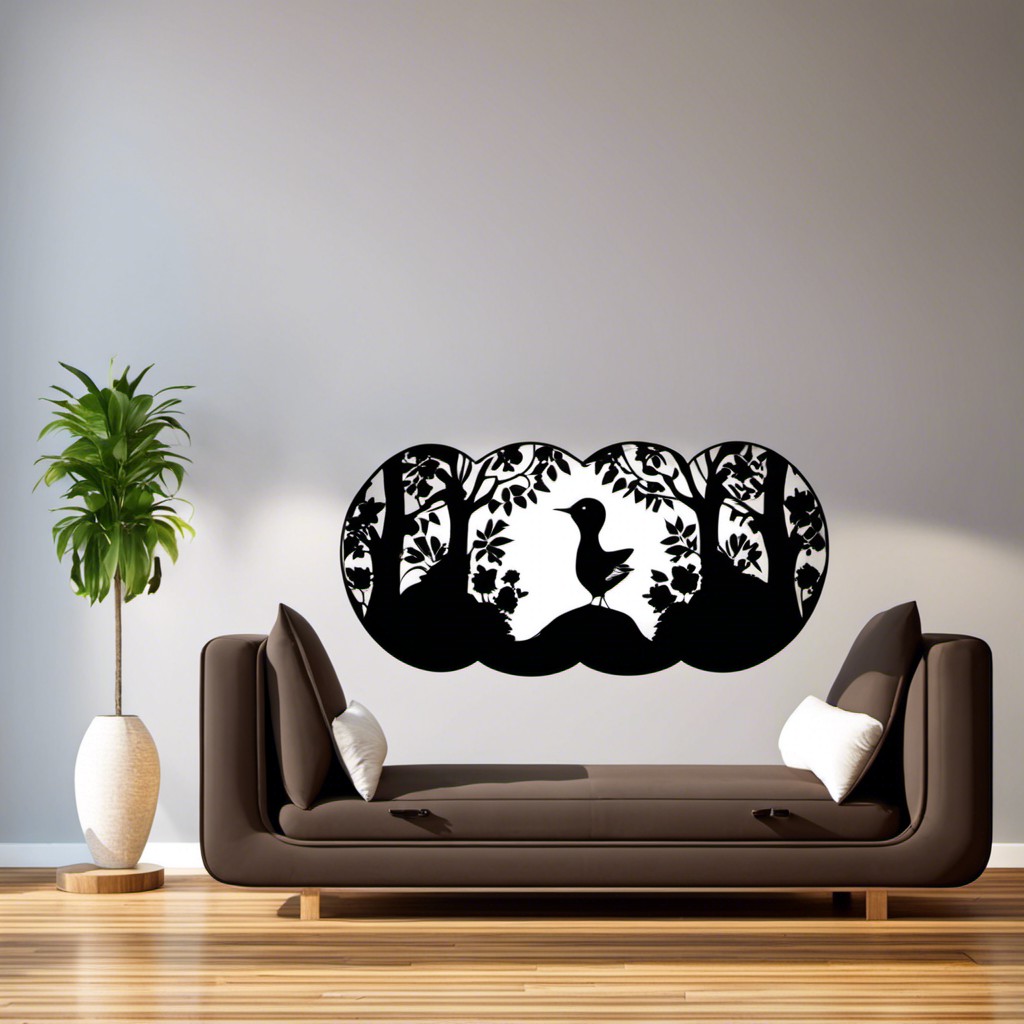
Transforming the mundane PVC pipe into a decorative masterpiece enhances your home’s aesthetic appeal because creativity fuses art and functionality.

I take immense pride in crafting this article and the unique designs on 20 Creative PVC Pipe Cover Decorative Ideas, hoping it inspires you as much as it enthused me while curating them.
Transforming PVC pipes into decorative pieces can be a fun and rewarding project. Whether you’re looking to cover exposed pipes or simply want to create unique decor elements, there are countless creative ways to utilize PVC pipes.
From creating beautiful planters to crafting modern lighting fixtures, PVC pipes offer a world of possibilities. This article will provide you with a range of innovative ideas, detailed instructions, and helpful tips to ensure your PVC pipe decor project is a success.
So, let’s dive into the world of PVC pipe decoration and explore the potential of this versatile material.
Table of Contents
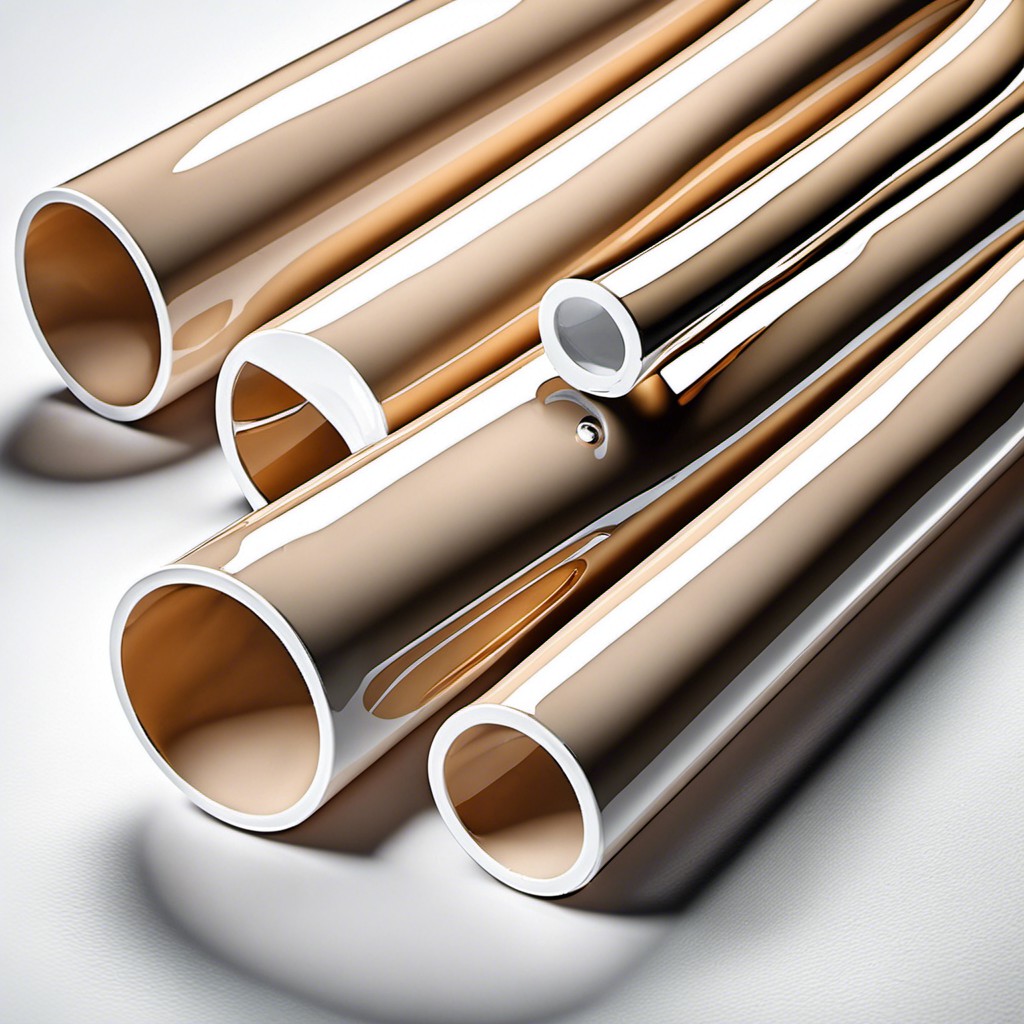
Paint With Glossy Acrylics
Choose acrylics in a shade that complements your room’s color scheme.
Start by cleaning the pipe and lightly sanding the surface for better paint adhesion.
Use a primer if you want the truest color representation.
Apply multiple thin coats rather than one thick layer for a more polished look.
Remember to let each coat dry before applying the next.
Use a clear, glossy sealant to preserve the paint job and enrich the color effect.
This creative idea not only masks the PVC pipe, but also can turn it into an interesting aesthetic element in your space.
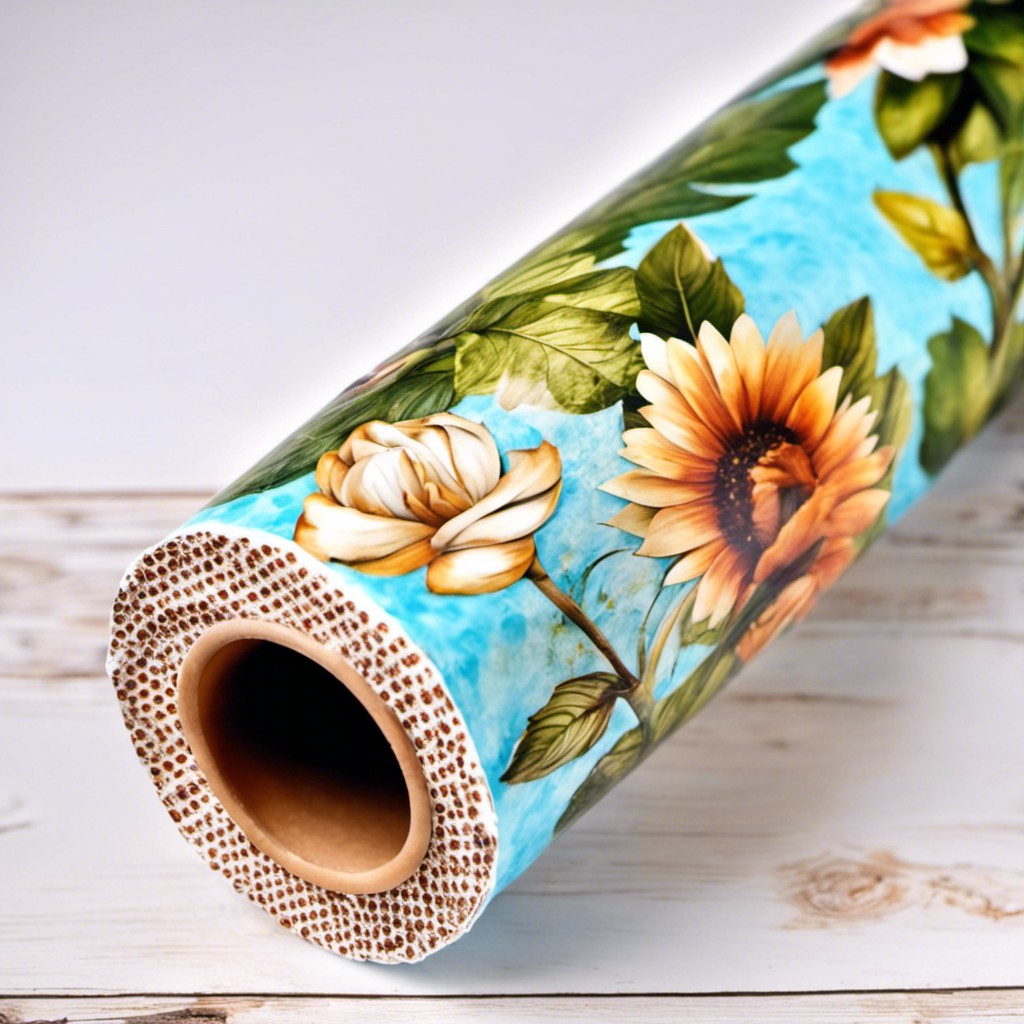
Cover With Floral Wallpapers
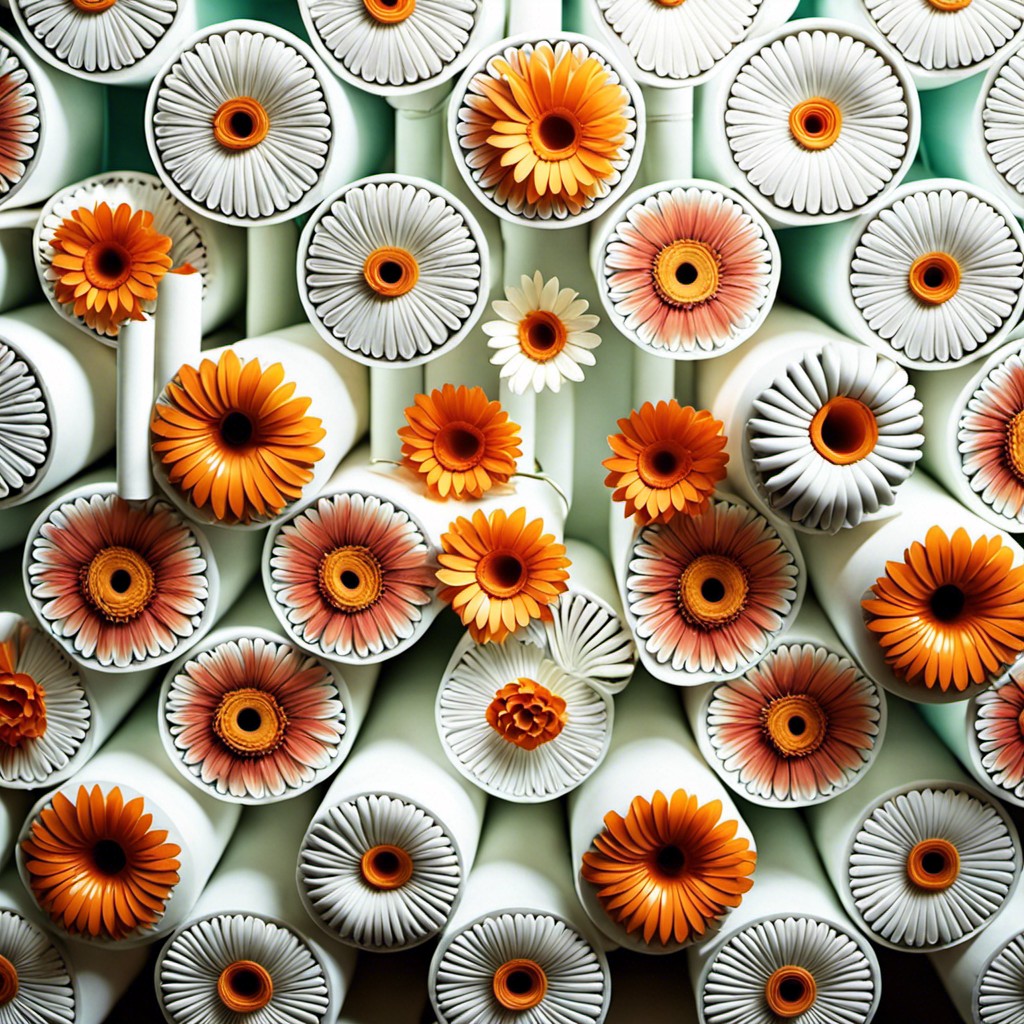
Delightful to the eye, floral wallpapers offer a wide variety of designs and colors to suit every taste. Opt for removable, self-adhesive wallpaper for easy application and removal.
Start by measuring the length and circumference of the PVC pipe to determine how much wallpaper is required. Cut the wallpaper accordingly, ensuring an overlap for seamless coverage. Clean the pipe thoroughly before adhering to enhance durability. Smooth out any bubbles with a dry cloth for a flawless finish.
This method is a fantastic way to blend the PVC pipe with other interior elements or make it an eye-catching art piece.
Coat With Glitter
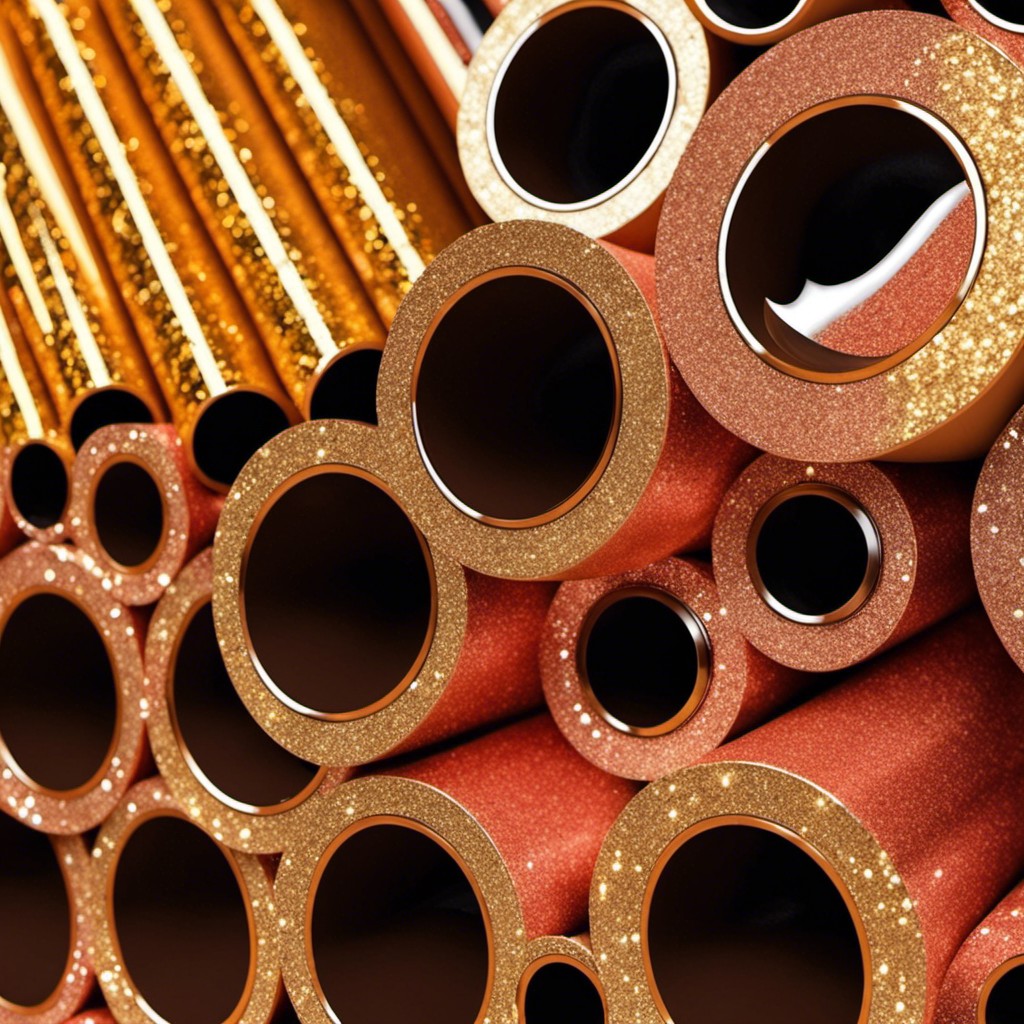
First, choose a glitter color that complements the area where the PVC pipe is located. Next, prepare the pipe by cleaning it with warm soapy water; any oils or grime can affect the adhesion of the glitter.
Once dry, apply a layer of craft glue all over the pipe. Pour your chosen glitter over the PVC pipe, making sure to coat it evenly, don’t worry too much about excess as it can be collected and reused. Let it dry properly, usually overnight.
After drying, shake off any loose particles and apply a clear sealant spray to lock in the shimmer and prevent the glitter from shedding off. The brilliance of this approach is that it can be adapted for any style, from sophisticated golds and silvers to fun, vibrant hues. Your only boundary is your creativity.
Applying glitter to PVC pipes can instantly add a focused pop of color and sparkle to any space, bringing a dash of your personality into your décor. Do not rush the process while executing it, the results will be worth it!
Wrap With Colorful Ribbons
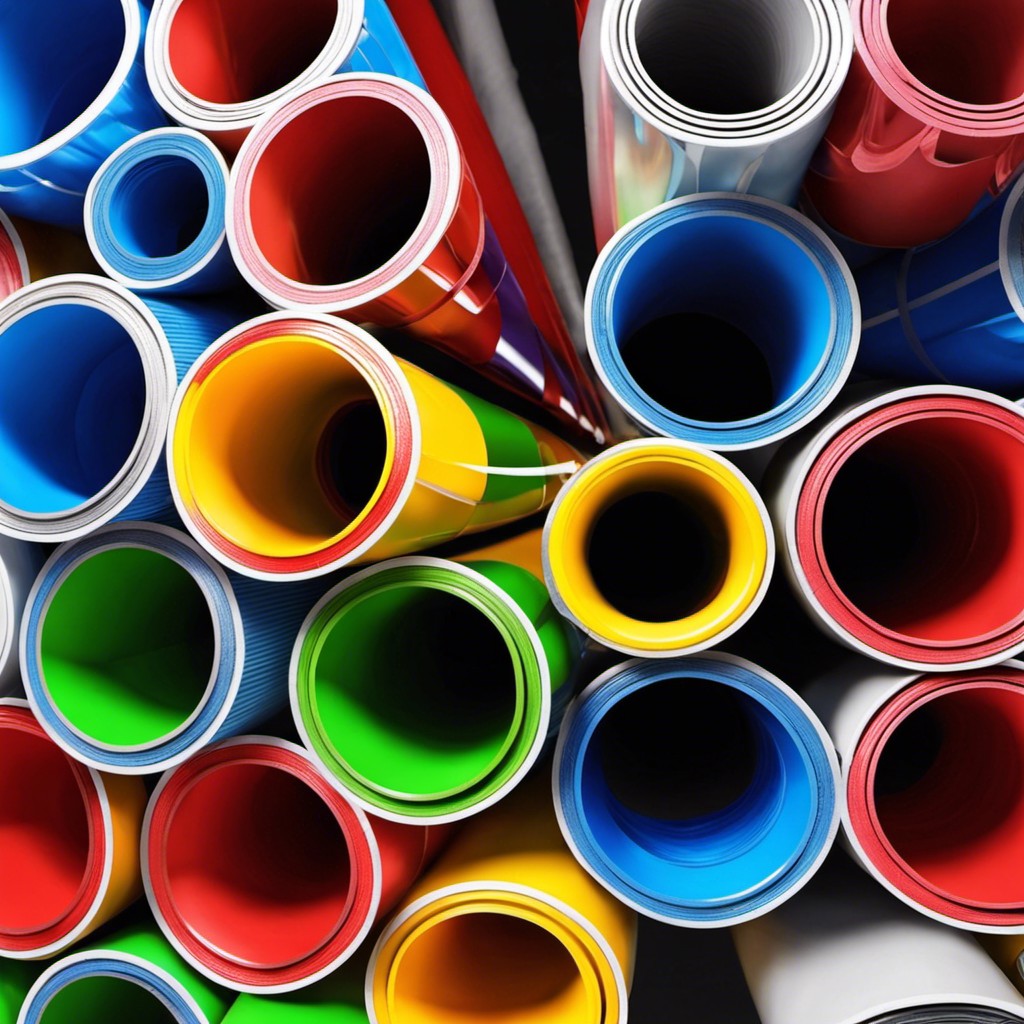
Ribbons offer a quick, easy, and affordable way to embellish PVC pipes. By selecting various widths, colors, and patterns, the design possibilities are nearly endless.
Here’s how to use them:
- Choose ribbons that match your room’s decor. Consider the shades and textures.
- Start from one end of the pipe and apply a small amount of glue. Ensure you use one that doesn’t discolor the ribbons or stain through. Craft or hot glue sticks can be a good option.
- Just stick the end of your ribbon to the glued spot, then start wrapping around the pipe, making sure to overlap slightly to ensure total coverage. Remember to keep the ribbon pulled tight as you wrap.
- Repeat the process with various ribbons until the entire PVC pipe is covered. For aesthetic appeal, you can opt to alternate between different colors, widths, or patterns.
- Once done, cut off the excess ribbon and secure the end with a dab of glue. Leave to dry completely before mounting or using the pipe.
Utilizing ribbons provides a versatile, vibrant, and whimsical touch that can be changed easily whenever you want to update the room’s look.
Attach Faux Ivy Vines
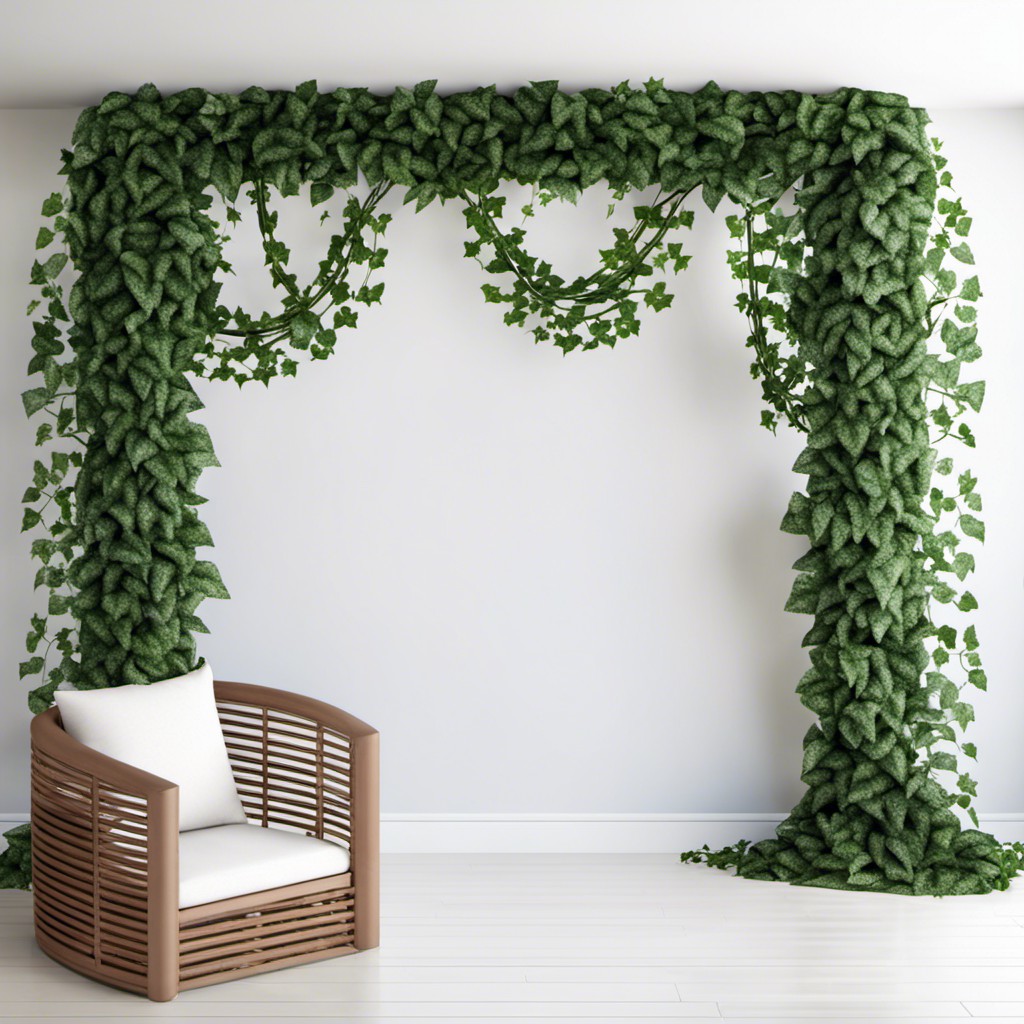
Faux ivy vines provide an eco-chic aesthetic to any PVC pipe, lending an outdoor or natural touch to an otherwise industrial object. This perfect blend of form and functionality is manageable even for beginners.
Start by measuring the pipe’s length to determine the vine number needed. Choosing quality vines ensures a lifelike look and durability.
Application involves twining the vine around the pipe, starting from the base, and securing it at different points with weather-resistant adhesive or small wire twist ties. Apply with thought – for natural beauty, randomize the spacing with some areas lush and others sparse.
Remember, while outdoors, place the pipe in an area where the faux ivy blends with the environment. For indoor setups, pair it with other greenery to create a dynamic aesthetic. It’s a swift, cost-effective way to add a dash of creativity to your décor.
Thumbtacks can be used subtly to keep the vines on the pipe more securely, particularly in high-traffic areas where there’s a higher risk for them to get knocked loose.
Maintenance wise, simply dust it off occasionally or wipe down with a damp cloth for a fresh look. With this DIY project, your faux ivy covered PVC pipes will be indistinguishable from regular indoor or outdoor plants.
Use a Mosaic Tile Design
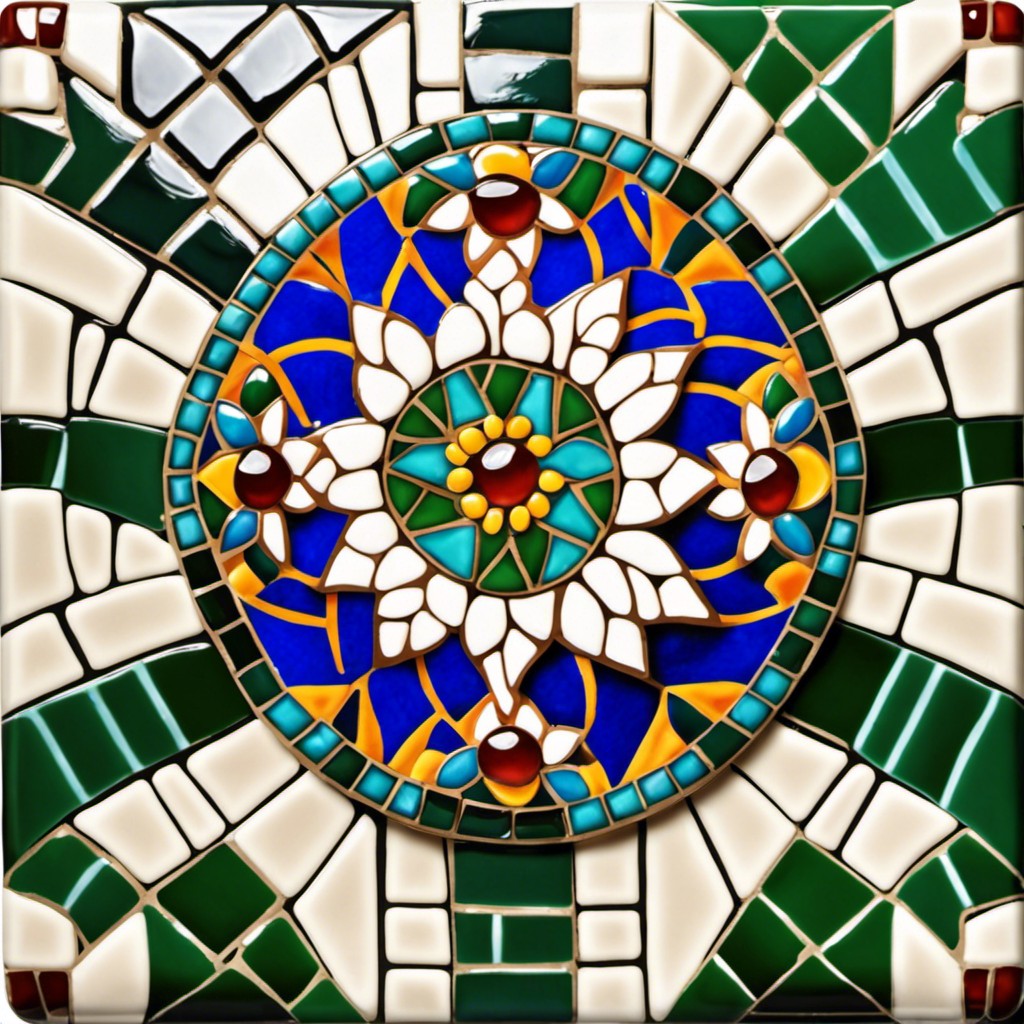
A stunning technique to customize PVC pipes involves crafting a mosaic design. Release your artistic spirit by adhering small pieces of tile, glass, or mirrors to create a unique pattern on the pipe’s surface. Here’s how to achieve this design:
1. Choose Your Material: Decide between varying types of tile, glass, or mirror. Consider uniform pieces for a streamlined look, or mix and match shapes for a more abstract design.
2. Plan Your Pattern: Sketch out your mosaic design beforehand. Whether you aim for geometric precision or an organic, free-flowing design, planning will ease the application process.
3. Prepare the Pipe: Clean the pipe thoroughly. Ensure it’s free of any dust or grease to guarantee optimal adhesion.
4. Adhere Your Mosaic Pieces: Use mosaic adhesive to attach the pieces to the pipe according to your initial design.
5. Grouting: After the adhesive dries, apply grout over the entire surface. Wipe away the excess, ensuring all spaces between the mosaic pieces are thoroughly filled.
6. Seal It: Finally, seal the grout to prevent color change and to protect it from dirt and moisture.
Remember to let each step dry thoroughly before moving to the next one. And, always keep safety precautions in mind while handling sharp mosaic pieces or strong adhesives.
Decoupage With Decorative Tissue Paper
To begin the decoupage process, select a pattern or color scheme that complements your décor. Don’t rush this process – the perfect tissue paper design can elevate the PVC pipe from mundane to a conversation piece.
Next, cut or tear your chosen tissue into manageable pieces. Diversifying the sizes can give your design a unique look.
Prepare a mixture of equal parts white glue and water; this will act as your adhesive and sealant. Use a paintbrush to apply a thin layer of this mixture to a section of the pipe.
Place the tissue paper piece onto the wet area, smoothing it out to remove any air bubbles or creases, then brush another layer of the glue mixture on top.
Continue this process until the entire pipe is covered. It’s key here to overlap the edges of the tissue paper pieces slightly; this ensures full coverage and heightens the texture effect.
Allow your pipe to dry fully; this may take up to 24 hours but it is essential to avoid any smudging or shifting of the tissue paper. If desired, you can seal the finished design with a clear varnish to add extra shine and durability.
And voila! Your PVC pipe is now a stunning piece of art, blending effortlessly into your space while still standing out just enough to catch the eye.
Remember: decoration should be an enjoyable process. Feel free to test different tissue paper designs and techniques until you find your own perfect method. Everyone’s aesthetics are unique, and so are their PVC pipe cover decorations!
Create a Bamboo Look-alike
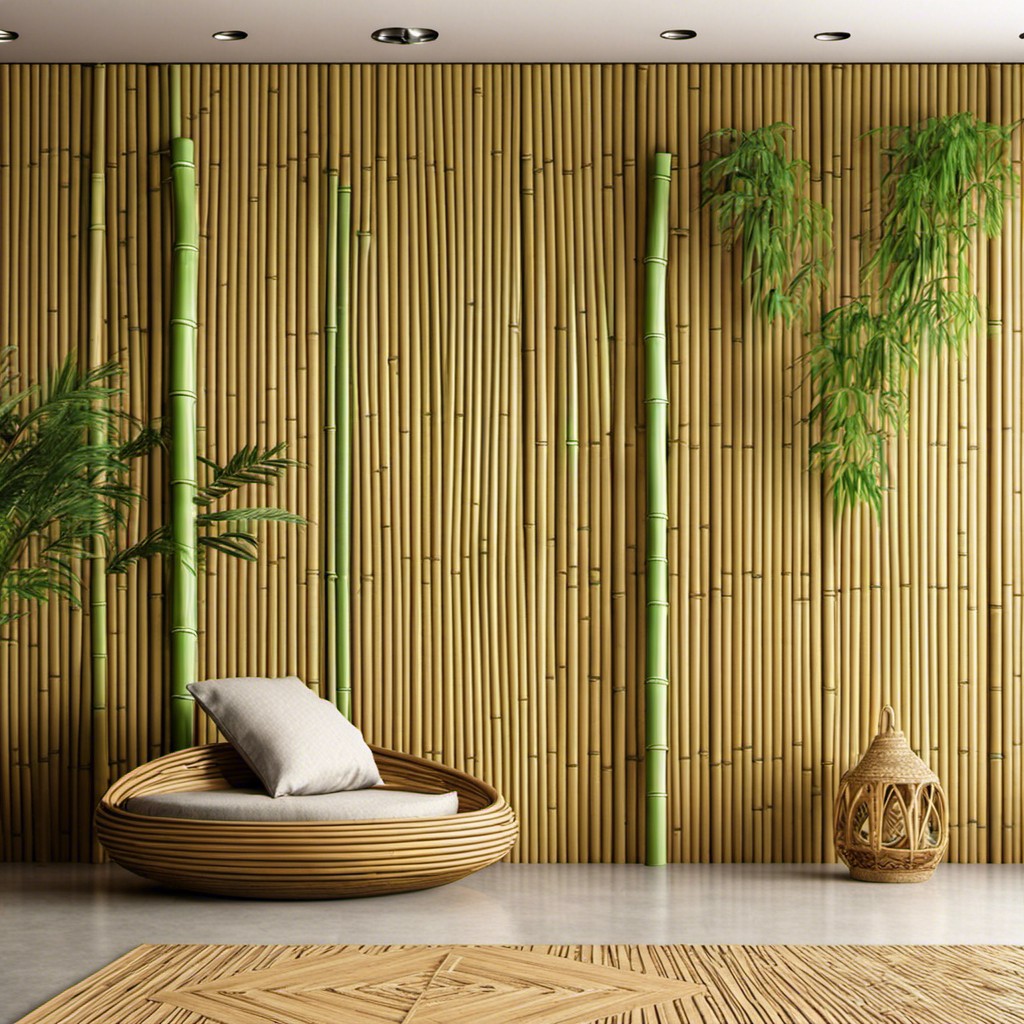
To start, gather the materials needed – green paint, a sponge, and a fine brush. Choose paint that mimics the color of bamboo, the darker the shade, the older and more natural it will appear. Begin by painting the PVC pipe in the color of your choice, this initial layer will act as the primary color of the ‘bamboo.’
Next, use the fine brush to paint the ‘nodes’ found naturally on bamboo stems. These nodes are essentially horizontal lines that circle the pipe. Paint these nodes at regular intervals along the pipe for a realistic effect.
For a finishing touch, lightly dab the sponge in black paint and gently blot along the pipe. This technique adds depth and texture, making the pipe look remarkably similar to a real bamboo stalk.
This decorative idea works wonders with both indoor and outdoor décor, transforming the mundane pipe into an exotic bamboo.
Care should be taken while choosing the paint. Opt for waterproof and UV-resistant paint if your pipe is positioned outdoors to withstand varying weather conditions.
Stencil Artwork Cover
For that artistic touch, nothing beats the use of stencil art. It allows for intricate designs and limitless possibilities. Depending on your taste, you can pick from a wide array of stencil designs available online or in craft stores—patterns can range from floral to geometric, or even custom designs.
Materials needed are minimal: selected stencils, spray adhesive, a stencil brush, and paint of your preferred color. You adhere the stencil onto the PVC pipe surface using the spray adhesive. Then, dab carefully with the stencil brush dipped in a modest amount of paint. Allow it to dry before removing the stencil. Another layer or design can be applied as desired, following the same process.
To ensure longevity, you can consider sealing the design with a clear spray sealer. With stencil art, your PVC pipe covers can become conversation pieces with their designer looks and personalized feel. There’s no limit to creativity when stenciling your decorative covers!
Fabric Wrap for a Rustic Look
Choosing the right fabric is crucial. Optical white or burlap shades have a quintessential rustic charm.
Cut the fabric into strips according to the pipe’s circumference. Use a high-strength adhesive to ensure good adhesion; epoxy resin or fabric glue works wonders.
Let it dry partially, but while it’s still slightly tacky, begin to wrap your material around the pipe. Keep the fabric smooth with each wrap, ensuring there’s no space or creases.
For added aesthetic appeal, consider doing a double wrap, interchanging colors, or pairing different fabric patterns. Remember, in rustic decor, imperfect is perfect, so don’t worry about precision.
Your aim is to show some personality and that treasured handmade vibe. You can even use leftover fabric scraps to create a charming patchwork effect that truly speaks rustic chic.
Cover With Mirror Pieces
Starting this unique embellishment requires just a handful of items: small mirror pieces, a strong adhesive, and an ample amount of patience. Ideally, opt for small, square mirrors for a symmetrical pattern; however, asymmetrical shards can create a unique, modern appearance too.
First, ensure the PVC pipe surface is clean and smooth. Using a strong adhesive, begin to carefully apply the mirror pieces one by one – bear in mind this process can be time-consuming. Waiting for the adhesive to dry thoroughly between layers is crucial for a secure, long-lasting finish. If desired, it’s possible to add grout between the mirror pieces for a more mosaic look.
Remember, working with glass requires caution. Always wear safety gloves while handling mirror pieces to prevent injury. Protective eyewear is also recommended during the application process to safeguard against potential mirror shards.
While tedious, this approach can turn an ordinary PVC pipe into a spectacular, reflective piece of home decor. The dazzling effect as light bounces off the mirror pieces will surely energize any space.
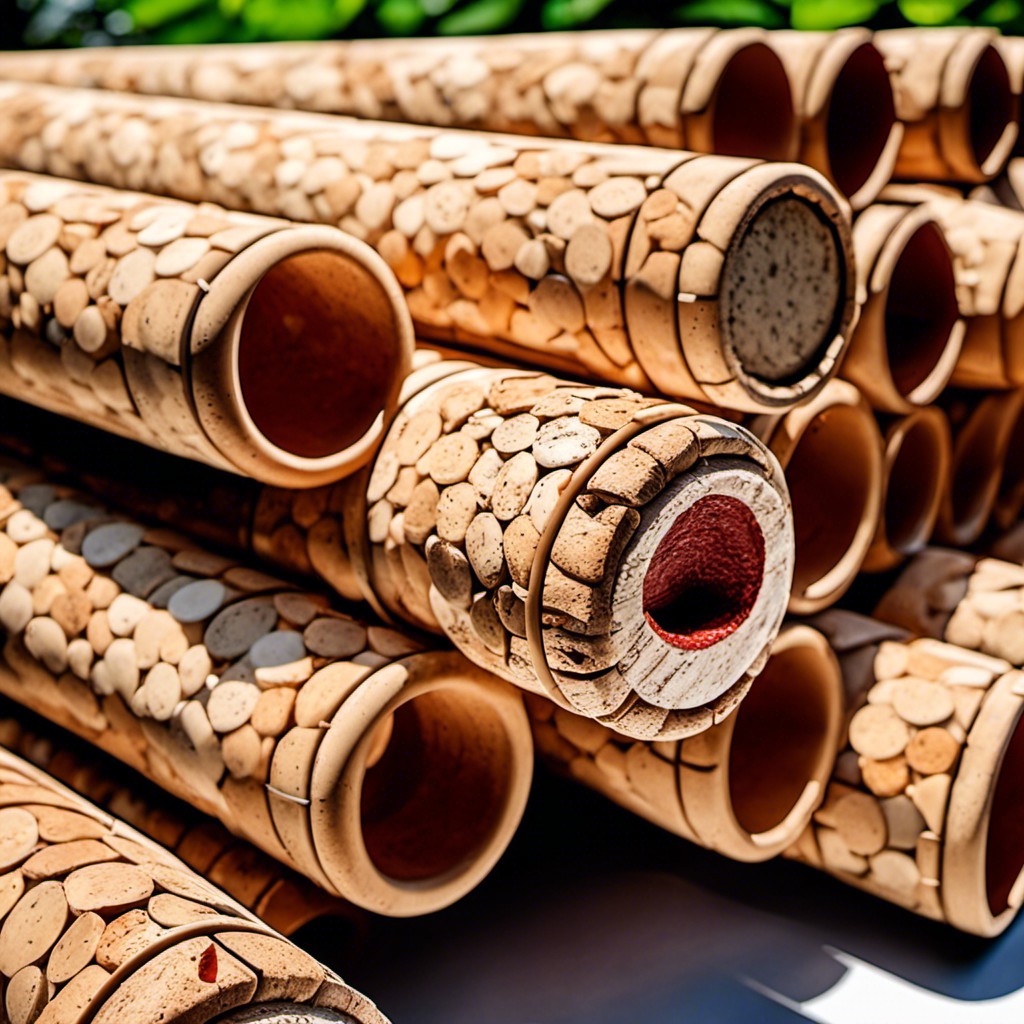
Stone or Pebble Stick-On
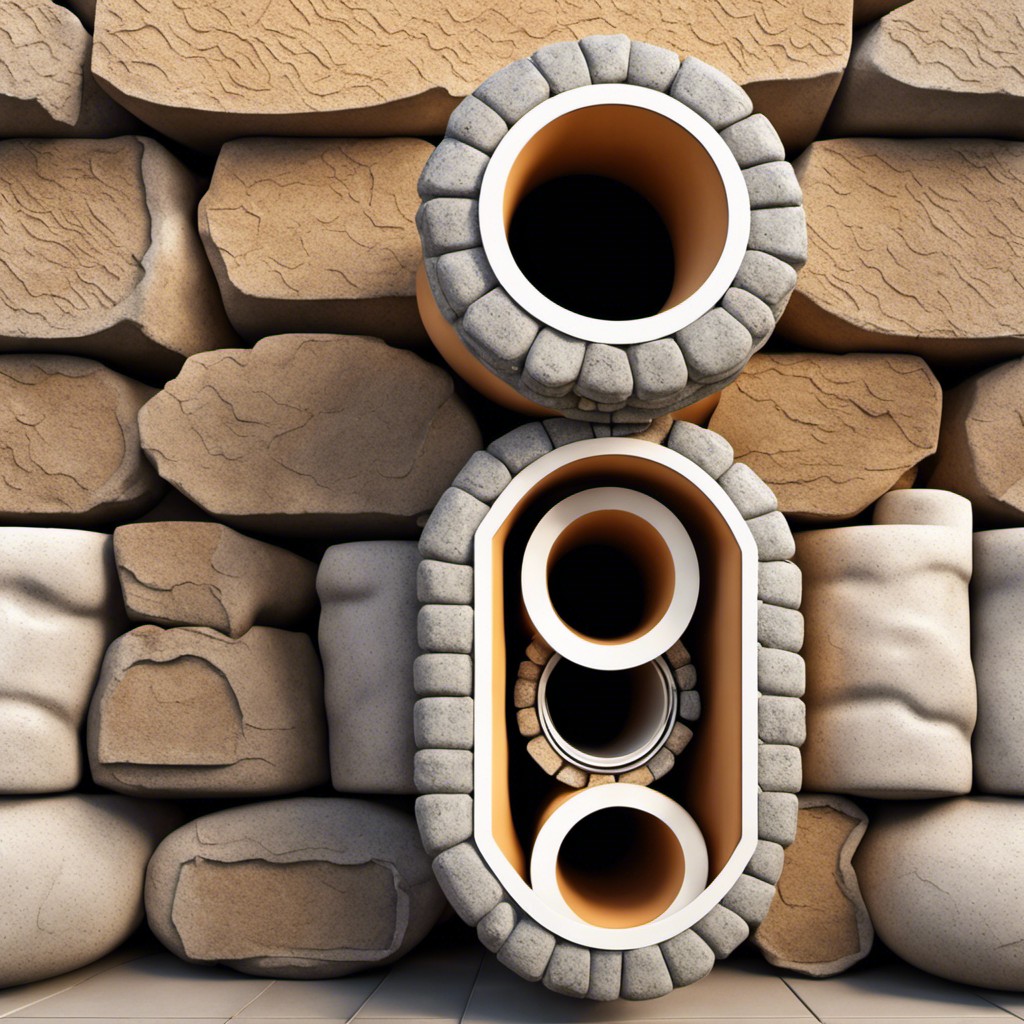
Taking inspiration from nature, sticking-on stones or pebbles can bring a rustic charm to your PVC pipes. Follow these points to achieve this look:
- 1. Select pebbles of your desired color and size. Aim for uniformity in size for a neat finish.
- 2. Use a strong adhesive, like epoxy resin, that can withstand the weight of the pebbles.
- 3. Apply adhesive to the PVC pipe and press in the pebbles, covering as much surface area as possible.
- 4. To ensure durability, apply a clear sealer over the pebbles after the adhesive has dried.
The end result is a natural encrusting that gives your PVC pipe a stunning, earthy appeal that easily blends with any environment.
Vintage Map Paper Cling
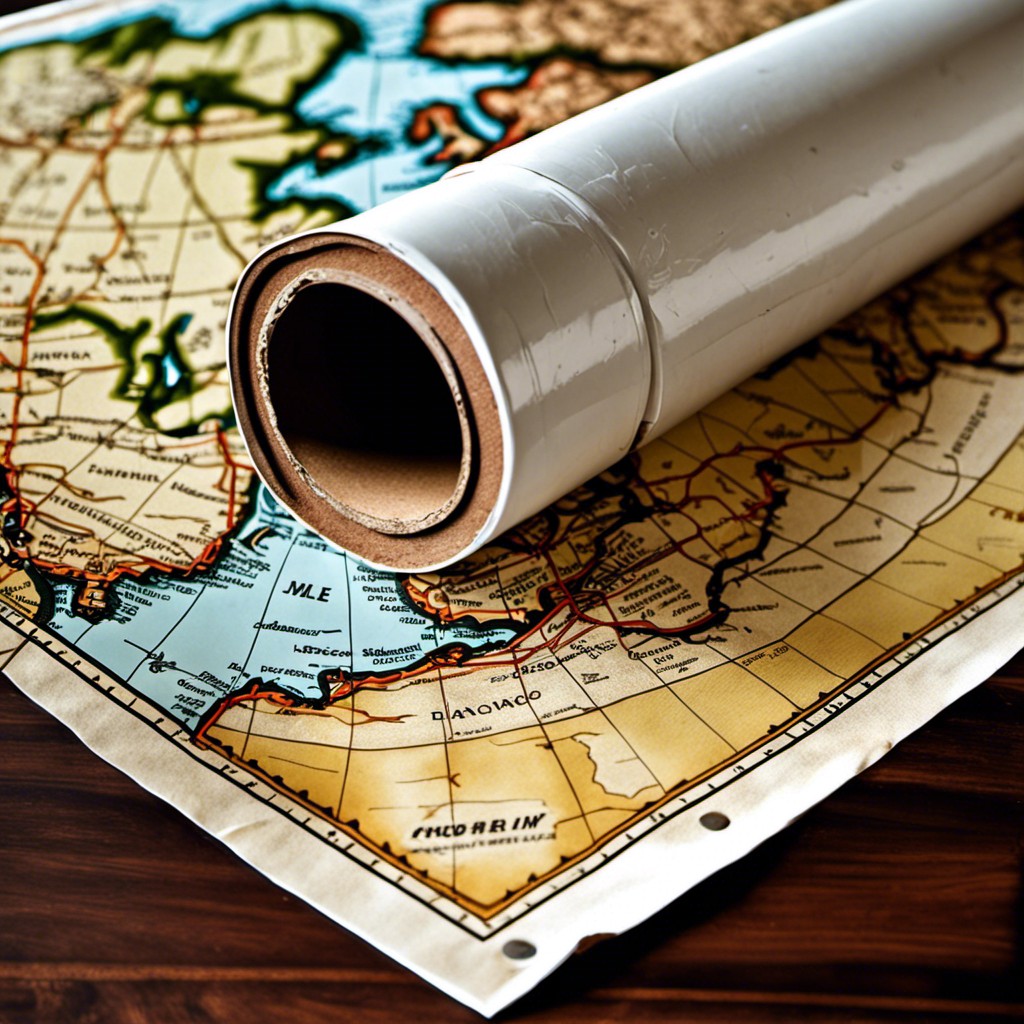
This creative idea brings a blend of old-world charm and personal flare to unappealing PVC pipes. To start with, you’ll need your preferred vintage maps and Mod Podge, a type of decoupage glue. Cut the maps into measured pieces matching the pipes size. Then, apply a generous coat of the Mod Podge to the pipe and carefully position your map onto it. Smooth out any bubbles or wrinkles and let it dry.
For an enhanced vintage look, lightly sand the edges after it dries. This method not only camouflages the pipe but can also spark conversations about travels and geography!
Crochet a PVC Pipe Cozy
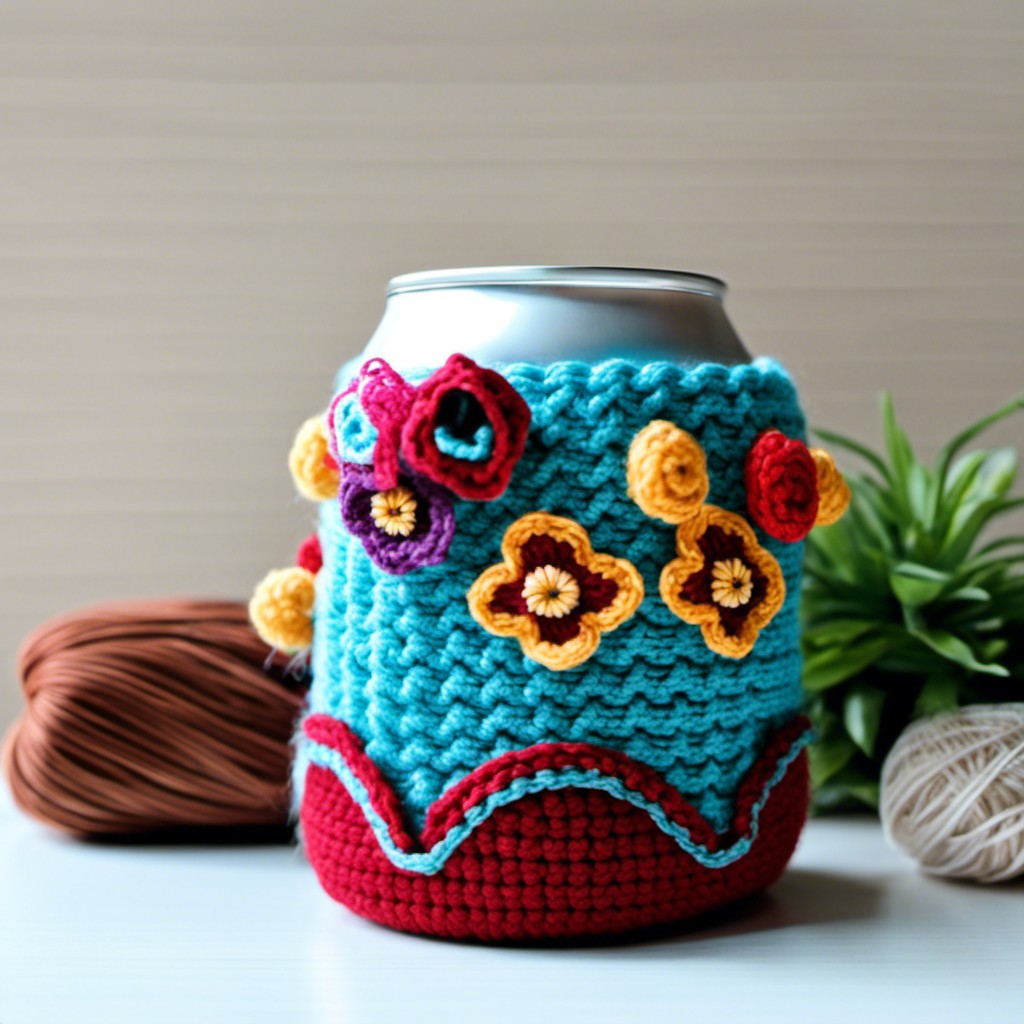
For this cozy creation, having some crochet basics under your belt will be handy. First, take measurements of the pipe’s length and circumference. Second, choose a yarn that compliments the room’s existing color palette. Using a yarn of medium thickness will ensure a good cover density.
Begin by crocheting a chain to wrap around the pipe. Connect the chain into a round and formulate a pattern using single or double crochet stitches. Continue with this pattern until the desirable length is achieved.
Ensure to check the fitting from time to time by slipping it over the pipe. Remember, the cozy should fit snugly but not be overly stretched. To attach it permanently, a glue gun or even clear duct tape can be used for fastening on the inside.
By applying this concept, you can create a cozy, unique piece of home decor with a dash of personality. And of course, the main advantage – your PVC pipe gets a full-blown makeover, far from a– formerly– stark entity.
Use Twine or Rope for a Coastal Style

With the right materials and approach, you can easily convey a coastal or nautical vibe. Twine or rope are versatile materials that serve this purpose excellently.
- Start by choosing a high-quality, strong, and appealing twine or rope. Sisal, jute, or cotton ropes are fantastic options as they retain a natural and rustic appeal.
- Adhere the twine or rope to your PVC pipe using strong, water-resistant adhesive to ensure the material stays affixed over time. Apply the glue in sections, progressively wrapping the rope as you move along the length of the pipe.
- For an impressive look, ensure the rope is wrapped tightly and uniformly with minimal visible gaps for a professional finish. Inconsistencies might detract from the overall aesthetic.
- For a twist, perhaps consider alternating between different colors or thicknesses of twine to create interesting visual patterns.
- Lastly, ensure that the ends of your rope are secured properly to prevent unraveling over time.
Wrap in Faux Leather or Suede
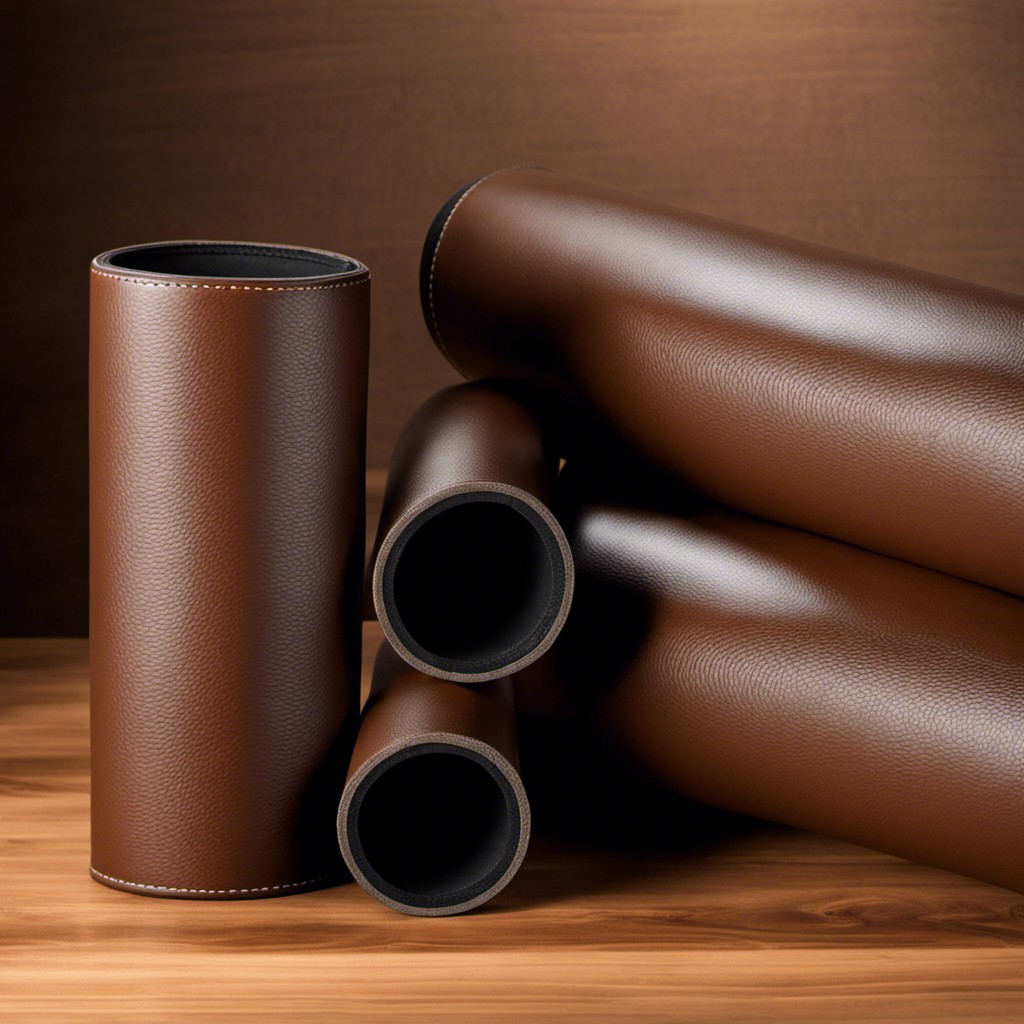
Opting for faux leather or suede can add a layer of sophistication and richness to your PVC pipe cover. This treatment is relatively affordable and simple to implement, even for beginners. The texture and color variety available in faux leathers can effortlessly accentuate your existing decor.
Follow the steps below for this chic transformation.
Firstly, measure the exact length and circumference of your PVC pipe. Cut your chosen faux leather or suede fabric with an added allowance of one inch on each side.
Use strong, waterproof adhesive, preferably spray adhesive for a neat, flat finish. Apply evenly on the surface of the pipe, and carefully align your fabric.
Ensure there are no wrinkles as you smoothly wrap the fabric around the tube.
For extra secured edges, consider sewing them with a color-coordinated thread beforehand. This step is optional but can further enhance the aesthetics and longevity of your wrapped cover.
Remember to let the adhesive dry thoroughly before moving or installing the pipe. Due to the durability of faux leather or suede, this style is a great choice for areas prone to wear and tear.
Attach Decorative Metal Sheets

Decorative metal sheets, readily available at craft stores, provide an innovative solution for covering PVC pipes. They not only embellish the pipes but also add a sheeny visual appeal. This crafty technique suits pipes subjected to lower temperatures due to metal’s heat conductivity.
Here’s how you can work with them:
1. Measure the Pipe: Ensure you have the accurate circumference and length of the pipe for a perfect fitting cover.
2. Choose a Pattern: The market is brimming with decorative metal sheets differing in pattern and color. Select a design complimenting your room’s style.
3. Cut and Attach: Once you’ve measured and marked your chosen metal sheet, cut it carefully. Use a suitable adhesive to attach it around the pipe, ensuring it fits correctly.
4. Seal: Use a clear sealant to protect the metal from rust or staining, enhancing its longevity.
Remember to wear safety gloves while cutting the metal sheets to prevent any injuries. The task is moderately easy and the results, spectacularly eye-catching!
Wine Cork Absorption Cover
Turning old wine corks into a charming PVC pipe cover is a unique way to recycle while enhancing your decor. The process is as easy as it is eco-friendly.
1. Start by cutting your corks in half – this makes them sit flush against the pipe and provides a flat base for application.
2. Pre-plan your design. You can choose to place the corks randomly or create a certain pattern.
3. Use strong adhesive, one that can withstand the material and climate conditions. If the pipe is outside, make sure to use a water-resistant adhesive.
4. Apply adhesive to the flat side of the cork and start attaching it onto the PVC pipe.
5. For those larger pipes, if you run out of corks, no need to worry. Cut-out cardboard rounds can fill in the gaps. Paint them in a color that complements your cork design, and you’re good to go.
Soon, the unsightly PVC pipe transforms into a fabulous conversation piece that exudes elegance and creativity. Plus, you’ll love the satisfaction of upcycling your wine cork collection.
Install a Light-up Feature
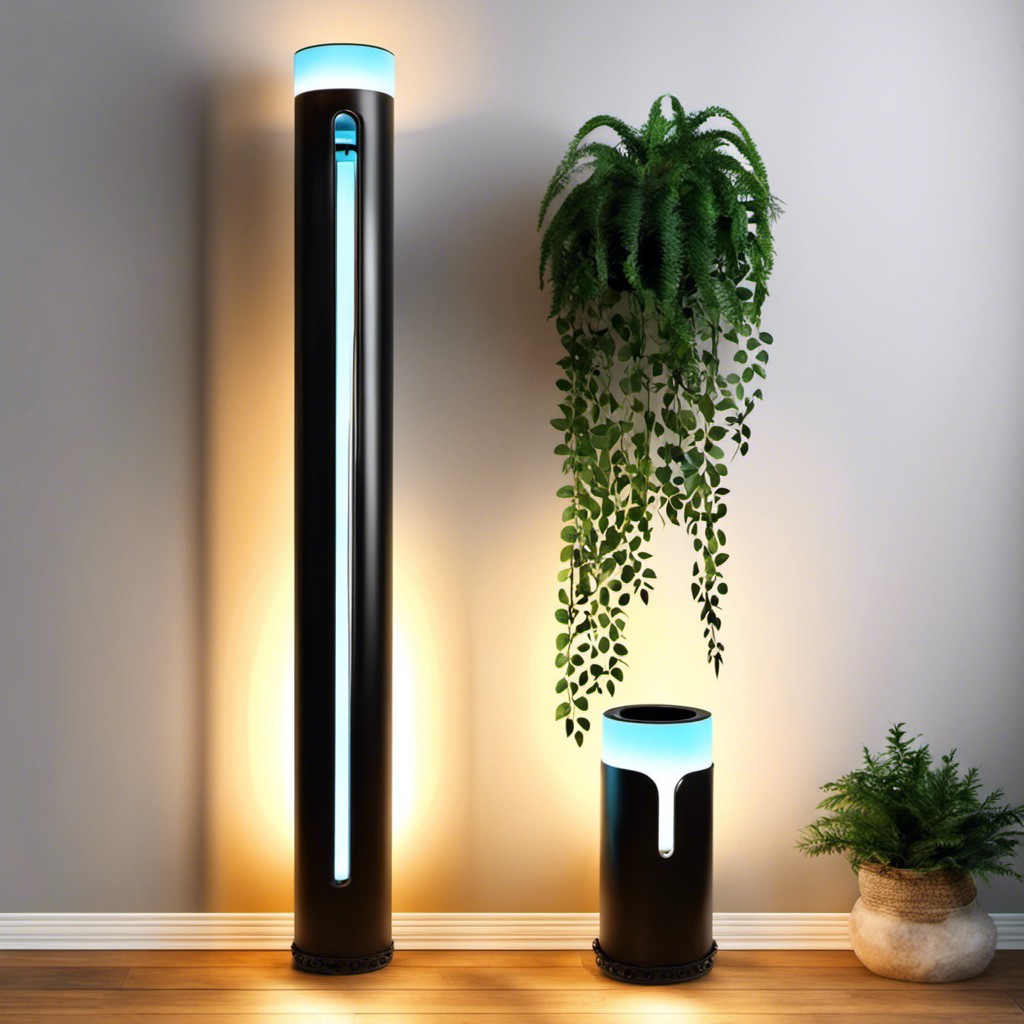
Lighting, when used cleverly, has a captivating effect, transforming an ordinary PVC pipe into a glorious decor feature. This innovative method requires a series of LED lights to be inserted into the PVC pipe. The lights could be run along the length of the pipe or arranged in a pattern, depending on your decor preference.
These lights accentuate any designs or finishes already on the pipe, adding another layer of depth to your decor. It’s strongly recommended to use waterproof LED lights, particularly if the pipes are located outdoors or in a moisture-heavy room like the bathroom or kitchen.
The LEDs come in a diverse color palette allowing you to choose the tone that best complements your space. Remember, the brightness should strike the right balance – not too dim, not too blinding; it’s key to create ambient space.
Equipping your PVC cover with a light-up feature not only makes it aesthetically pleasing, but it also serves a functional purpose, providing a lovely source of light in your home. The installation process can be a fun DIY project that brings a bright life to an otherwise overlooked element in your space.
Magnetic Chalkboard Cover
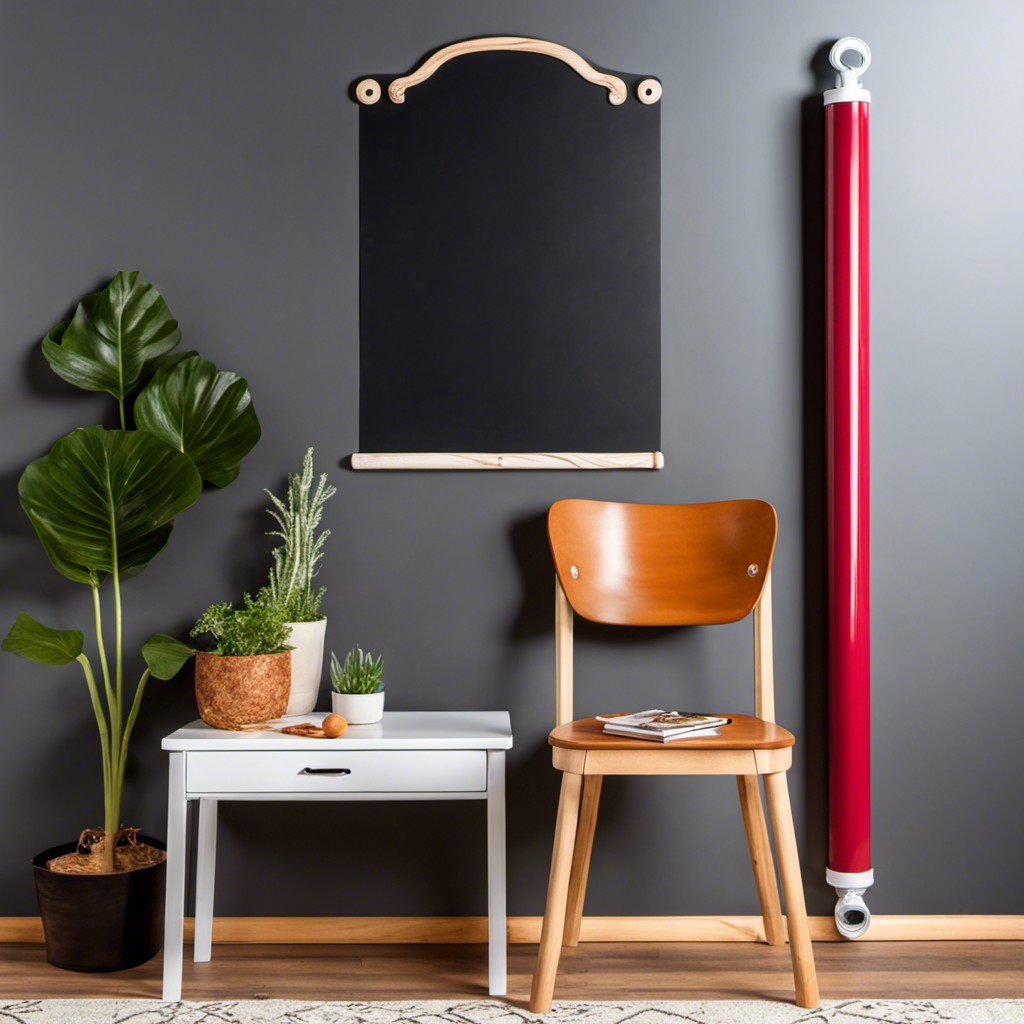
This creative solution combines utility with beauty. The first step involves applying a coat of magnetic primer to the PVC pipe, which provides a base for magnetic substances to stick. Once the primer dries, a top coat of chalkboard paint is applied. This creates a sturdy, writeable surface with the added function of being magnetic.
The magnets provide a fantastic way to attach reminders, shopping lists, or even small decorative items. Meanwhile, the chalkboard surface allows for an ever-changing display of art, messages, or designs. This can be particularly useful in areas like the kitchen or home office, where organizational aids are always welcome. With a variety of chalk colors, every scribble or doodle becomes a piece of art.
Moreover, this design technique offers a seamless blend with any color scheme, owing to the chalkboard paint’s neutral black color. For a more personalized touch, colored chalkboard paint could also be used. The implementation of this design adds a fun, interactive touch to any space while effectively camouflaging the PVC pipe.
Remember, it’s important to let each coat of paint dry thoroughly before moving on to the next step to ensure durability and a smooth finish. Also, to enhance the magnetic ability, you might consider applying multiple coats of the magnetic primer.


