Last updated on
Discover the art of sewing a perfect couch cushion cover with this easy-to-follow guide that will transform your living space in no time.
Are you tired of looking at your old, worn-out couch cushions? Do you want to give your living room a fresh new look without spending a fortune on new furniture? Well, you’re in luck! In this article, we’ll show you how to sew your own couch cushion covers. Not only is it an affordable way to update your decor, but it’s also a fun and creative project that anyone can do.
So grab some fabric and thread, and let’s get started!
Table of Contents
Necessary Tools for Sewing
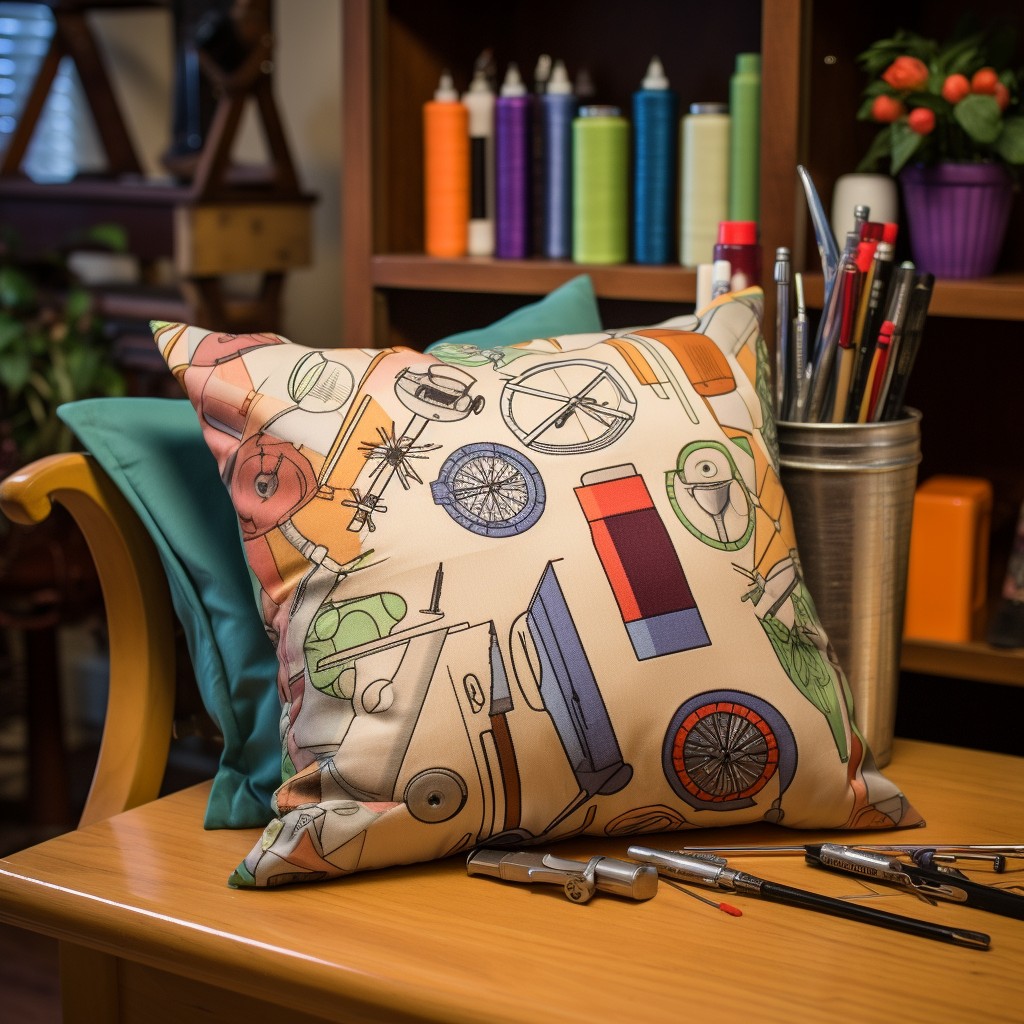
Here are some essential items you’ll need:
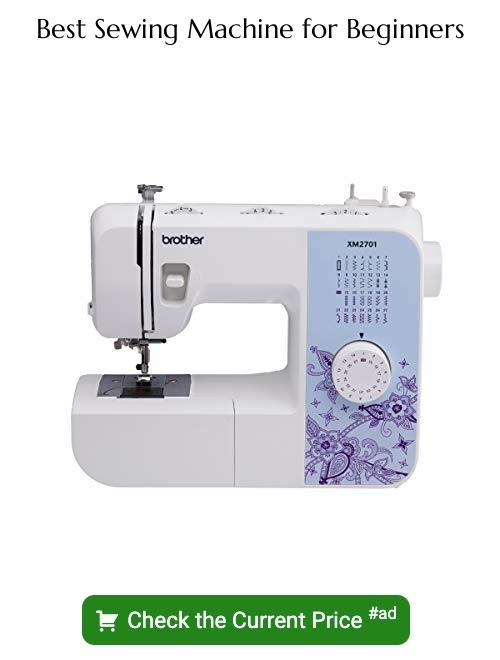
1. Sewing machine – A good quality sewing machine is a must-have for any serious seamstress.
2. Fabric scissors – Invest in a pair of sharp fabric scissors that will make cutting through thick materials like upholstery fabrics easier.
3. Measuring tape or ruler – Accurate measurements are crucial when making cushion covers, so be sure to have measuring tools on hand.
4. Pins and needles – These basic supplies will help keep your fabric pieces in place while you sew them together.
5. Thread – Choose thread that matches your chosen fabric color for seamless stitching.
6. Zipper foot- This attachment helps with attaching zippers seamlessly.
7. Piping cord- If adding piping detail, this is an essential item.
Measuring Couch Cushion
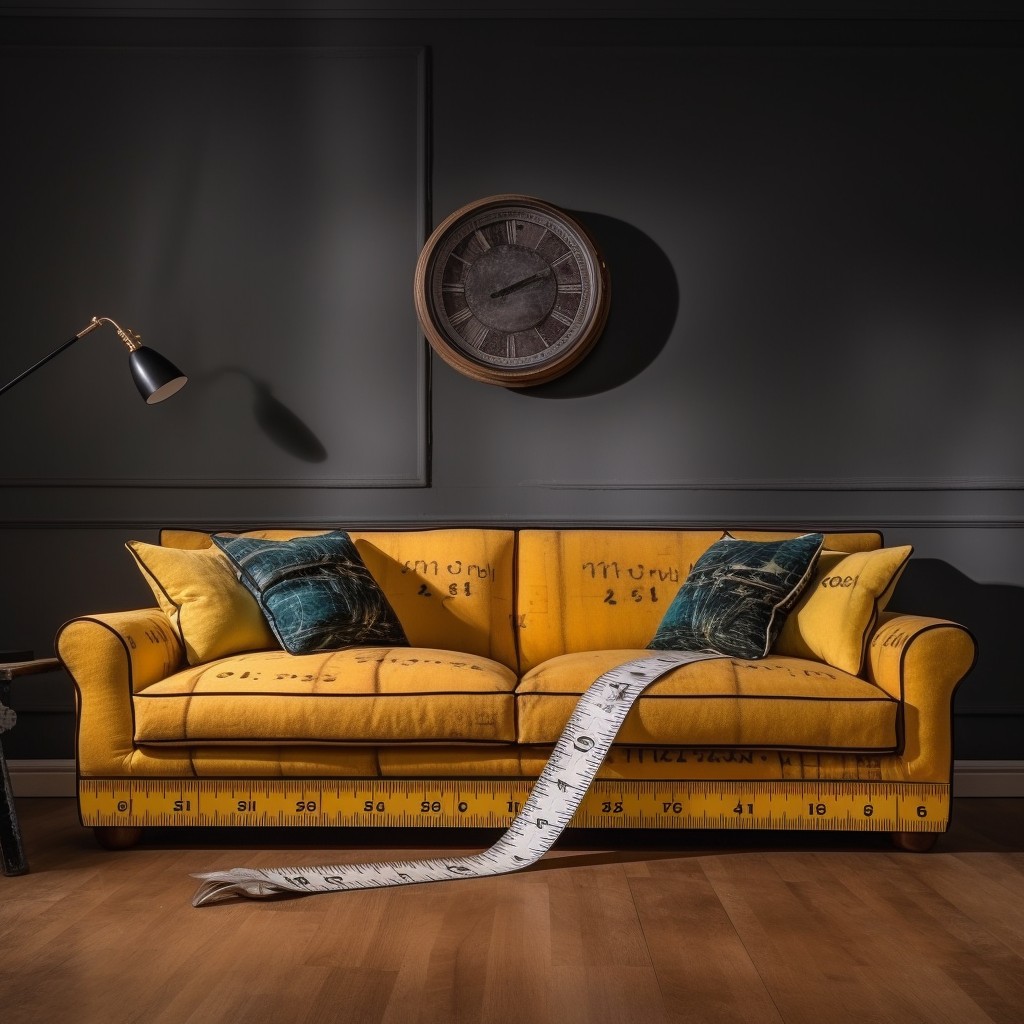
This will ensure that you create a cover that fits perfectly and looks professional. To do this, remove the cushion from your couch and place it on a flat surface.
Using a measuring tape, measure the length of the cushion from one end to another. Then, measure the width of the cushion at its widest point.
Be sure to take accurate measurements as these will determine how much fabric you need for your project.
If you have multiple cushions with different sizes or shapes, make sure to measure each one separately as they may vary slightly in size or shape.
Once you have all of your measurements written down, add an extra inch on each side for seam allowance when cutting out fabric pieces later on in this process.
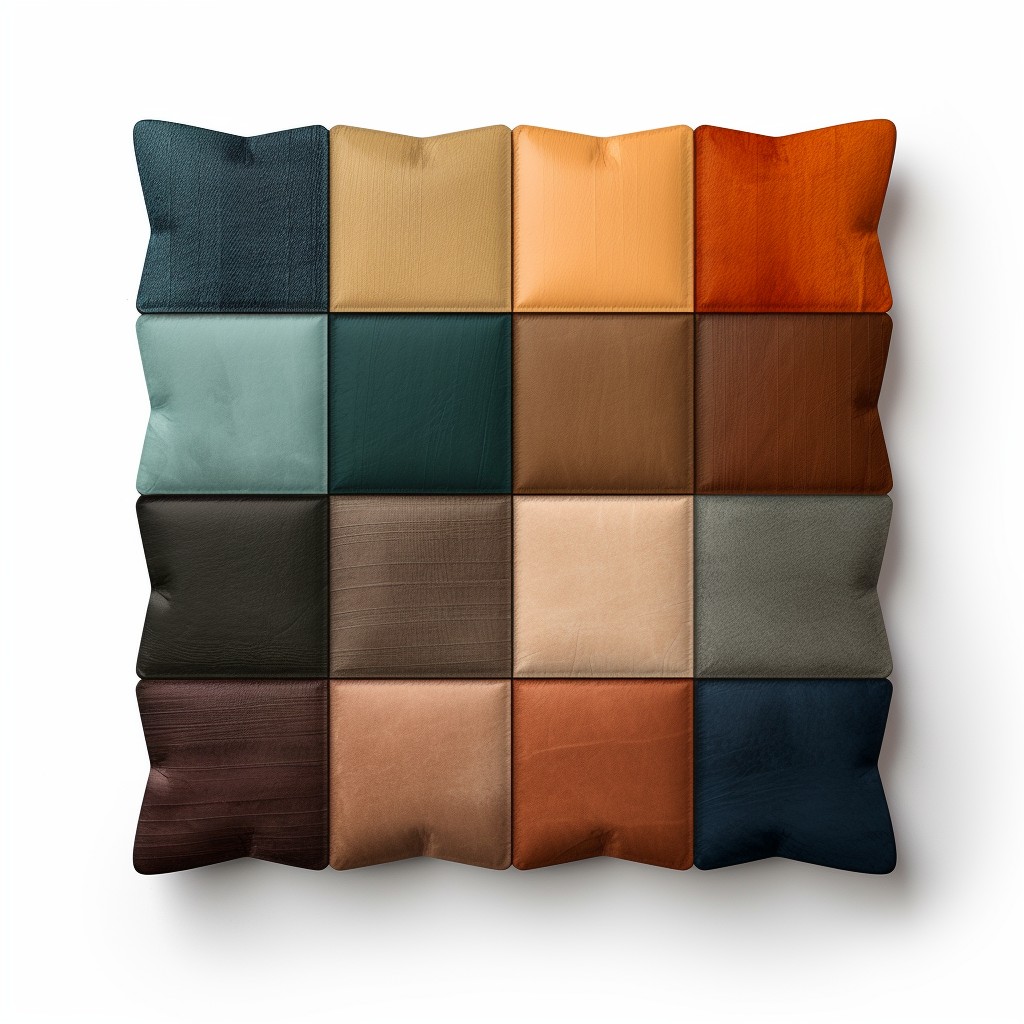
Selecting Fabric
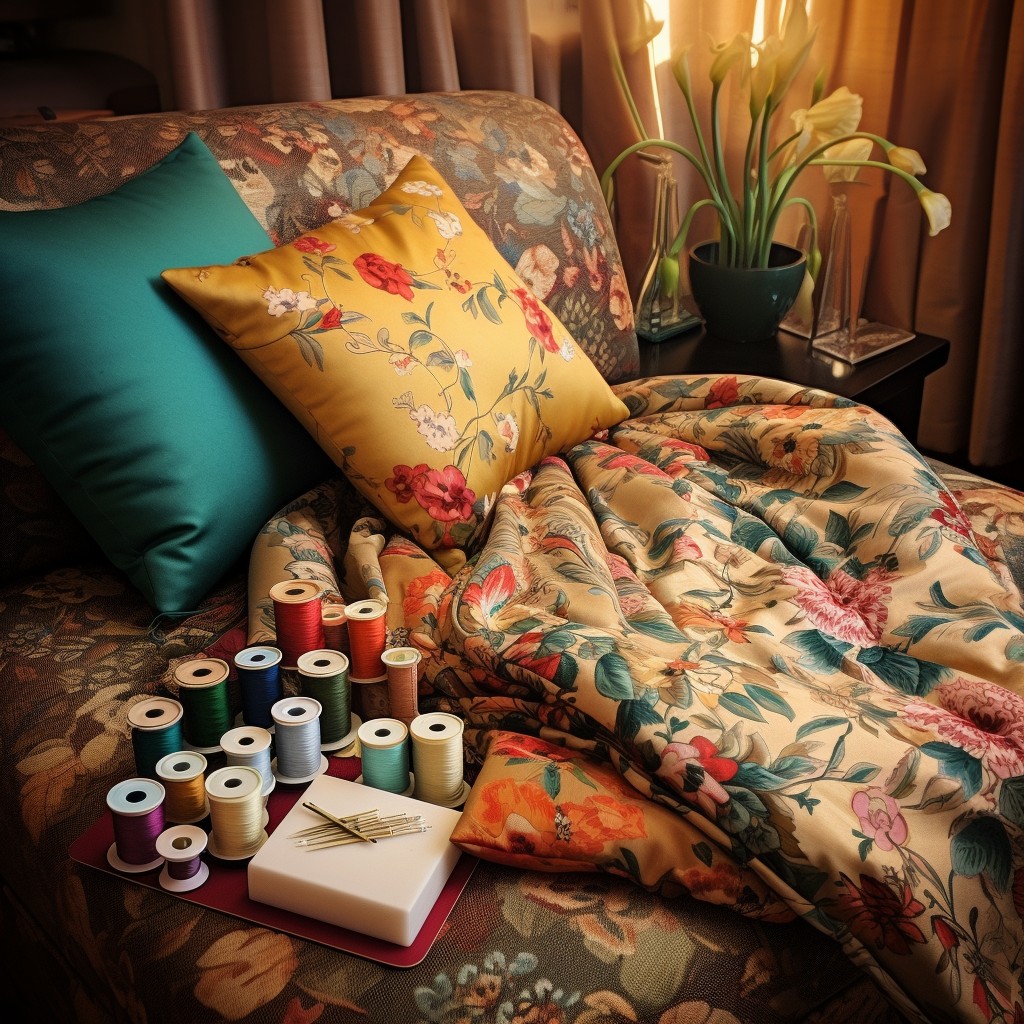
First and foremost, you want a fabric that is durable and can withstand daily wear and tear. Look for fabrics that have high thread counts or are made from natural fibers like cotton or linen.
Next, think about the color scheme of your living room. You want to choose a fabric that complements your existing decor while also adding some visual interest.
If you’re not sure what colors will work best in your space, try bringing home swatches of different fabrics and holding them up against your furniture.
Another important factor is texture – do you prefer something smooth or textured? This will depend on personal preference as well as how much use the cushions get; if they’ll be used frequently by kids or pets then perhaps something more durable would be better suited than say silk which may snag easily.
Lastly, don’t forget about pattern! A bold print can add personality to an otherwise neutral room while stripes can create an illusion of length in smaller spaces.
Tips for Choosing the Right Fabric
First and foremost, consider the durability of the material. Couch cushions get a lot of wear and tear, so you want something that can withstand daily use without showing signs of wear too quickly.
Another important factor is color and pattern. You’ll want to choose a fabric that complements your existing decor or adds an interesting pop of color or texture to your space.
It’s also essential to think about cleaning and maintenance when selecting fabric for your cushion covers. Look for materials that are easy to clean or have stain-resistant properties if you have kids or pets at home.
Lastly, don’t forget about comfort! While aesthetics are crucial when it comes to home decor, remember that these cushions will be used regularly by yourself as well as guests who visit often; therefore select fabrics with soft textures such as cotton blends which provide both comfortability & style!
Calculating Fabric Required
This will ensure that you have enough fabric for the project and avoid any unnecessary trips to the store.
To determine how much fabric is required, measure the length and width of your cushion. Add 1 inch (2.5 cm) to each measurement for seam allowance.
Next, multiply both measurements by two since there are two sides of a cushion cover. For example, if your cushion measures 18 inches (45 cm) by 18 inches (45 cm), then adding an inch on each side would make it a total of 20 inches (50cm).
Multiplying this number by two gives us a total length requirement of 40 inches(100cm).
Divide this number by the width of your chosen upholstery or drapery fabric which is typically around 54-60″ wide to get an estimate on yardage needed. It’s always better to buy extra material than not having enough as some fabrics may shrink after washing or require pattern matching which can increase wastage during cutting process so keep these factors in mind while calculating yardages needed.
Cutting Fabric Pieces
Before cutting, make sure that you have washed and ironed your fabric to prevent any shrinkage or distortion after sewing.
Using a rotary cutter or sharp scissors, carefully cut out each piece according to the measurements taken earlier. Be sure to follow any pattern instructions if using a printed fabric.
It’s important to note that accuracy is key when cutting out pieces for cushion covers. Any discrepancies in size can result in an ill-fitting cover which will not only look unprofessional but also be uncomfortable when sitting on it.
Take extra care when cutting corners as they need precise cuts so they fit together seamlessly during assembly later on.
Applying Seam Allowance
Seam allowance is the extra space between the edge of your fabric and where you will be sewing. This allows for a clean finish and prevents fraying over time.
To apply seam allowance, use a ruler or measuring tape to mark out how much extra space you need around each piece of fabric. The standard measurement for seam allowances is 1/2 inch (1.27 cm), but this can vary depending on personal preference or pattern instructions.
Using sharp scissors or a rotary cutter, carefully trim away any excess fabric outside of your marked lines while leaving enough room for stitching.
Sewing the Cushion Cover
Begin by placing the two main pieces of fabric together with their right sides facing each other. Pin them in place along the edges that will be sewn together, leaving one side open for inserting the cushion.
Using a sewing machine or needle and thread, stitch around all three sides of your cushion cover until you reach where you started. Be sure to backstitch at both ends to secure your stitches.
If you’re adding piping or trimmings to your cushion cover design, now is when they should be attached before moving on with stitching up any remaining seams.
Sewing-on Piping
Piping is a decorative trim that can be used to accentuate the edges of your cushion cover. It adds an extra layer of texture and depth, making your cushions look more polished.
To sew on piping, start by cutting strips of fabric on the bias (diagonally across the grain) or use pre-made piping cord. Pin one end of the strip onto one side of your cushion cover with right sides facing each other and raw edges aligned.
Sew along this edge using a zipper foot attachment until you reach about 1 inch from where you started.
Next, take your pre-made or homemade corded-piping and place it in between both layers with its seam allowance facing outwards towards raw edge aligning all three layers’ raw edges together while pinning them in place as needed.
Sew slowly around corners ensuring that they are neat without any puckering or bunching up at seams by adjusting tension settings if necessary before trimming excess material away leaving enough space for seam allowances when turning inside out later on during assembly process.
Creating Zipper Closure
It allows for easy removal and cleaning of the cover, making it a practical choice for those with kids or pets. To create a zipper closure, you’ll need to purchase an appropriate length zipper that matches your fabric color.
Firstly, place your two pieces of fabric right sides together and sew along three edges leaving one edge open where you want the zip to be placed. Then press seams open and attach piping if desired.
Next step is attaching the zipper tape on each side using pins or clips ensuring that it’s centered over seam allowance with teeth facing down towards fabric right side. Using either regular foot or specialized invisible zip foot on sewing machine stitch close as possible from top stopper down until just before bottom stopper then switch backstitch direction so stitches are locked in place at both ends.
Alternative Closure Methods
One option is to create an envelope-style cover where the back and front pieces overlap in the middle. This method doesn’t require any zippers or buttons, making it a simple and easy way to update your cushions.
Another option is to use Velcro strips as closures. Simply sew one side of the Velcro onto each end of the opening on your cushion cover, then attach them together when closing up your pillowcase.
Lastly, if you don’t want any visible closures at all on your cushion covers, consider using fabric ties instead. Cut two long strips of fabric and sew them into each corner seam allowance before assembling the rest of the cover.
Tie these together once inserted over cushions for a snug fit without having anything visible from outside.
Assembling Cover
First, lay out the front piece with the right side facing up. Then place one of the back pieces on top with its right side facing down and aligning their edges.
Repeat this step for the other back piece on top of that.
Next, pin all three layers together along each edge to keep them in place while sewing. Be sure to leave a small opening at one end for inserting your cushion later.
Using a straight stitch and ½ inch seam allowance, sew around all four sides of your cushion cover until you reach where you started from leaving an opening big enough for inserting cushions or stuffing material.
After stitching is complete remove pins and turn inside out through open end so that now both fabrics are outside-facing (right-side-out).
Sewing Corners
This step can be a bit tricky, but with some patience and practice, you’ll get the hang of it in no time.
To start sewing your corners, fold one corner of your fabric diagonally so that the seam lines up with itself. Pinch together both layers at each end and make sure they are aligned properly before pinning them in place.
Next, use a ruler or measuring tape to mark where you want to stitch across from one side seam to another. This will create a triangle shape on each corner that will give your cushion cover its finished look.
Sew along this line using either a straight or zigzag stitch depending on how much stretch is needed for your fabric type (zigzag stitches work best for stretchy fabrics). Once done stitching all four corners cut off any excess material beyond 1/4 inch from seams then turn right-side out again!
Inserting Cushion
This is a crucial step that requires some attention to detail. First, make sure that the zipper or closure method you chose is open and ready for insertion.
Next, carefully slide the cushion into the cover making sure all corners are aligned properly. If your cushions are particularly large or stiff, it may be helpful to use a vacuum cleaner with an upholstery attachment to compress them slightly before inserting them into their covers.
Once inserted correctly and positioned in place within its new cover, zip up any zippers or close any other closures used on your couch cushions’ covers securely so they don’t slip out of position over time.
Final Stitching
This step is crucial in ensuring that your cushion cover looks neat and professional. Start by checking for any loose threads or uneven seams and trim them off using a pair of scissors.
Next, fold the edges of the opening where you inserted the cushion towards each other so that they overlap slightly. Pin them together to keep them in place before sewing along both sides using a straight stitch on your sewing machine.
Finishing Touches and Sealing Edges
One of the most important steps is sealing the edges to prevent fraying and ensure durability. There are several ways to do this, including using a serger or zigzag stitch on your sewing machine.
You can also use pinking shears or apply fabric glue along the edges.
If you choose to use a serger or zigzag stitch, simply run it along each edge of your cushion cover after trimming any excess fabric with scissors. This will create a clean finish that won’t unravel over time.
Alternatively, if you prefer not to sew around all four sides of your cushion cover with either method mentioned above (serging/zig-zag), then pinking shears may be an option for you! Pinking shears cut in such a way that they leave small triangles at each cut which helps prevent fraying without having additional stitching lines visible on top like when using other methods.
Applying fabric glue is another easy way seal off those pesky raw edges without adding extra bulk from stitches – just make sure not too much glue gets applied as it could seep through and stain fabrics!
Customizing Your Cushion Cover Design
There are endless possibilities when it comes to personalizing your cushion covers. You can add decorative elements such as piping or buttons, experiment with different fabrics and textures, or even create a patchwork design using scraps of fabric.
One way to make your cushions stand out is by adding appliques. These are small pieces of fabric that are sewn onto the surface of the cover for an extra pop of color or texture.
You can use contrasting colors for a bold look, or choose fabrics with interesting patterns like florals or geometric shapes.
Another option is to incorporate embroidery into your design. This technique involves stitching designs onto the fabric using colorful thread in various patterns and styles such as cross-stitching, chain stitch embroidery among others.
You could also consider adding trims like tassels on each corner which will give them an elegant touch while still keeping things simple yet stylish.
Troubleshooting Common Sewing Issues
Don’t let these problems discourage you from completing your project. Here are a few tips to help troubleshoot and solve some of the most common sewing issues:
1. Uneven seams: If your seams are uneven or wavy, it could be due to incorrect tension on the machine or using an incorrect needle size for the fabric type.
2. Skipped stitches: This issue is often caused by dull needles or using a wrong needle size for thicker fabrics.
3. Fabric puckering: Puckering occurs when there is too much tension on the thread while stitching; try adjusting thread tension and stitch length settings.
4. Broken threads: Thread breakage can occur if there’s not enough slack in the bobbin thread; ensure that both top and bottom threads have enough slack before starting to sew again.
Care and Maintenance of Cushion Covers
Regular maintenance will help keep them looking fresh and new for years to come. Here are some tips on how to care for your newly sewn cushion covers:
1. Wash with Care: Always check the washing instructions on the fabric label before cleaning your cushion cover.
If possible, use a gentle cycle and cold water.
2. Avoid Bleach: Never use bleach or harsh chemicals when washing or spot-cleaning your cushions as they can damage the fabric.
3. Air Dry Only: It’s best to air dry your cushions rather than using a dryer as high heat can shrink or warp the fabric.
4. Protect from Sunlight: Direct sunlight can cause fading and discoloration over time so try not expose them too much in direct sunlight.
By following these simple steps, you’ll be able to enjoy beautiful-looking couch cushions that last longer!
FAQ
Is it easy to sew cushion covers?
Yes, sewing cushion covers is quick and easy, especially when using inexpensive fabric, which also saves money.
What are the essential materials and tools needed for sewing a couch cushion cover?
Essential materials and tools needed for sewing a couch cushion cover include fabric, measuring tape, scissors, pins, a sewing machine, thread, and a zipper or other closure.
Can you provide step-by-step instructions for creating a couch cushion cover with a zippered closure?
Sure, to create a couch cushion cover with a zippered closure, follow these steps: measure and cut fabric, sew zipper, attach fabric pieces together, and sew remaining edges.
What are some tips and tricks for selecting the right fabric and measuring accurately for a well-fitted couch cushion cover?
To select the right fabric and measure accurately for a well-fitted couch cushion cover, consider fabric durability, texture, color, and patterns, and use a flexible measuring tape to measure length, width, and height of the cushion, allowing for seam allowances.


