Last updated on
Removing a sliding glass door without screws becomes essential when upgrading your home, because it can streamline your renovation process and prevent damage to your property.
Removing a sliding glass door without screws can appear challenging, but it’s actually a straightforward task with the right knowledge and tools. This article will guide you through the process step-by-step, ensuring you can safely and efficiently remove your sliding glass door without causing damage.
From preparing the area to the actual removal of the door, every detail will be covered. So, whether you’re a DIY enthusiast or a complete novice, this guide will provide you with all the information you need to successfully complete the job. You’ll be surprised at how simple this task can be when you have the right guidance.
Key takeaways:
- Clear out furniture and measure the door and track.
- Use gloves, protective glasses, utility knife, and pry bar.
- Start by unhooking the top of the door and have a partner assist.
- Check condition of door and prepare the area for removal.
- Clean glass, tracks, and properly store the door after removal.
Table of Contents
Preparation Steps for Removing a Sliding Glass Door Without Screws

Before starting, clear out any obstructive furniture or decor from the immediate work area. Use a tape measure to take precise measurements of the door and the track.
Provide adequate lighting to carry out the task and wear appropriate safety gear such as gloves and protective glasses to avoid injuries.
Ensure you have the necessary tools at hand like a utility knife and pry bar – tools that will help loosen and remove the door.
Additionally, it’s always a good idea to have someone on hand to assist you with maneuvering the heavy glass.
Tips to Safely Remove a Sliding Glass Door Without Causing Damage

Unhooking the top first ensures that the weight stays balanced, helping to prevent undue strain on the frame. Consider having a partner to help hold the door during removal. This keeps the door steady and minimizes the risk of injury.
Ensure to use gloves for grip and to protect your hands against potential glass breakage. Always remember that safety goggles are also essential to guard your eyes against flying debris.
Assess the condition of the door beforehand. If the glass is cracked or the frame is creaky, take extra precautions as this indicates weaknesses. The delicate condition requires slow and careful removal.
Lastly, prepare the area for the removal. Clear the surrounding space of furniture and decor, reducing damage risk to you or your property. Place a tarp or a piece of cloth where you will lay the door to prevent scratches once it’s off the tracks.
How to Remove a Sliding Glass Door Without Screws: Step-by-step Guide
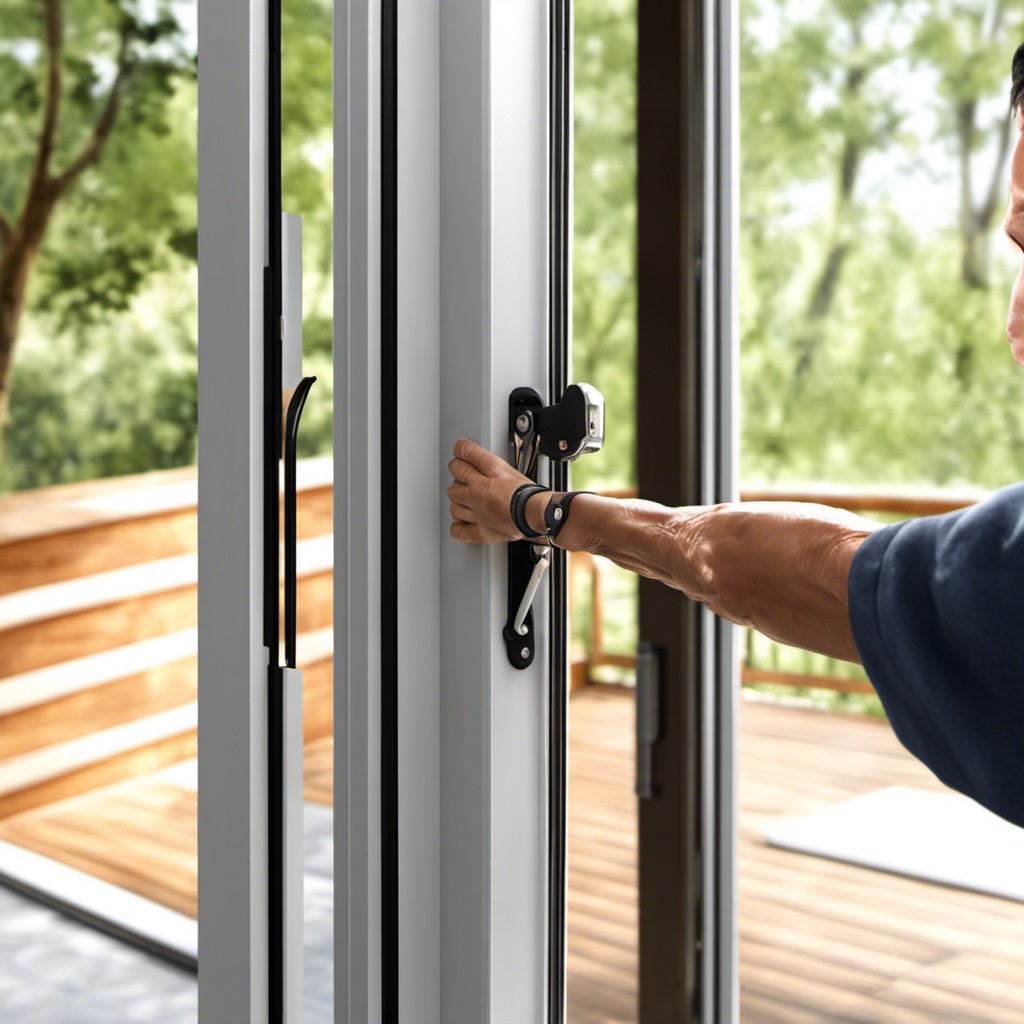
Begin with lifting the sliding door panel. Tilt the lower part of the door toward you while maintaining control over the top. Carefully extract it from its place. This may require patience and gentle moves to prevent damage. Remember, sliding glass doors can be heavy; work with a partner if needed.
Once the first panel is removed, repeat this process with the remaining panel(s). These may require slightly different handling depending on the design of the door. Treat each panel individually, with care and attentiveness.
After all the panels are removed, deal with the door frame. Start by removing the inside trim or molding from around the door frame. Use a pry bar for this task, making sure not to damage the surrounding wall. After removing the trim, the frame should be exposed, allowing easy removal from the surrounding opening.
While removing the frame, be mindful of any hidden screws. If located, use the appropriate screwdriver to remove them. In case of a screw-less design, careful prying should suffice.
Remember, decades-old paint or adhesive can make the frame stick to the wall making it hard to remove. If this occurs, a utility knife to cut around the edge of the frame can aid removal. Always prioritize safety by wearing suitable gloves and eye protection.
Once the frame is removed, ensure the opening is clear from debris to facilitate installation of a new door, or sealing, if the opening is no longer needed. If you plan to install a new sliding door, be mindful of the manufacturer’s instructions.
Each removal scenario can be unique, hence adjust your process as necessary based on the specific characteristics of your sliding glass door and its installation.
Post-removal Steps and Precautions With a Sliding Glass Door
Upon the door’s successful removal, carefully set it aside in a low traffic space to prevent accidents or damage. It’s essential to check for any leftover debris, such as small glass fragments or metal pieces in the removal area, which could potentially cause injury or interfere with any door replacement process.
Next, give attention to the now empty sliding door frame. Inspect it for any unevenness, rot, or damage. This step is crucial because these issues, if any, will need to be addressed before a new door installation.
In the case of reinstallation, clean the track thoroughly. Dirt and grime can often accumulate in these areas over time, affecting the door’s smooth operation. A clean sliding track will ensure that the glass door slides effortlessly upon re-installation.
If you decide not to replace the door immediately, safeguard the area. To prevent unauthorized access or accidental falls, make sure to secure the open space properly. You may use a temporary barrier or cover as a safety measure until you are ready for the next actions.
Lastly, it’s important to note, if your door is intact, it can be repurposed or donated. Many establishments appreciate these donations, and it’s an excellent way to recycle. Alternatively, if the door is broken, dispose of it responsibly, considering its size and the materials used in its construction.
Common Mistakes When Removing Sliding Glass Doors and How to Avoid Them
One common error individuals often make is neglecting to assess the weight of the door prior to starting. Sliding doors can be heavy and require two people to handle safely. Ensure you have assistance to prevent accidental drops that could shatter the glass.
Another habit to avoid is prying the door out of the frame with excessive force. The right technique makes all the difference to avoid damages to the door frame. Instead of leveraging brute force, take time to locate the adjusting screws at the bottom of the door, these can be utilized to lift the door delicately out of its track.
It’s also a widespread error to forget to properly secure the door once it’s out of the frame. Sliding doors can easily tip over and break. To prevent this, have a solid, flat surface prepared to rest the door on immediately after removal.
Lastly, be cautious about letting gravity do the work. While lowering the door from its track, it’s essential not to let it free-fall as it can cause damage to the door or the floor, or even result in personal injury. Handle with care to maintain optimal safety.
Maintaining Your Sliding Glass Door Post-removal
Once the glass door is safely removed, ensure cleanliness by wiping down the glass with a quality glass cleaner. It helps in removing any dirt, grime, or fingerprints that might have ended up on it during the removal process.
A word of caution – always be gentle when treating the door to avoid scratches or cloudy streaks. A soft microfiber cloth works best for cleaning.
Now, the door tracks. They often accumulate dust and debris, interfering with the door’s mobility. Use a stiff brush to clean them, followed by vacuuming to take care of all the loose particulates. For stubborn dirt, use a damp cloth and mild cleaning solution.
Regular lubrication of the sliding door track is essential. Silicone-based lubricants work well as they do not attract dust or grime. Finally, store the doors properly to prevent any damage—that means no leaning against walls or stacking other items on them.
In short, a properly maintained door assures future re-installation without issues, or better resale value if your plan is to sell.
Considerations Before Replacing or Discarding a Removed Sliding Glass Door
Once the sliding glass door is removed, thoughtful deliberation is worth investing in deciding the subsequent actions. Potential reuse or recycling are two viable options. Reinventing it as a decorative piece or selling it are decisions that can reduce environmental waste while potentially saving money.
Alternatively, you may contemplate replacement. Consider the style, material, and energy efficiency of the new door. A well-insulated glass door could significantly lower energy costs in the long run, while achieving the desired aesthetic appeal.
Finally, if the door is damaged or displaying signs of wear – such as fogging between panes – disposing might be the best option. Reach out to a professional waste management company to ensure safe and environment-friendly disposal.
Remember, your decision should encompass factors like cost, efficiency, and environmental impact.
FAQ
Can you remove sliding glass door to move furniture?
Yes, you can remove a sliding glass door to facilitate the movement of large pieces of furniture through the doorway.
How do you put a sliding glass door back on track?
To properly place a sliding glass door back on track, one should remove it from the track, ensure the top rollers are aligned first, and then gradually guide the bottom of the door into position while pushing the top segment upwards into the track.
What are the tools needed for a sliding glass door removal process?
The tools required for the removal process of a sliding glass door are a screwdriver, pry bar, utility knife, and a level.
How to handle the roller mechanism while removing a sliding glass door?
To handle the roller mechanism while removing a sliding glass door, lift the door straight up, tilt the bottom towards you, and then pull it off its track.
Is professional assistance necessary for re-installing a sliding glass door after removal?
Although not always necessary, engaging a professional can be helpful when re-installing a sliding glass door as it can ensure the proper alignment, insulation, and safety.


