Last updated on
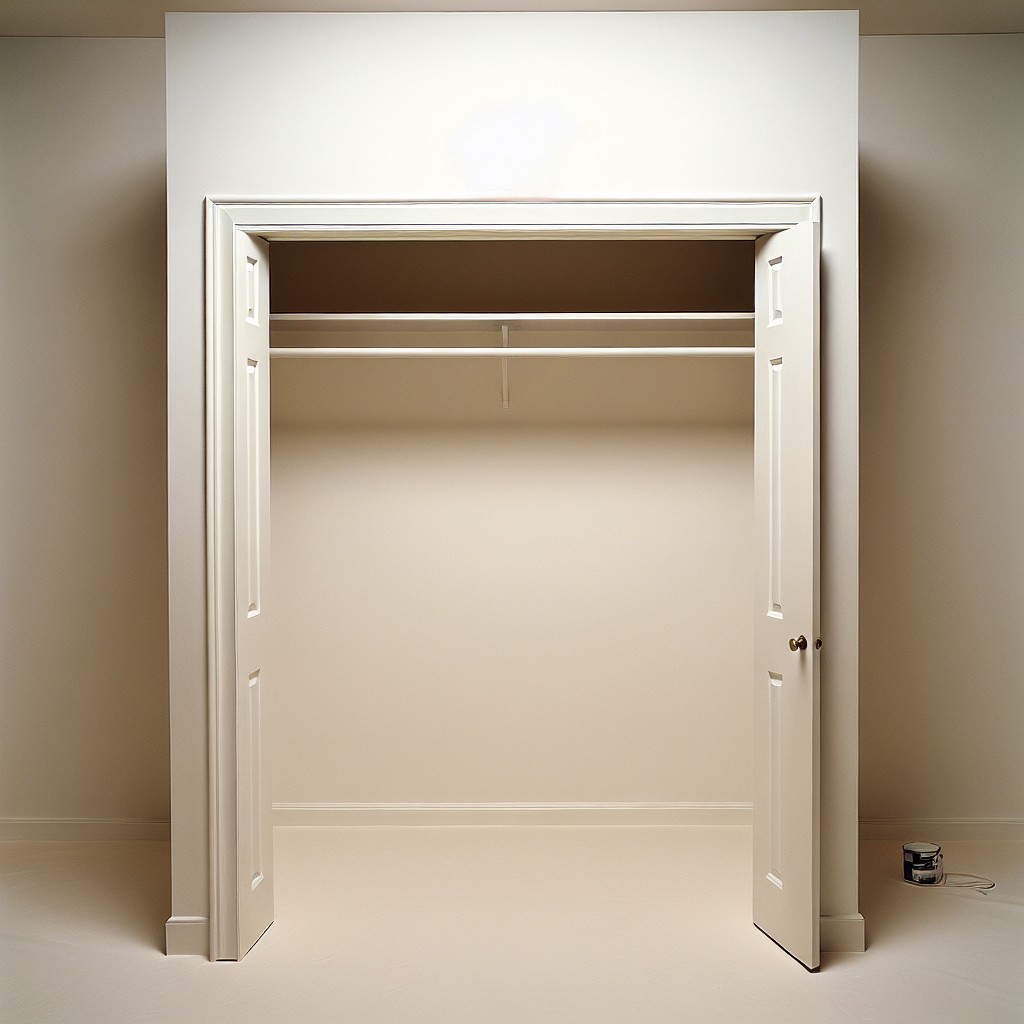
Removing closet doors is a surprisingly simple task that can dramatically transform your space, because it offers an unexpected way to introduce a fresh and unique aesthetic to your room.
Sliding, bi-fold, and regular hinge closet doors are common in many homes. Understanding how to remove them can prove useful, particularly during renovation projects or if the need arises for more room access.
It’s a simple process no matter the door type, which can be completed safely, easily, and quite quickly. Following is a comprehensive set of steps to assist you in smoothly removing any style of closet door, providing you with broader access and paving the way for any desired room changes.
Whether it’s a daunting task or simply a part of your redesigning scheme, all necessary details will be effortlessly unfolded.
Key takeaways:
- Gather necessary tools: screwdriver, pry bar
- Protect the surrounding area with cardboard or drop cloth
- Assess the type of closet door: sliding, folding
- Unfasten top track screws and lift the door from lower track
- Carefully remove upper track and detach the door from hinges or rollers
Table of Contents
Gathering Necessary Tools: Screwdriver, Pry Bar
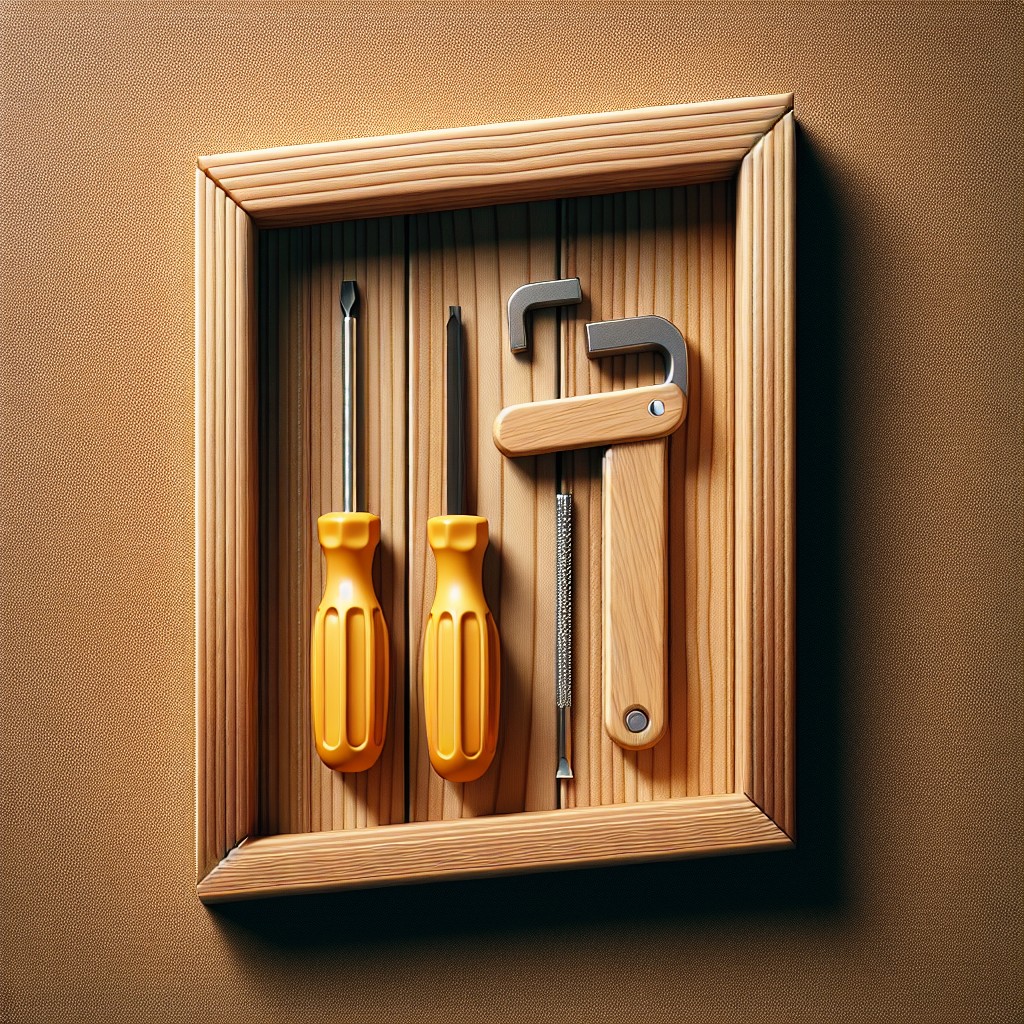
Having the correct tools in hand makes the process significantly smoother. A screwdriver is usually required to loosen the screws holding the door in place. Ensure you have the right type, either a flat-head or Philips-head, depending on what your door setup requires.
The pry bar, on the other hand, is helpful for when things are a bit too tight. It gives you leverage to safely remove parts without causing damage to the door or yourself. Remember to use it carefully to avoid scuffs or scratches on the door or surrounding surfaces.
This combination should serve to efficiently detach most closet doors.
Protecting the Surrounding Area

Before embarking on any removal, it’s vital to guard against potential damage. Start by removing any nearby movable furniture or items that could be hit or scratched.
For wall protection, thick cardboard or a drop cloth can be hung or draped to prevent inadvertent dents or scratches. Lastly, lay a protective covering on the floor to catch falling screws and debris.
Ensure you’ve all your tools within easy reach but out of the path of possible mishaps. This preparation sets a clear space for work, minimizing risks and ensuring a smoother process.
Assessing the Type of Closet Door: Sliding, Folding

In order to properly carry out this process, you must first determine whether you’re dealing with sliding or folding doors, as this impacts the removal method.
Sliding doors typically consist of two panels, one that slides and one that remains static. You’ll usually find a track at the top and bottom of these doors.
On the other hand, folding doors, often known as bi-fold doors, have multiple panels which are connected via a hinge. These doors are attached to a track at the top, and frequently a pivot at the bottom, allowing them to fold inwards.
Misidentifying your closet door type can lead to unnecessary challenges, so take a moment to examine the doors, their fittings, and how they move to confirm the correct type.
Unfastening Top Track Screws
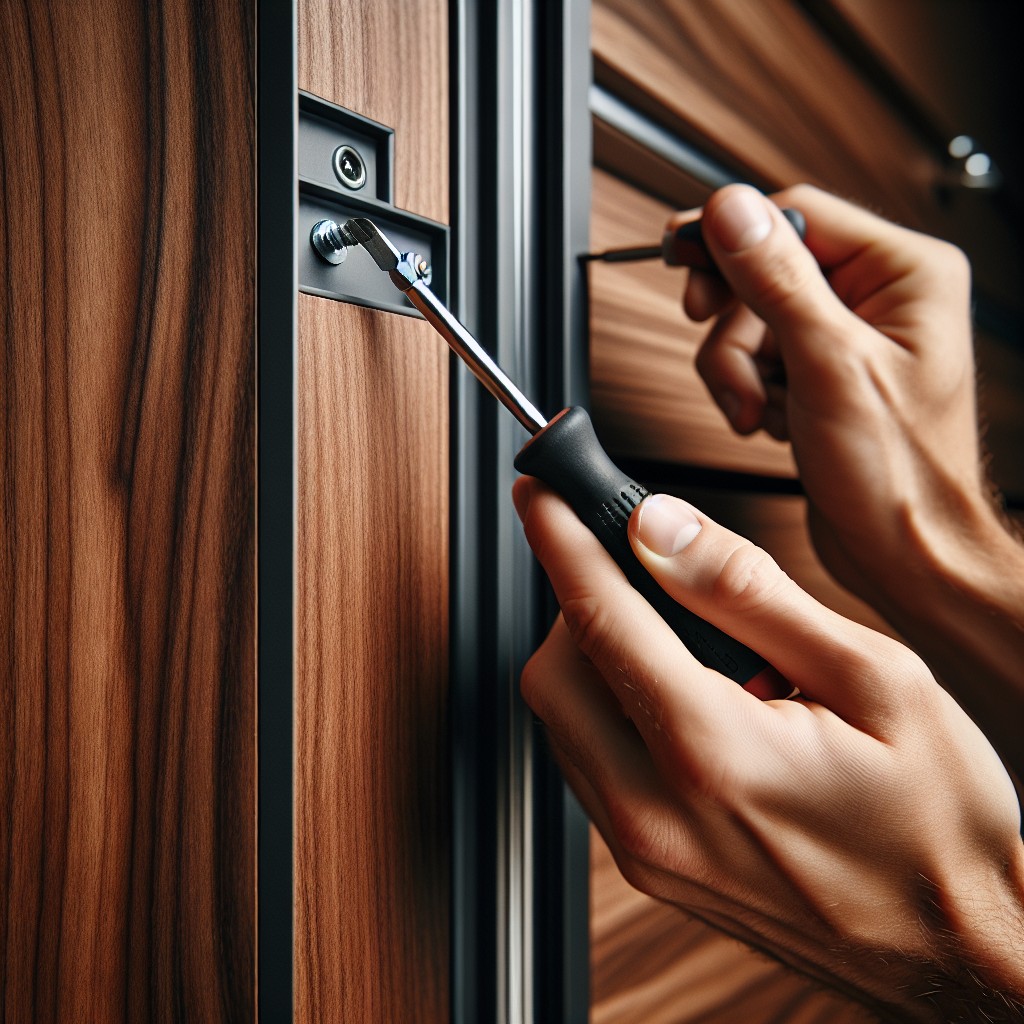
With your screwdriver in hand, begin to loosen the screws securing the upper rail in place. Often, two at either end of the track will suffice, but it may vary based on design.
As the screws are freed, be sure to keep them in a safe spot. They’re easily lost and you may have need of them again when it comes time to reassemble or replace the doors.
Exercise patience while performing this task. A rushed job may lead to stripped screws or a damaged screwdriver.
Lifting the Door From Lower Track

Ensure the door is shut. Next, support the bottom of the door with one hand. With the other hand, raise the door upwards into the track as high as it can go.
Now, try to tilt the bottom of the door towards you, pulling it gently out from the bottom track. The door should release and pivot on the wheels at the top track.
Use caution and ensure you have a secure grip throughout this process to prevent accidental drops or potential damage. Some doors might be heavier than expected, so consider asking for help if necessary.
Carefully Removing Upper Track

Once the door is already lifted from its lower track, the next step is to tackle the upper track. This process requires careful execution to prevent any damage to the track or surrounding area.
Firstly, locate the screws keeping the track in place – these can be found on either end. Utilizing a screwdriver, begin by gently loosening and subsequently removing the screws. Maintain a steady and gentle hand during this process to avoid scratching or denting the track.
Next, you should slowly lift the track outward and upward using a pry bar if needed. Always remember to exercise caution, since tracks can be quite sharp and may cause injury if mishandled.
Lastly, ensure that you preserve the removed screws in a secure location in case you want to reinstall the door in the future. Following these guidelines will ensure that the upper track is removed safely and efficiently.
Detaching the Door From Hinges or Rollers

With your screwdriver at hand, begin detaching the door. If your door is rolling, focus on the retainers located at the bottom of the door. One or two screws normally secure these. Upon taking them out, gently lift the rollers off the track.
However, if your door is hinged, focus on the hinges themselves. Use your screwdriver to remove the screws. Perform this task slowly to prevent any damage. Remember to hold the door steady as you remove the last screw, to prevent it from falling.
Keep screws and other small parts in a safe spot for future use. If the intention is to dispose of the door, consider recycling these parts.
Removing Door Handles or Knobs
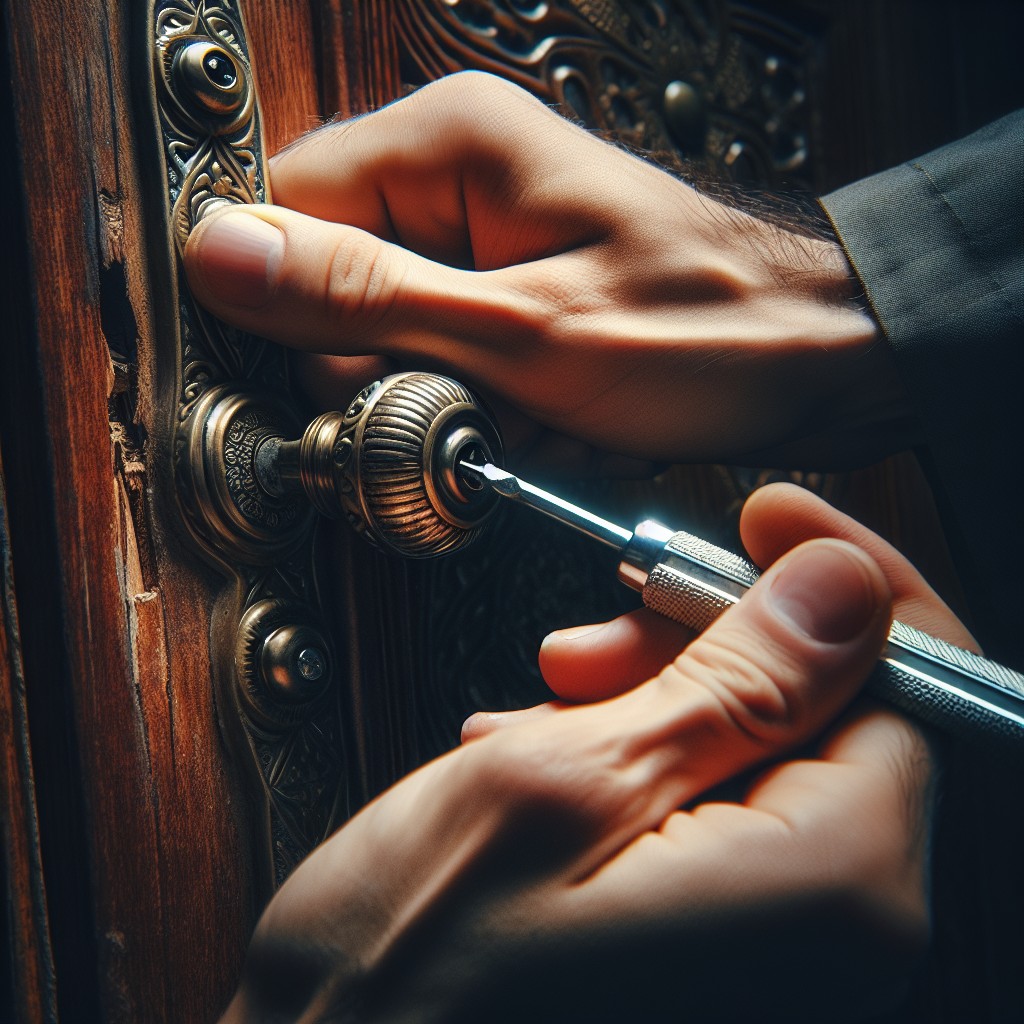
To disassemble the door handles or knobs, align the screwdriver with the screws holding the hardware in place. Gently turn the screwdriver counterclockwise until all screws are loose.
Pull apart the separate pieces of the handle or knob and set them aside safely, ensuring none are lost or damaged. This process is commonly straightforward, but difficulties may arise with antique or uniquely designed hardware.
If resistance is felt, refrain from applying force, and consider seeking advice from a hardware specialist to avoid causing damage.
Filling in Holes With Wood Putty
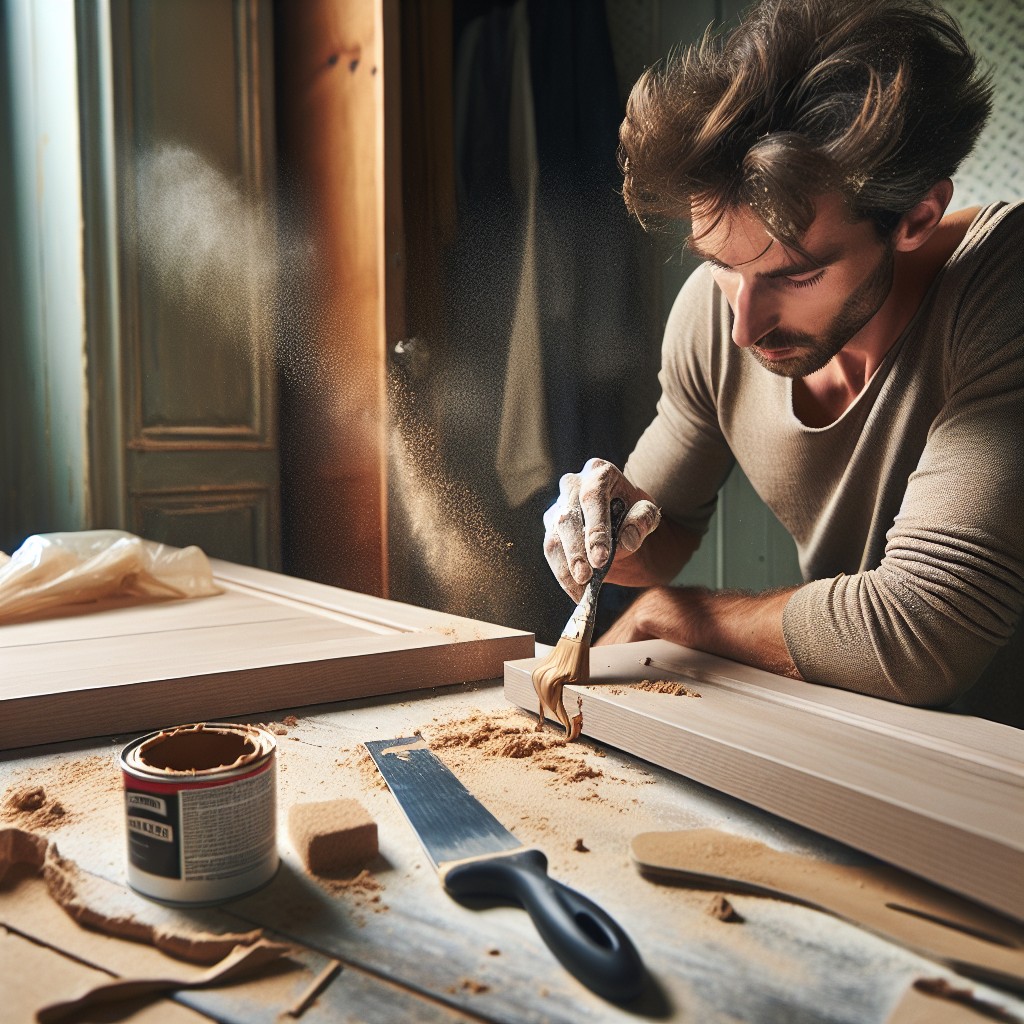
Begin by selecting quality wood putty that matches the door’s shade. A thin, flexible knife is perfect for the application process. Apply a small amount of putty into each hole, ensuring it’s well filled. Smooth it out using your knife so the filled area matches the door’s surface.
Let the wood putty rest until it is completely dry. Drying times may vary due to different products, so check the instructions on your putty’s packaging. Resist the temptation to rush this step, as the finishing results heavily rely on the putty completely setting.
After the putty dries, observe the filled holes. If they appear sunk or uneven, a second layer may be required. Repeat the process until you’re satisfied with the result. It’s normal to need a couple tries, so don’t beat yourself up if the first application didn’t have the desired effect. Patience is key here.
Next comes sanding. For this, fine-grit sandpaper is ideal. Lightly sand over the filled holes to ensure a uniform and smooth finish. Refrain from heavy-handed sanding: being too robust can remove more putty than required, creating an indented look.
Ensure to always wear proper protective gear, such as safety glasses and a dust mask, during sanding to prevent inhaling dust or getting it in your eyes. It’s a simple precaution overlooked by many, but it’s absolutely crucial for maintaining your health.
Sanding Wood Putty Smooth
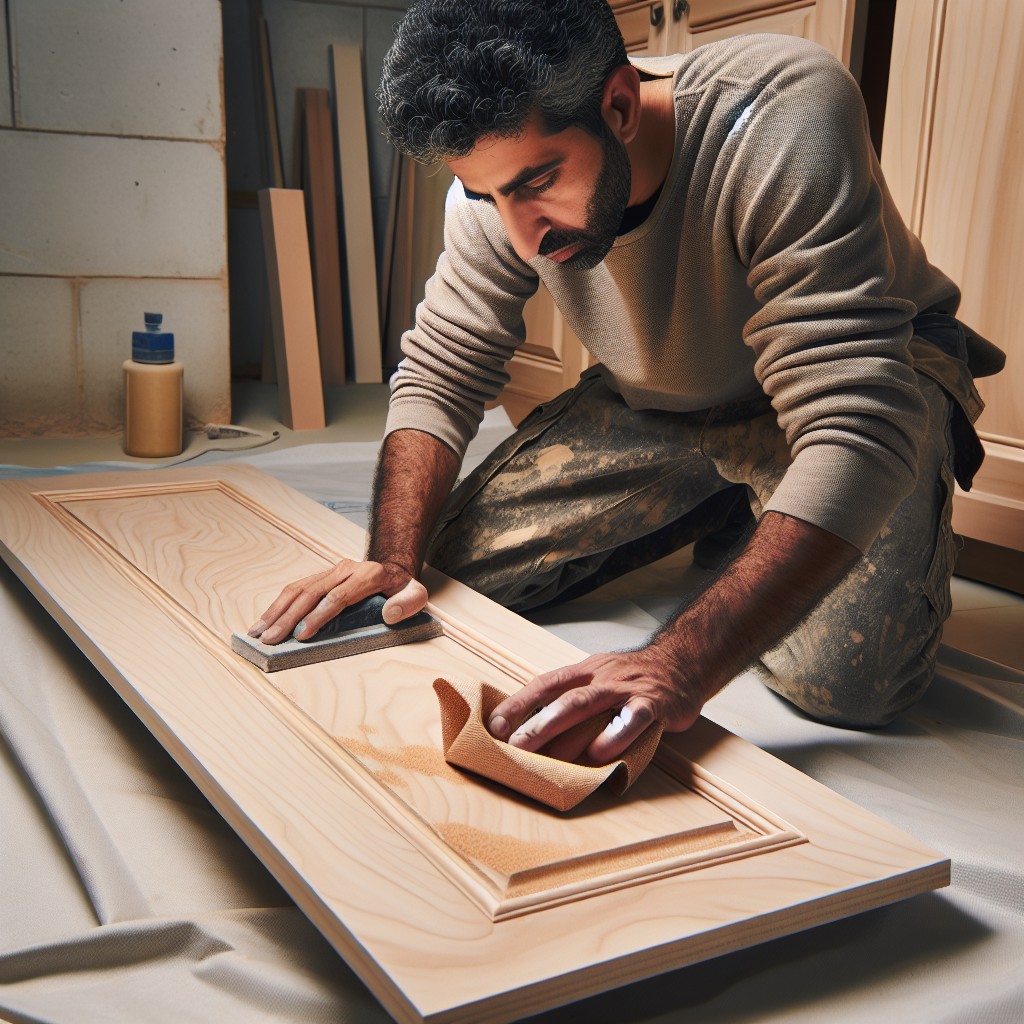
After applying the wood putty and allowing it adequate time to dry, you will need to sand the area to achieve a smooth flawless surface. A fine-grit sandpaper, 180-grit or higher, will be an appropriate tool for this task.
Be gentle when applying pressure, as heavy-handedness may cause unwanted scratches to the surrounding wood surface. While sanding, whisk away the dust with a clean dry paintbrush to get a clear view of your work. Repeat the process until you’re satisfied with the evenness. The objective is to make the puttied area level with the rest of the surface, meaning, it should not be detectable to the touch.
Remember, eye protection and a mask or bandana covering the nose and mouth is advised to keep dust from entering your respiratory system.
Touching Up Paint Job
Once the holes left by the hardware are filled in and sanded smooth, it’s time to blend in the area with the surrounding paint. Firstly, take a chip of the existing paint to your local hardware or paint store. They will scan it and provide a perfect match. Choose a paint type that mimics the sheen on the rest of the walls – it can be gloss, semi-gloss, or matte.
As you get started, use a small roller for smooth surfaces, or a sash brush for areas with detailed trim. Apply in smooth, even strokes, taking care not to overload your tool with paint. If the patched areas had deep holes, consider applying a second coat after the first one dries completely.
Remember, the key to a successful touch-up job is patiently waiting for each coat to dry, and ensuring to blend the edges to prevent noticeable changes in texture. Don’t rush this process; sometimes the smallest details make the biggest difference!
Cleaning Up the Workspace

Having completed the door removal, attention must now be given to the state of the workspace. Misplaced tools or loose screws can cause accidents. Therefore, ensure every tool used during the process is returned to its proper storage location.
Gather any loose screws and put them in a safe place. You may need them should you choose to reinstall the doors.
Small particles can scratch or scuff your floor. Use a broom or vacuum cleaner to remove debris thoroughly from the area. Be sure accuracy is maintained around the spots where the doors were attached to avoid leaving damage.
Lastly, examine the surroundings again. Check for any stray tools, nails, or splintered wood that might have been overlooked. This is crucial to maintain safety and cleanliness, as well as to prevent unnecessary accidents from neglected items.
Remember, a clean workspace not only ensures safety but also provides a more visually pleasing environment, making the process more enjoyable and efficient.
Tips for Safe Removal

While handling the hardware, don unnecessary protection such as work gloves and eye gear to safeguard your hands from metal scrapes and eyes from potential dust or debris.
Always remember, slow and steady wins the race. A rushed removal can not only damage the door and frame but also increase your risk of injury.
Always have a helper around when removing the doors, especially ones that are heavy or large. By sharing the weight, you can better control the movement and avoid sudden drops.
Lastly, be aware of potential hazards in the workspace. Clear out any tripping hazards and keep tools organized off the floor to prevent accidental slips or falls.
Common Troubleshooting in Door Removal

Occasionally, the process doesn’t go as smoothly as planned. When this happens, the following tips can be quite helpful:
- If the door is stuck or jams regularly, it may be due to a problem with the rollers or guides. Inspecting these parts for damage or blockages, such as paint or debris, can often fix the issue.
- Sometimes a door refuses to come off its hinges. When this occurs, applying a small amount of penetrating oil to the hinge pins can help. Allow the oil to soak in for a few minutes, then try again.
- A stubborn screw or bolt may impede your progress. A suitable screwdriver or wrench, as well as some patience, are required. If a screw remains stuck, try using pliers to turn it or, if all else fails, a screw extractor.
- If you encounter a stripped screw, it’s essential to use a screw extractor kit or contact a professional to avoid further damaging the door or its frame.
Please remember, if any situation seems beyond your capability or comfort level, professional assistance is often the best choice. This ensures both your safety and the preservation of your closet door and surrounding fixtures.
References for Further Information

To deepen your understanding and explore additional techniques related to the process, various online sources offer detailed advice and guides. Websites like The Family Handyman and Bob Villa provide comprehensive and interactive DIY tutorials, while YouTube channels, such as This Old House, demonstrate step-by-step instructions visually.
Books like “Home Repair and Remodeling” by Time-Life Books and “Manual of First and Second Fixing Carpentry” by Les Goring are excellent and detailed resources, found in many public libraries and bookstores.
Lastly, attending local hardware or DIY store workshops can provide valuable hands-on experience and support. By expanding your knowledge sources, you enhance your command over more advanced home improvement projects, ensuring your home is always a space you can mold to your changing desires and needs.
FAQ
Can you remove closet doors?
Yes, closet doors can be removed by loosening the screws attached to the doors’ wheels to increase room between the door and the upper track, then sliding the door away from the frame, pulling it at an angle towards you to dislodge the wheels from the track and finally taking the door out.
How do you pick out closet doors?
Selecting the ideal closet doors involves assessing the pre-existing closet and room space, factoring in your budget, integrating your personal style and ensuring the doors meet your functional requirements.
How do you hide doors out of the closet?
Concealing closet doors can be achieved by utilizing mirrors, drapes, or bookshelves, or by removing the door entirely to transform the closet into an open office space, recessed bookshelf, or storage area.
What tools are necessary for removing closet doors?
To remove closet doors, you will need a screwdriver, a hammer, and a pry bar.
What precautions should be taken when handling mirrored closet doors?
When handling mirrored closet doors, precautions should include wearing gloves to protect against sharp edges, avoiding sudden force or abrupt movements to prevent cracks, and cleaning with non-abrasive materials to keep the mirror surface unscathed.
Are there alternative solutions to traditional closet doors?
Yes, there are several alternatives to traditional closet doors such as sliding barn doors, curtains, folding screens, and room dividers.


