Last updated on
Discover the straightforward process of adding legs to your couch even when there are no pre-existing holes, in this easy-to-follow guide.
Are you tired of looking at your couch sitting directly on the floor? Maybe you’ve tried to add legs, but realized there are no holes to attach them to. Don’t worry, you’re not alone! Many people face this challenge when trying to update their furniture.
But fear not, because in this article we will show you how to put legs on a couch with no holes. With just a few simple steps and some basic tools, your couch can be elevated and transformed into a stylish piece of furniture that will impress all your guests.
So let’s get started!
Key takeaways:
- Gather necessary tools: measuring tape, pencil, drill, screwdriver, threaded inserts, mounting plates, couch legs.
- Choose the right legs: sturdy materials, consider style and measurements.
- Determine leg placement: measure and mark strategically.
- Drill pilot holes: use appropriate drill bit size to prevent splitting.
- Secure couch legs: attach threaded inserts or mounting plates, screw legs tightly.
Table of Contents
Gather Necessary Tools
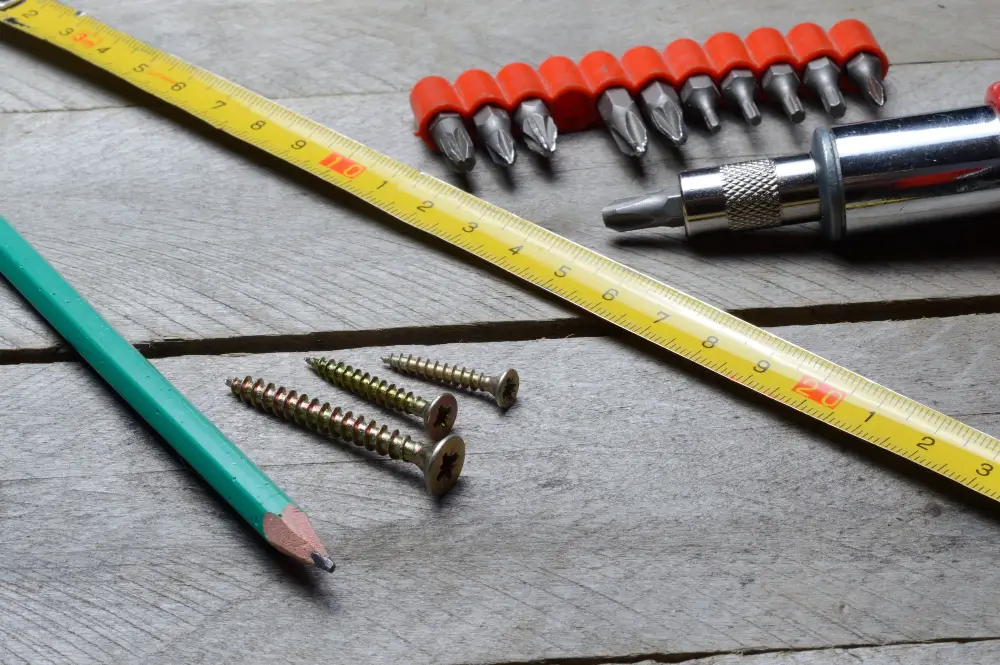
Before you begin the process of adding legs to your couch, it’s important to gather all the necessary tools. You don’t want to start drilling holes and realize halfway through that you’re missing a crucial piece.
Here are some essential tools you’ll need:
- Measuring tape
- Pencil or marker
- Drill with drill bits (appropriate size for pilot holes)
- Screwdriver (manual or electric)
- Threaded inserts
- Mounting plates
- Couch legs
Make sure that all your tools are in good condition and functioning properly before starting the project.
Choose the Right Legs
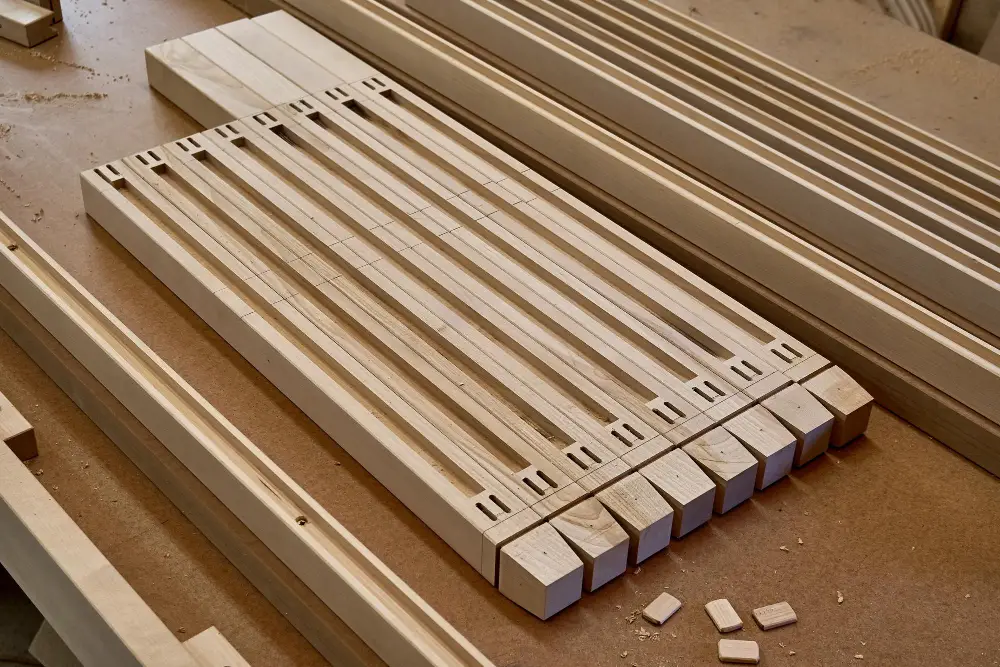
First and foremost, you want to make sure that the legs you choose can support the weight of your couch and anyone who will be sitting on it. Look for legs made from sturdy materials such as metal or hardwood.
Next, think about style. Do you want sleek modern legs or something more traditional? Consider how the new leg style will fit in with your existing decor.
Take measurements of both your couch and potential leg options before making a purchase. You’ll need to ensure that they’re compatible in terms of height and width so that everything lines up properly during installation.
Determine Leg Placement
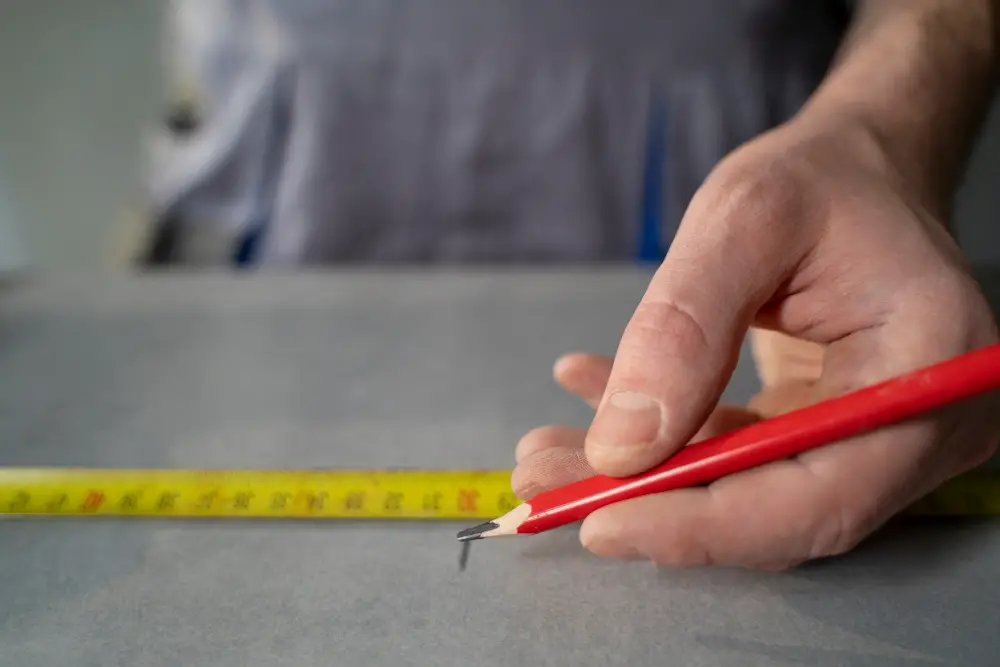
The placement of your couch legs is crucial as it affects both the stability and appearance of your furniture.
To determine leg placement, start by measuring from each corner of the couch frame inward towards its center point. Mark this spot with a pencil or masking tape on both sides of each corner.
Next, measure from front to back along these marks and mark again at equal distances inwards towards the center point.
Use a straight edge or ruler to connect these marks diagonally across each corner creating an “X” shape that intersects at its center point.
This intersection is where you will drill pilot holes for attaching mounting plates or threaded inserts depending on which type of leg attachment method you choose. Once drilled, attach either mounting plates or threaded inserts according to manufacturer instructions before securing legs into place using screws provided with either option.
Measure and Mark Placement
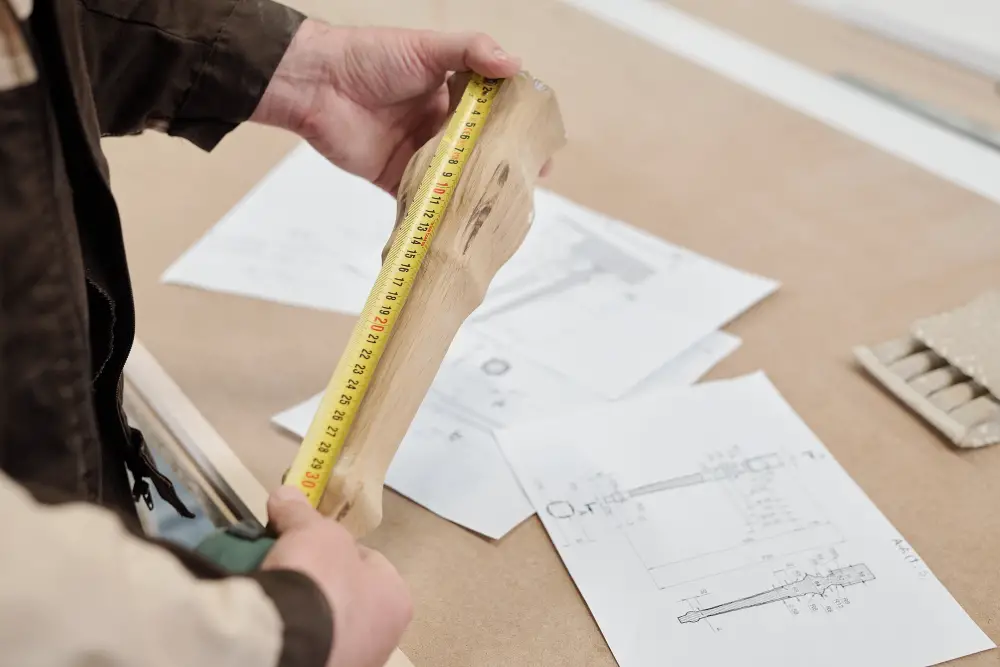
This step is crucial in ensuring that your legs are evenly spaced and level. Using a measuring tape, measure the distance from each corner of the couch to where you want the leg to be placed.
Make sure that all measurements are equal for each leg.
Next, use a pencil or marker to mark where you will drill pilot holes for mounting plates or threaded inserts. Double-check your markings before drilling any holes as mistakes can be difficult (if not impossible) to fix later on.
It’s important also at this stage not only consider aesthetics but also functionality when marking placement points; ensure there is enough clearance between furniture pieces if necessary so that nothing gets damaged during movement.
Drill Pilot Holes
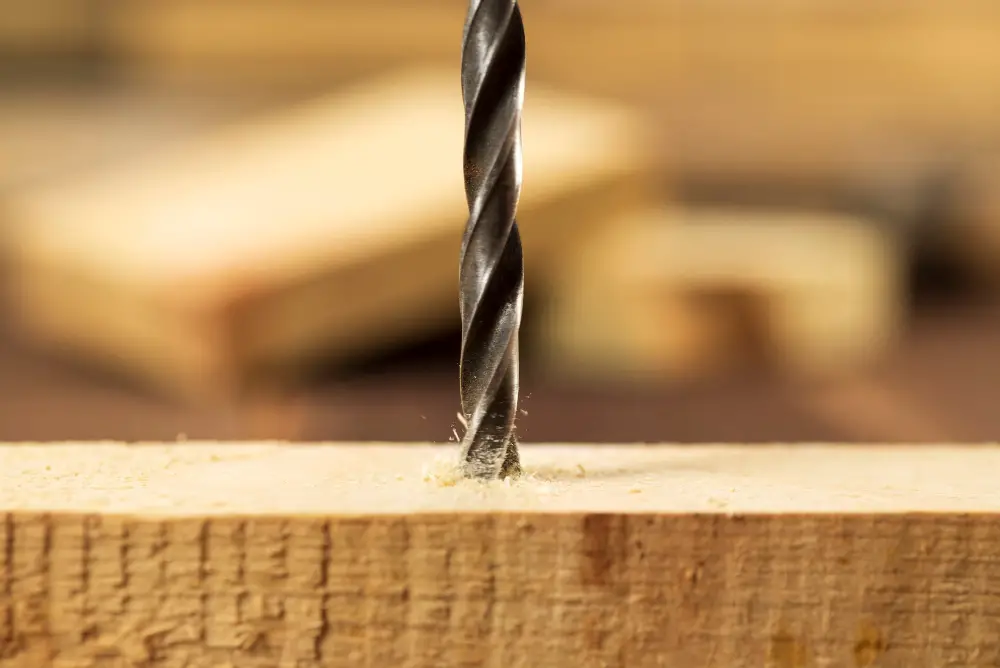
Pilot holes are small guide holes that help prevent wood from splitting and ensure that screws go in straight. To do this, use a drill bit slightly smaller than the diameter of your screw threads.
Start by marking where you want to place each leg with a pencil or marker. Then, using a power drill with the appropriate size bit for your threaded inserts (usually 5/16 inch), carefully make pilot holes at each mark.
Be sure to keep the drill level and perpendicular to avoid drilling at an angle which can cause instability later on. Once all pilot holes are drilled, insert threaded inserts into them until they’re flush with the surface of your couch frame.
Attach Threaded Inserts
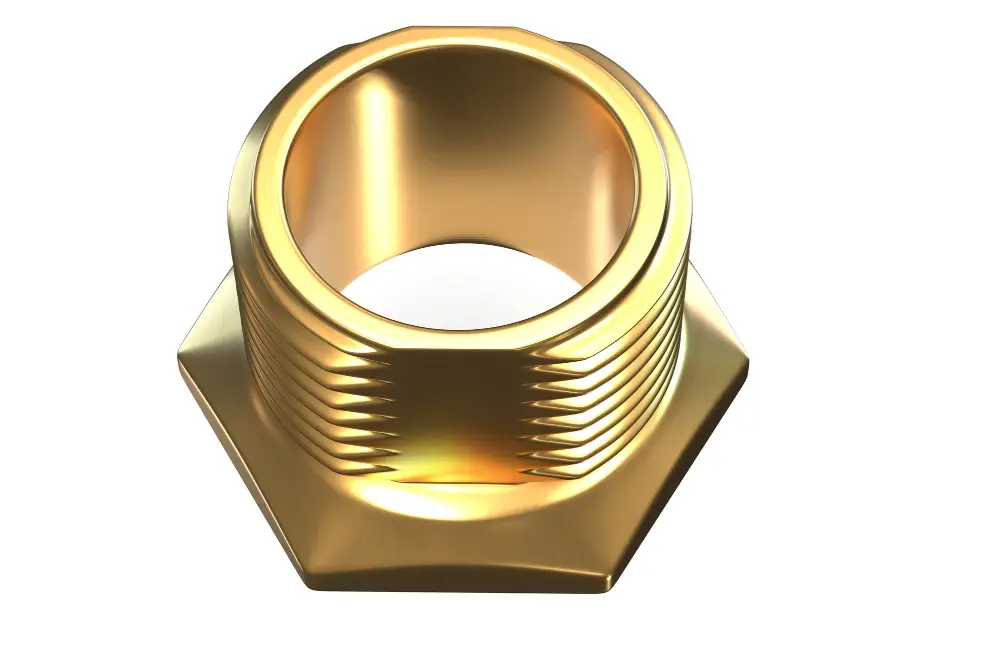
Threaded inserts are small metal pieces that screw into the wood and provide a secure base for attaching furniture legs. To attach them, use a drill bit slightly smaller than the diameter of your insert and drill straight down into each mark on your couch frame.
Next, take one of your threaded inserts and twist it clockwise into each hole until it is flush with the surface. Repeat this process for all holes in which you want to add legs.
It’s important to note that if you’re working with hardwood or dense materials like MDF or particleboard, pre-drilling may be necessary before inserting these screws as they can easily break off during installation otherwise.
Attach Mounting Plates
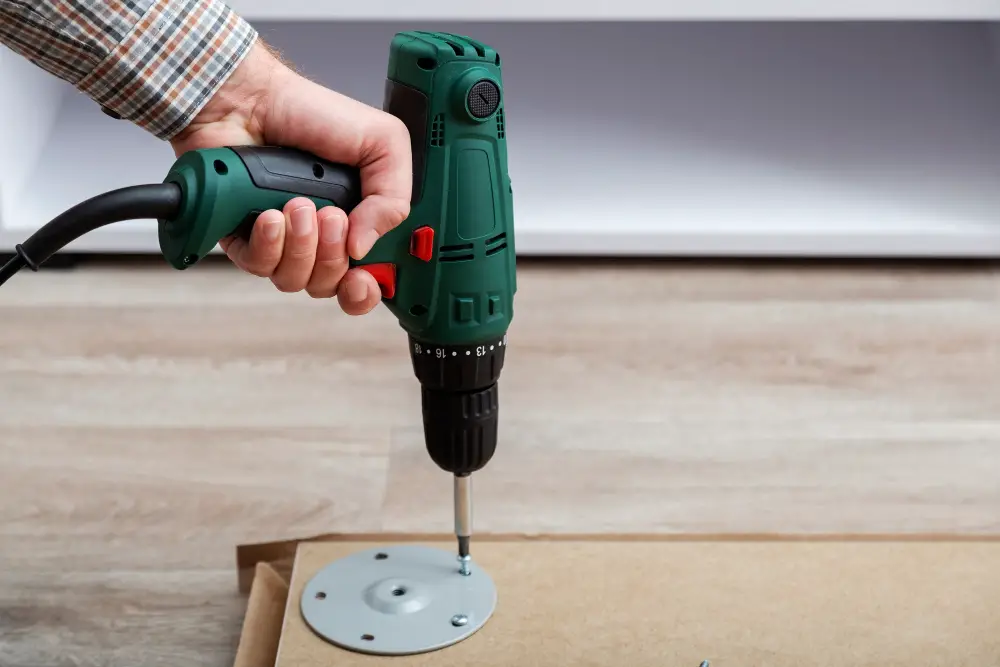
These plates will serve as a secure base for your couch legs. Make sure that you choose mounting plates that are compatible with your chosen legs and can support the weight of your couch.
To attach them, align each plate with its corresponding pilot hole and screw it into place using wood screws or bolts. Be sure to tighten them securely so they don’t come loose over time.
If you’re having trouble getting the screws in straight or at an angle, use a drill bit slightly smaller than the screw size to create a starter hole before attaching each plate.
Secure Couch Legs
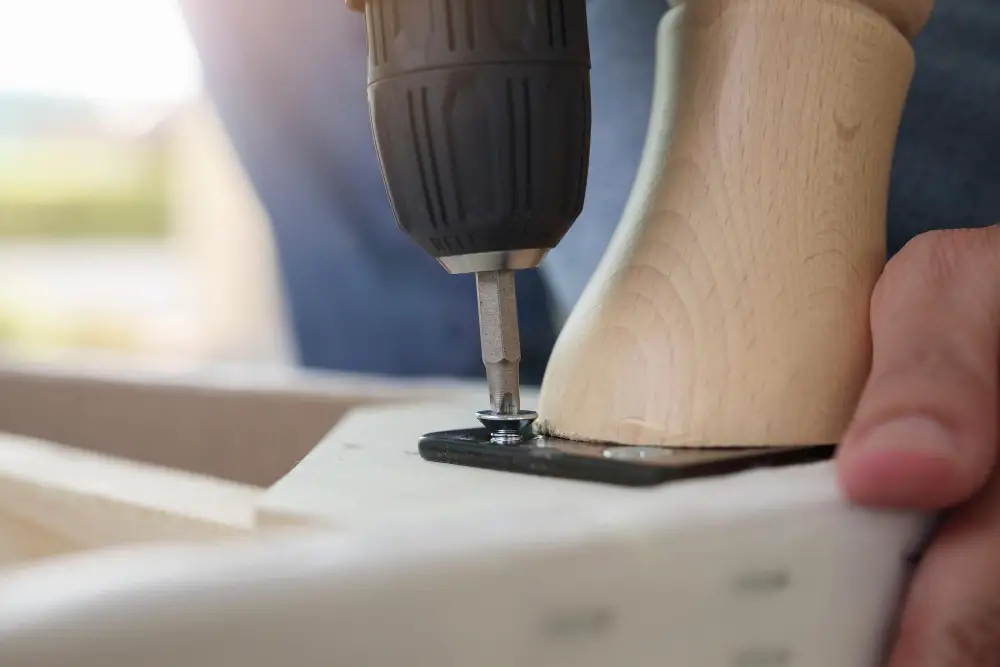
Start by screwing in each leg into its corresponding plate. Make sure that each leg is screwed in tightly and securely so that they don’t wobble or come loose over time.
If you’re using custom legs, make sure they are compatible with your mounting plates before attaching them. Some custom legs may require additional hardware or a different type of attachment method.
After all four legs are attached and secured, give your couch a gentle shake to test its stability. If everything feels sturdy and secure, then congratulations! You’ve successfully added new legs to your couch without any pre-existing holes.
Remember that safety should always be a top priority when working with power tools or heavy furniture pieces like sofas.
Screw Legs Into Plates
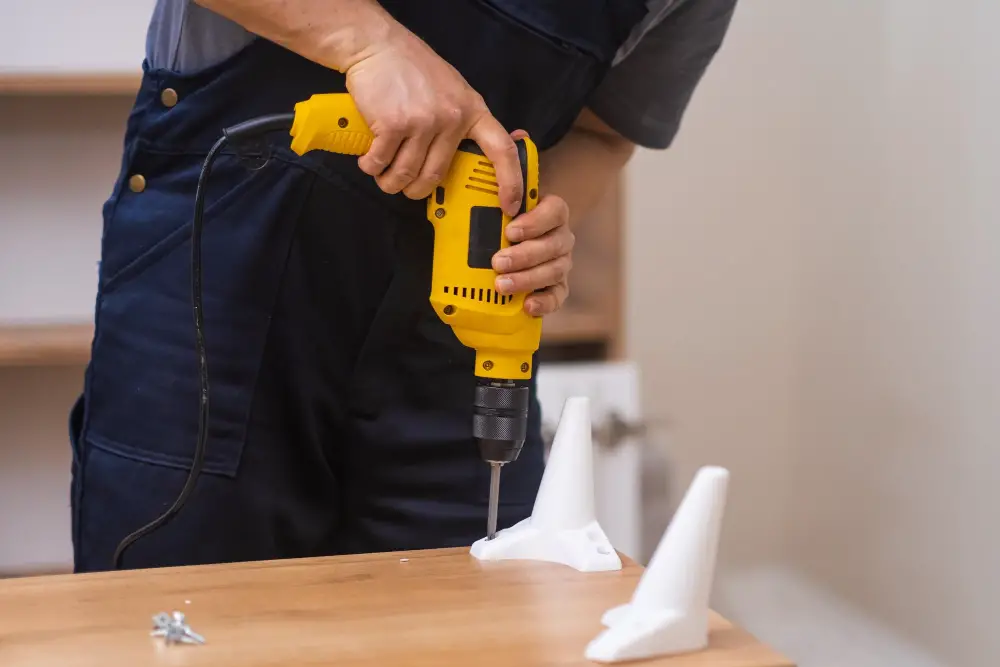
Start by inserting a screw into each of the holes on one of your mounting plates. Then, carefully align that plate with its corresponding leg and insert all screws through both pieces.
Use a drill or screwdriver to tighten each screw until they are snug but not overly tight as this can cause damage or cracking in some materials. Repeat this process for all remaining legs and mounting plates.
After attaching all four legs securely, give your couch a gentle shake to ensure stability before sitting on it again. If everything feels sturdy and secure, then congratulations! You’ve successfully added new legs onto your couch without any pre-existing holes.
Test Stability

Sit on the couch and move around a bit to see if it wobbles or feels unsteady. If everything seems secure, try gently rocking the couch back and forth from different angles.
This will help ensure that all of the legs are firmly in place.
If you notice any instability or wobbling, double-check that each leg is securely fastened with screws tightened as much as possible without damaging your furniture.
It’s also a good idea to periodically check for loose screws over time since they can come undone with regular use of your furniture.
Enjoy Your Updated Couch
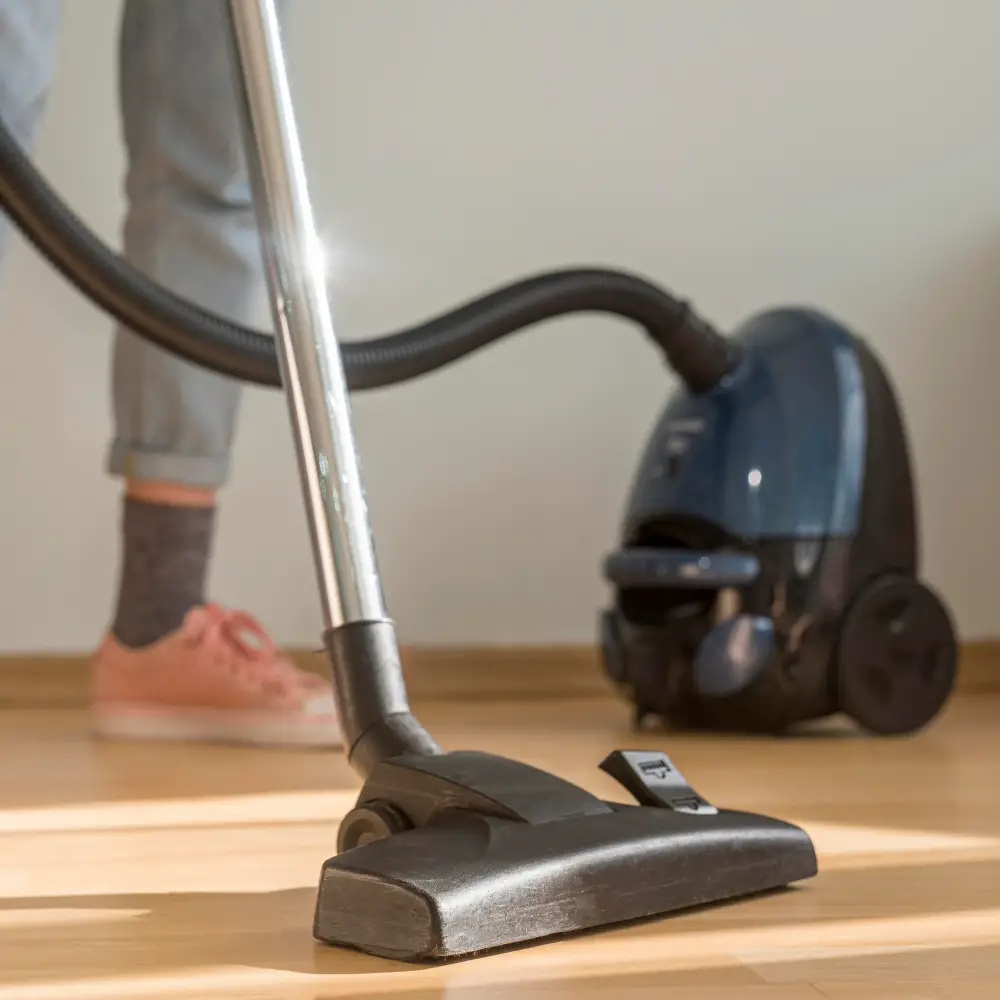
Not only will it look more stylish with its new elevated height, but it will also be easier to clean underneath. You can now vacuum or sweep without having to move the entire couch around.
Take a moment to appreciate how much of a difference such a simple update has made in transforming your living space. Your guests are sure to notice and compliment you on this small yet impactful change.
Now that you know how easy it is, don’t hesitate to try out different leg styles or heights for an even more personalized touch. With just a few basic tools and some creativity, there’s no limit as far as what kind of customizations you can make!
Alternative Methods
One option is using adhesive pads that attach directly to the bottom of your furniture. These pads come with pre-installed screws that can be screwed into the leg’s mounting plates.
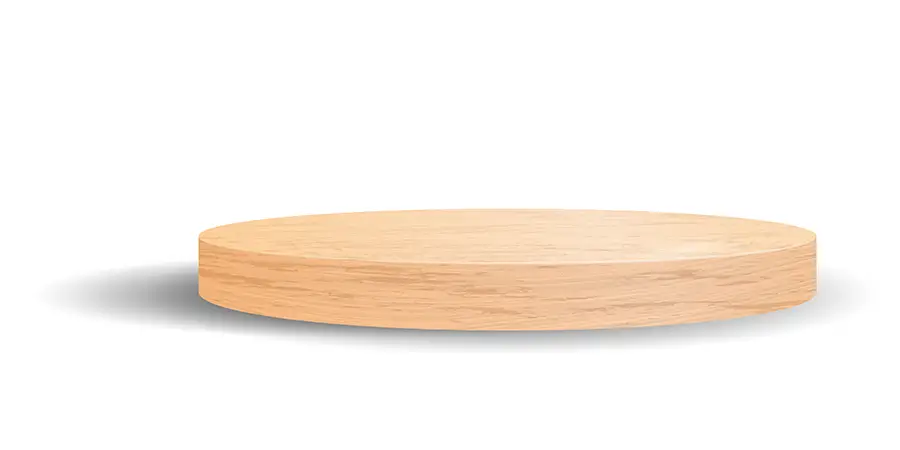
Another option is using a wooden platform placed underneath each corner of your couch and attaching legs onto it instead. This method provides extra stability and support for heavier furniture pieces.
While these alternatives may not provide as much stability as drilling pilot holes, they are still effective ways to elevate and update your furniture without damaging it permanently.
No matter which method you choose, make sure you take proper safety precautions when handling power tools or adhesives.
Custom Leg Options
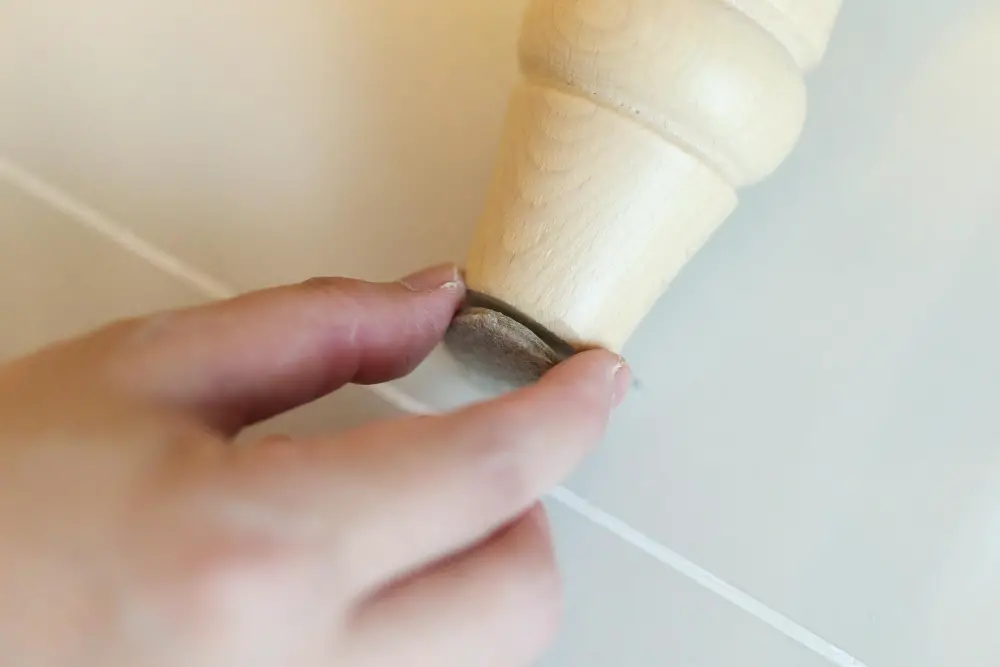
You can choose from a variety of materials such as wood, metal or acrylic and select the perfect color or finish that complements your decor. Custom legs also come in different shapes and sizes, allowing you to create a truly one-of-a-kind piece of furniture.
When selecting custom legs for your couch with no holes, it’s important to ensure they have mounting plates attached. This will make the installation process much easier since you won’t need to drill pilot holes or attach threaded inserts.
Custom leg options may be more expensive than standard ones but investing in quality pieces will pay off in the long run by adding value and style to your home decor.
Safety Precautions

First and foremost, make sure that the couch is stable and won’t tip over during the process. If necessary, have someone help you hold it steady while you work on attaching the legs.
Be careful when using power tools such as a drill or saw. Always wear protective gear like goggles and gloves to prevent injury from flying debris or sharp edges.
If at any point during the process you feel unsure about what you’re doing or uncomfortable with a particular step – don’t hesitate to ask for help! It’s better to be safe than sorry when working with furniture modifications.
By following these simple safety guidelines along with our step-by-step instructions above, adding legs without pre-existing holes can be an easy DIY project that will give your old couch new life!
FAQ
How do you add legs to a couch?
To add legs to a couch, either screw them directly into the bottom of the sofa or secure them to a metal or wood plate and then attach the leg-and-plate to the sofa’s bottom, depending on the type of attachment.
Do I have to put the legs on my couch?
Yes, you have to put the legs on your couch for added durability, superior cleanliness, and to prevent fraying of upholstery due to direct contact with flooring.
How can I make my sofa higher?
To make your sofa higher, use sofa leg risers or replace the current legs with taller ones available in various styles.
What types of legs can be used to customize a couch without holes?
Types of legs that can be used to customize a couch without holes include using adhesive legs or legs with self-drilling screws.
Are there alternative methods to increase couch height besides adding legs?
Yes, alternative methods to increase couch height include using furniture risers, adding firm cushions, or constructing a platform base.
How can I ensure the stability of my couch after adding legs without pre-existing holes?
To ensure the stability of your couch after adding legs without pre-existing holes, attach the legs securely using a combination of wood glue, screws, and brackets while ensuring they are evenly placed and aligned.
