Last updated on
Discover the simple steps to effectively patch your couch, giving it a refreshed look and prolonging its life in no time.
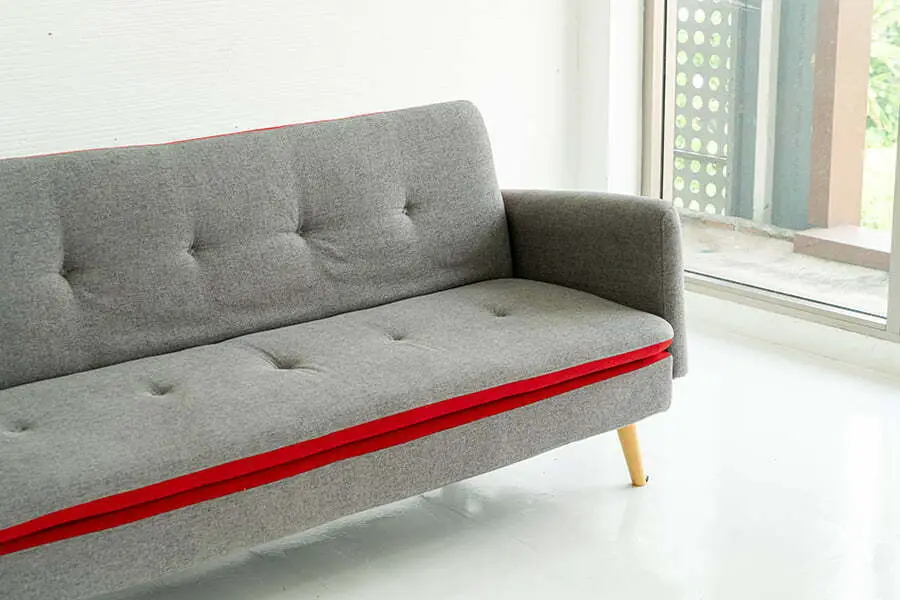
When you think of a cozy living room, what comes to mind? A plush couch, right? But what happens when your beloved couch starts showing signs of wear and tear? Don’t worry; it’s not time to say goodbye just yet. In fact, with a little bit of effort and some basic tools, you can patch up your couch and give it a new lease on life.
So put on your DIY hat and let’s get started on how to patch a couch!
Key takeaways:
- Assess the damage to determine the extent of repair needed.
- Choose the right patch material based on the size and location of the tear.
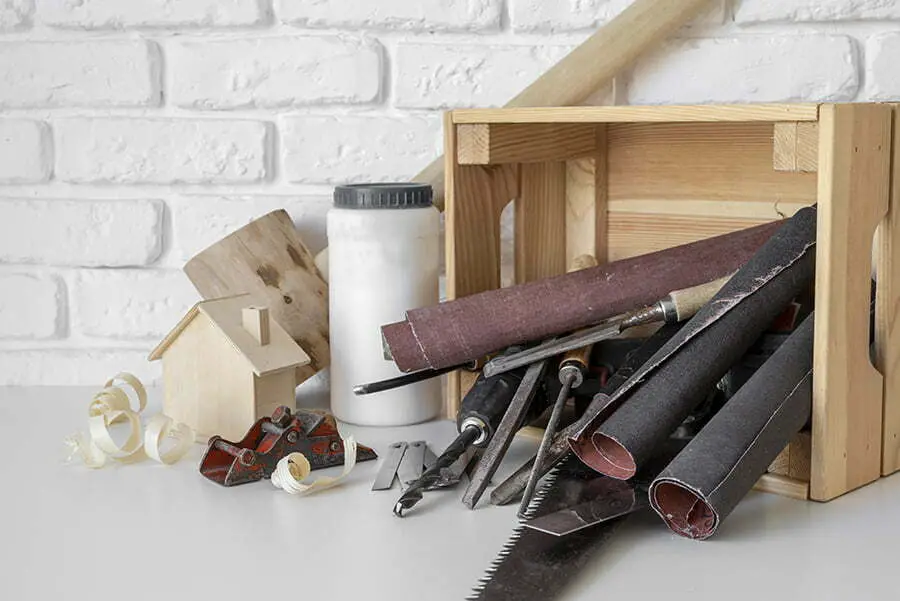
- Gather basic tools such as scissors, sandpaper, needle, thread, and tape.
- Prepare the couch surface by cleaning, trimming loose threads, and roughening the edges.
- Cut the patch to the correct size, align it with the damaged area, and adhere it with glue or sewing.
Table of Contents
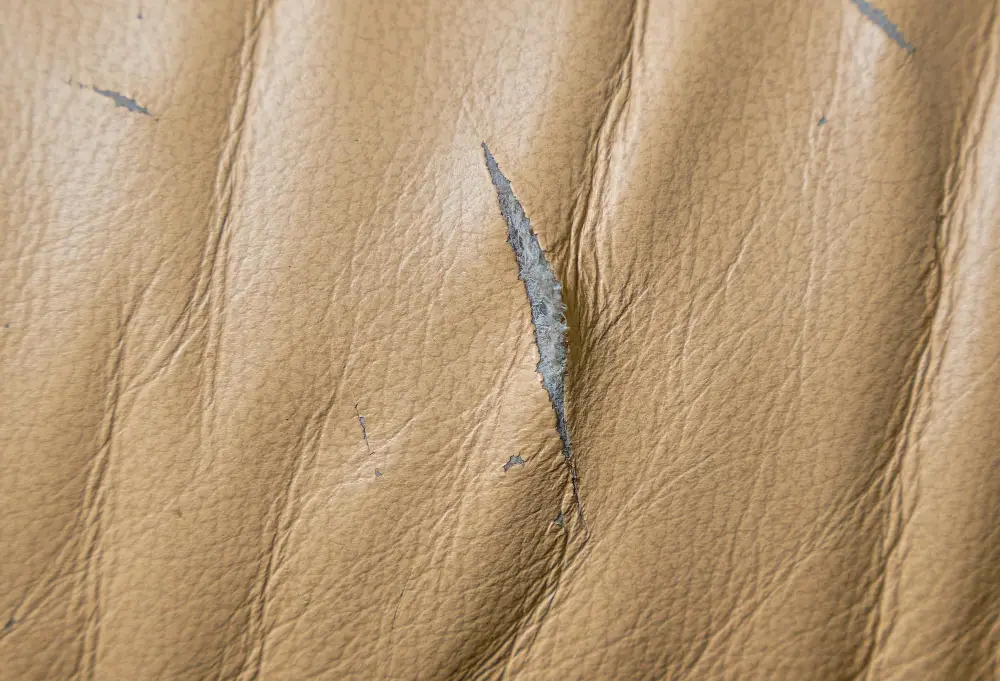
Assessing the Damage
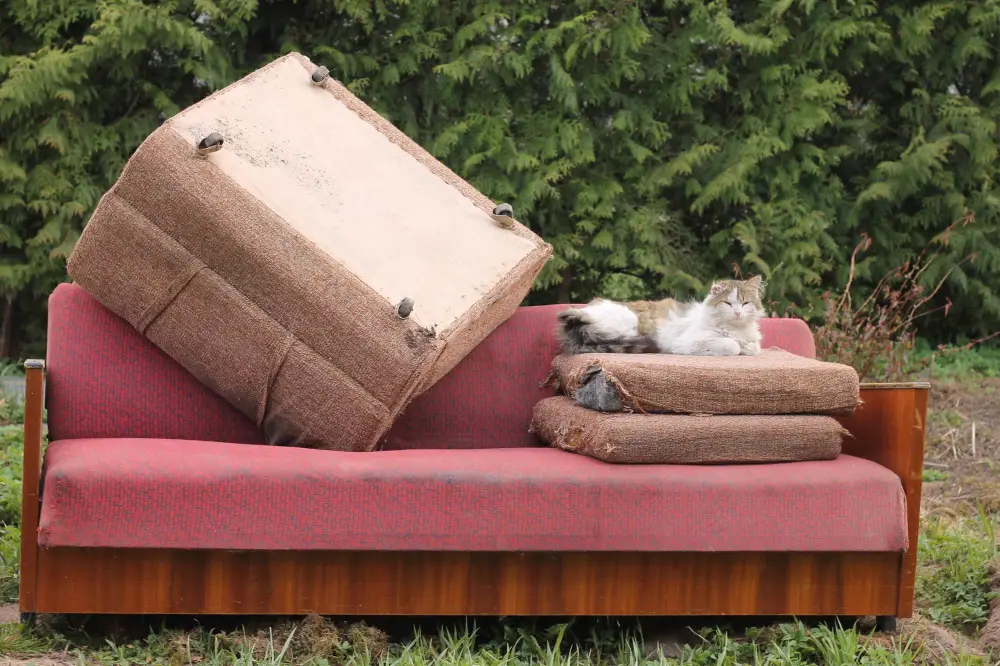
The first step in patching up your couch is to assess the damage. Take a close look at the affected area and determine how extensive it is.
Is it just a small tear, or has the fabric worn thin over time? Knowing what you’re dealing with will help you choose the right materials and tools for repairing your couch.
If there’s only minor damage, such as a small hole or tear, then patching it up should be relatively easy. However, if there are multiple tears or large areas of wear and tear on your couch’s fabric surface, then more extensive repairs may be necessary.
Once you’ve assessed the extent of damage to your couch accurately, move on to choosing suitable repair materials that match its color and texture closely.
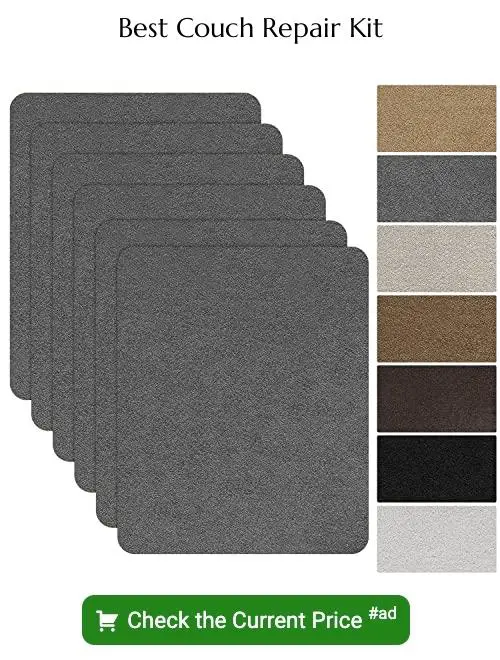
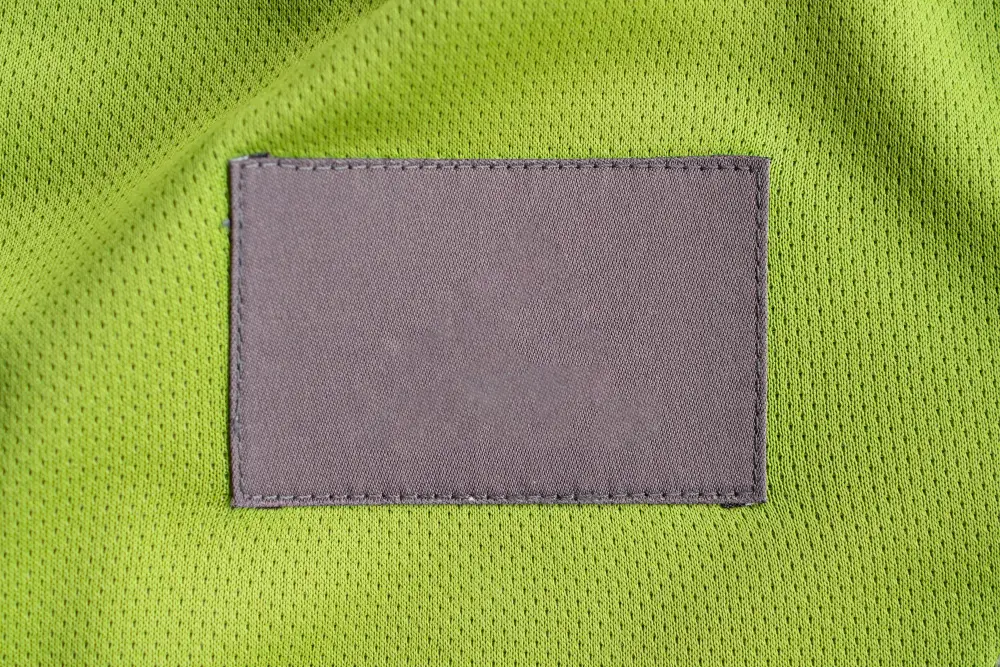
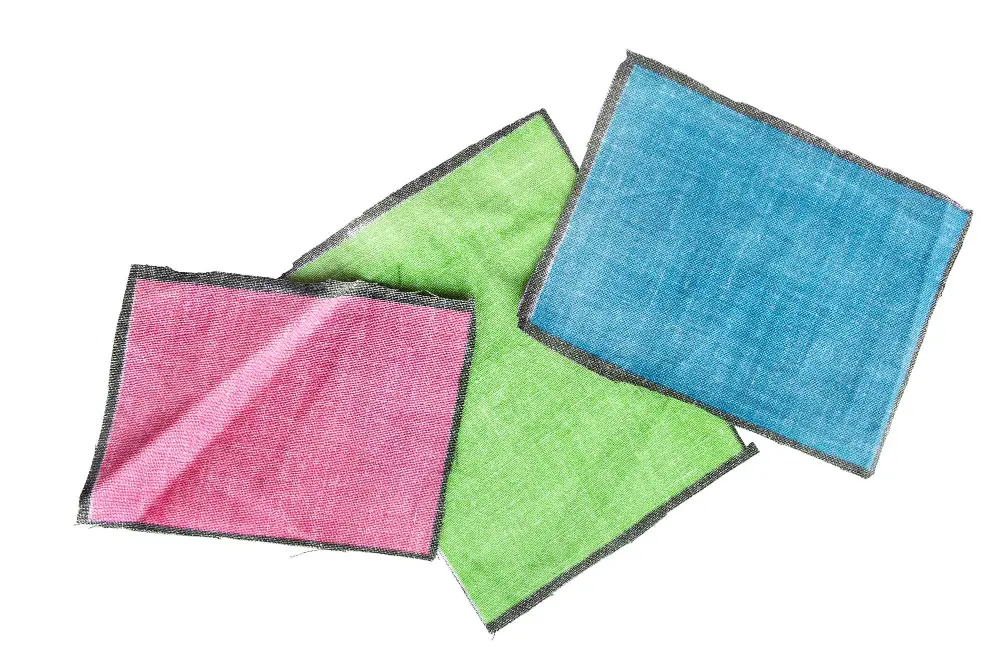
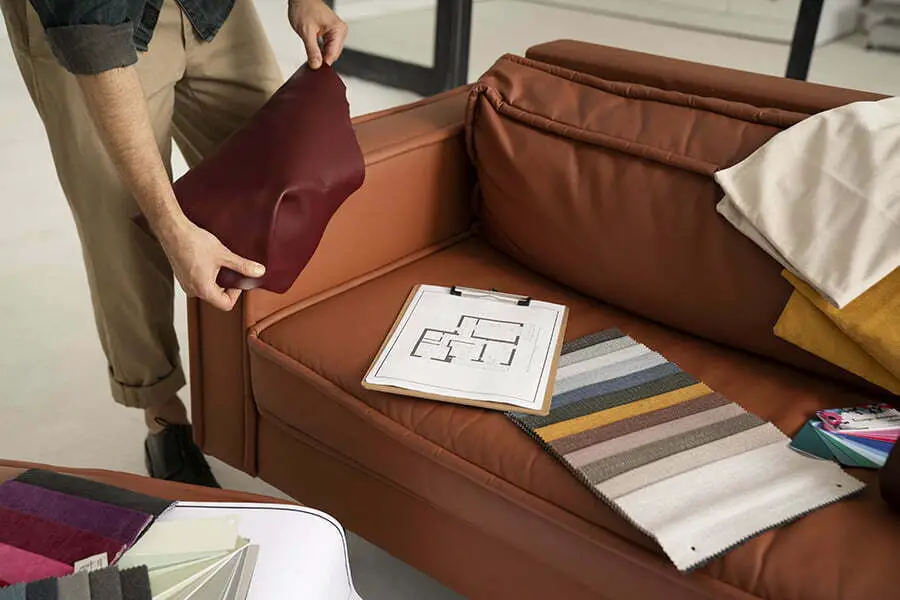
Choosing the Right Patch Material
The type of patch material you use will depend on several factors, including the size and location of the tear or hole in your couch.
For small tears or holes in inconspicuous areas like under cushions or along seams, a simple iron-on fabric patch may be all that’s needed. These patches are easy to apply and can be found at most craft stores.
For larger tears or holes in more visible areas like seat cushions or armrests, a heavier-duty fabric may be necessary. Look for upholstery fabrics that match your couch as closely as possible for a seamless repair job.
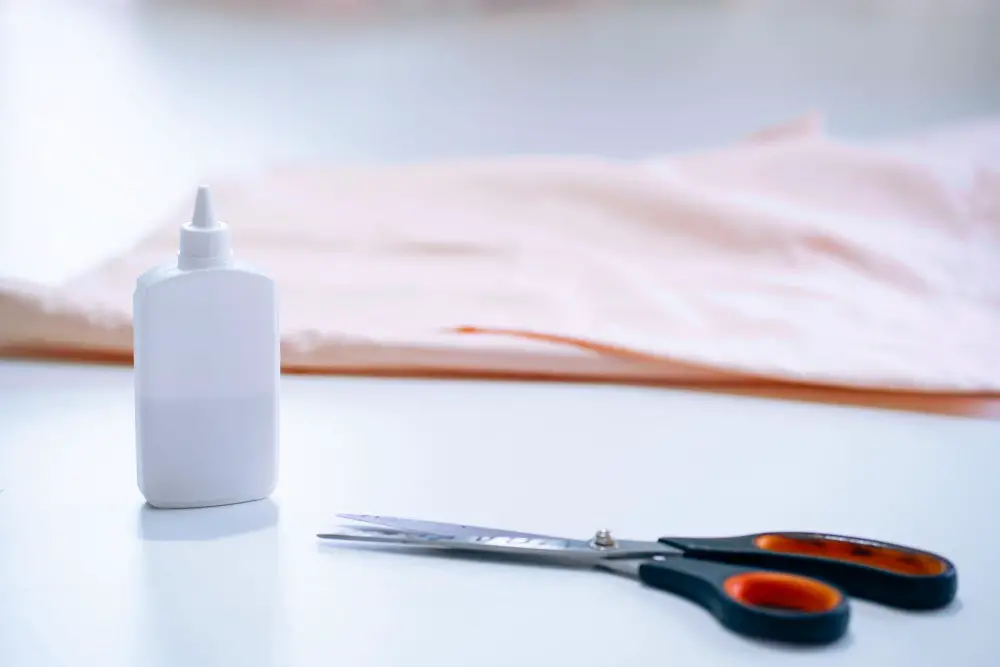
Gathering Repair Tools
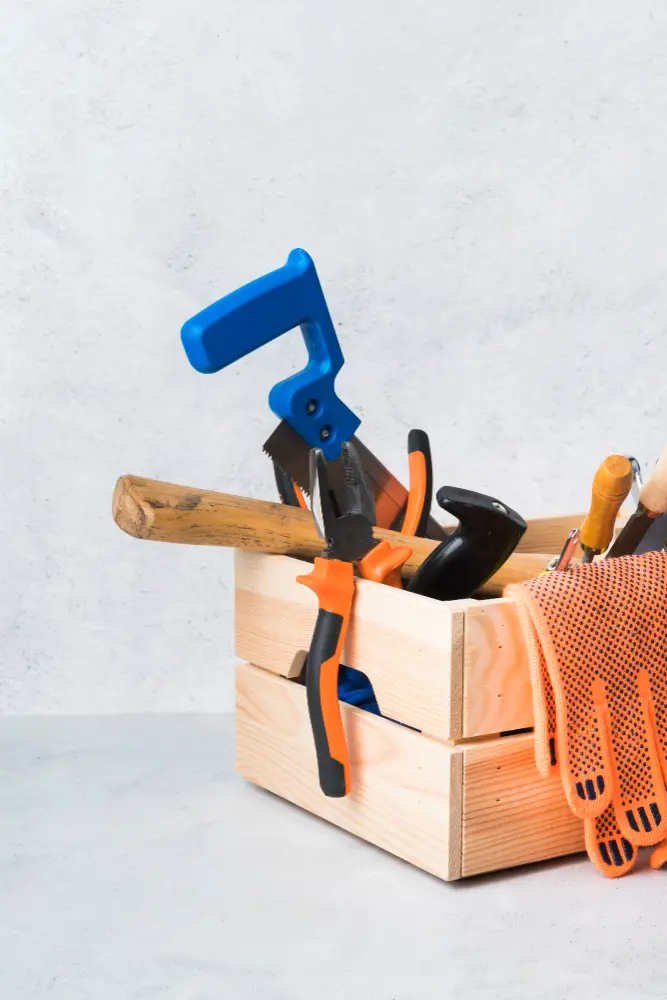
You don’t need anything fancy or expensive; just a few basic items will do the trick. First, grab a pair of sharp scissors for cutting your patch material to size.
Next, you’ll need some sandpaper or an emery board to smooth out any rough edges on your couch surface before applying the patch.
You may also want to have a needle and thread handy if you plan on sewing any loose seams back together after applying the patch. A fabric glue can be used instead of sewing if preferred.
Make sure you have some masking tape or painter’s tape available for holding everything in place while adhering patches onto larger areas.
Gathering Necessary Materials
You don’t need anything fancy or expensive; just a few basic tools and materials will do the trick.
Firstly, you’ll need a pair of scissors or a rotary cutter to cut out your patches. Make sure they’re sharp enough to cut through fabric without fraying it.
Next, grab some sandpaper with medium grit (around 120-150) and use it on any rough edges around the tear in your couch. This will help smooth out any jagged edges before applying adhesive.
You’ll also need an adhesive that is suitable for repairing upholstery fabrics such as leather glue or fabric glue depending on what type of material needs repair. Lastly, get yourself some scrap pieces of cloth similar in color and texture to your couch’s original fabric so that you can create patches from them if needed.
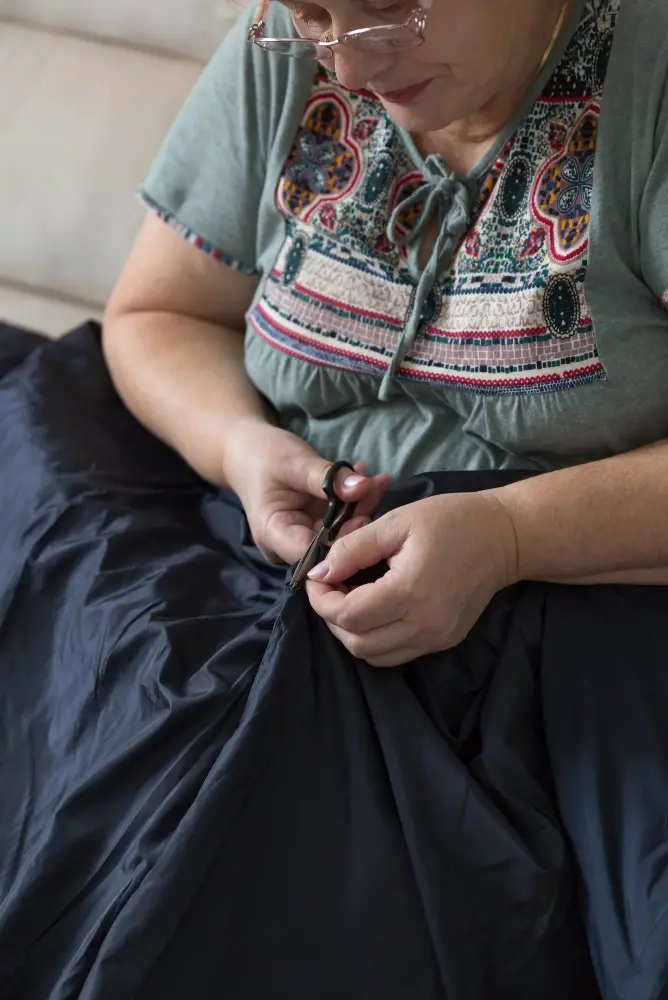
Preparing the Couch Surface
This step is crucial as it ensures that the patch adheres correctly and looks seamless once complete. Begin by cleaning the area around the tear or hole with a damp cloth to remove any dirt, dust, or debris that may have accumulated over time.
Next, use a pair of scissors to trim any loose threads around the damaged area carefully. Be sure not to cut into healthy fabric fibers as this can cause further damage and make repairs more challenging.
Once you’ve cleaned and trimmed away excess material from around your couch’s damaged spot, take some sandpaper (fine-grit) and gently roughen up its edges. This will help create an adhesive-friendly surface for attaching your patch later on.
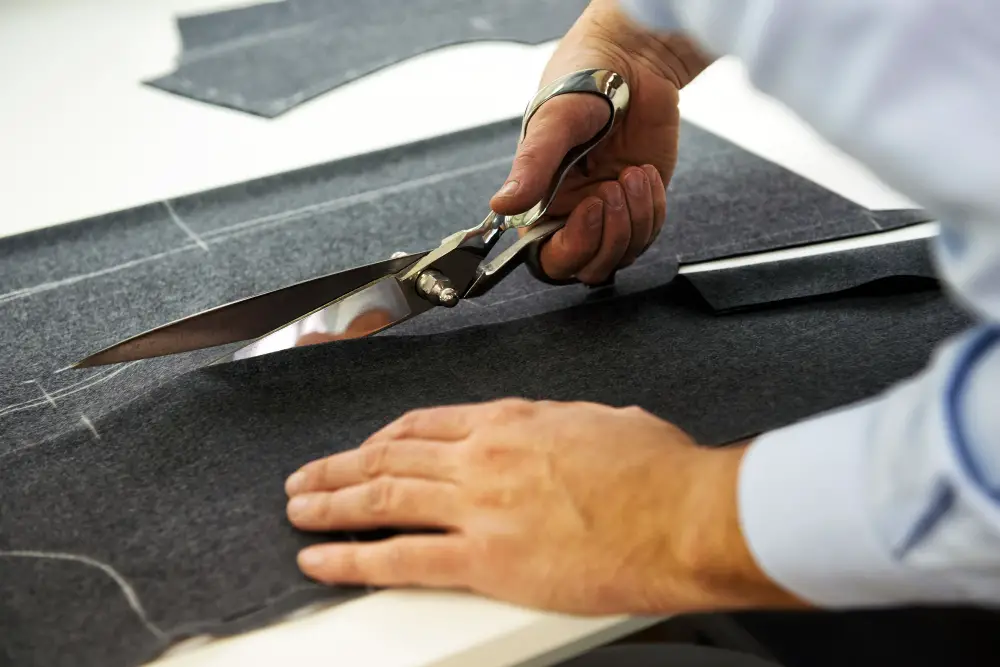
Cutting the Patch to Size
This step is crucial because a poorly sized patch can make your couch look worse than before. To get started, measure the damaged area of your couch using a measuring tape or ruler.
Then add an extra inch on all sides of the measured area for seam allowance.
Next, use scissors or a rotary cutter to cut out your fabric patches according to these measurements. Make sure that you are cutting straight lines and that there are no jagged edges as this will affect how well it adheres later on.
If you’re working with leather or vinyl materials, be sure to use sharp scissors specifically designed for those materials as they tend not only thicker but also more challenging when cutting through them.
Measuring and Cutting Patches
Measuring accurately is crucial for a successful repair job. Start by measuring the damaged area of your couch with a tape measure or ruler, making sure to add an extra inch on each side for seam allowance.
Next, transfer these measurements onto your patch material using a fabric marker or chalk. Use sharp scissors or rotary cutter to carefully cut out the patch along the marked lines.
It’s important that you take care when cutting out patches as any mistakes can lead to ill-fitting repairs which will not only look unsightly but may also cause further damage in future use.
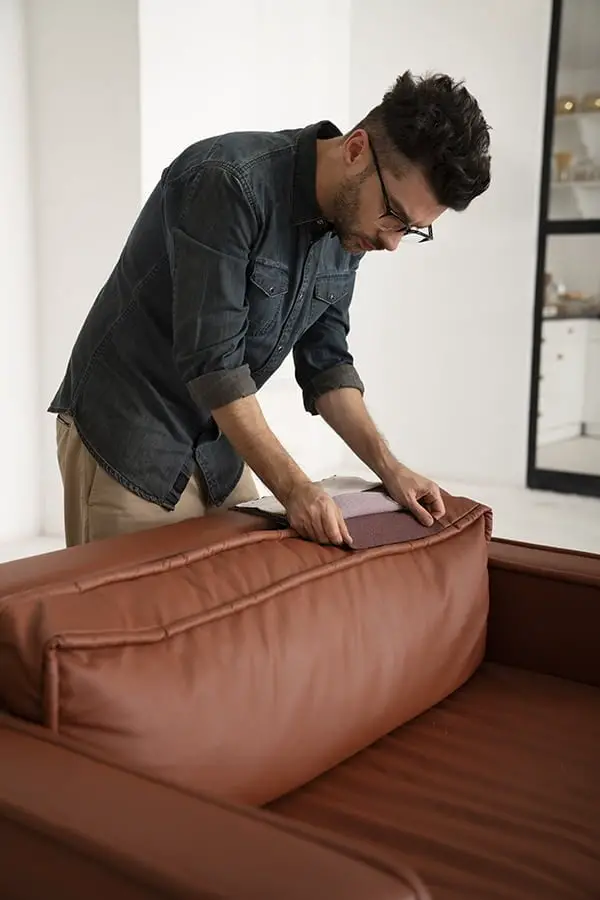
Aligning the Patch
Make sure that the patch covers all of the damage and extends at least an inch beyond its edges. This will ensure that there is enough material for a secure bond.
To align your patch correctly, place it over the damaged area and use pins or tape to hold it in place. Check that everything lines up perfectly before moving on to adhering your patch.
If you’re working with leather or vinyl patches, be extra careful when positioning them as they can leave permanent marks if not aligned properly.
Adhering the Patch
There are different methods of adhering a patch depending on the type of material used for your couch. For leather or vinyl patches, use an adhesive that is specifically designed for these materials.
Apply a small amount of adhesive onto both surfaces and press them together firmly.
For fabric patches, you can use either fusible webbing or fabric glue. Fusible webbing is an iron-on tape that melts when heated by an iron; this creates a bond between two fabrics once they cool down after being pressed together with heat from an iron.
Fabric glue works similarly but without heat; apply some glue onto one side of the patch and then place it over the damaged area while pressing down firmly until dry.
Attaching the Patch
Depending on the type of patch material and your couch fabric, there are different ways to do this. If you’re using an adhesive patch or glue, carefully apply a thin layer of glue around the edges of your cut-out piece before placing it onto the damaged area.
If sewing is required for attaching patches, use a needle and thread that matches your couch color as closely as possible. Start by threading your needle with enough thread length so that you can sew through all layers without running out halfway through.
Next up is stitching along each edge of the patch in small stitches until all sides are secure. Make sure not to pull too tightly on any one stitch or else they may break under pressure later down-the-line.
Applying Pressure to the Patch
This step is crucial in ensuring that the patch sticks firmly and blends seamlessly with the rest of your couch. You can use a heavy object like a book or even place some weights on top of the patch for about 24 hours.
If you’re using an adhesive, make sure to follow its instructions regarding how long it needs before applying pressure. Applying too much force too soon could cause damage or displace the patch.
After waiting for at least 24 hours, remove any weights or objects from on top of your patched-up area and inspect it closely. If there are any loose edges around where you applied patches, gently press them down with your fingers until they stick firmly onto their respective surfaces.
Sewing the Patch
Sewing is an essential step that ensures a secure bond between the patch and your couch. You can use either a sewing machine or hand-sew depending on your preference.
If you’re using a sewing machine, set up your thread color and stitch length according to your fabric type. Then carefully guide the fabric under the needle while keeping an even pressure on both sides of the seam.
For hand-sewing, choose a sturdy thread that matches or complements your couch’s color scheme. Thread through one side of each hole in both fabrics until they are securely attached together.
Whichever method you choose, make sure that all edges are neatly secured so as not to unravel over time.
Finishing Touches

These final steps will help ensure that the patch blends in seamlessly with the rest of your couch and looks as good as new.
Firstly, trim any excess material from around the edges of the patch using a pair of sharp scissors. This will give it a neat and tidy appearance.
Next, use sandpaper or an emery board to smooth out any rough edges on both sides of the patch. This step is especially important if you’re working with leather or vinyl materials.
Take a close look at your repaired area and make sure everything looks even and seamless. If there are still visible signs of damage or unevenness after completing these steps, consider adding decorative elements like throw pillows or blankets to distract from imperfections while also adding style points!
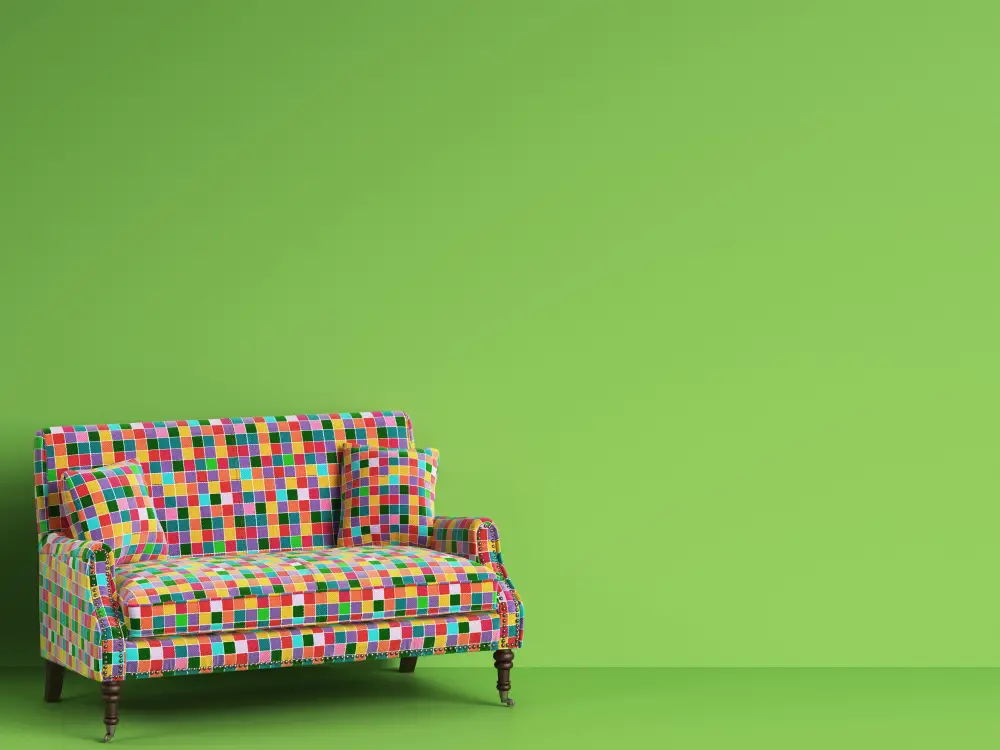
Adding Decorative Elements
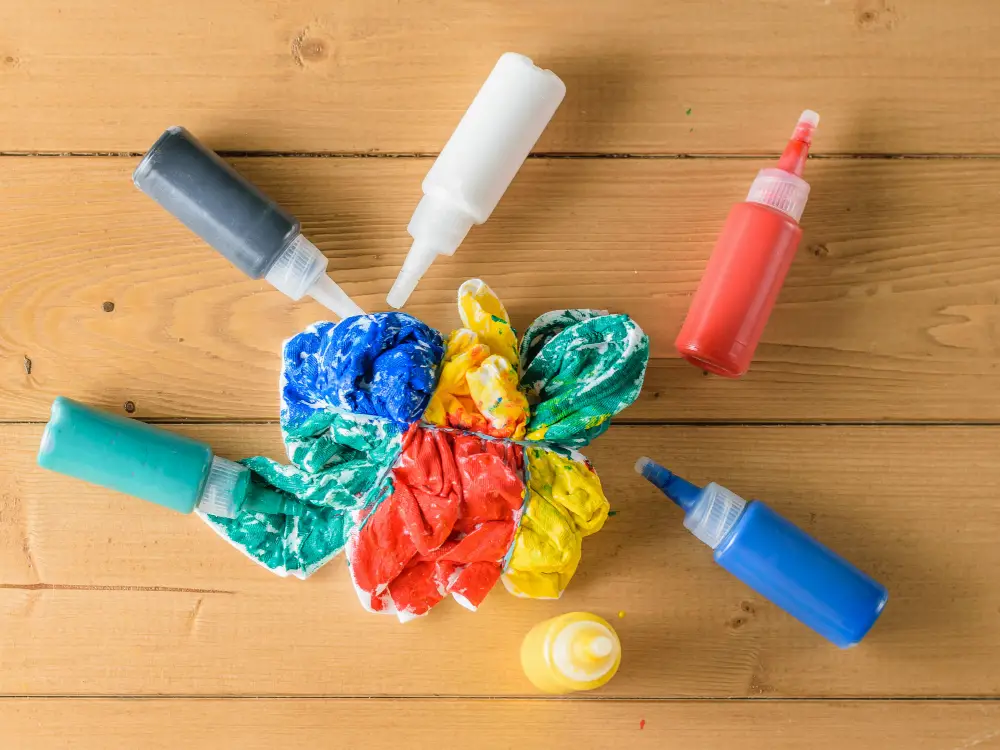
You can use fabric paint or markers to create designs on the patch that match the rest of your couch. Alternatively, you can sew on buttons or other embellishments for a unique touch.
If you’re feeling particularly creative, consider adding a throw pillow in coordinating colors or patterns. This will not only enhance the overall look of your couch but also provide extra comfort and support.
Remember that while decorative elements are fun and exciting, they should not compromise the integrity of your patch job. Make sure any additions are securely attached and won’t cause further damage down the line.
Caring for the Repaired Couch

Here are some tips for caring for your repaired couch:
- Avoid placing heavy objects on the repaired area.
- Keep pets and sharp objects away from the patch.
- Clean spills immediately with a damp cloth or sponge.
- Vacuum regularly to remove dust and debris from the surface of your couch.
By following these simple steps, you can keep your newly-patched sofa looking great for years to come! Remember that prevention is key when it comes to maintaining furniture, so be sure always to treat stains promptly and avoid exposing delicate fabrics or materials like leather or suede directly sunlight or heat sources such as radiators which could cause fading over time.
Cleaning and Maintaining Your Couch

Regular cleaning is essential for keeping your couch looking fresh and new. Vacuuming the surface of the couch regularly will help remove any dirt or debris that may accumulate over time.
For deeper cleaning, check the manufacturer’s instructions on how to clean your specific type of fabric. Some fabrics can be spot cleaned with a mild detergent solution, while others require professional cleaning services.
In addition to regular cleaning, there are some simple steps you can take to prevent future damage from occurring. Avoid placing sharp objects or heavy items on the surface of your couch as they could cause tears or scratches in the fabric.
You should also avoid exposing your furniture directly to sunlight as this could cause fading and discoloration over time. If possible, position it away from direct sunlight exposure by using curtains or blinds.
Preventing Future Damage

Here are some tips to keep in mind:
1. Avoid eating or drinking on the couch: Spills and stains can be difficult to remove and may cause permanent damage.
2. Keep pets off the furniture: Pets’ claws can scratch or tear upholstery, so it’s best to train them not to jump on the couch.
3. Rotate cushions regularly: This will help distribute wear evenly across all cushions.
4. Use a protective cover: If you have young children or pets, consider using a protective cover over your couch when they’re around.
5. Clean spills immediately: The longer a spill sits on fabric, the harder it is to remove completely.
Check Your Fabric
Different fabrics require different repair methods and materials. For instance, leather or vinyl couches may need a special adhesive for the patch to stick correctly.
On the other hand, cotton or linen fabrics may require sewing instead of gluing.
To determine your fabric type, check for tags on your furniture that indicate cleaning instructions and material composition. If there are no tags available or they have been removed over time, try identifying it by touch and sight.
Once you’ve identified what kind of material you’re working with; then proceed with choosing an appropriate method for repairing any damage on its surface.
Measure and Iron

Measuring is crucial as it ensures that the patch fits perfectly on your couch surface. Use a measuring tape or ruler to get accurate measurements of both the damaged area and your patch material.
After measuring, ironing comes next. Ironing helps smooth out any wrinkles or creases in your fabric before attaching it to the couch surface.
This step is especially important if you’re using a delicate fabric like silk or linen.
To avoid damaging your fabric during this process, use low heat settings on an iron box with no steam function for synthetic fabrics such as polyester and nylon while natural fibers like cotton require high heat settings with steam function turned off.
By taking these simple steps of measuring and ironing before attaching patches onto damaged areas of our beloved couches, we can ensure that they look great for years!
FAQ
Can you patch a fabric sofa?
Yes, you can patch a fabric sofa by using iron-on or self-adhesive fabric patches that closely match the color of the material.
What are the best materials to use for patching a fabric sofa?
The best materials for patching a fabric sofa include textile fabric, upholstery repair patches, or patch kits specifically designed for fabrics, such as iron-on fabric patches.
What is the most effective method for repairing a tear or hole in a fabric couch?
The most effective method for repairing a tear or hole in a fabric couch is by carefully sewing the damaged area using a curved upholstery needle and a matching thread color.
How can you seamlessly blend a patch with the existing fabric and pattern on a sofa?
To seamlessly blend a patch with the existing fabric and pattern on a sofa, carefully select a fabric piece that matches the sofa’s pattern, colors, and texture, and then attach it using an appropriate sewing technique, ensuring a precise alignment of the pattern.


