Last updated on
Discover the eco-friendly and creative process of making paper pulp furniture with our easy-to-follow guide that will transform your home decor.
Are you looking for a unique and eco-friendly way to decorate your home? Look no further than paper pulp furniture! Yes, you heard that right – furniture made out of paper!
This innovative and sustainable material is not only environmentally friendly, but it also adds a touch of whimsy to any room. In this article, we’ll guide you through the process of making your own paper pulp furniture so that you can create one-of-a-kind pieces that are as functional as they are beautiful.
Get ready to unleash your creativity and transform your living space with this exciting DIY project!
Key takeaways:
- Paper pulp furniture is eco-friendly and adds a touch of whimsy.
- You can create any shape or design with paper pulp.
- Choose recycled materials like paper for lower environmental impact.
- The process involves making pulp, creating a mold, shaping, and drying.
- Finish with sealants for protection and assemble securely.
Table of Contents
Introduction to Paper Pulp Furniture
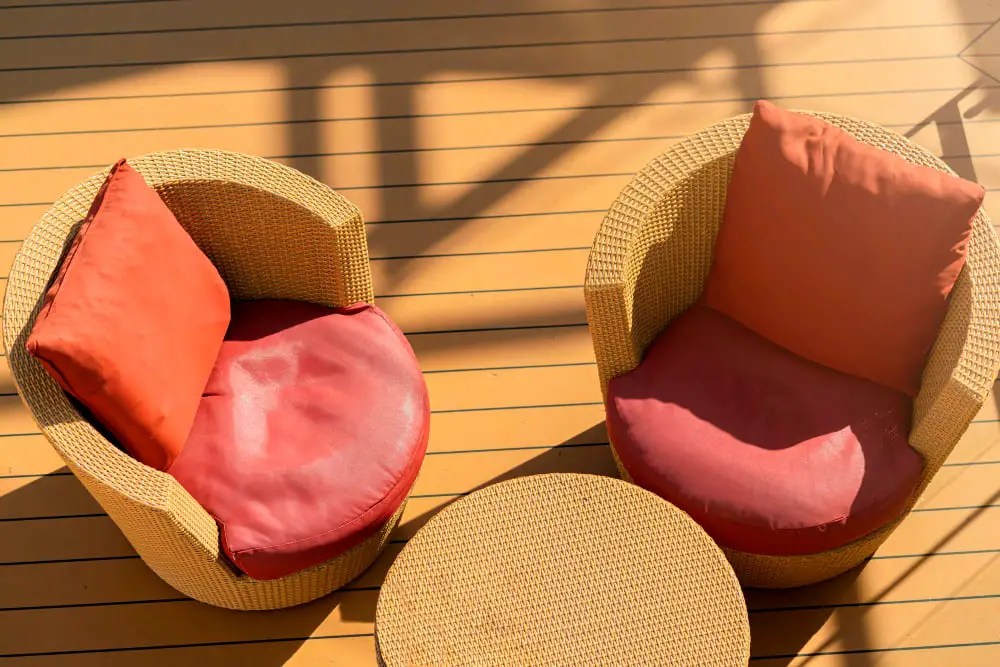
Paper pulp furniture is a unique and eco-friendly way to decorate your home. It’s made from recycled paper, which means it’s not only sustainable but also affordable.
The process of making paper pulp furniture involves creating a mold or frame, shaping the material into the desired form, and then drying it out completely before finishing with sealants or other protective coatings.
One of the best things about this type of furniture is that you can create almost any shape or design you want. Whether you’re looking for something modern and sleek or rustic and charming, there are endless possibilities when it comes to designing your own paper pulp pieces.
Another benefit of using recycled materials like paper in your home decor is that they have a lower environmental impact than traditional materials like wood or plastic. By choosing to make your own paper pulp furniture instead of buying mass-produced items from big-box stores, you’re helping reduce waste while also adding unique character to your living space.
Materials Needed

Here’s what you’ll need:
- Paper: You can use any type of paper for this project, including newspaper, printer paper or even old magazines.
- Water: You will need plenty of water to create the pulp mixture.
- Blender or food processor: A blender is essential for breaking down the paper into small pieces before creating the pulp mixture.
- Molds or frames: Depending on what kind of furniture piece you want to create, molds and frames come in different shapes and sizes such as bowls, vases etc., which can be used as a base structure for your design.
- Sealant (optional): Once your furniture has dried completely after shaping it with molds/frames; applying sealants like varnish will help protect it from moisture damage over time.
Preparing the Paper Pulp
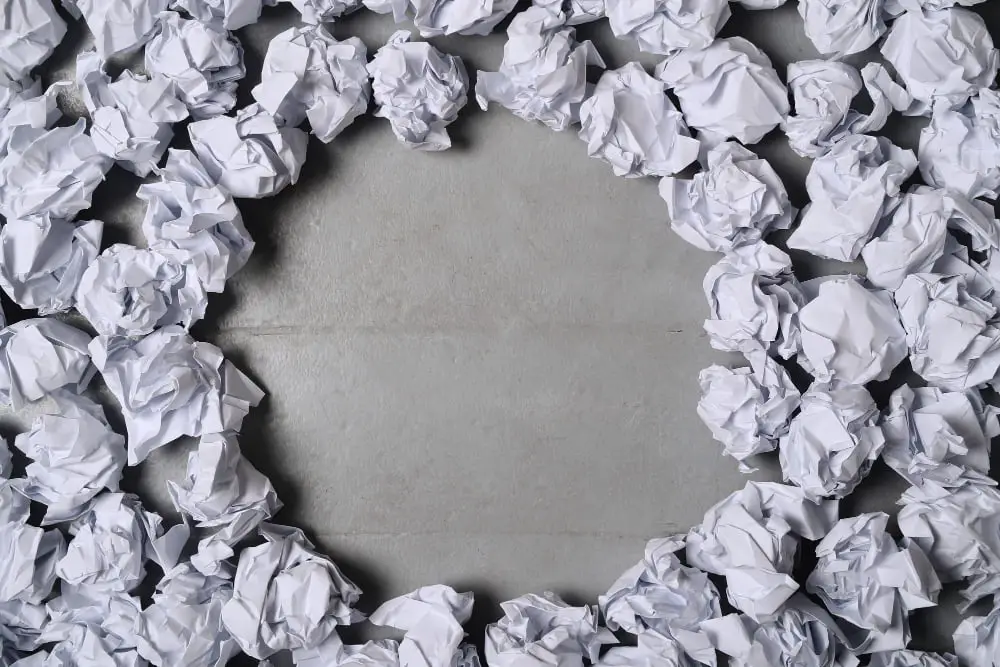
The first step is to tear up your scrap paper into small pieces and soak them in water for at least 24 hours. This will help break down the fibers and make them easier to blend.
Next, use a blender or food processor to mix the soaked paper with more water until it forms a smooth paste-like consistency. You can add natural dyes or pigments at this stage if you want your furniture pieces to have some color.
It’s important that you strain out any excess water from your mixture before moving on as too much moisture can cause problems during shaping and drying stages of making furniture.
Creating a Mold or Frame

This will help give it structure and shape as it dries. You can use a variety of materials to create your mold, such as cardboard boxes, plastic containers or even old furniture pieces that you no longer need.
To start creating the mold for your paper pulp furniture piece, first decide on the size and shape that you want. Then cut out pieces of cardboard or plastic in those dimensions and tape them together with strong adhesive tape until they form a solid structure.
Alternatively, if using an existing piece of furniture as a base for molding purposes (such as an old chair), cover it with cling wrap before applying layers of paper pulp onto its surface so that when dry; this layer can be removed easily without damaging either item involved!.
Shaping and Forming the Furniture
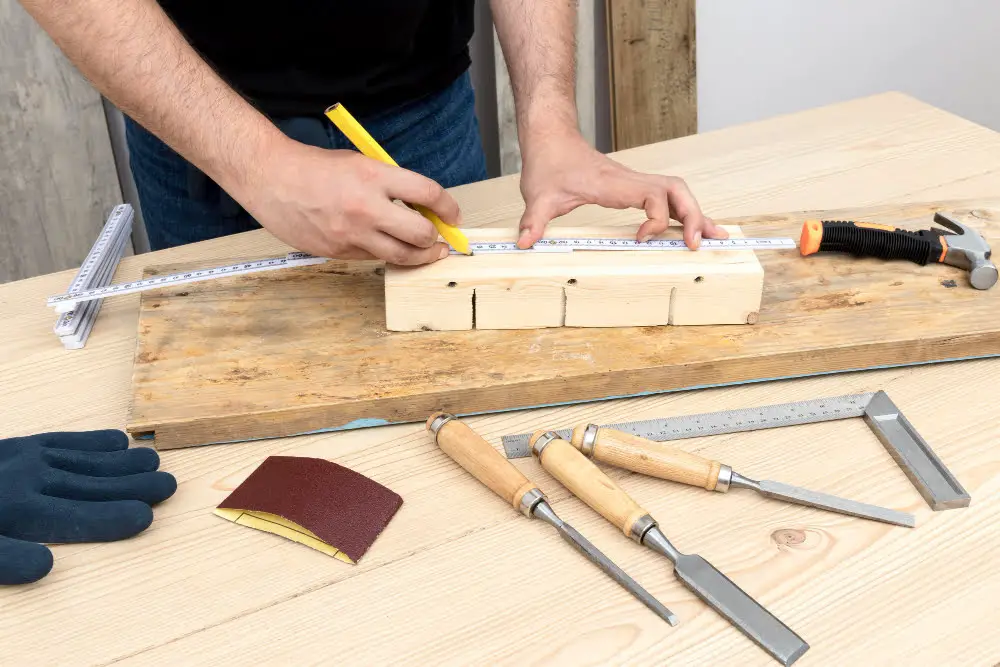
This is where you can get creative with your designs! You can use various tools such as spatulas, knives, or even your hands to sculpt the paper pulp into any shape that you desire.
If you’re making a chair or table, make sure that the legs are sturdy enough to support weight. For more intricate designs like lamps or vases, take extra care in shaping them so they don’t collapse during drying.
Remember that paper pulp furniture is not as strong as traditional wood furniture but it still has its own unique charm. Don’t be afraid to experiment with different shapes and sizes until you find something that works for both aesthetics and functionality.
Once shaped properly let them dry completely before moving on to finishing touches like sanding down rough edges if needed.
Drying Process
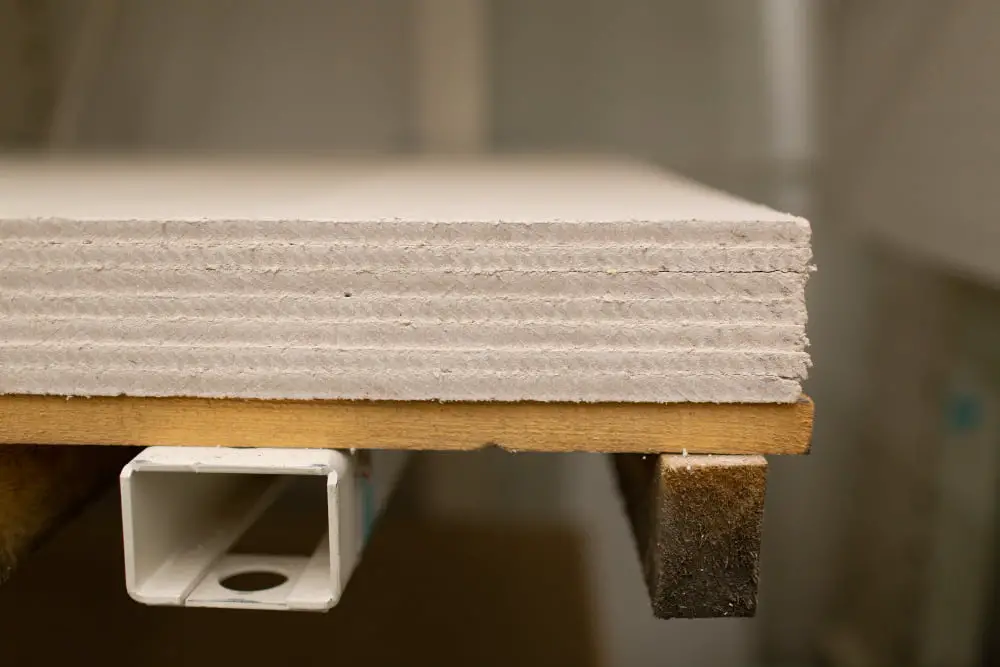
This is a crucial step in the process as any remaining moisture can cause the furniture to warp or even mold over time. The drying process can take anywhere from 24 hours up to several days depending on the size and thickness of your piece.
To begin, gently remove your molded paper pulp furniture from its frame or mold and place it on a flat surface that has been covered with plastic wrap or wax paper. Make sure that there is enough space around each piece so that air can circulate freely.
Next, allow the pieces to air dry for at least 24 hours before moving them into direct sunlight or using artificial heat sources such as hairdryers which may cause cracking due to uneven drying.
If you’re working with larger pieces of furniture like chairs or tables, consider placing them outside in a shaded area where they will receive plenty of fresh air but won’t be exposed directly under sunlight which could lead to fading over time.
Finishing Touches and Sealants
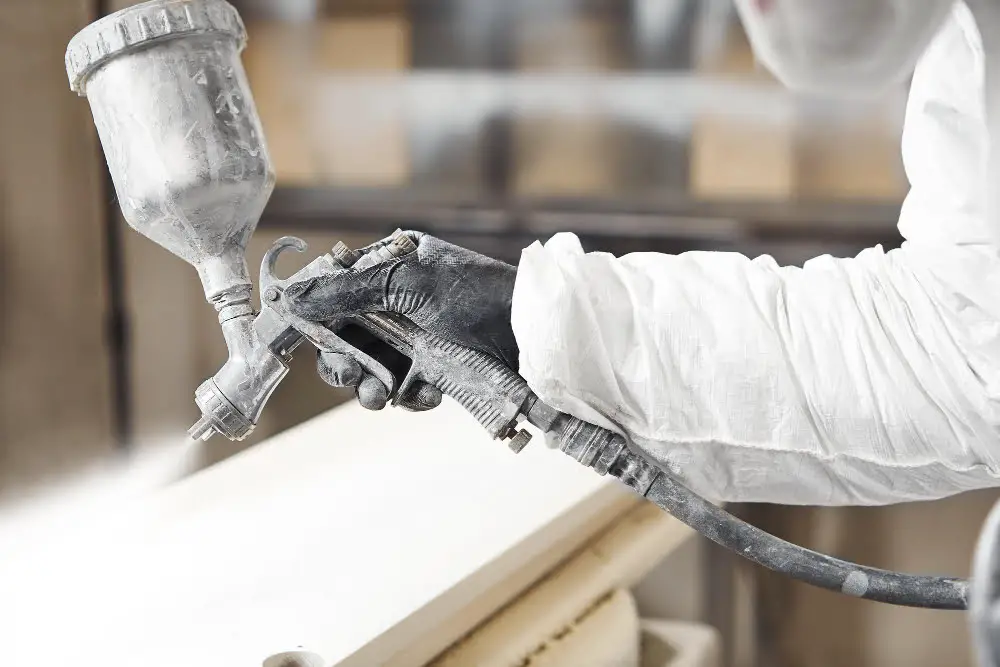
This step is crucial as it will protect your furniture from moisture and wear and tear. There are several options for sealants that you can use depending on the look you want to achieve.
One option is a clear polyurethane spray which provides a glossy finish while also protecting against scratches and water damage. Another option is wax, which gives a more natural matte finish but requires regular reapplication.
You can also experiment with different colors by adding pigments or dyes to your sealant mixture before applying it onto the surface of your furniture piece.
Remember that each type of sealant has its own application process so be sure to read instructions carefully before starting this step.
Assembling the Pieces
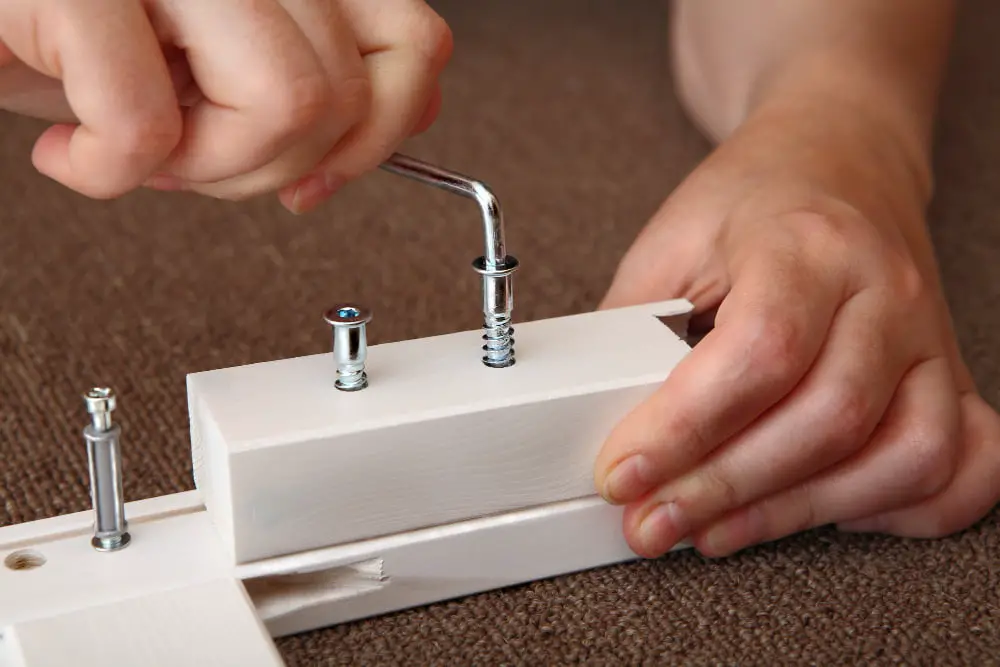
This step is crucial in ensuring that your furniture is sturdy and functional. Depending on the design of your piece, you may need to use screws or glue to attach different parts together.
For example, if you’ve created a chair with separate legs and a seat, you’ll need to attach the legs securely using screws or wood glue. If you’re making a table with multiple sections, make sure they fit together snugly before attaching them permanently.
It’s important not to rush this step as it can affect the overall stability of your finished product. Take extra care when assembling any joints or connections between pieces so that they are strong enough for everyday use.
Eco-friendly Benefits
This type of furniture is made from recycled materials, which means that it reduces waste and helps to preserve natural resources. The production process for paper pulp furniture uses less energy than traditional manufacturing methods, making it a more sustainable option.
Another benefit is that this type of furniture can be easily recycled at the end of its life cycle. Instead of ending up in a landfill like many other types of furnishings, paper pulp pieces can be broken down and repurposed into new products or composted.
Not only does using paper pulp as a material help reduce environmental impact but also creates unique designs with an organic feel to them. By incorporating these pieces into your home decor you are not only helping save our planet but also adding character and charm to your living space!
