Last updated on
Discover the simple steps to effectively repair unsightly cracks in your leather couch, restoring its original beauty and comfort.
Leather couches are a luxurious addition to any living space. They exude elegance and sophistication, and they’re incredibly comfortable too.
However, with regular use, leather couches can develop unsightly cracks that can detract from their beauty. But don’t worry! You don’t have to replace your beloved leather couch just yet.
In this article, we’ll show you how to fix those pesky cracks and restore your leather sofa to its former glory. So grab your tools and let’s get started!
Table of Contents
Causes of Leather Couch Cracking
One of the most common causes is exposure to direct sunlight and heat, which can dry out the leather and cause it to crack over time. Another factor that contributes significantly is lack of maintenance or improper cleaning techniques, leading to a buildup of dirt and grime on the surface that weakens its structure.
Harsh chemicals such as bleach or ammonia-based cleaners can strip away natural oils from leather fibers causing them brittle over time. Poor quality leather material used in manufacturing also tends not only cracks but peels off with regular use.
It’s essential always to take proper care of your leather furniture by keeping it clean regularly using mild soap solutions specifically designed for this purpose. Avoid exposing your couch directly under sunlight or near sources emitting high temperatures like fireplaces; instead place them in cool areas where they won’t be exposed too much heat.
Types of Leather Cracks
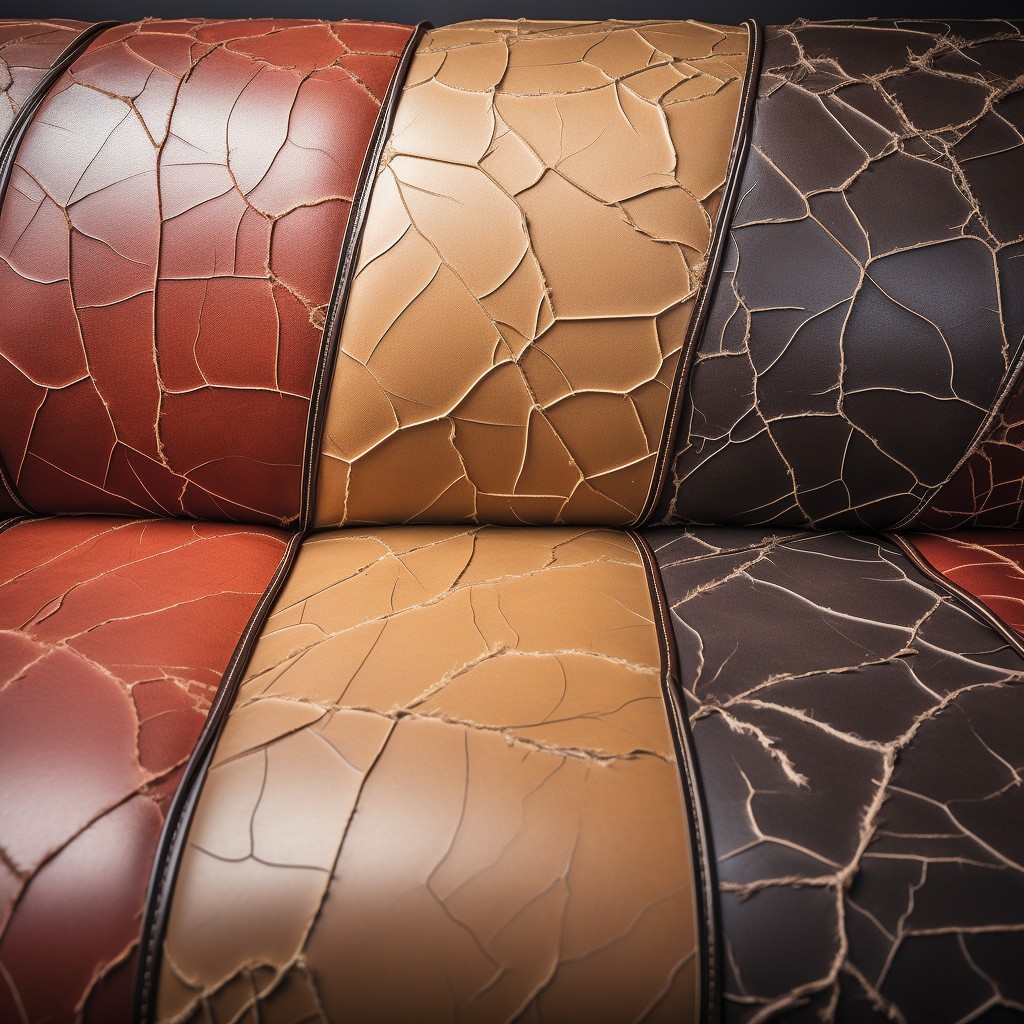
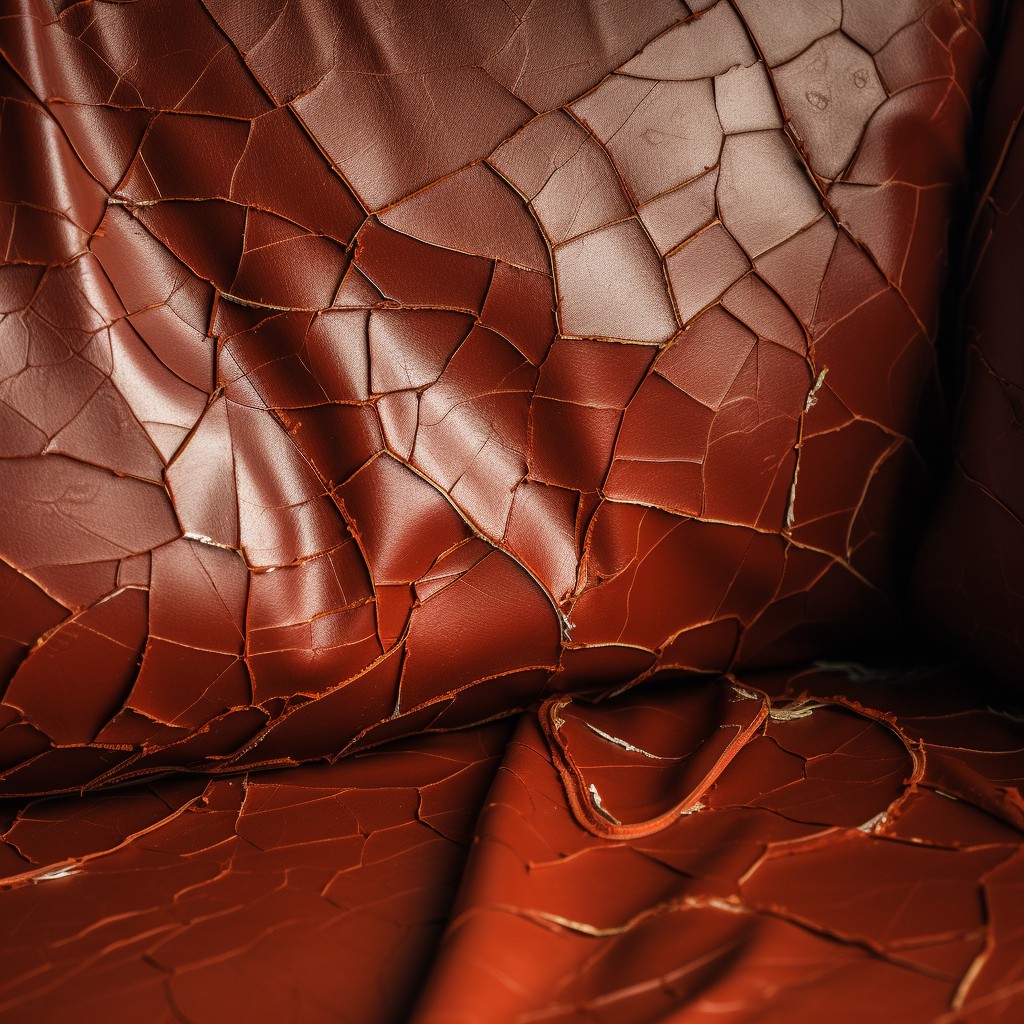
There are three main types: surface-level cracks, deep cuts or scratches, and punctures.
Surface-level cracks are the most common type and occur when the top layer of leather dries out and loses its natural oils. This can happen due to exposure to sunlight or heat sources like radiators or fireplaces.
Surface-level cracking is usually easy to fix with a good quality leather conditioner.
Deep cuts or scratches occur when something sharp comes into contact with your couch’s surface. These types of damage require more extensive repair work than surface level cracking but can still be fixed using a DIY repair kit.
Punctures are caused by sharp objects piercing through the entire thickness of your couch’s upholstery material. Punctured areas may need professional attention as they tend to be difficult for non-experts in repairing them effectively without causing further damage.
Identifying Types of Leather
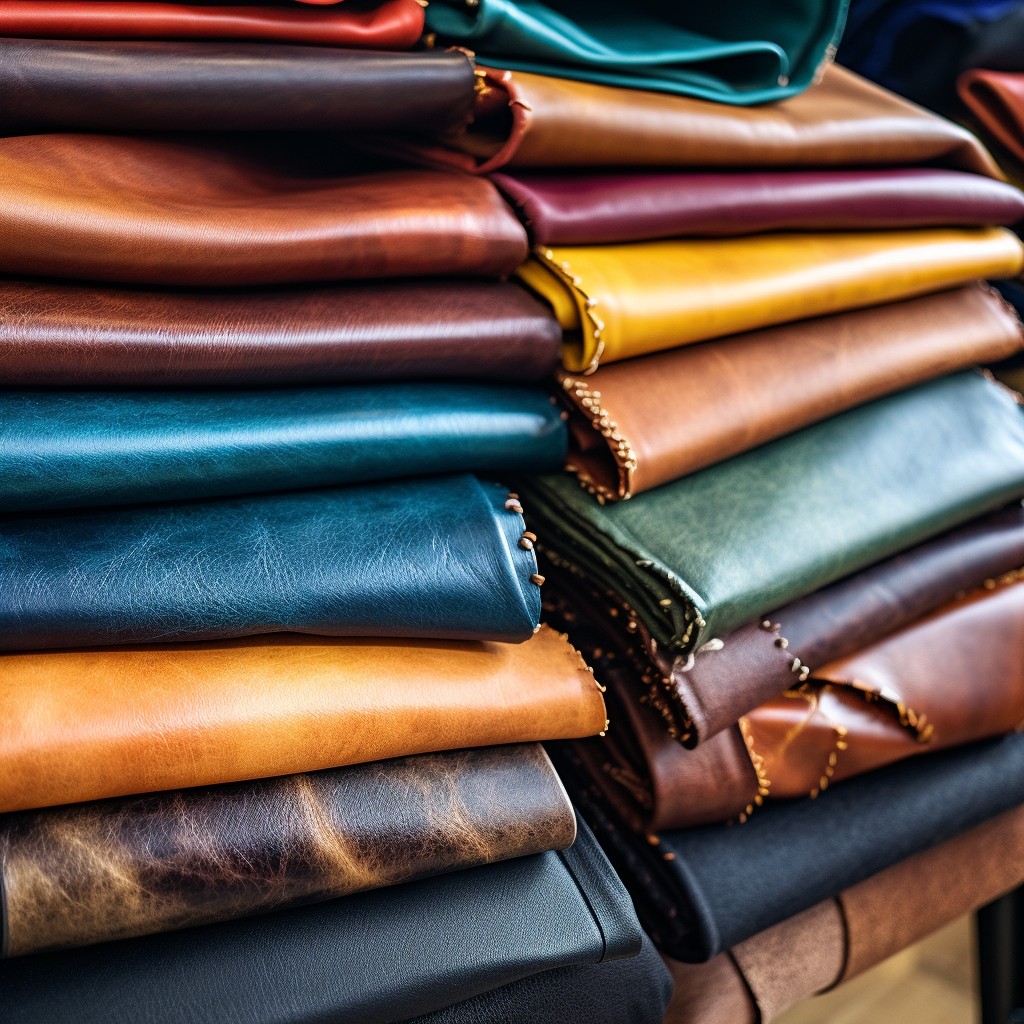
Different types of leather require different repair methods and materials. Before you start any repairs, it’s important to identify what kind of leather your couch is made from.
There are several types of leather commonly used for furniture, including full-grain, top-grain, corrected grain or split grain. Full-grain and top-grain leathers are considered high-quality because they retain their natural texture and markings while corrected grain or split grains have been treated with a coating that hides imperfections.
To determine which type your couch has, look for any markings on the surface such as scars or wrinkles that indicate full- or top-grade quality. If there aren’t any visible marks on the surface but it feels smooth to touch then it may be a corrected grain; if rougher than usual then most likely a split grade.
Assessing the Damage
This will help you determine whether or not you can fix it yourself or if professional assistance is required. Start by examining the cracks and determining their depth and width.
Light surface-level cracks are easier to repair than deep ones that have penetrated through multiple layers of leather.
Next, check for any discoloration around the cracked area as this could indicate a more severe problem such as mold growth or water damage. If there is any discoloration present, stop immediately and seek professional advice.
It’s also essential to identify what type of leather your couch is made from before attempting repairs since different types require different treatments. You can usually find this information on a tag attached to your furniture piece.
Repairing Light Leather Cracks
First, clean the surface of the leather using a soft cloth and mild soap solution. Then, use fine-grit sandpaper to gently sand down any rough edges around the crack.
Next, apply a small amount of leather filler or compound to fill in the crack. Use a putty knife or spatula to spread it evenly over the damaged area and smooth out any bumps or lumps.
Allow it to dry completely before applying another layer if necessary. Once dry, lightly sand again until smooth and blend with matching dye color for an even finish.
Fixing Deep Leather Cracks
These types of cracks are usually caused by dryness and lack of maintenance, which can lead to the leather losing its natural oils and becoming brittle. To repair deep leather cracks, you’ll need a few additional tools such as sandpaper, heat gun or hairdryer, and heavy-duty filler or compound.
Firstly, clean the cracked area with a damp cloth to remove any dirt or debris that may have accumulated in the crack. Then use sandpaper to gently roughen up the edges of the crack so that it’s easier for filler material to adhere.
Next step is applying heavy-duty filler into each crevice using an applicator tool until it’s level with surrounding areas. Allow time for drying according manufacturer instructions before smoothing out excess material using fine-grit sandpaper.
Once you’ve filled all deep cracks on your couch surface evenly without leaving any bumps behind then apply dye color matching your couch shade over repaired areas following product instructions carefully. Finally buffing/polishing will give final touch-up making sure everything looks seamless again!
Tools and Materials Required
Here are some of the things you’ll need:
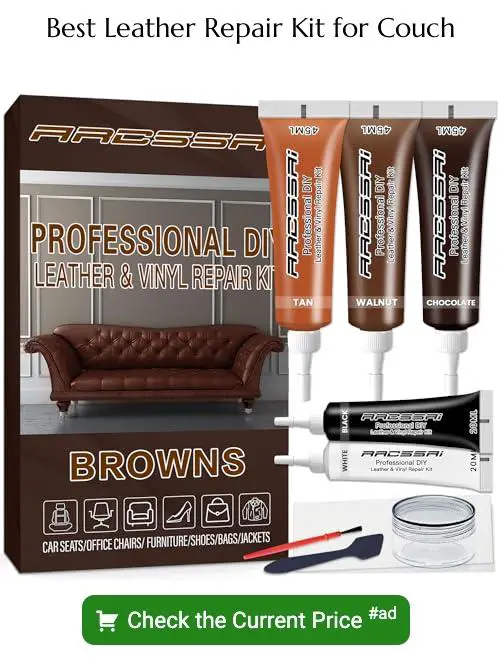
1. Leather repair kit: This should include a filler or compound, dye, conditioner, sandpaper or abrasive pad.
2. Cleaning supplies: You’ll need a mild soap solution and clean water for cleaning the surface before repairs.
3. Gloves: Wear gloves to protect your hands from chemicals in cleaning solutions and dyes.
4. Masking tape: Use masking tape around cracks that require filling to prevent excess filler from spreading onto undamaged areas of the leather surface.
5. Sandpaper or Abrasive Pad – These will be used for smoothing out rough edges after applying fillers/compounds as well as preparing surfaces before application.
6. Lint-free cloth- For wiping off any excess dye during coloring process.
Cleaning the Leather Surface
Dirt and grime can accumulate in the cracks, making it difficult for repair materials to adhere properly. To clean your leather sofa effectively, use a soft-bristled brush or vacuum cleaner attachment to remove any loose dirt or debris from the surface.
Next, mix a small amount of mild soap with warm water and dampen a microfiber cloth with this solution. Wring out excess water from the cloth until it’s slightly damp but not dripping wet.
Gently wipe down all areas of your leather couch using circular motions while applying light pressure. Avoid scrubbing too hard as this can damage delicate leathers like suede or nubuck.
Once you’ve cleaned all areas of your couch thoroughly, use another dry microfiber cloth to wipe away any remaining moisture on its surface gently.
Choosing the Right Repair Kit
There are many different types of kits available on the market, and each one is designed for a specific type of leather damage. Some kits are suitable for light cracks and scratches, while others can handle deep cuts or tears.
When choosing a repair kit, make sure that it matches your couch’s color and texture as closely as possible. You don’t want to end up with an obvious patchwork that looks worse than the original crack! Look for a kit that includes all necessary tools such as filler compound or adhesive glue.
It’s also important to read reviews from other customers who have used similar products before making any purchase decisions. This will help you avoid low-quality products that may not work effectively in fixing your leather couch cracks.
Once you’ve chosen the right repair kit based on its quality and suitability for your needs, follow instructions carefully when using it on your damaged sofa surface.
Prepping the Cracked Area
Prepping involves cleaning and sanding the cracked surface to ensure that any dirt or debris is removed, and a smooth surface is created for repair.
To start prepping, use a soft-bristled brush or vacuum cleaner with an upholstery attachment to remove any loose dirt or debris from around the crack. Next, clean the area thoroughly using a leather cleaner and conditioner.
This will help remove any remaining dirt while also conditioning your leather couch.
Once you’ve cleaned up all visible dust particles from around each crack in your sofa’s material (leather), take some fine-grit sandpaper (220 grit) and gently rub over each one until they’re smoothed out as much as possible without causing further damage – this step ensures that there are no rough edges left behind after repairs have been made later down-the-line!
Rehydrating Leather With Conditioner
Leather conditioners are specially formulated to penetrate deep into the pores of the leather and restore its natural oils, making it soft and supple again. Before applying any conditioner, make sure that you clean your couch thoroughly using a mild soap solution or specialized leather cleaner.
Once you’ve cleaned your couch, apply a small amount of conditioner onto a soft cloth or sponge and rub it gently onto the surface in circular motions. Make sure that you cover every inch of cracked area with an even layer of conditioner.
Allow the conditioner to soak into the cracks for at least 30 minutes before wiping off any excess with another clean cloth. Repeat this process until all cracks have been treated properly.
Rehydrating your leather sofa is an essential step in repairing cracks as dryness can cause further cracking if left untreated.
Applying Leather Filler or Compound
This step is crucial in repairing deep cracks and restoring your leather couch’s smooth surface. Leather fillers come in different forms, such as putty-like compounds or liquid solutions that harden when dry.
To apply the filler, use a spatula or palette knife to spread it evenly over the damaged area. Make sure to press down firmly so that the filler penetrates into every crevice of the crack.
Smooth out any excess with a damp cloth and let it dry completely before moving on to sanding.
When choosing a leather filler product, make sure that it matches your couch’s color and texture for seamless blending later on during coloring and sealing steps.
Blending Cracks With Leather Dye
This is where leather dye comes into play. Choose a dye that matches your couch’s color and apply it to the repaired area using a sponge or brush.
Start by applying light coats of dye, allowing each coat to dry before adding another layer. Be sure not to overdo it as too much dye can darken the repaired area and make it stand out even more.
If you’re having trouble matching your couch’s color, consider mixing different shades of dyes until you achieve an exact match. You can also consult with a professional if needed.
Sanding the Repaired Area
Sanding helps smooth out any rough edges and ensures that the repair blends seamlessly with the rest of your couch. Use a fine-grit sandpaper (around 220 grit) for this step, as coarse sandpaper can damage your leather.
Gently rub the sanded area with a damp cloth to remove any dust or debris left behind by sanding. Be careful not to apply too much pressure while wiping down as this could cause further damage.
After cleaning up, you may notice that some areas still need more filling or smoothing out before proceeding with coloring and sealing. If so, repeat steps 11-13 until satisfied.
Coloring and Sealing
Coloring is essential to ensure that the repaired section blends in with the rest of your leather couch. You can use a leather dye or pigment that matches your couch’s original color.
Before applying any coloring agent, make sure you test it on an inconspicuous part of your sofa first. This will help you determine if it’s a good match for your furniture.
After testing, apply a thin layer of dye or pigment over the repair compound using either an applicator brush or sponge. Make sure to blend in well with surrounding areas until there are no visible lines between colors.
Once dry (usually within 24 hours), apply a coat of clear sealer over this area using another clean sponge or brush; this will protect against future damage from spills and stains while also providing additional shine!
Buffing and Polishing
This step is crucial for achieving a smooth and even finish that blends seamlessly with the rest of your sofa.
To begin, use a soft cloth or sponge to apply a small amount of leather conditioner onto the repaired area. Rub gently in circular motions until you achieve an even shine.
Next, take another clean cloth or sponge and apply some leather polish onto it. Again using circular motions, rub this over the entire surface of your couch until it shines like new.
It’s important not to skip this step as buffing and polishing helps protect against future damage by creating an invisible barrier on top of your newly-repaired leather surface. Plus, who doesn’t love seeing their furniture looking shiny and new again?
Preventing Future Cracks
One of the most effective ways to do this is by keeping your leather furniture away from direct sunlight and heat sources. UV rays can cause the leather surface to dry out and crack over time, so it’s best to position your couch in a shaded area or use curtains or blinds.
Another way of preventing future cracks is by regularly cleaning and conditioning the leather surface. This helps keep the material supple and moisturized, reducing its susceptibility to cracking due to dryness.
It’s also essential not only for prevention but also for maintenance purposes that you avoid using harsh chemicals on your sofa as they can damage its finish leading eventually lead up into more severe problems like cracking.
Maintenance Tips for Leather Couches
Here are some tips on how to maintain the beauty and longevity of your leather sofa:
1. Keep it clean: Regularly dust and vacuum your leather couch to remove dirt, debris, and pet hair.
2. Avoid direct sunlight: Prolonged exposure to sunlight can cause fading and drying out of the leather material.
3. Use a conditioner: Apply a high-quality conditioner every six months or so (depending on usage) as this will help keep the surface supple.
4. Be cautious with liquids: Spills should be wiped up immediately using a dry cloth; avoid using water or soap-based cleaners as they can damage the surface finish.
5. Don’t place sharp objects on it: Sharp objects like keys or scissors can scratch or puncture holes in your beautiful couch!
Warnings and Mistakes to Avoid
First, make sure you choose the right repair kit for your type of leather. Using the wrong product can cause further damage or discoloration.
Always test any products on an inconspicuous area before applying them to the cracked surface.
Another mistake to avoid is overfilling deep cracks with filler or compound. This can result in uneven surfaces that are difficult to sand down and blend with surrounding areas.
It’s also important not to rush through any steps in the repair process as this could lead to unsatisfactory results. Take your time and follow instructions carefully.
Remember that prevention is key when it comes to maintaining your leather couch’s beauty and durability. Avoid exposing it directly under sunlight or heat sources as these elements dry out natural oils from its surface causing cracking over time.
By following these tips while avoiding common mistakes during repairs will ensure a successful outcome every time!
FAQ
Why is the leather on my sofa cracking?
The leather on your sofa is cracking primarily due to lack of moisture, low humidity levels, and insufficient conditioning.
What are the common causes of leather couch cracks?
The common causes of leather couch cracks include exposure to direct sunlight, extreme temperatures, dryness, improper cleaning, and general wear and tear.
Can you recommend effective leather repair products for fixing couch cracks?
LeatherNu, Coconix Leather and Vinyl Repair Kit, and Chamberlain’s Leather Milk are effective products for repairing couch cracks in leather.
Are there any DIY methods for repairing cracked leather on a couch?
Yes, a DIY method for repairing cracked leather on a couch involves using a leather repair kit, which typically includes filler, adhesive, and finishing paint to fix the cracks.


