Last updated on
Covering an opening in the wall isn’t as daunting as it seems, especially because it’s an opportunity to transform that space into an impressive aesthetic accent.
Covering an opening in the wall can be a daunting task, but with the right approach, it’s completely manageable. This article will guide you through the process, whether you’re dealing with a small hole or a larger void.
We’ll explore different methods, from using a simple patch kit for smaller holes to installing a new piece of drywall for larger gaps. We’ll also delve into the necessary preparation steps, the tools you’ll need, and the finishing touches to ensure a seamless blend with the rest of your wall.
Every detail will be covered, so rest assured, by the end of this guide, you’ll be well-equipped to tackle this task with confidence.
Key takeaways:
- Measure and gather materials like drywall, tape, joint compound, and paint.
- Prioritize safety by wearing protective gear and turning off electricity.
- Choose from methods like plastering, using drywall, paneling, or decorative screens.
- Follow step-by-step guide to cover the opening, including framing and finishing.
- Consider DIY or hiring a professional based on budget, skills, and time.
Table of Contents
Materials Needed to Cover an Opening in the Wall
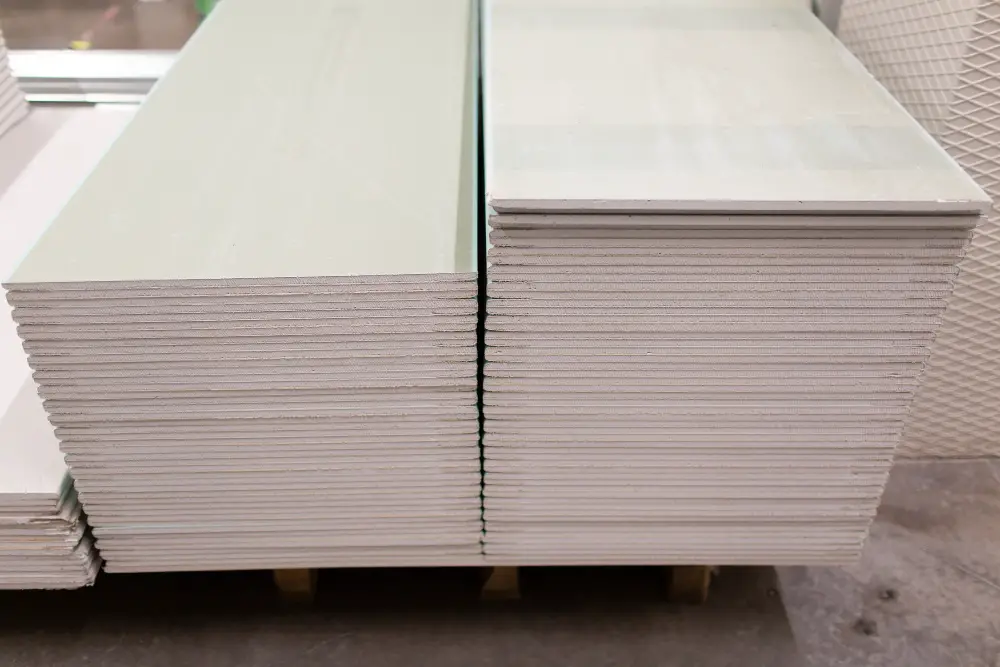
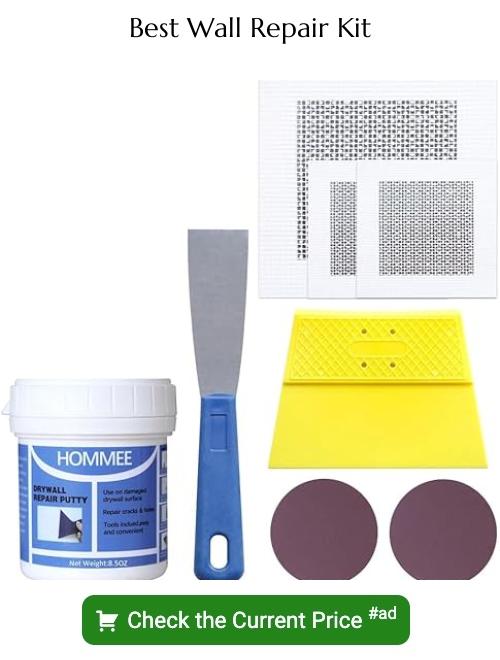
First and foremost, drywall, measured to fit your wall’s opening, will be your primary material. A hand saw or a utility knife can be used to trim this to size. Fasteners such as drywall screws and nails are essential to secure the newly cut piece into position. Additionally, a stud finder is valuable to accurately detect framing studs for affixation purposes.
Joint compound, also known as drywall mud, will be needed along with a taping knife to blend the new piece with the existing wall. Drywall tape aids in covering the seams between the old and new sections. A sandpaper or sanding sponge smoothens the dried joint compound to achieve a seamless integration. Lastly, paint or wallpaper matching your wall’s existing finish will render the repair virtually unnoticeable. Remember, preparation is key to a successful project.
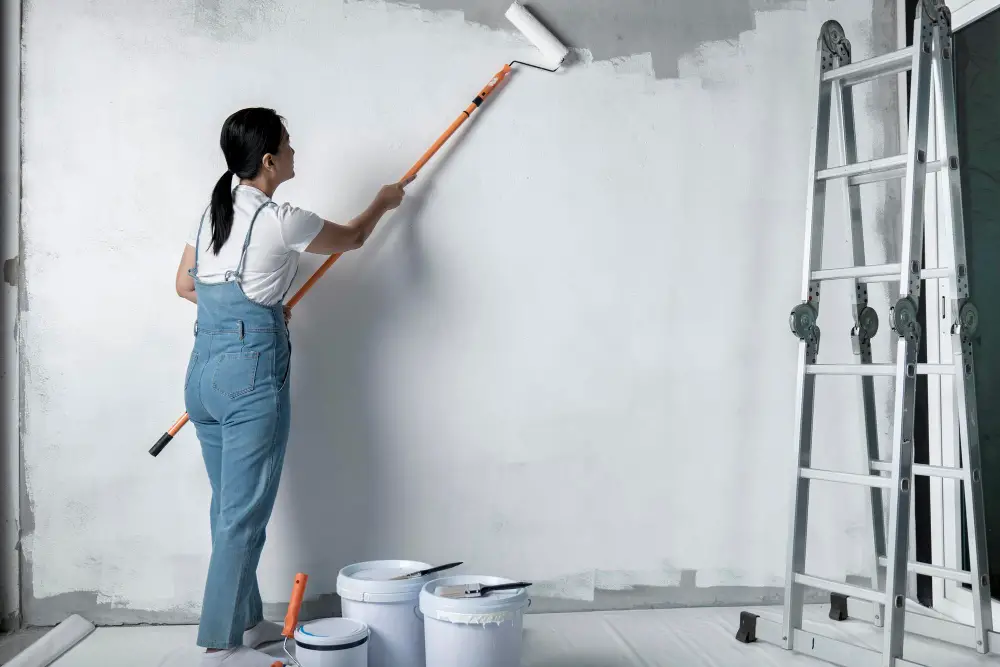
A basic collection of tools such as a measuring tape, pencil for marking, screwdriver, and a level tool for maintaining straight lines ensures precision in your task. Always remember to wear safety gear- gloves, safety glasses, and a dust mask, especially while sanding.
Safety Precautions When Covering a Wall Opening

When embarking on this type of project, it’s crucial to prioritize safety. Always wear protective gear such as gloves and safety glasses to prevent possible injuries.
Turn off the electricity in the room where you’ll be working, especially if there are outlets or switches connected to the wall in question.
Keep a fully stocked first-aid kit nearby for minor injuries that may occur.
Clear the surrounding area, removing any furniture or obstacles to avoid tripping or damage.
Make certain the ladder, if utilized, is stable and positioned correctly.
Importantly, if the job seems overwhelming or risky, consider hiring a professional to ensure safe and accurate results.
Different Methods to Cover a Wall Opening
From the simple to the complex, you can opt for several techniques depending on your preferences or the wall’s requirements. Plastering is one of the most traditional ways to seal an opening. This method requires applying several layers of plaster to achieve a smooth finish.
Another popular option is drywall. Cut a piece to the size of the opening, secure it in place using screws attached to the existing wall studs, then apply joint compound and sand it down for a seamless look.
For a temporary fix, consider paneling or faux wall panels. These offer a wide range of textures and finishes, from wood grain to brick, which can add a unique touch to the room.
Got a creative flair? Use the opening as a recessed shelf or built-in feature. Fit it out with shelving or use a decorative frame to transform the space into an art niche or display area.
Lastly, many people find decorative screens an appealing alternative. They fit snugly into the opening, offering an intriguing design element while still keeping the space closed off. With numerous designs available, there’s surely one to match your interior style.
Step-by-step Guide On How to Cover an Opening in the Wall

Begin by measuring the opening to ensure you acquire the right quantity of sheetrock. Remember to include space for framing if it’s not already in place. Use 2x4s for the framing material and precisely cut them to fit your dimensions.
Next, screw or nail the frame into the existing wall studs. Ensure the frame is flush with the existing wall surface for a seamless finish.
Now, cut your sheetrock to match the size of the opening. A utility knife will serve you best here. Always use a ruler or straight edge as a guide to maintain accuracy.
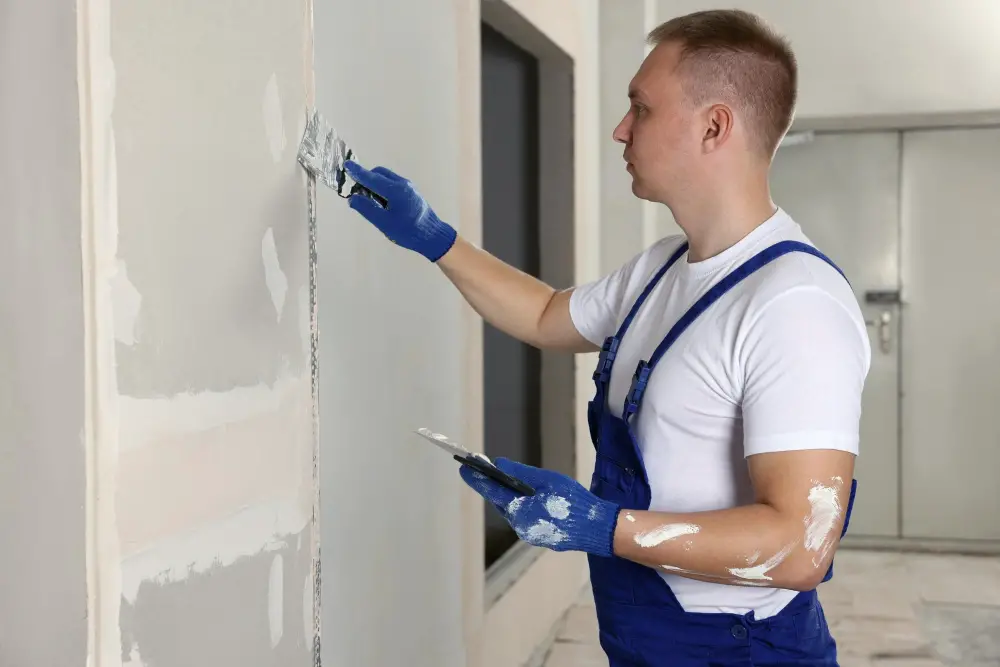
Once this is done, attach the sheetrock to the frame. Use drywall screws at the corners and edges, securing the sheetrock firmly onto the frame. Keep the screws slightly below the surface of the drywall.
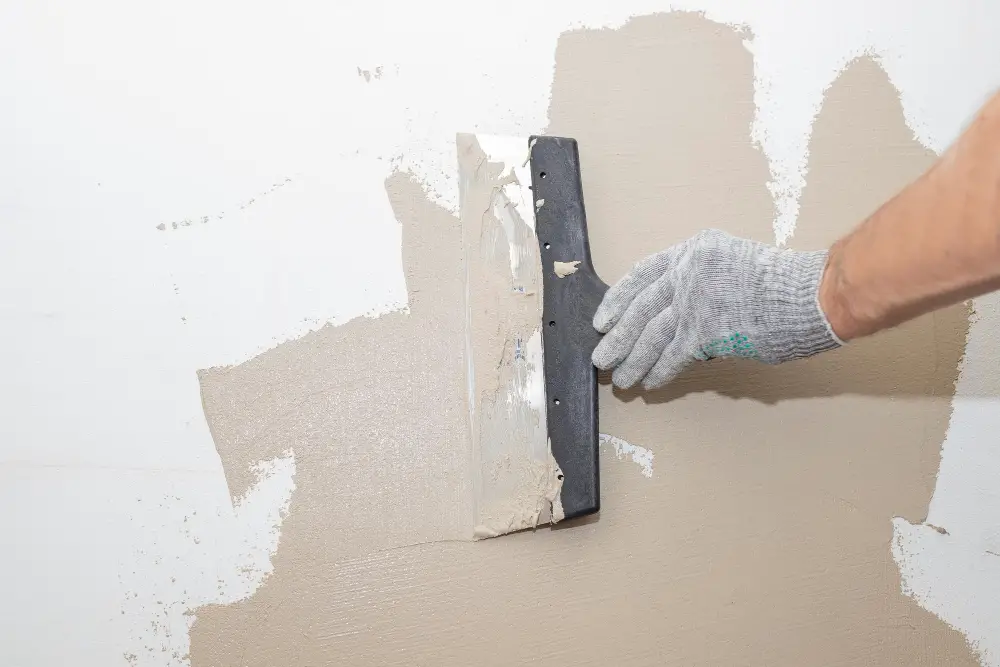
Smoothing out any joins is imperative for visual cohesiveness. Achieve this by applying a thin layer of drywall compound using a drywall knife, scraping it smooth. Let this dry.
Once dried, lightly sand over the compound for a more refined look. Sweep away any dust and proceed to prime the patch, preparing it for the final paint job.
Lastly, paint your wall patch to match the rest of the wall, creating a seamless appearance. Depending on your wall’s color and the paint type, you might need a second coat. Let the paint dry between each layer.
Remember, patience and attention to detail are key for a flawless result. This step-by-step guidance aims to simplify the process, making it less daunting for every DIY enthusiast.
DIY Versus Hiring a Professional for Wall Opening Cover
When tackling a wall opening cover, there are two primary routes – the DIY approach and hiring a professional.
For those who fancy a hands-on project, the DIY style allows you to save costs while putting those home improvement skills to the test. You’d be in full control, ensuring each detail meets your specific standards. It’s essential, however, to have some basic building or carpentry skills to ensure the job is done right.
Opting for a professional, alternatively, provides a stress-free solution. This choice often yields quicker results with a higher level of expertise. Despite being more expensive, a professional’s work comes with the peace of mind of guaranteed quality. Plus, they have the right tools and experience to deal with unexpected challenges along the way.
In short, the choice between DIY and hiring a professional comes down to various factors including your budget, skills, and time constraints. Weighing the pros and cons of each option can help you decide the best approach to cover your wall opening.
Professional Services for Covering Wall Openings

When the task seems daunting or beyond your skillset, outsourcing to experts is a practical option. A wealth of experienced professionals, including general contractors and handymen, are adept at tasks like this. Professionals ensure precision, safety, and quality work, sparing you the potential stress and hazards of a DIY project.
It’s important to choose a licensed, insured, and experienced professional. Reviewing credentials, seeking multiple quotes, and browsing previous work can aid in settling on the right expert. Despite higher initial costs compared to the DIY route, a professional can save undue repair costs in the long-term, solidifying it as a worthwhile investment. Remember, the overall cost will depend on factors like the size and location of the opening, materials chosen, and labor charges.
It’s also key to express your expectations clearly to the professional you hire. Good communication ensures your satisfaction with the end result and allows you to navigate potential challenges more effectively.
Maintaining the Wall After Covering the Opening
Once the opening is securely covered, the wall requires periodic checks to ensure stability and longevity. Look out for any signs of wear or damage around the covered area. Another key aspect is cleanliness – the wall should be kept free from dust or moisture to prevent deterioration.
Consider touching up the paint job yearly, using the same color paint for consistency. This not only maintains the wall’s aesthetic appeal but also helps in an early detection of any potential issues. As always, quick and timely repairs are easier and less costly.
Paying attention to these factors ensures a well-maintained wall that retains its appeal and durability. Remember, good maintenance habits are just as vital as the initial covering process.
FAQ
How do you cover a wall cutout?
To cover a wall cutout, you can overlay it with drywall to integrate it into the existing wall space, and then decorate it with art pieces.
How do you fix a small hole in the wall with toothpaste?
To fix a small hole in the wall with toothpaste, locate a shade similar to the wall, apply the paste into the hole, and use a putty knife or a playing card to smoothly wipe off any surplus.
What materials can be used to cover larger holes in walls effectively?
Larger holes in walls can be effectively covered using materials like drywall patches, joint compound, or a piece of new drywall.
Can wallpaper or murals be used to hide wall damage?
While wallpaper and murals can conceal minor imperfections, they are not recommended for hiding significant wall damage as this can lead to further issues down the line.
What are the steps in using a drywall patch kit for wall repairs?
To use a drywall patch kit for wall repairs, clean the damaged area, apply the self-adhesive mesh patch, cover it with joint compound, let it dry, then sand and paint it for a finished look.


