Last updated on
Discover the simple steps to easily add to the bottom of a door, enhancing its functionality and appearance in no time.
Doors are an essential part of any home, providing privacy, security, and style. But what happens when your door is too short for the frame or there’s a gap between the door and the floor that lets in drafts?
The solution is simple: add to the bottom of the door! This DIY project may seem daunting at first, but with a few tools and some know-how, you can easily extend your door’s length and keep your home cozy.
In this article, we’ll show you how to add to the bottom of a door in just a few easy steps. So grab your measuring tape and let’s get started!
Key takeaways:
- Measure the length accurately to determine the amount of material needed.
- Consider materials such as wood, metal, or vinyl based on factors like cost, durability, and appearance.
- Cut the extension pieces to size, following safety precautions and using a straight edge.
- Sand the extensions and apply finishing like paint or stain to match the door.
- Attach the extensions using wood glue and screws, and seal any gaps with weatherstripping or a door sweep.
Table of Contents
Door Measurement

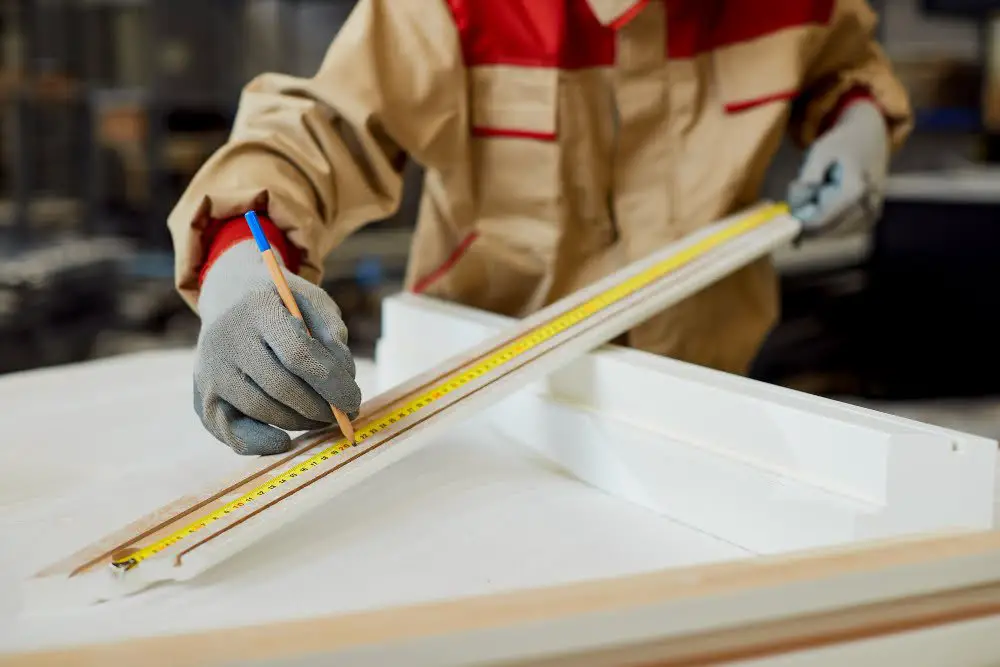
The first step in adding to the bottom of a door is measuring its length accurately. This measurement will determine how much material you need for the extension.
To measure your door, use a tape measure and start from the bottom of the door to where it meets with the frame. Make sure to take note of any gaps between your floor and your existing door as well.
It’s important that you get an accurate measurement so that you can purchase enough materials for this project without wasting time or money on extra supplies. Once you have measured your door, add an inch or two depending on how long you want your extension to be.
Choosing Materials

The most common materials used for this project include wood, metal, and vinyl. Wood is a popular choice because it’s easy to work with and can be stained or painted to match the existing door.
Metal extensions are durable and long-lasting but may require welding or special tools for installation. Vinyl is another option that’s lightweight and weather-resistant but may not provide as much insulation as other materials.
Before making your final decision on which material to use, consider factors such as cost, durability, appearance, and ease of installation. It’s also important to ensure that the material you choose will be compatible with the type of door you have.
Once you’ve chosen your preferred material(s), gather all necessary tools before beginning the project – including measuring tape or ruler; saw (handheld circular saws work best); sandpaper; screws/nails; drill/driver (if needed); sealant/caulk gun (for sealing gaps).
Cutting the Extension

Start by selecting a piece of wood that matches the type and thickness of your existing door. You can find pre-cut pieces at most hardware stores or cut one yourself using a saw.
Next, measure and mark the length needed for your extension on both sides of the wood. Use a straight edge to ensure accurate measurements before cutting with a saw.
When cutting, be sure to follow safety precautions such as wearing protective gear like gloves and goggles. Cut slowly along each marked line until you have two identical pieces that match in size.
If you are adding more than one piece for extra height, repeat this process until all extensions are cut evenly in size.
Sanding and Finishing

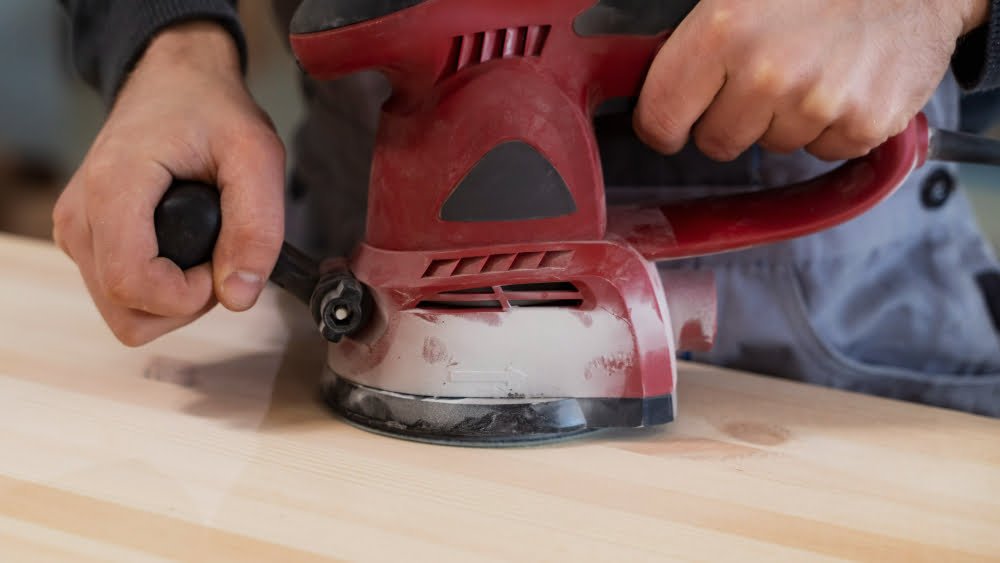
Sanding is an essential step in any woodworking project as it helps smooth out rough edges and create a polished look.
Start by using a coarse-grit sandpaper (around 80 grit) to remove any excess material or bumps on the extension.
Then, switch to a finer-grit paper (around 120-150 grit) for smoothing out the surface.
After sanding, apply wood filler if necessary before finishing with paint or stain of your choice. If you’re painting your door, use primer first before applying two coats of paint for best results.
For staining, make sure that you choose a color that matches well with the rest of your home decor.
Attaching the Extension
First, remove any debris or dust from both surfaces using a clean cloth. Then apply wood glue along the edge of your extension piece and carefully align it with the bottom edge of your door.
Next, use clamps to hold everything in place while you drill pilot holes through both pieces at regular intervals. Make sure that these holes are slightly smaller than your screws so that they can grip tightly without splitting either surface.
Insert screws into each hole until they’re flush with the surface before removing clamps and allowing everything to dry completely overnight.
Sealing Gaps
This will help prevent drafts from entering your home and keep insects out. To do this, you can use weatherstripping or a door sweep.
Weatherstripping is a thin material that is applied around the edges of doors and windows to create an air-tight seal. It comes in various materials such as foam, rubber, or vinyl and can be easily cut with scissors to fit your specific needs.
A door sweep is another option for sealing gaps at the bottom of a door. It attaches directly onto the bottom of your existing door using screws or adhesive strips.
Door sweeps come in different lengths so make sure you measure accurately before purchasing one.
Both weatherstripping and a door sweep are effective ways to seal gaps at the bottom of doors but choosing which one depends on personal preference as well as factors such as climate conditions where you live.
Adding an extension piece at the bottom of a short-door frame doesn’t have to be complicated nor expensive; all it takes are some basic tools like measuring tape saws sandpaper among others depending on what works best for each individual project. Sealing any gap left after extending should also not be overlooked since doing so helps maintain energy efficiency while keeping pests away from our homes!


